Many folks don’t realize that all cars should have the brake fluid flushed fairly often. BMW recommends every two years, and includes the first one as part of your free scheduled maintenance, if you were fortunate enough to buy your car new. Now, if you just lease and swap cars every three or four years, then you really don’t care about longevity. But if you want to keep your car for a while longer, then doing a brake fluid flush periodically will help the entire brake system last longer. If you track your car at HPDE events, then you’ll want to do it much more frequently.
Brake fluid makes up the hydraulic portion of your car’s brake system, and is also hygroscopic, which means that it absorbs water from the atmosphere. Your braking system appears to be sealed and self-contained, but it’s not. It needs to be able to breathe through the filler cap to allow for displacement as the pads wear, and even the caliper pistons are not 100 percent sealed and can allow dirt and nasties in that way as well. The problem with all of that is that water getting into the system can cause rust, and if that water boils, it turns into oxygen and hydrogen, which as gasses are compressible (unlike fluids) and will cause a soft brake pedal. And reduced braking performance. Which is bad.
Periodically flushing the system is what we call “cheap insurance.” It’s better to pay a few hundred dollars every two years to have it done rather than thousands to replace large expensive components of your braking system. Your BMW dealer or favorite mechanic will be happy to do it for you, but if you enjoy the DIY thing and like to save money, this is another one of those jobs that doesn’t require a bunch of tools or expertise.
Two cautions: brake fluid can remove paint, so be careful to immediately wipe up spills and avoid touching painted surfaces with your nasty, dirty hands. You’ll have plenty of time to clean it up, just don’t forget. Second, if at any point you allow air to get into the system, you need to start over.
All cars are basically the same, and BMW is no different in how you perform this service. One caveat: a proper dealership service will cycle the ABS pump during the procedure to flush that out. Doing what I describe here will get most of the old fluid out of the ABS pump, but you’ll need a scan tool or other software interface to have the pump cycle during the flush to get it all out, and that goes beyond the scope of this story. You can check on forums and other online tools to get more information about that if you wish.
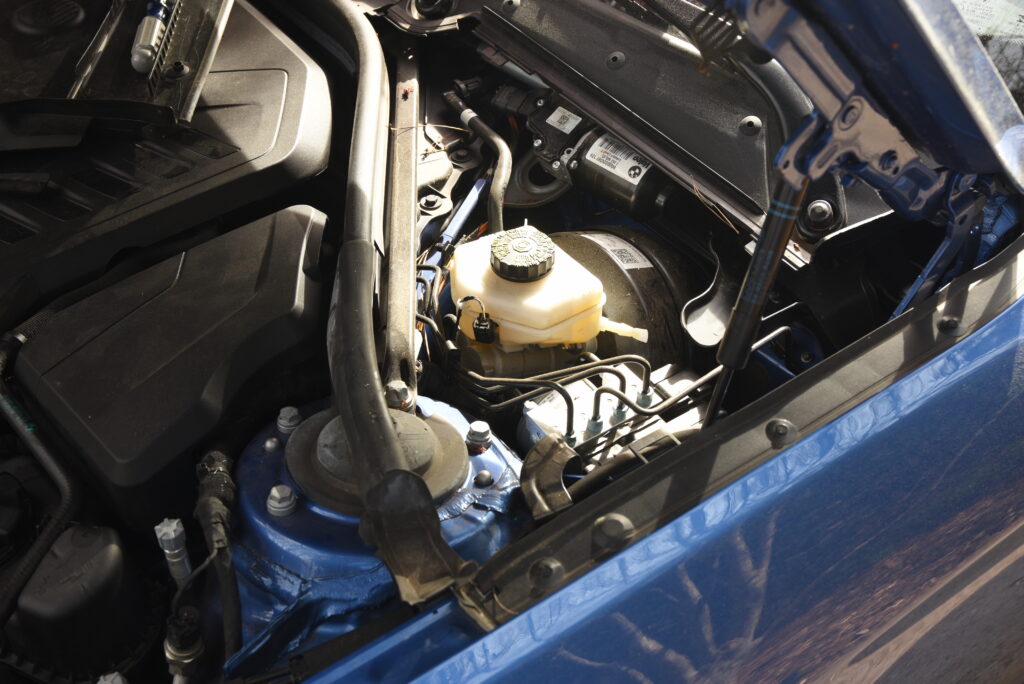
Basically the procedure is to replace all of the old fluid with new. This will take about a liter of fluid; make sure that you get the proper DOT 4 fluid that is specified for your car. The standard method is to work from the furthest to the closest wheel in relation to the master cylinder, which is located on the firewall on the driver’s side (as it is connected directly to the brake pedal). So, right rear, left rear, right front, left front. In the old days, I’d use a turkey baster to remove most of the old fluid from the master cylinder, refill it, and then start bleeding. These newer cars (such as the F22 M240ix, pictured here) have screens and matrixes and other annoying impediments that kept me from doing that trick. I suggest watching closely as you bleed the first wheel, and bleed it until the reservoir is near empty and then fill it up. Do not let it run dry. That will get air into the system, and then you have to start all over.
Your first challenge is finding the brake master cylinder reservoir. In these newer cars it is hidden under a cover, which is easily removable with snaps and perhaps a few plastic 1/4 turn screws.
-
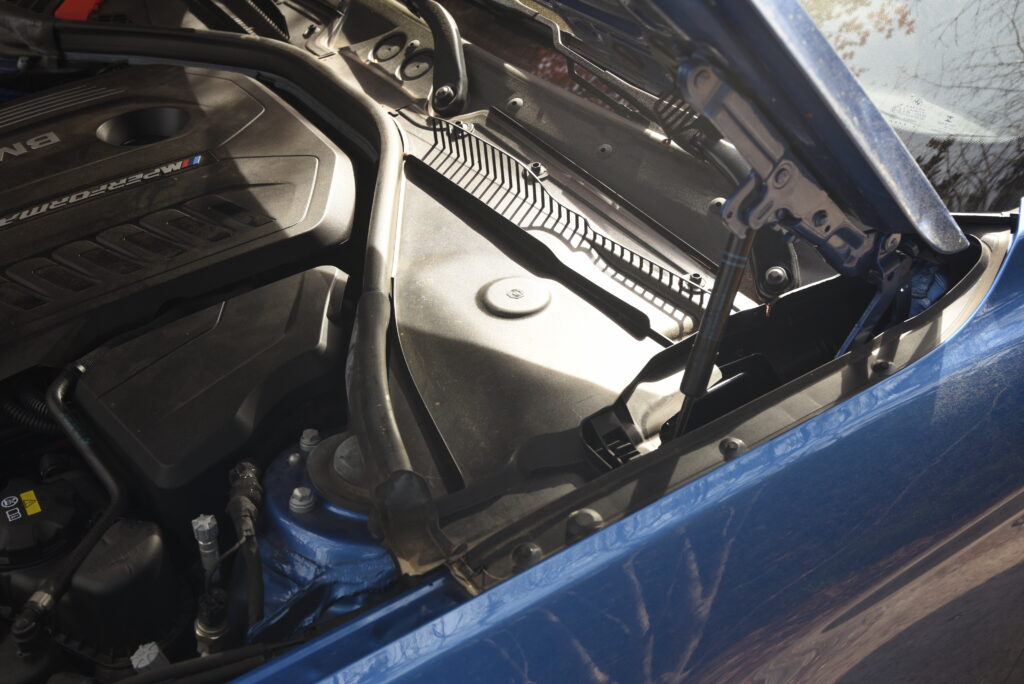
- Brake master cylinder reservoir cover
-
- The reservoir
-
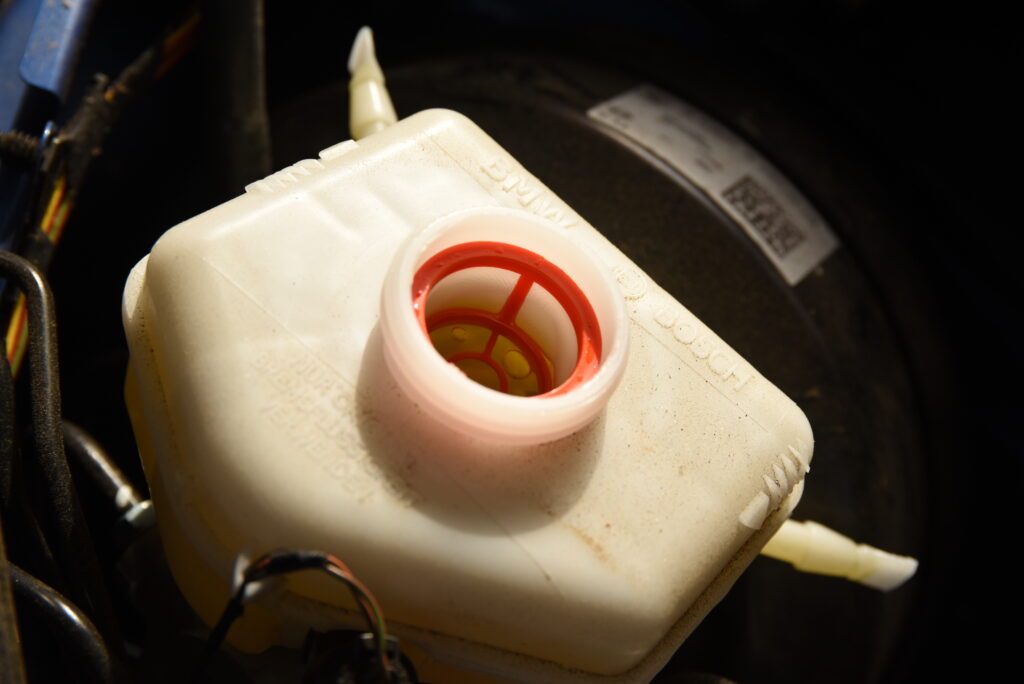
- Reservoir, cap removed, with orange filter screen. I strongly suggest removing this and throwing it in the garbage. BMW puts those in there just to annoy me.
There are four ways to get the fluid out. The first is gravity, but that takes forever. The second is to have a helper pump the brake pedal. The third—and my favorite—is to use a pressure bleeder. There are many options for this, and most are quite inexpensive. Because I’ve been doing this for so long on many cars that often see the race track (requiring frequent flushes), I have a beautiful aluminum adapter that I screw onto the reservoir and attach to my air compressor. Just 15 PSI (1 bar) is plenty for this. That pressure helps to push the fluid through the lines. The fourth way is to get a vacuum pump on the brake caliper bleed screw and suck out the old fluid. Many people swear by this, but it’s never worked well for me.
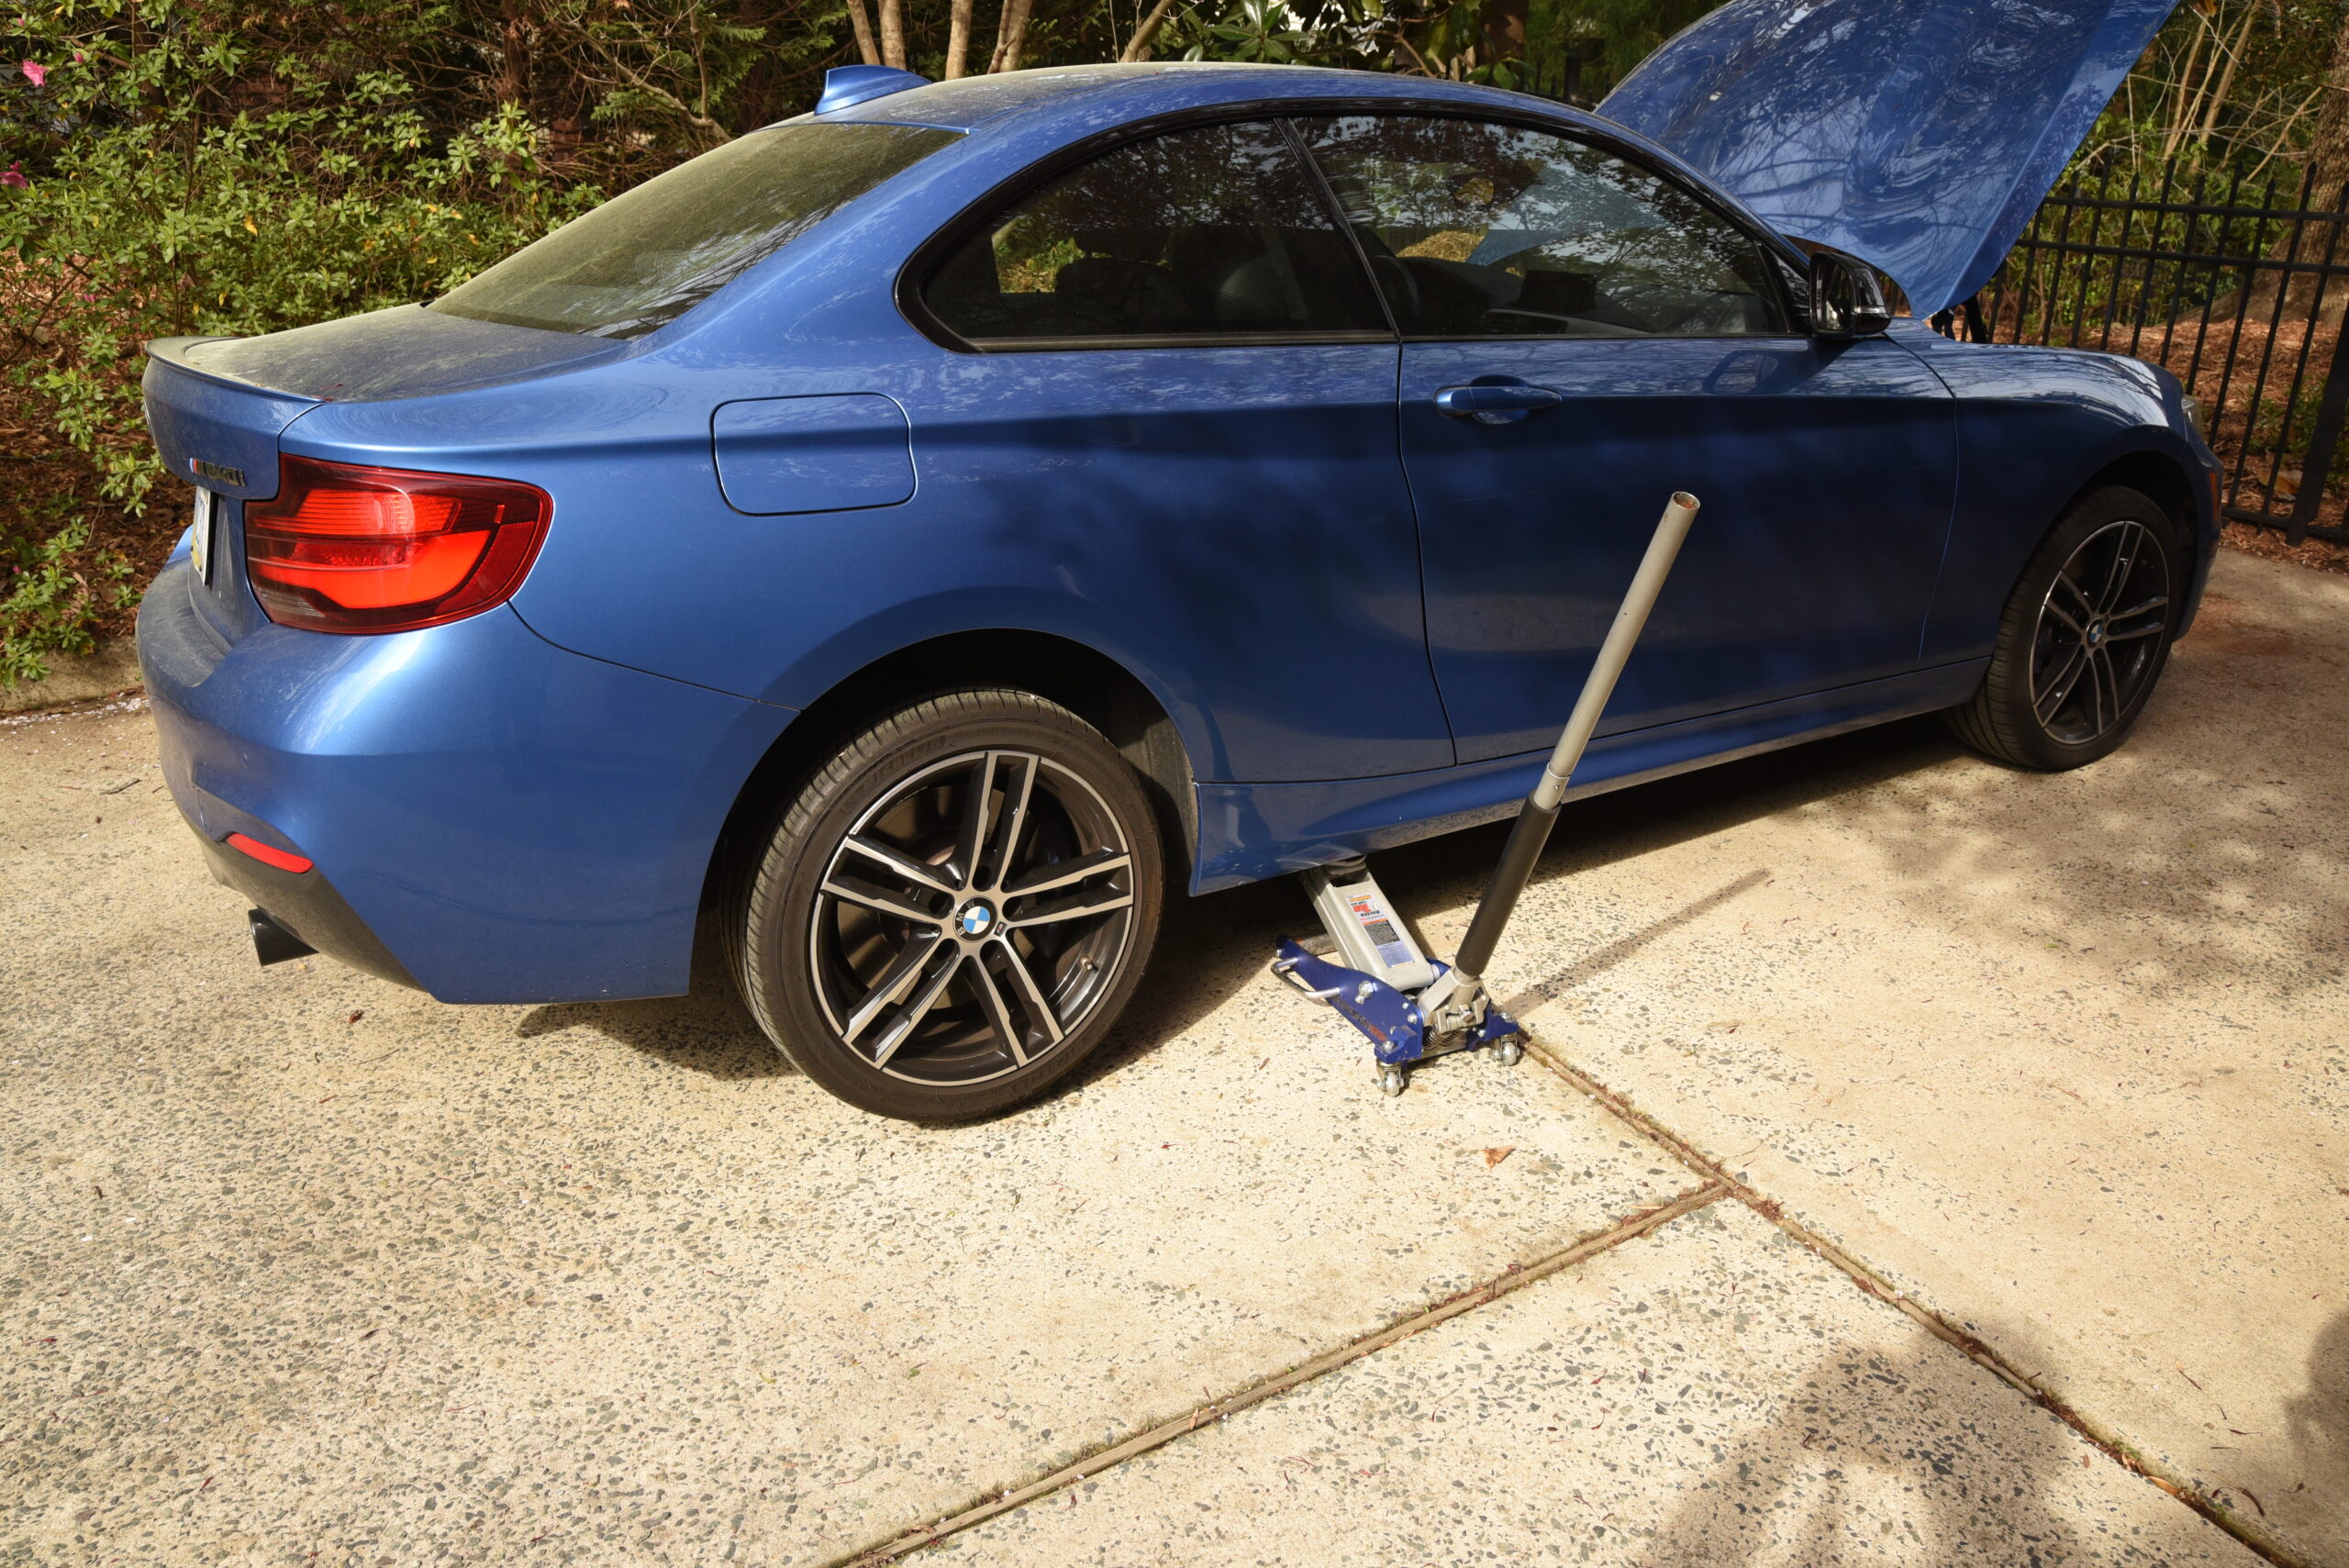
The car is safely jacked up.
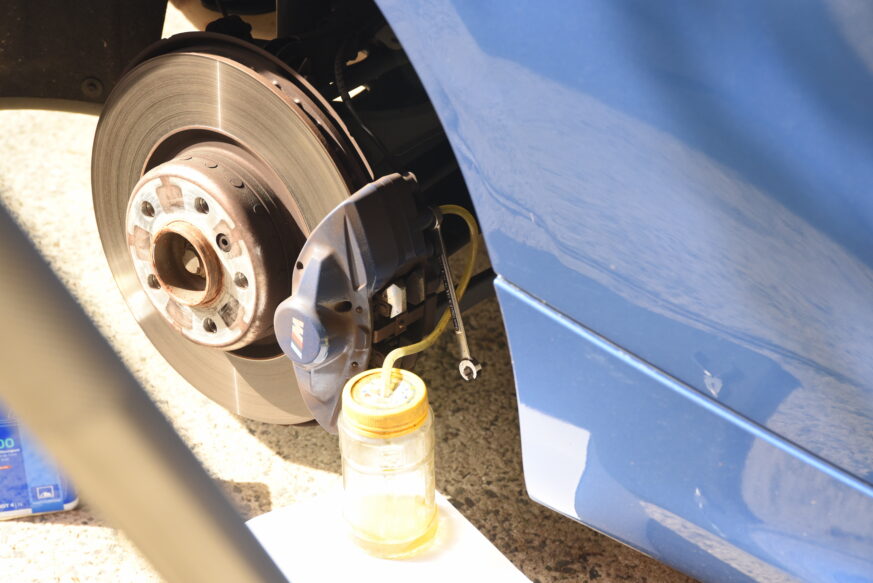
The procedure is the same for each wheel: jack up that corner of the car, remove the wheel, attach the bleeder hose to the bleed screw (it’s usually a 10 or 11mm screw) and put the other end in a suitable container. Mine is an old peanut jar where I drilled a hole into the cap for the hose. Loosen (one full revolution is usually plenty) the bleed screw and watch the fluid come out. If it’s really old and dirty, then it’s easy to see when the new fresh and clean fluid starts to come out. If it’s still clean, then just use your best judgement as to when you think the new fluid has worked its way through the system. Do keep a close eye on the level in the master cylinder, as you don’t want it to run dry. Ask me how I know.
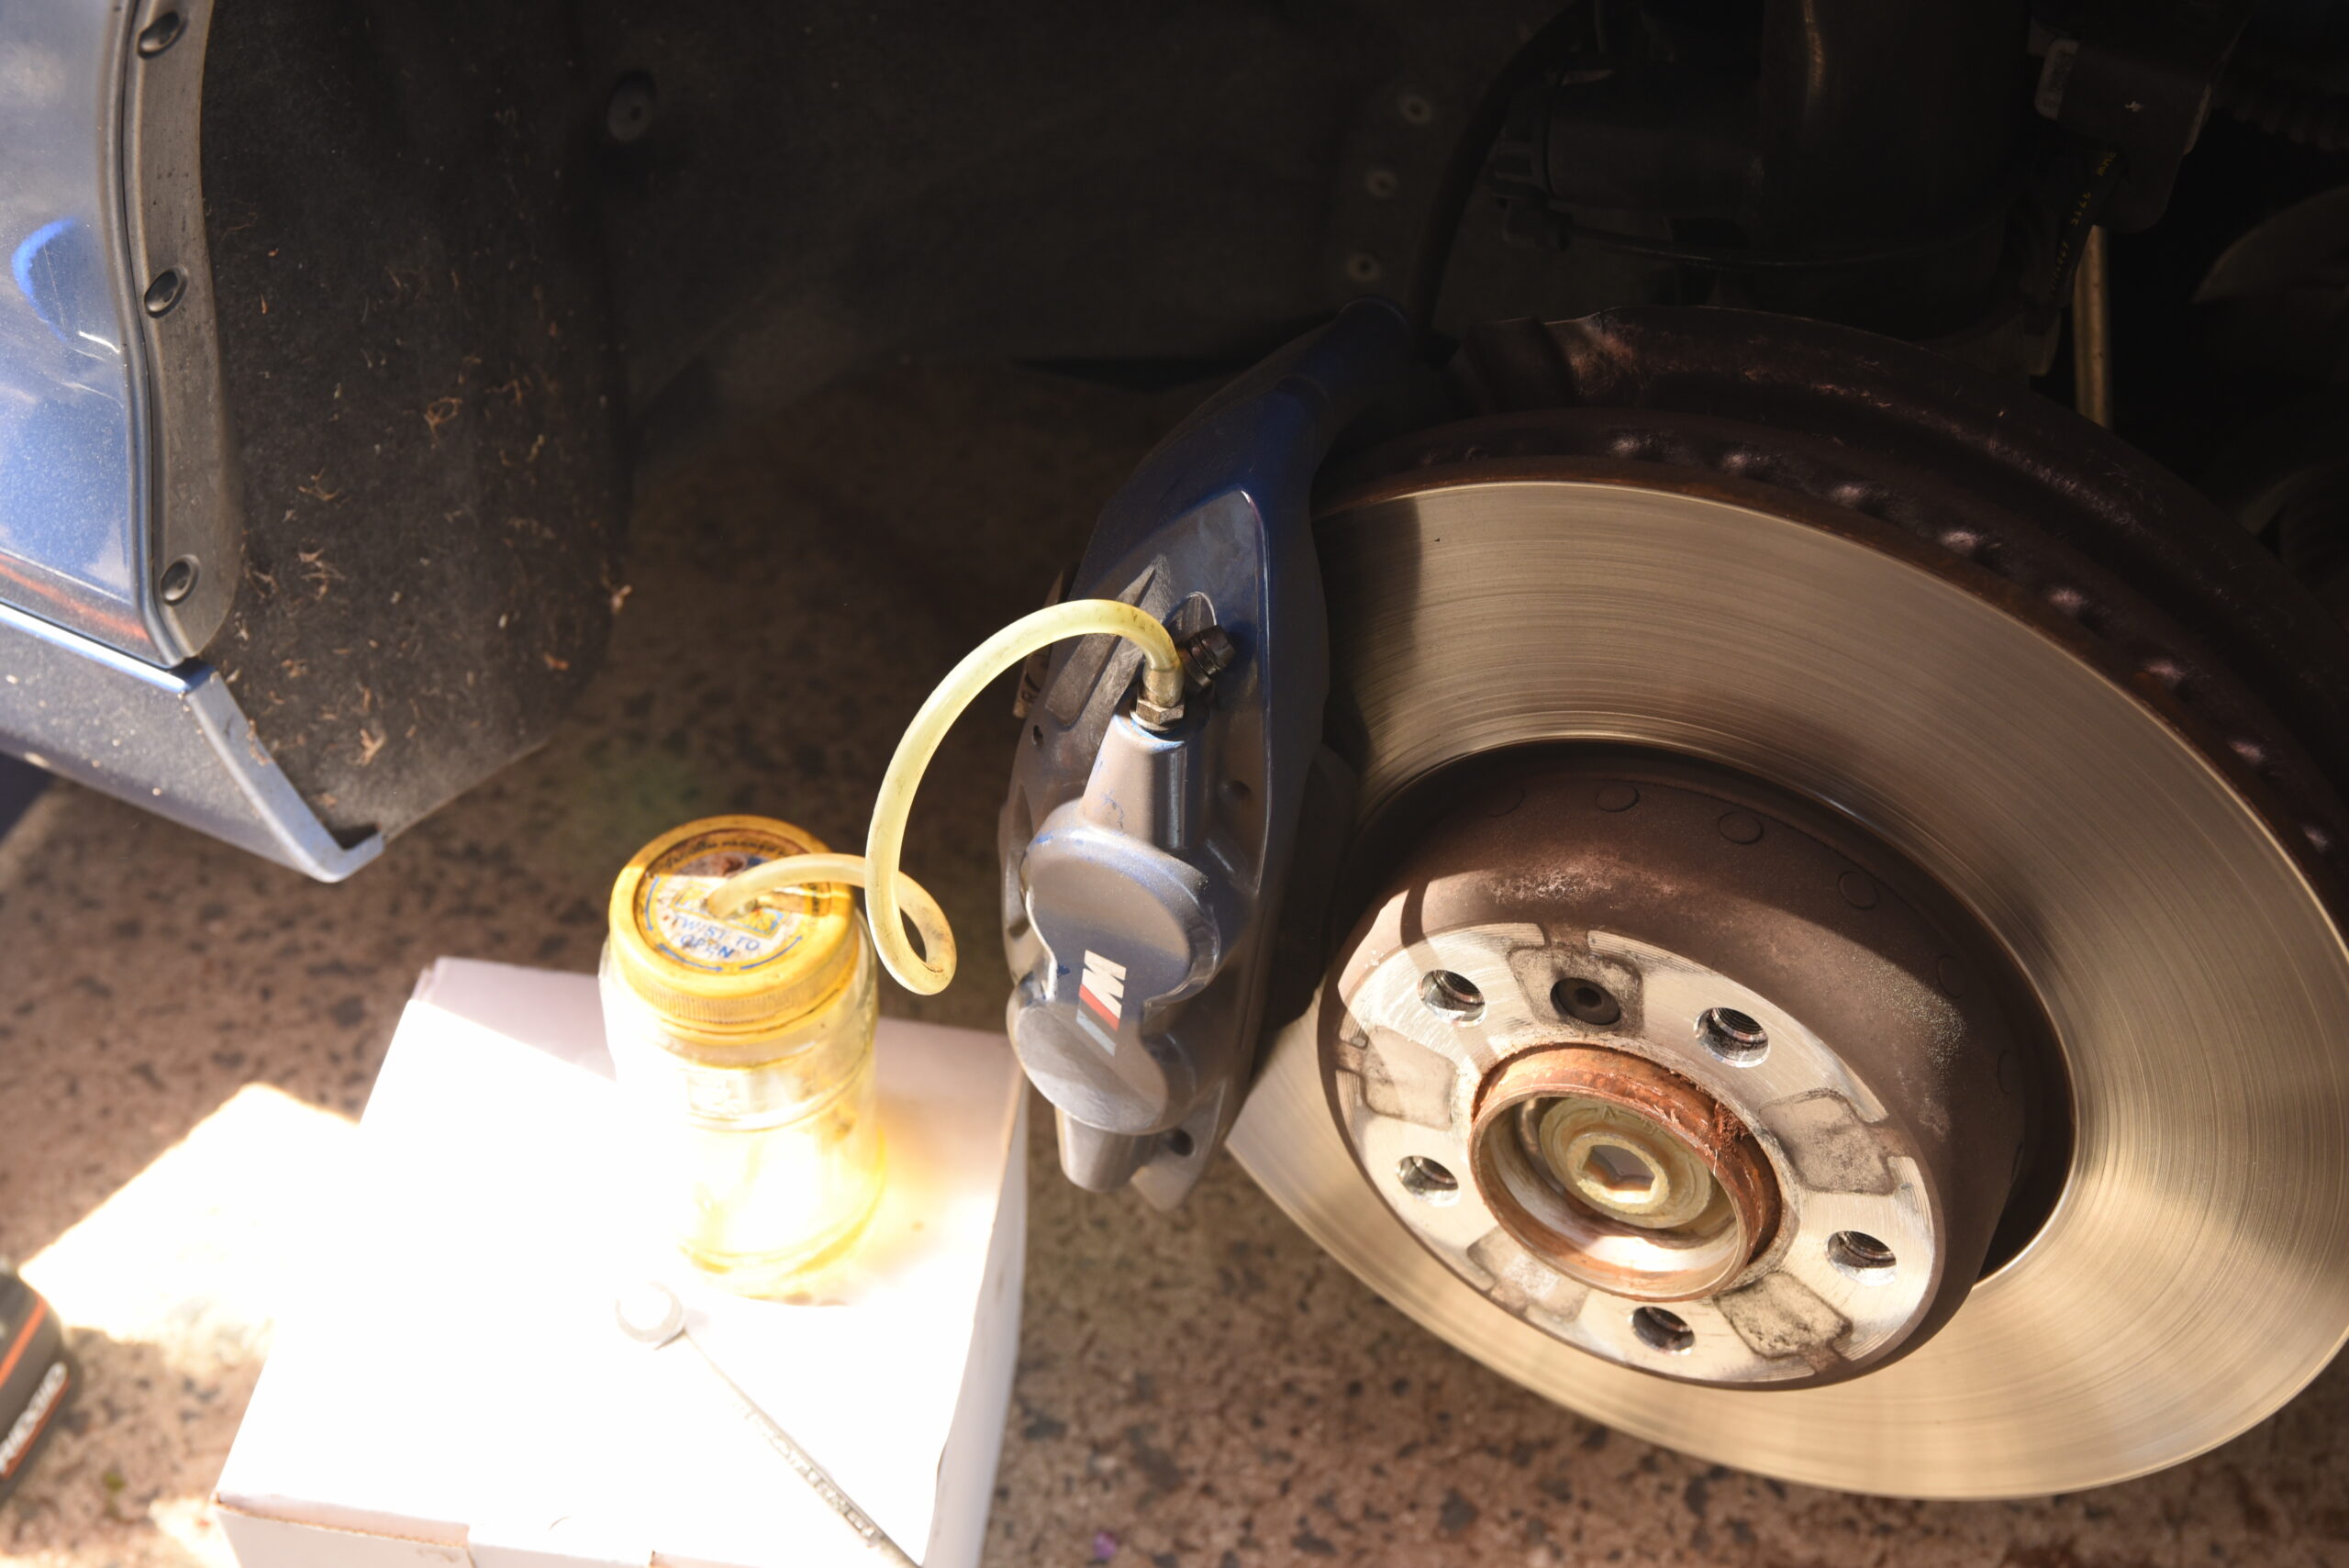
Equipped with performance brakes, the bleed screws are on the inside and outside
Every caliper has a bleeder screw, it’s usually at the top and inboard where it’s difficult to see and photograph. On cars such as the little 2 Series here with the “M performance” brakes, you may have two bleed screws. If so, bleed them both in whatever order you wish.
I used this opportunity to also clean the wheel and wheel hub where the steel hub had a galvanic reaction to the aluminum wheel. I just used some sandpaper to clean it up and then put a smidgen of anti-seize compound on the hub surface where they meet. Even here in the South where road salt is rarely used, it can still be an issue just from moisture in the air, driving in the rain and washing the car. I doubt that your dealer will go to this trouble for you as part of their normal job. If your OCD runs strong, this would also be a good time to clean the inside of the wheel and the brake caliper itself, especially if it has the fancy “///M” branding on it as shown here. However, keep in mind that you will then be sitting on the wet ground to put the wheel back on. Ask me how I know.
-

- Wheel removed, note rust on the hub
-
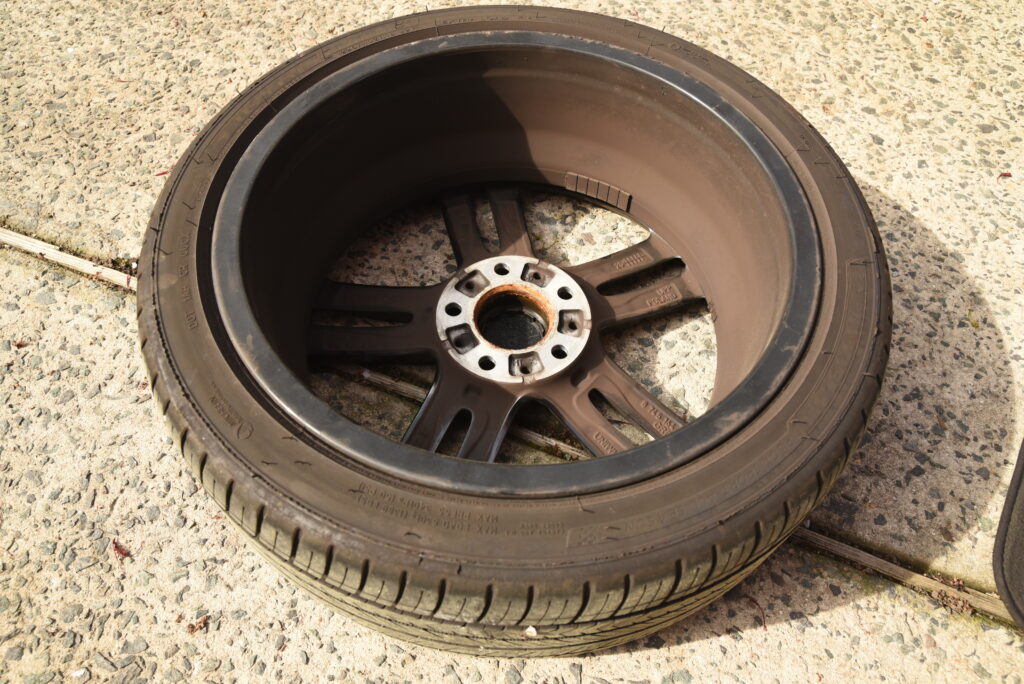
- See the matching rust on the wheel
If you use method two, with a helper pumping the pedal, this is the procedure, done with the engine not running and the ignition off. Roll down the windows and turn off the radio so that you can hear each other. Person 1 on the caliper loosens the bleed screw. Person 2 slowly pushes down on the brake pedal. When it has reached the bottom, they hold it down and say so. Person 1 tightens the bleed screw and lets the other one know when it’s tight. Person 2 can then slowly allow the pedal to return to the top. Repeat. After every 5 cycles, check the fluid level in the reservoir.
Tighten the bleed screw firmly but not bone crushing tight, as you could strip the screw or round off the edges. Replace the little dust cover, put the wheel back on, torque all of the lug bolts (usually around 100 ft./lbs.) and lower the car. Fill the reservoir up to the maximum mark but not above it.
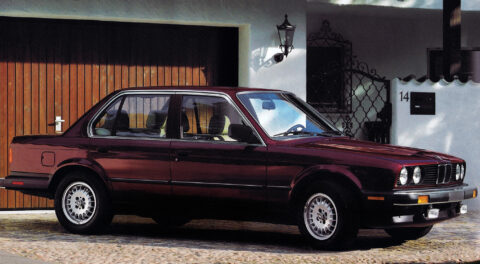
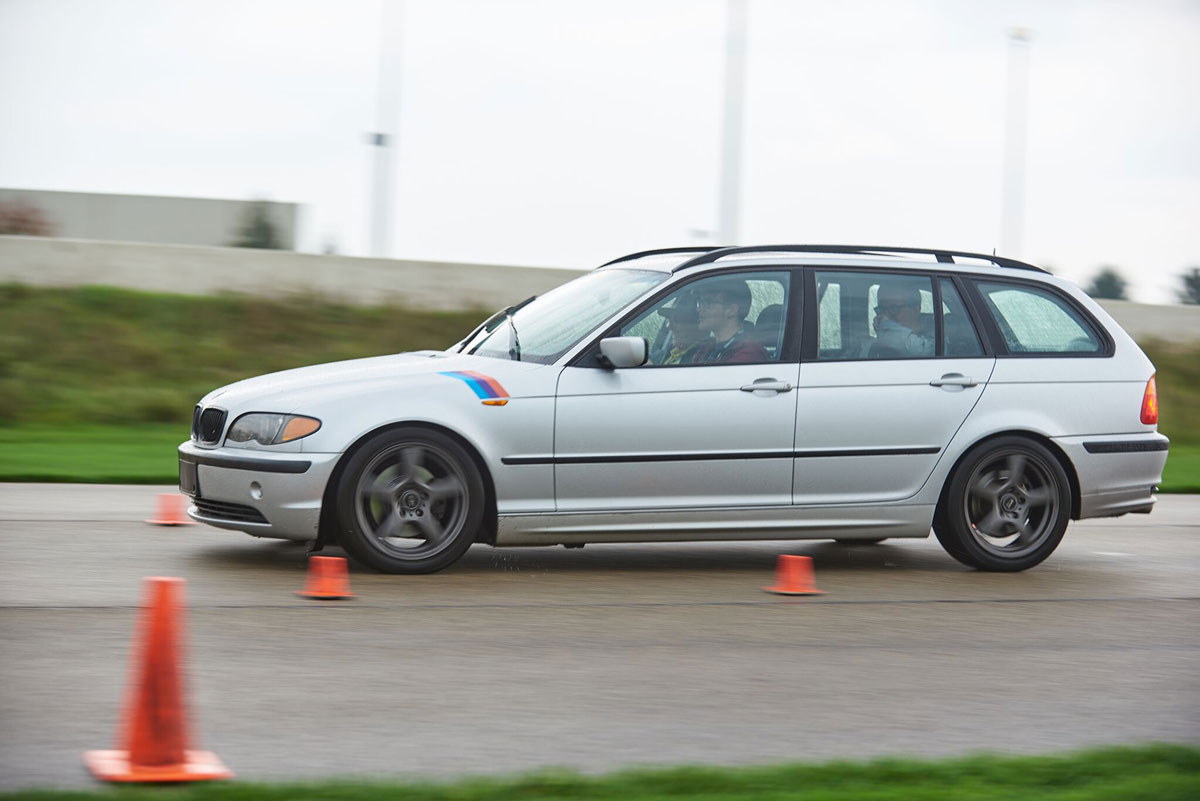
Peggi’s car here has the older style handbrake which uses a cable to operate the parking brakes. Newer cars have an electric motor that activates a separate caliper on the rear wheels. In either case, neither are affected by or part of this brake fluid procedure. You should apply the parking brake before jacking up the car.
Many Roundel and BimmerLife advertisers who sell maintenance parts (such as the brake fluid that you’ll want to buy) will also sell kits to help you perform this service. It’s not terribly difficult, it’s generally not going to change how the brake pedal feels or functions, but your car will last longer and you will be just a bit safer driving down the road.