

One of the many wonderful things about buying a new BMW is the free maintenance for the first three years. But alas, that will come to an end, and unless you prefer to just trade in your car every three or four years, you will need to either start paying for the service or doing it yourself. There are advantages to both approaches, but I’ve always enjoyed the feeling of accomplishment from doing the things I still can. In fact, I enjoy that nearly as much as the money I save. The flip side is the free coffee and keeping myself, my garage, and my garage floor clean by having someone else do it. But if you have the tools (or are willing to buy them), the space, and the time, I suggest giving it a whirl.
Other than putting in a bit of air into the tires, there are few car maintenance items that are easier than changing the oil. Please refer to your car’s owner’s manual for the correct grade and viscosity of oil to use, as they do differ. You can often pick up what you need at a local auto parts store, but I’ve found that I can get the genuine BMW oil (or reasonable facsimile that meets the requirements) and OE filter from one of our Roundel advertisers such as Bimmerworld for less money, even with shipping (which is often free). Don’t forget to ask about the BMW CCA discount. When you order online and specify your car’s details, they will often suggest kits with the correct amount of oil. If you’re buying elsewhere, check the manual, but basically if your car has a four cylinder engine, you’ll need six quarts, a six cylinder engine takes seven and the V-8 takes, you guessed it, eight. Some four cylinders take five or 5.5 so remember this: it’s easier to add a bit more oil than to remove it. Overfilling is generally worse for the engine than underfilling.
I am occasionally accused of being verbose, so the TL;DR version is: Drain oil, replace filter, refill with oil. It’s that simple. Here’s a bit more detail for the rest of you.
- Safely raise the car on a lift, jack stands, or ramps. If using the latter, as I did on the wife’s lovely little blue M240ix pictured here, be sure that you take advantage of any slope in your driveway so that the rear is uphill, making the car a bit more level. The drain is usually at the rear of the engine.
-
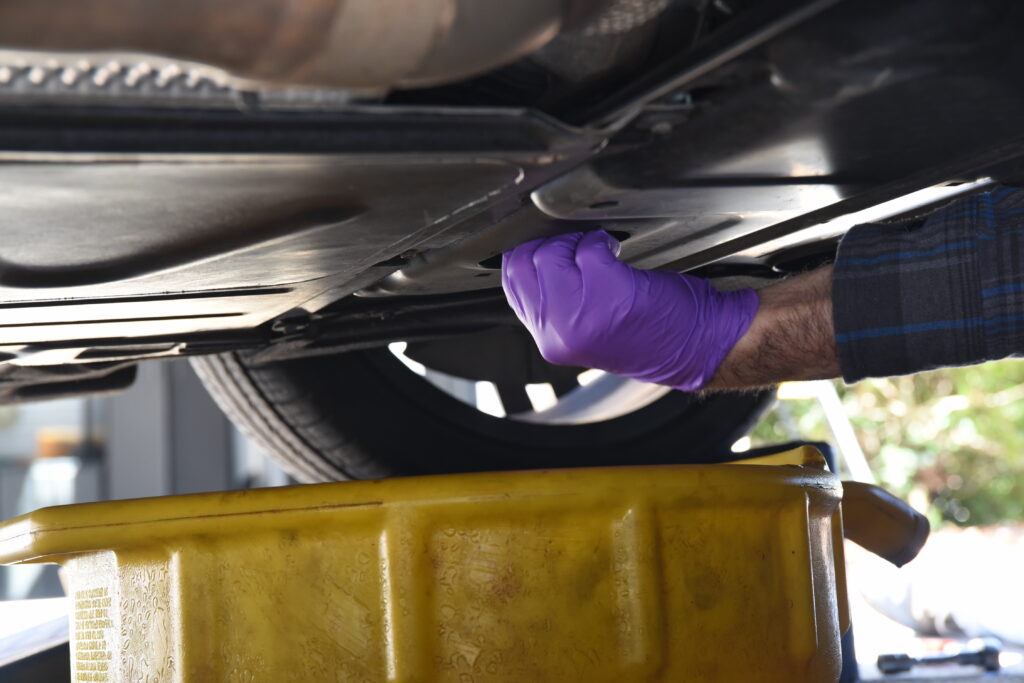
- Removing the (already loosened) drain plug
-
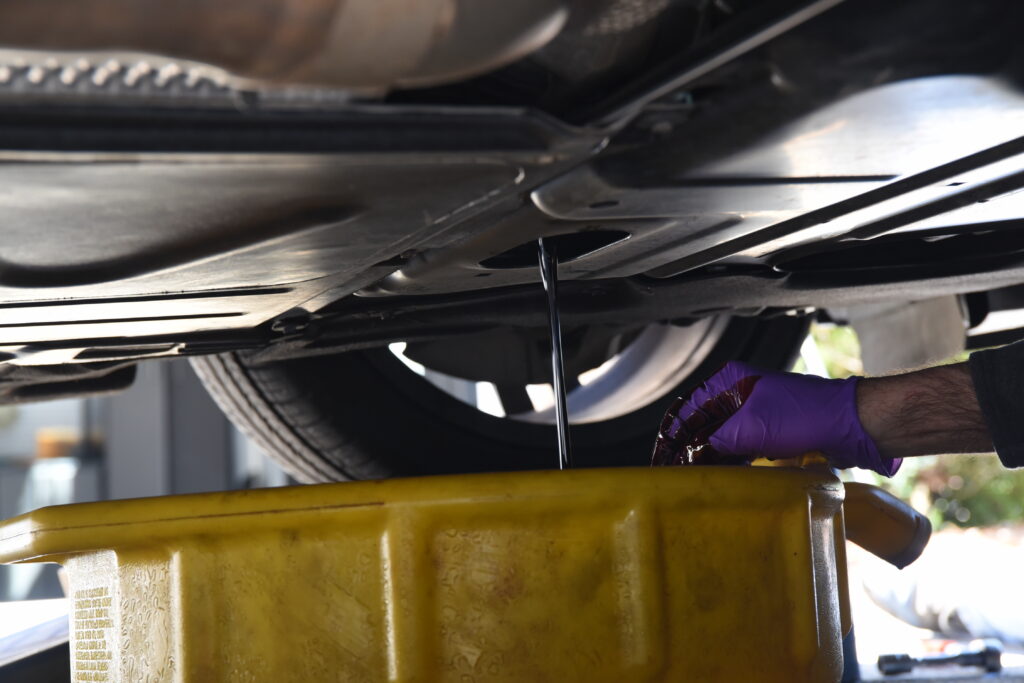
- Draining begins (note the oil all over my pretty purple gloves)
-
- Using a 17mm wrench or socket, remove the engine drain plug. Of course, first you should position your drain pan so that it will capture the oil as it comes gushing out. This car has the drain at the bottom of the pan, older cars may have the drain on the side, which can cause some oil trajectory, which can miss the drain pan. Ask me how I know.
-
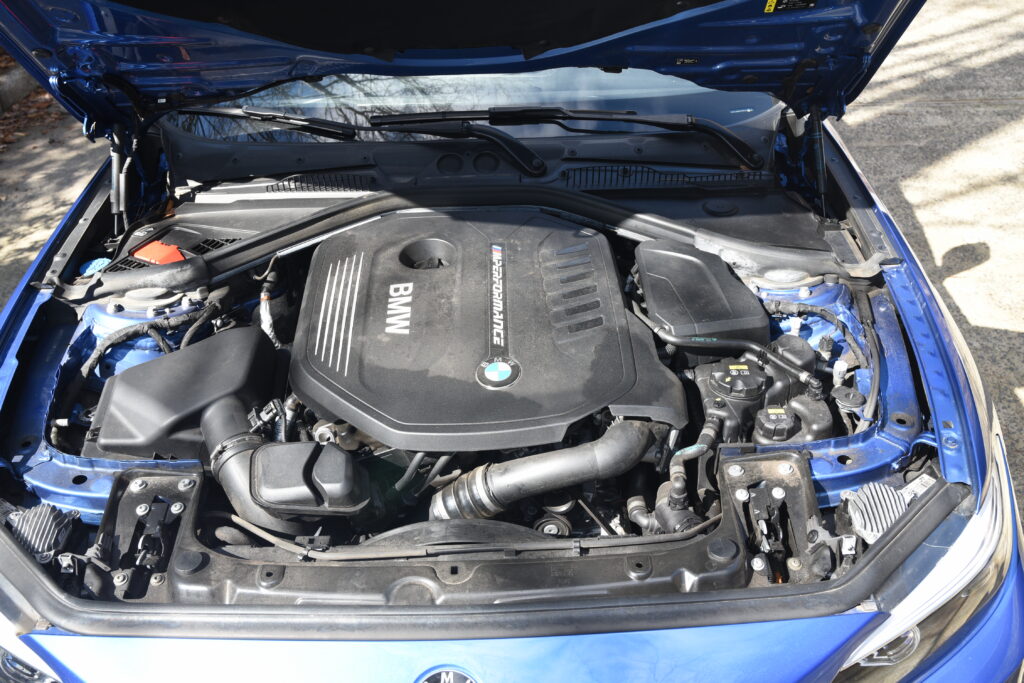
- Where is that filter?
-
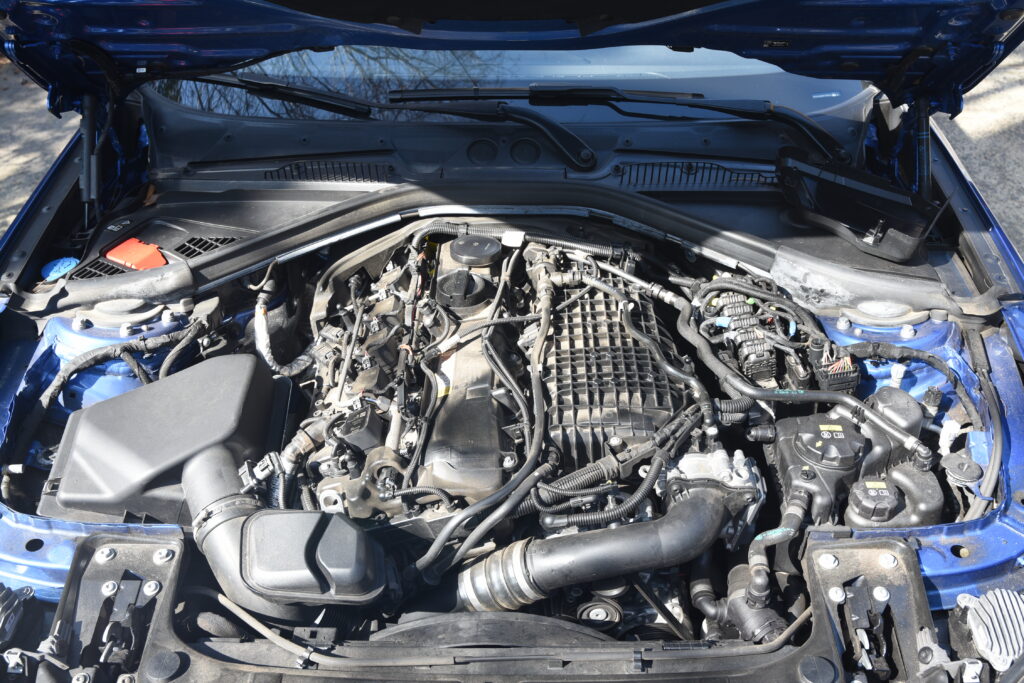
- Covers removed, I still can’t see that filter
-
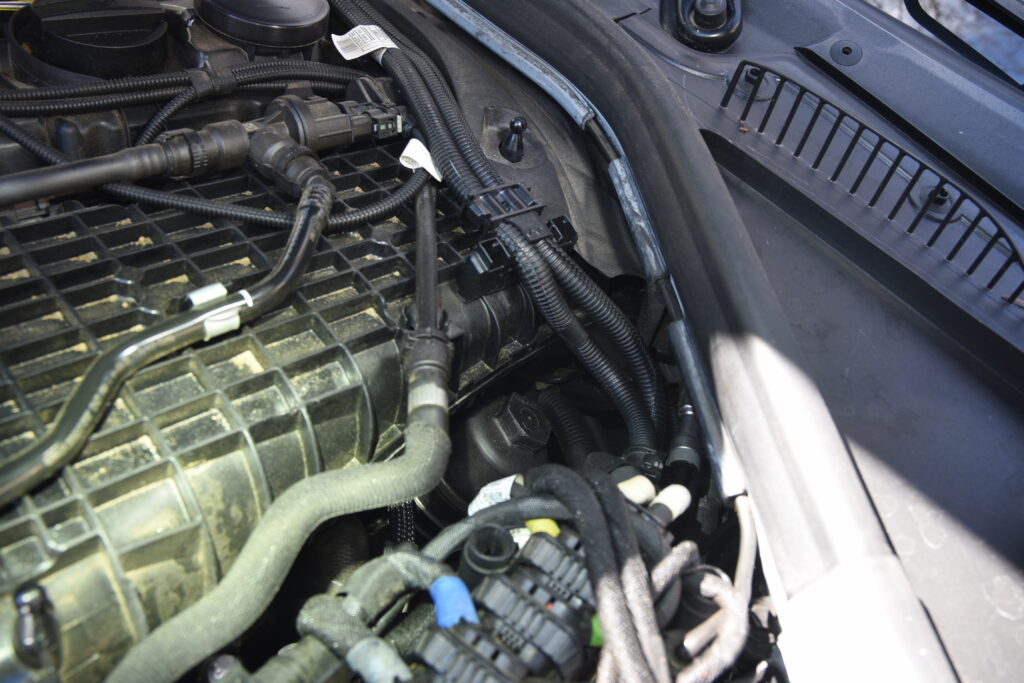
- There it is!
-
- While the oil is draining, locate and remove the oil filter housing cap. BMW has refined the location and size of this cap over the years, but they generally all look the same and it shouldn’t be too difficult to find unless you have a V-8. Most of those have their filter on the bottom of the engine, which means that you will be getting oil all along your hand and arm as you remove it. On the inline-six engines (as pictured), BMW used to put the filter near the front where it was easy to get to. Now on many of the newer ones it is hidden in the rear of the engine, where you can’t see it without removing two covers. It’s also a lot more difficult to remove. On the 2021 B58 engine shown here, it required a 32mm socket. There’s not enough room to use a wrench. Older cars used a 36mm socket.
- Many of our newer cars not only have a plastic oil filter housing, but a plastic oil pan (the thing that the drain plug screws into) as well. Please be careful with these and do not overtighten the plug or cap when you finish. Basically my rule is to get it tight enough so that it won’t leak, and no tighter than necessary. You’ll thank me later when you try to remove it next time.
- It can take a while for all of the oil to drain. Most mechanics do it while the oil is hot so it drains better and quicker. The downside is that it is hot, so be careful when removing the drain plug. There is no known way to remove this without getting even just a little bit of oil on your hand. I use surgical gloves to keep my hands clean and reduce the pain. Let the oil drain for at least 20 minutes, even longer is okay. If you wait for it to stop dripping, you may be there for days, but it’s okay for a little bit of dirty oil to remain. That’s perfectly normal.
-
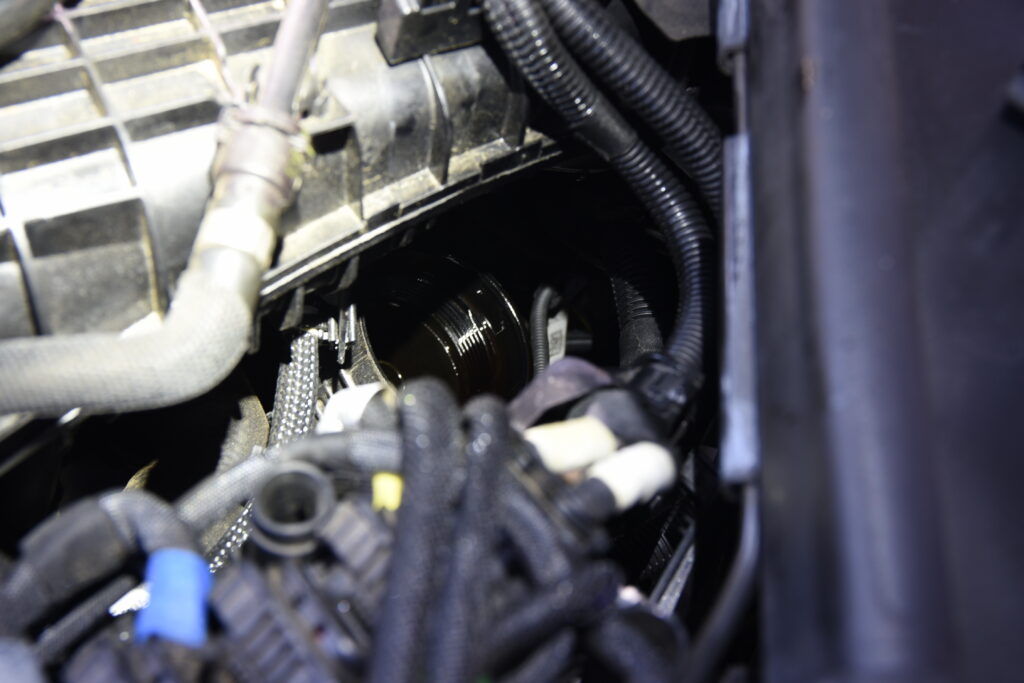
- Oil filter housing with filter removed
-
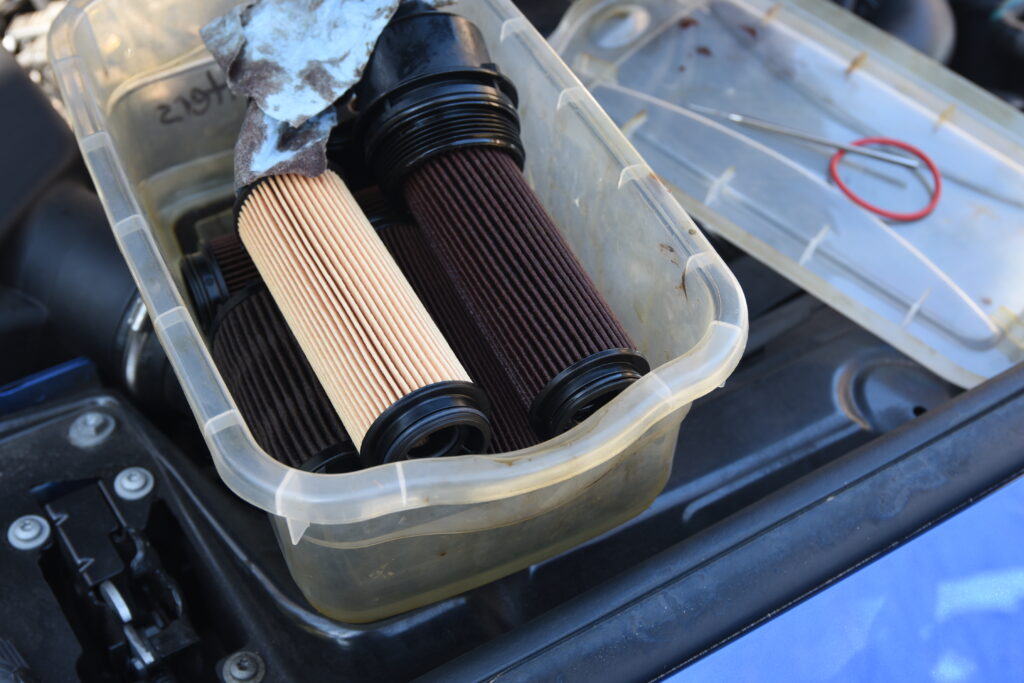
- New filter on the left, old one on the right
-
- Remove the old oil filter from the housing and discard appropriately (my town actually provides a recycling facility for filters). Make note of the orientation of the filter, as the newer ones are different on each end. Remove and replace the rubber o-ring that is on the cap, which came with your filter. Put the new filter in the cap and then put on the cap, being careful with that plastic stuff. Sometimes the torque setting is printed on the cap, but I’ll tell you, it doesn’t take much to get it tight enough. When it stops moving, stop tightening.
- Replace the crush washer on the drain plug (a new one will come with the filter) and tighten until… well you know, until it’s tight. Not too tight. You can strip the pan, and that will be expensive to replace. The crush washer is literally that—it is designed to crush and compress a bit to get a good seal. Imagine that you are a 100 lb. person who doesn’t go to the gym, and get it about as tight as they would be able to. If you are a 100 lb. person, then you’ll know.
- Remove the oil filler cap and, preferably using a funnel to avoid a mess, pour in the required amount of oil. If you like, it’s perfectly acceptable to put in about 0.5 quarts less than called for, check the level, and add more as needed to allow for any remaining oil that didn’t drain.
-
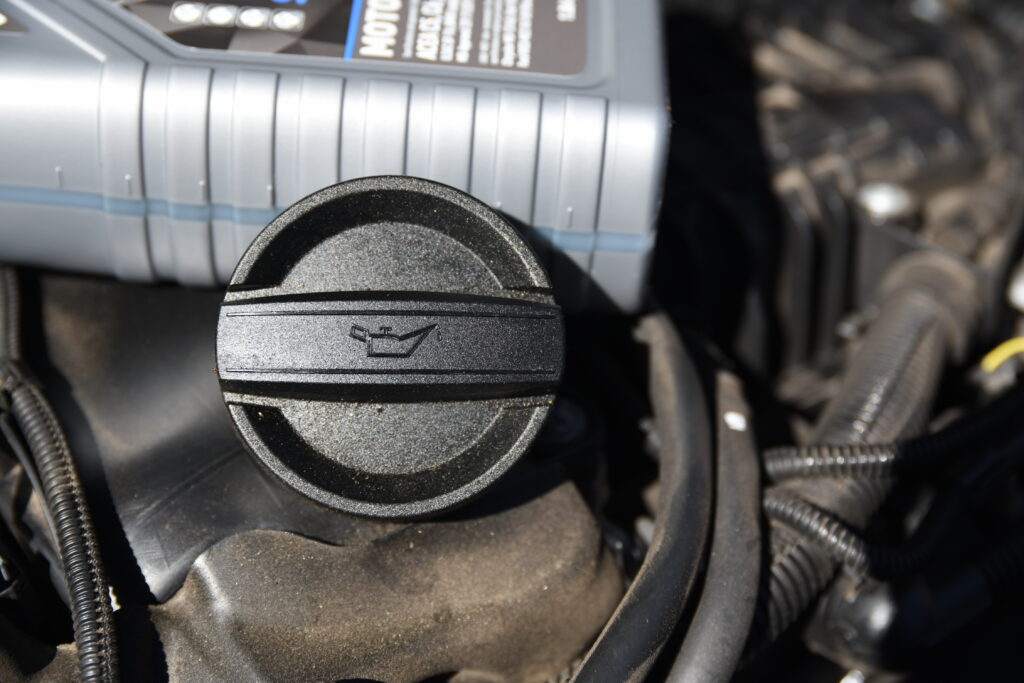
- Oil filler cap
-
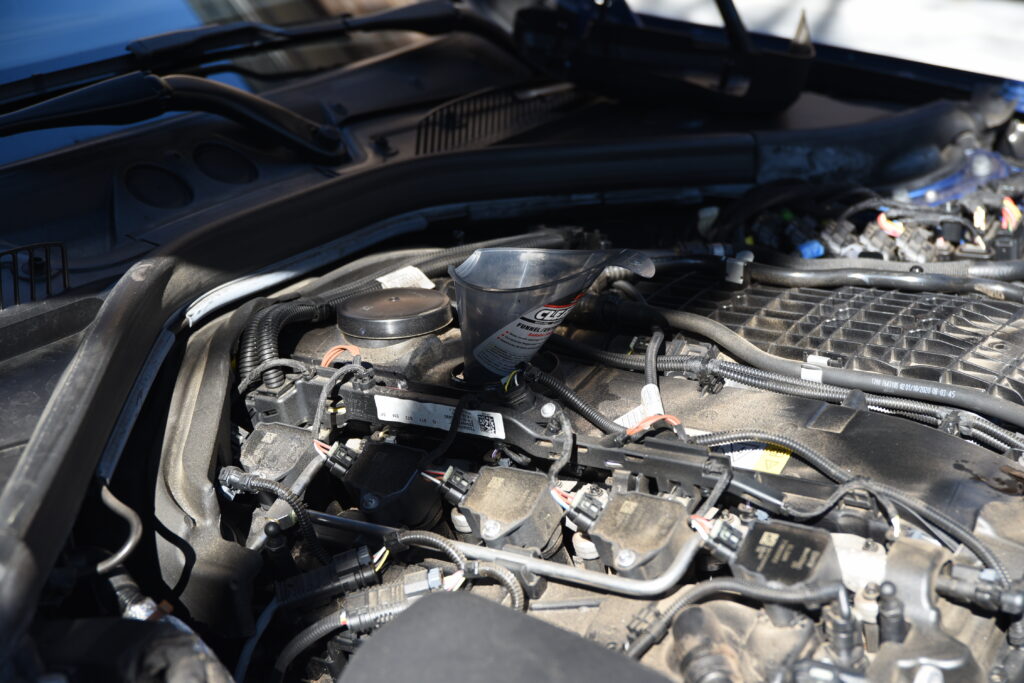
- Funnel installed
-
- Double-check your work, replace the oil filler cap and any engine covers that you removed, check for all of your tools, and start the engine. Letting it run, check the drain and the filter housing for any leaks. It should not leak at all. If it does, tighten it up a bit. Lower the car from the ramps or lift or jack stands and go for a drive. It generally takes a few miles before the car will give you an oil level reading. After 10 miles or so, stop the car on a level surface and follow the instructions on the iDrive to check the oil level. It should be green, in-between low and high on the scale. Being at the top of the scale (full) is perfectly normal and doesn’t mean that you over-filled it.
- I like to double-check for leaks after I’ve checked the level, and again after a few days of driving. As I tell my long-suffering wife Peggi, OCD is not just an affliction, it’s a lifestyle. And when it comes to DIY on the car, a little extra attention never hurts.
- Most auto parts stores will accept your used oil for free (they get paid for it by recyclers). If you had the foresight to buy a drain pan with a lid, you can just take that to the store. Or you can refill the plastic jugs that the new oil came in and use those for transport. Used motor oil is carcinogenic, so do be sure to wash your hands thoroughly.
-

- Ready to measure oil level
-

- Working on it…
-

- Success! Note that the only time that you’ll see the bar chart on the right is after you
-
- Reset the service indicator on your car. Again this varies between models and iDrive versions, but it’s easy to Google and even easier to do. Generally it means turning on the car (but not starting the engine) and pressing the odometer reset button to get into the reset menu. Use the reset button again to go through the options.
Side note: some folks may not have the tools to do this maintenance. My rule is to buy good quality tools, and they will last you the rest of your life. Many of the tools from reputable stores like Lowe’s and Home Depot have lifetime warranties on them. Quite often, you get what you pay for. Buy yourself a good set of wrenches, a socket set and a drain pan and they’ll last you forever. You may have to buy the big socket for the oil filter housing separately. I have several from many years of working on BMWs. Once you’ve done a few oil changes yourself, you will have paid for the tools with the savings.