First, thanks to those who contacted me expressing concern over my absence due to a family medical issue. Long story short, my wife had an elective cardiac procedure to repair something we’ve known about for years. She’s recovering nicely, we’re taking ever-longer walks around the neighborhood, she’s engaging her quilting and sewing passions again, and telling me to stop hovering over her 24/7 and get back to doing some of the things I love. So I’m back.
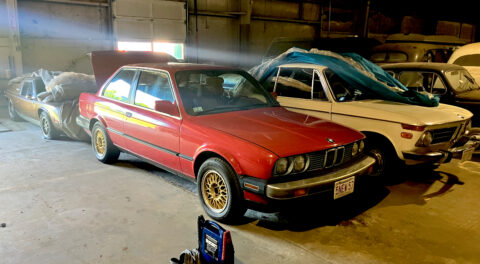
I’ve had Louie, the Ran When Parked ’72 2002tii, here at the house since early July. In earlier pieces, I described the somewhat hazardous path I took with Louie where I upgraded the original very tired suspension to H&R progressive rate springs, Bilstein HD shocks and struts, and Suspension Techniques sway bars, and retrofitted a modernized Clardy a/c system. Why am I describing this as hazardous? Because the relationship you have with a car can easily be damaged or even broken if you change subtle characteristics about how the car sounds and feels, and although I freaking love the a/c and appreciate the firmer ride and better handling from the upgraded suspension, a few thunks, klunks, grinches, groans, and vibrations were really bugging me.
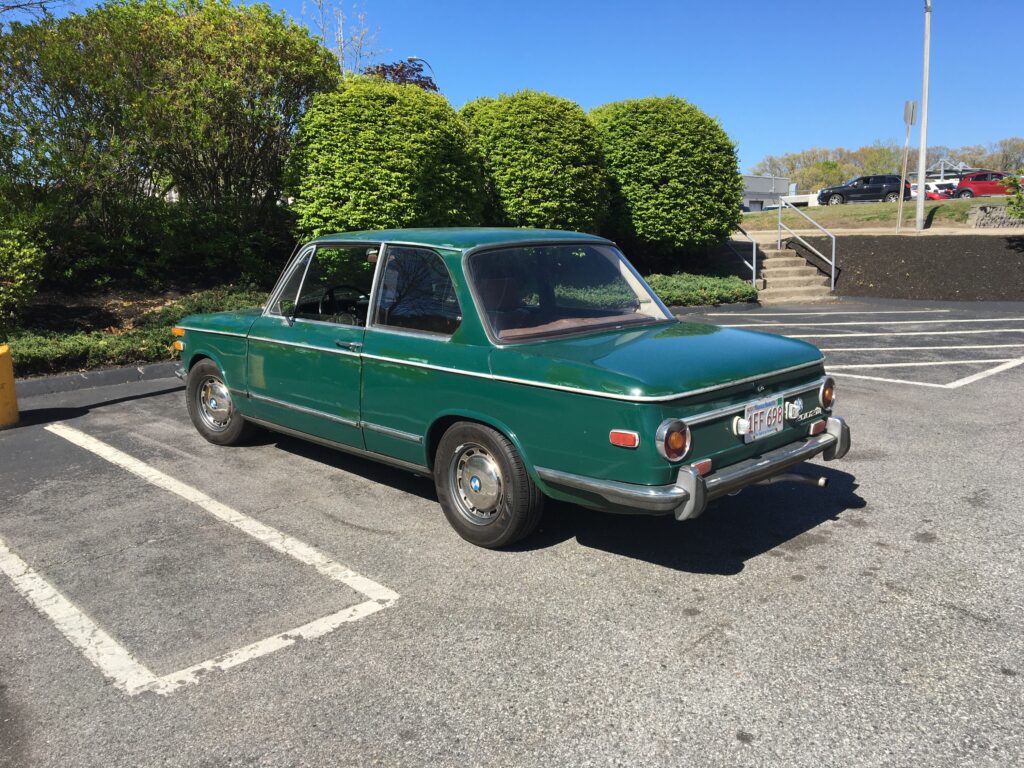
It’s been fun having Louie home, as it turns running errands into an event.
It took a bit of driving on pot-holed local roads to tease things out, but I determined that there were several separate issues—a vibration, a squeak, and a few thunks and clunks.
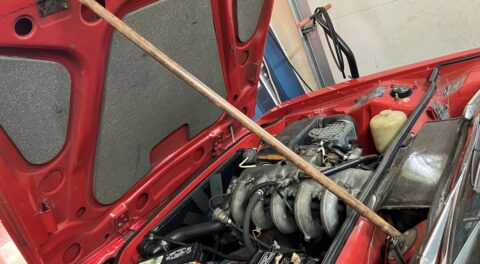
The vibration turned out to be coming from the a/c hoses vibrating against the inner right fender wall. In some a/c installations I’ve secured these with a little mounting tab and a zip tie, but I’m hesitant to drill the holes necessary to secure the tab. I had a few lengths of foam insulation for copper pipes kicking around the basement that I pressed into service. These did solve the problem. However, my concern that they wouldn’t survive the heat of the engine compartment was completely justified, as the outer portion of the part nearest the exhaust manifold melted on one 50-mile stress-busting drive. Still, the backing portion that remained is doing what I needed it to. At some point, I’ll buy some proper a/c-hose insulating shielding and secure it and the hoses in a more permanent manner.
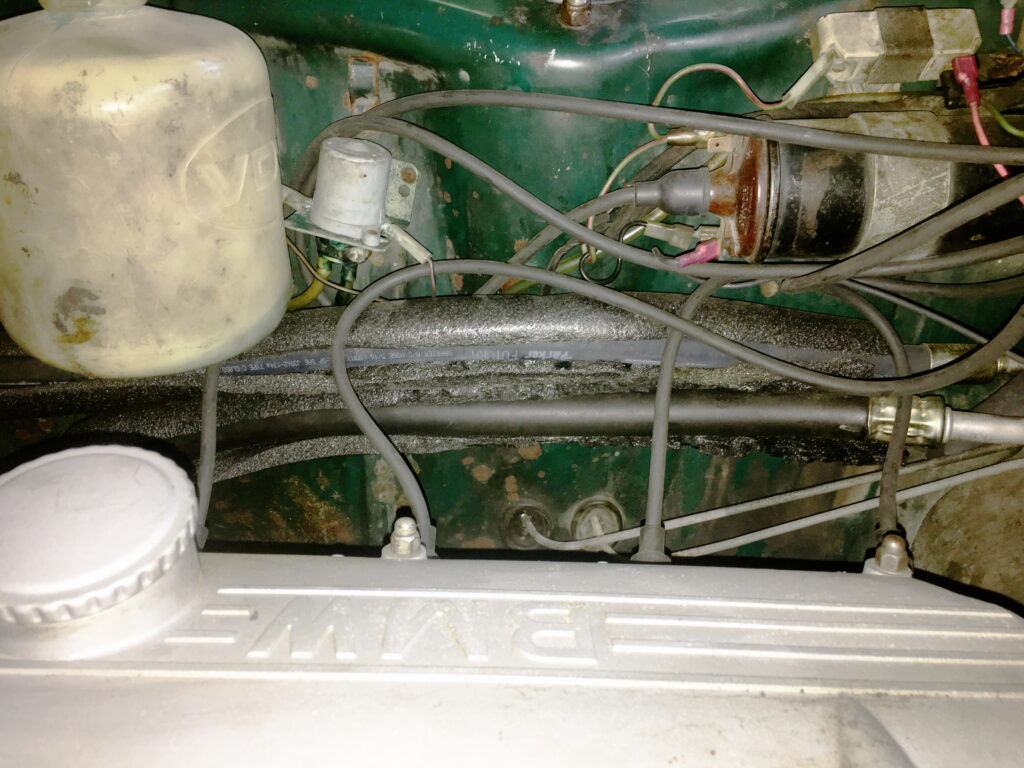
This worked. For a while.
Back in November, I wrote a three-part series titled “It’s The Bushings” (part 1, part 2, part 3) where I made fun of folks’ tendencies to utter this phrase in response to every complaint about a thunk or clunk. It’s sort of the thunking equivalent of replying “it’s a bad ground” to every electrical issue. The next problem—the squeak—actually is due to a bushing, but not one of the ones on the subframe or trailing arms that people jump to. A bedspring-like squeak was coming from the front sway bar bushings. This is a problem that has affected every car I’ve ever installed Suspension Techniques sway bars and their urethane bushings into. Disassembling the bushings, lubricating the insides with synthetic grease, and reassembling makes the squeak go away, but it always comes back. In several cars (including Louie), I’ve tried installing Zerk grease fittings into the brackets holding the bushings, but since the sway bar doesn’t rotate all the way around, when you re-grease it, the grease doesn’t get distributed. Having identified the source of the problem, I was content to leave it alone until I had other reasons to put the car up on the mid-rise lift and attack the front end.
That left the thunk/clunk. Unfortunately, it appeared to be coming from behind me, and Louie is still wearing his original 51-year-old rear subframe bushings, both the ones attaching the subframe to the body and the ones between the subframe and the rear trailing arms, so the “it’s the bushings” argument was in fact plausible. However, now that I’m a 65-year-old guy with chronic back issues, my desire to tear into things like this, unless there’s a lawyer’s case to do so, isn’t what it used to be, so I wanted to make damned sure that “the bushings” really were the cause.
While “car dies” or “car won’t start” problems on a 50-year-old car are almost always the same few things, “car thunks and clunks” problems can come from almost anywhere. Still, for me, the place to start is the doors. Grab each door handle and rock the door in and out, then up and down. Any play or noise will be amplified by motion on rough pavement. Sometimes it’s as simple as the door latch missing its “corn kernel” (part number 51-21-1-809-735). Mine, though, were both present.

A missing “corn kernel” is responsible for many a banging BMW door.
Or it can be wear in the cylindrical dowel in the latch striker plate that the latch mechanism slides around. The four Phillips screws holding the striker plate on Louie’s driver’s door needed to be loosened so the dowel could be moved further back. After adjustment, the door was rock solid.
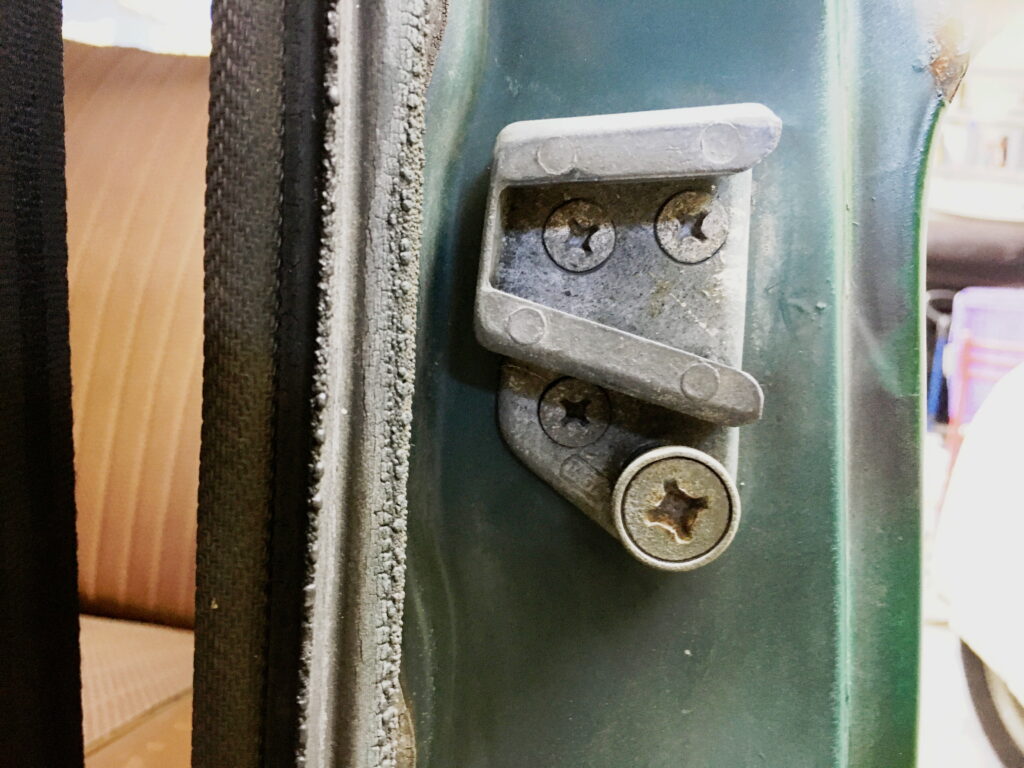
The striker plate can be adjusted and moved further back.
Unfortunately, a test drive on rough pavement revealed that a good deal of banging still remained.
Hmmmmn.
The next step was to bounce the back of the car. This is similar to what we all were taught to do to check the shocks and struts. (If it barely moves at all, the shock is seized; if it moves so freely that it bounces up and down on the spring, the shock is blown; if it moves, bounces once, then damps itself out, it’s juuuuust right.) Except, here, you’re trying to see if the motion recreates the thumping you hear while driving, so you need to set up a rhythmic vibration that bounces the suspension in a highly exaggerated way. Gosh, I hate to be an old guy complaining so often about his back, but this is the kind of thing I never used to give a second thought to, and now it can put me on the couch with an ice pack, so I do it carefully. On a car with big bumpers, I’ll stand on the bumpers and rock my weight up and down. Standing on the small bumpers of a round tail light 2002 bumpers is ill-advised—you can bend the bumpers, and possibly even sheet metal—but I thought I’d try putting my foot on one of the bumperettes.
That’s when I found that the rear bumper had a surprising amount of play in it. This had to be, if not the source, a source of the noise.
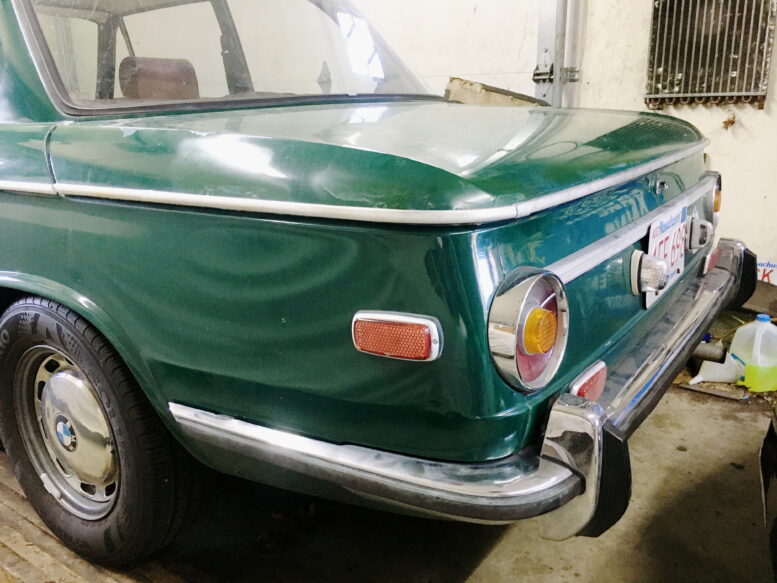
It’s commonly said that the rear bumper on a 1972 or earlier 2002 is bolted directly to the rear clip. That’s almost true, and the bumper certainly looks like that’s the case, as there’s no space between it and the rear clip—if another car so much as taps the bumper, the rear clip gets pushed in.
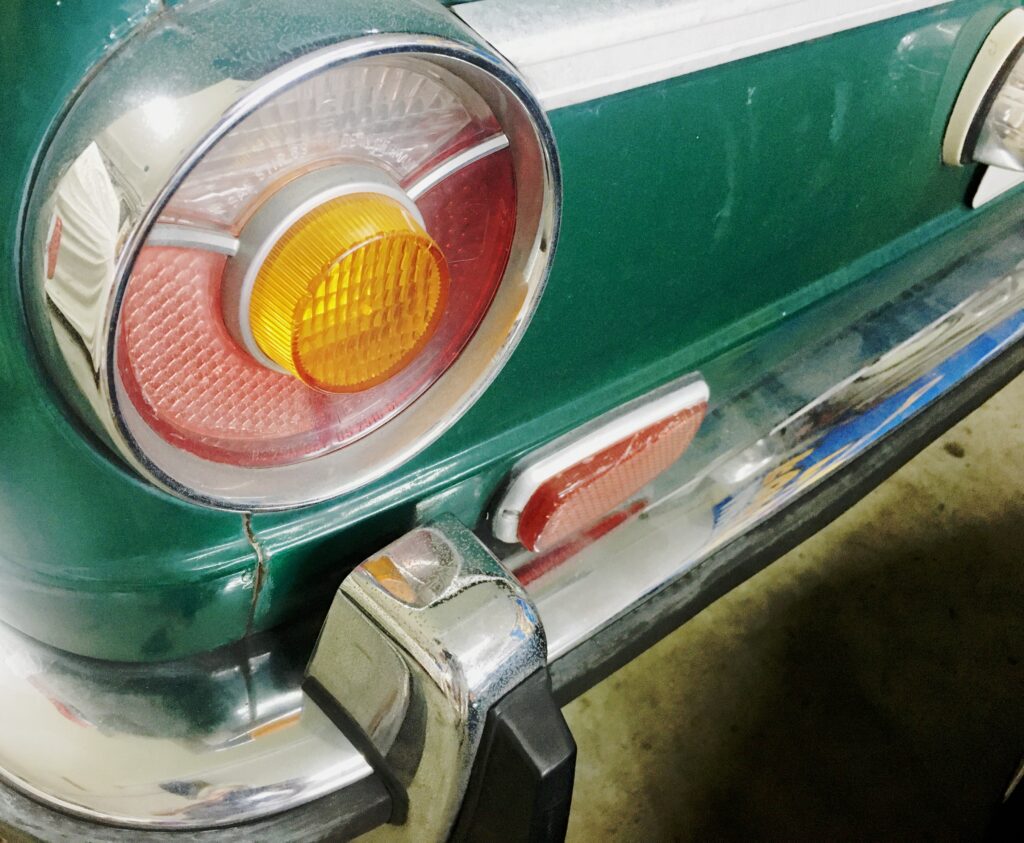
You really want to avoid even a parking tap on a ’72 or earlier 2002.
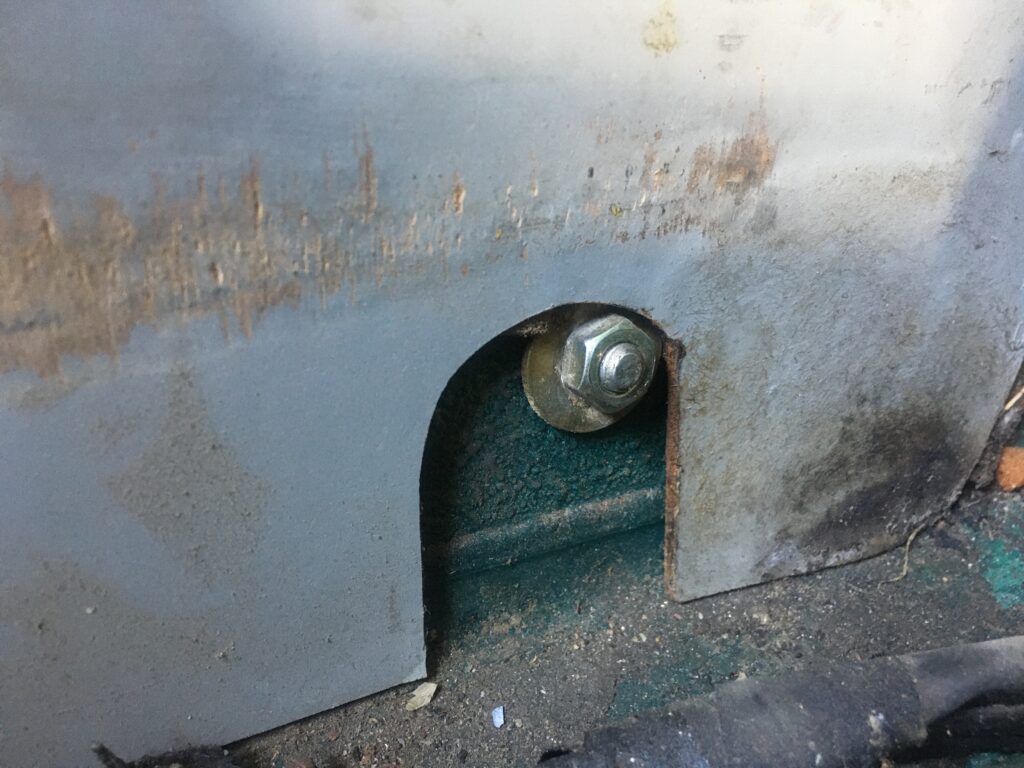
For the ’73 U.S. model 2002, to comply with D.O.T. standards commonly referred to as “2 1/2 mph bumpers,” an an elongated oval-racetrack-shaped bracket was used between the rear clip and the bumper that stands the bumper off the clip by about an inch. On a ’73, you can see the oval bracket between the bumper and the clip. In ’72 and earlier, it looks like the bumper is bolted directly to the clip, but there actually is a small bracket between them. You just can’t see it without taking the bumper off. What you can see are the two bolts holding the left and right brackets to the small reinforcing plates on the inside of the clip.
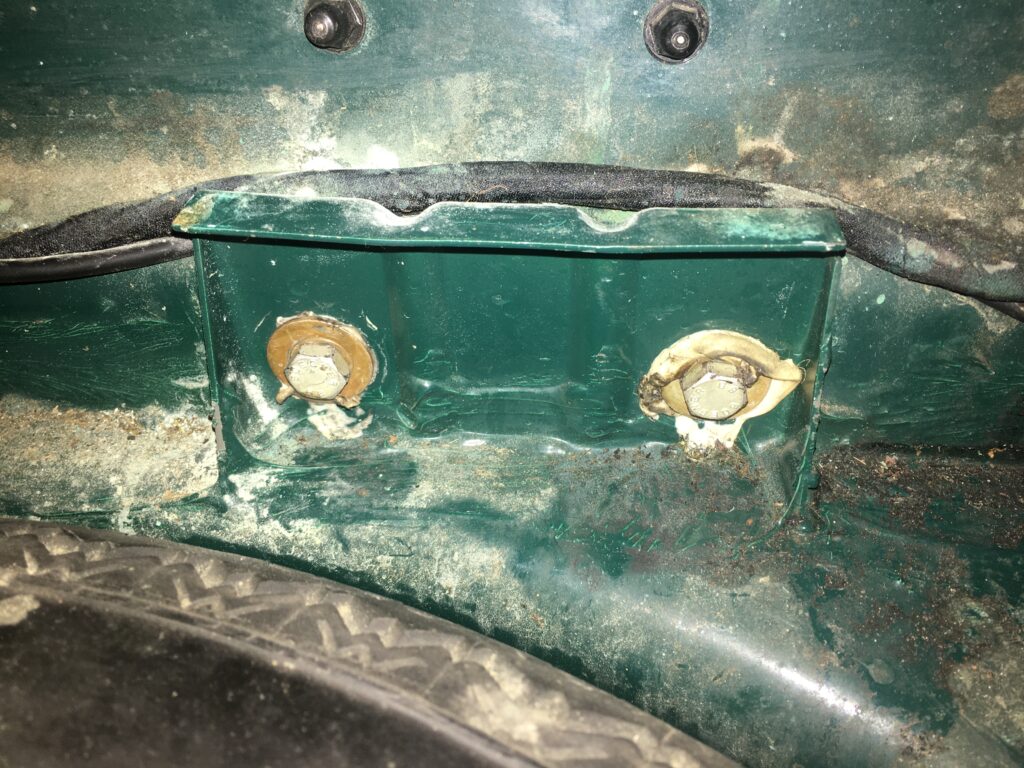
The reinforcing plate and the bracket bolts.
When there’s play in the bumper, as there was on Louie, it can be where the bracket attaches to the reinforcing plate on the clip, or where it attaches to the bumper, or both. You can start by tightening the bolts holding the bracket to plate. I did, and it made no difference—the bumper was still loose. That meant that the play was coming from where the bracket is attached to the bumper, and in to access those bolts, the bumper has to come off.
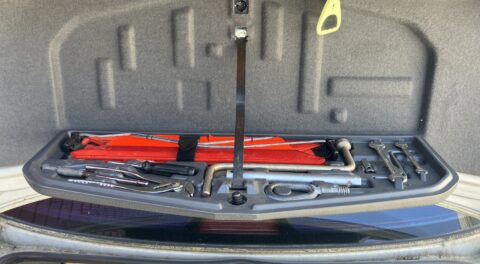
Fortunately, removing the bumper is easy enough. Support it in the rear, remove both of the bolts on each reinforcing plate, loosen the nuts holding the carriage bolts on the bumper “ears” just behind the wheels (the carriage bolts will slide out of their slots on the ears), and withdraw the bumper carefully. If it’s a nice car and you’re concerned about the ears scratching the paint, this is best done with a person on each side and a piece of cardboard between each ear and rear quarter panel. On Louie, the right-hand bumper ear bolt was seized—trying to loosen the nut just spun the carriage bolt in its slot. Fortunately, with cardboard protecting the paint, there was enough clearance to slide the bumper backward. Once it was out, I clamped a Vise Grip to the carriage bolt head and undid the nut.
The nut on the bolt holding on the left bumper ear. The one on the right side was seized.
With the bumper off, I verified that the play was in the attachment of both brackets to the bumper itself.
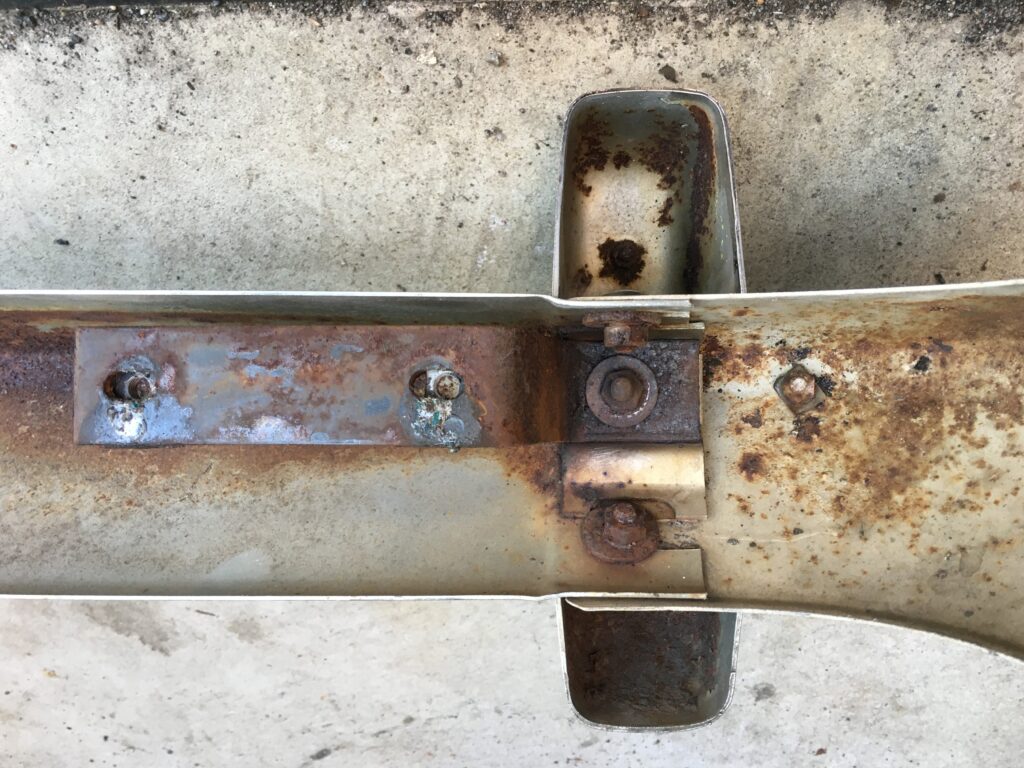
The small bracket hidden inside the ’72 and earlier rear bumper. The two threaded holes on the left held the bolts that went through the rear clip. The nut on the right attaches the bracket to the bumper. That’s where the play was.
I assumed that what I needed to do was install another washer to take up the slack, but as you can see from the above photo, the nut on the bolt holding the bracket to the bumper was pretty rusty. I soaked it in SiliKroil and put a ratchet wrench on it, but it wouldn’t budge. You need to be careful because the other end of the bolt is a carriage head, and if the square peg rounds out the square hole in the bumper, things get challenging. The next step is heat and an impact wrench, but you really need to be careful using heat on bumper bolts as it can discolor the chrome and melt the rubber trim. And I was especially circumspect about all those rusty threads on the bolt end that the nut had to go through to come off.
At this point, my middle son Kyle (who lives in Santa Fe but was home to see his mother before she went in for cardiac surgery) came into the garage. Kyle is a artisan metalworker who fabricates boutique parts like hinges for doors that look like they belong on a hobbit house, so he knows more about heat and metal than I ever will. I explained what I was doing. He looked at it and said something that caused my head to hurt:
“If the bracket is loose, why are you trying to remove the nut? Why not just tighten it down onto the bracket?”
Because, um, that particular neuron is missing in my brain?
As they say, sometimes age does not bring wisdom—sometimes age comes by itself.
I heated the nuts to both brackets a bit—not as hot as I would if I was trying to zip them off—then touched some beeswax onto the threads and gave each nut a single WHACKETA with the impact wrench.
Tight as a drum. Thanks Kyle!
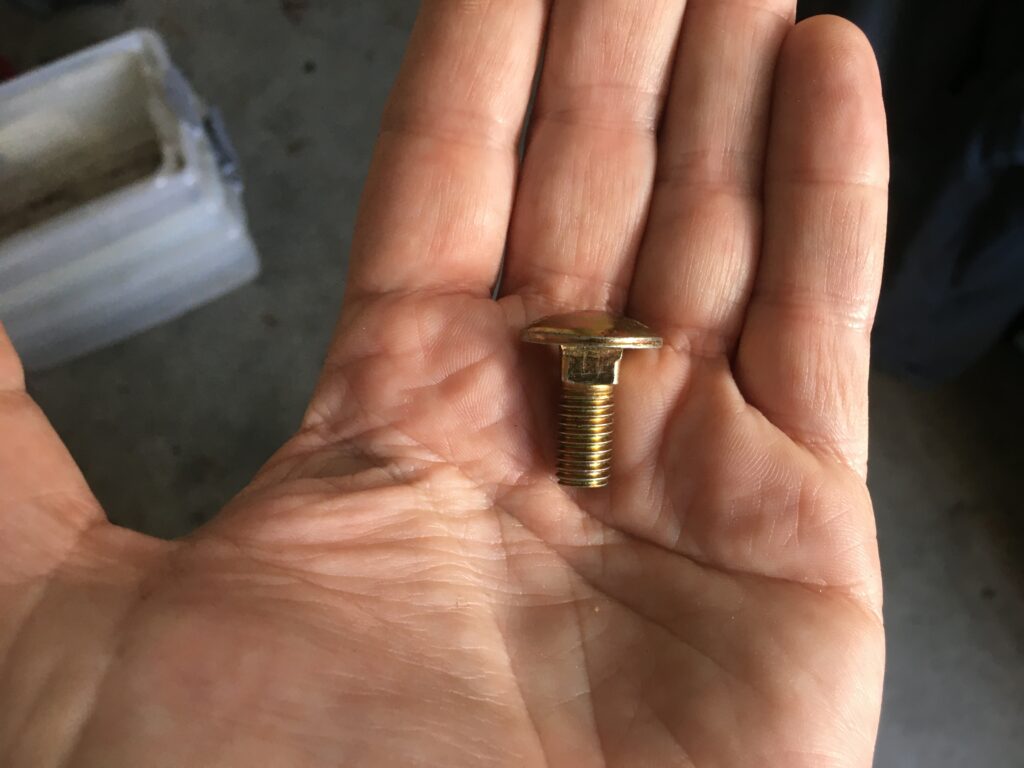
We were about to reinstall the bumper when I remembered the carriage bolt on the right ear that spun in its slot. I assumed it was the slot that was damaged, but testing both bolts in the slots on both ears, the problem appeared to be that the corners had rounded off the square part of the carriage bolt head itself. As I wrote about here, I’ve been the beneficiary of a few parts hoards, but I’m not organized enough to keep a spreadsheet of what I have, and even if I did, I’d be unlikely to write down individual fasteners, but I recalled seeing some bumper carriage bolts. It took me a while, but I found where I’d put them all. There in the box was a brand-new zinc-plated carriage bolt exactly the right size. Kyle and I carefully re-installed the bumper and tightened everything down.
Booya.
I took Louie for a test drive on the nearby street that I use as the torture track for this kind of de-rattling. The banging / thunking / clunking was gone.
Now I just have to get rid of the faint monkeys-doing-the-nasty-in-the-trees squeaking sound from the front sway bar. Because that really is “the bushings.”
—Rob Siegel
____________________________________
Rob’s newest book, The Best of The Hack Mechanic, is available here on Amazon, as are his seven other books. Signed copies can be ordered directly from Rob here.