There were two automotive events of substance last week here at Chez Hack. The first was that I finally got the cylinder head from Louie, my ’72 2002tii, to a machine shop to have the crack repaired.
The second was that my friend and CCA service advisor Paul Muskopf finally came to my neck of the woods and picked up the 128i that I helped him buy last month. Neither of those events, however, is quite meaty enough to be article-worthy—so sway-bar bushings it is.
When I took Louie out of storage and brought the car home to Newton to over-winter in one of the coveted spaces in my attached garage, I had three winter projects in mind. By far, the largest was the head removal I’ve been chronicling, but there were two others. The first was an annoying resonance that seems to have crept in when I retrofitted the Clardy air conditioning at the beginning of last summer.
The second was that the 22-mm Suspension Techniques front sway bar had become very noisy over bumps, squeaking in a most unwelcome manner. Since I can’t really address the resonance without running the engine, and since the engine currently has no head on it, I put time into the sway bar.
Now, I’ve been down this road several times before. Thick sway bars (actually, they’re anti-sway bars) are a joy in the way that they help mitigate body roll, but unlike the original thin sway bars and their compliant rubber bushings, performance sway bars typically come with urethane bushings, and even with proper trimming and lubrication, every installation of ST bars that I’ve installed—including those on several 2002s, the E3, and the E9—have needed to have the bushings re-lubricated at some point. The surprise with Louie is that they got so noisy so quickly; whether that’s because they were used bars with used bushings, I’m not certain, but it’s quite possible.
Lubricating the bushings isn’t at the level of replacing a clutch, of course, but it’s really kind of a pain. The brackets that clamp the bushings onto the top of the subframe are held down on each side by two Allen-head bolts that stick up from the bottom, with 13-mm nuts on the top. Even when you get these fasteners off, the brackets can be hard to remove, sometimes requiring lowering the subframe in order to make additional clearance.
When I installed the sway bar last summer, I had such difficulty with the brackets that I shortened them slightly, eliminating the subframe-lowering step, so at least I didn’t have to deal with that. But on this car, the clearance around the 13-mm nuts is so tight that I can’t get a wrench on them, and need to instead jam them with a screwdriver to prevent them from turning while I undo the Allen-head bolts from below.
With the brackets and bushings removed, I thought that I’d try something new. Nolathane makes greaseless sway-bar bushings that are PTFE-impregnated (Teflon). The notion of not having to deal with this issue again was appealing. I looked at the ones available on Amazon and eBay, found a set that appeared to the right form factor, and ordered them. Unfortunately, when they arrived, I found that they were too narrow for the brackets. I thought about cutting the brackets to fit between the ridges on the bushing, but I don’t have a band saw, and the Sawzall seemed a coarse tool to press into service for the task.
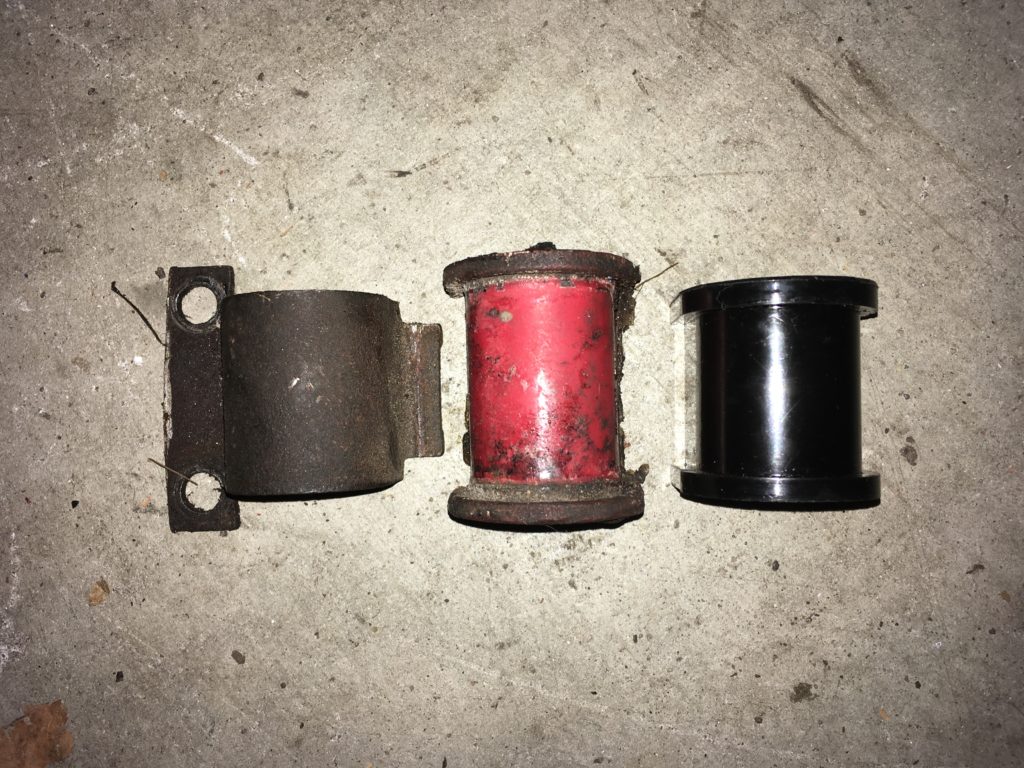
Left to right: The original bracket, urethane bushing, and new Nolathane bushing.
Then I did what I should’ve done in the first place, which was to measure things and contact Nolathane and ask them what greaseless bushing they had that would allow a 1-9/16″ bracket to fit between the ridges.
Unfortunately, they did not appear to have one that would work without modification, so I went with Plan B, which was not only to grease the bushings with Super Lube PTFE grease before installing them, but to install grease fittings so that I shouldn’t need to do this again. (Note that if you search for “greasable sway-bar bushings” online, you’ll find that Energy Suspensions sells universal-fit sway-bar brackets and bushings with grease fittings in them, but their universality stops short of the mounting requirements of vintage BMWs in which there’s a slot in the front and two holes in the back.)
As I began to go through the steps of modifying the existing brackets for grease fittings, I had déjà vu, because I had in fact been here before: I’d installed grease fittings on the ST sway bars in Kugel, the Chamonix ’72 tii that I sold to Jim and Susan Strickland a few years ago. It occurred to me that before I installed another set, it would be useful to know if they actually, you know, worked. After all, simply drilling and tapping holes in the metal bracket (and a corresponding hole in the bushing) and threading in the grease fittings doesn’t guarantee that using a grease gun will get enough grease to enough places that it’ll actually shut the bloody things up.
I sent a message to Jim Strickland, hoping that Kugel’s bushings had, in fact, acted up in the last two years, and that he’d used the grease fittings—and that it had solved the problem. Unfortunately, he told me that Kugel has been very well behaved, and that this behavior extended to the sway-bar bushings: They were still being quiet.
Good for the Stricklands and Kugel. Bad for me.
But there was no downside to making the modification, so I had at it. I swore that I still had a variety pack of the little Zerk fittings from the last time I did this. I found them, but the pack came with only two of the right-angle fittings. I used both of them last time, and of course those were the ones that I needed. So I ordered another pack from Amazon. (I later found that my local hardware store has them individually.)
The little grease fittings have a 1/4-28 threads. The 1/4-28 tap requires a 7/32″ hole. These are things that I have in the basement, and I even know where they are. It didn’t take much work to throw it all together.
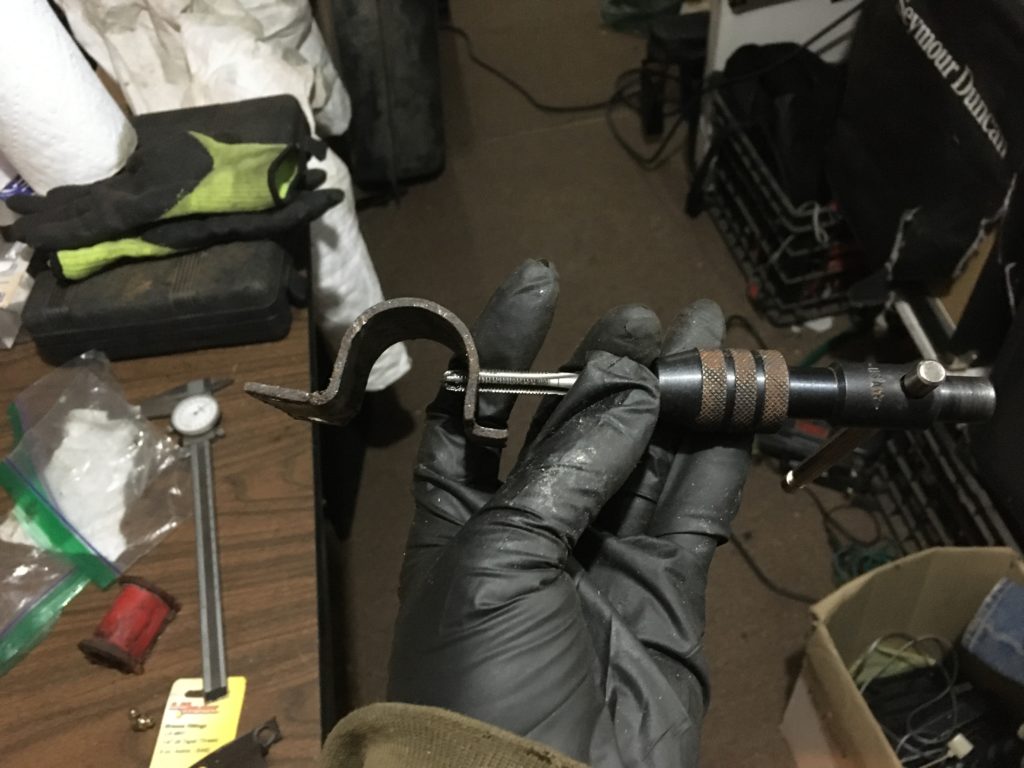
Tap tap tap…
Obviously, in addition to drilling and tapping the metal bracket, holes had to be drilled in the bushings themselves.
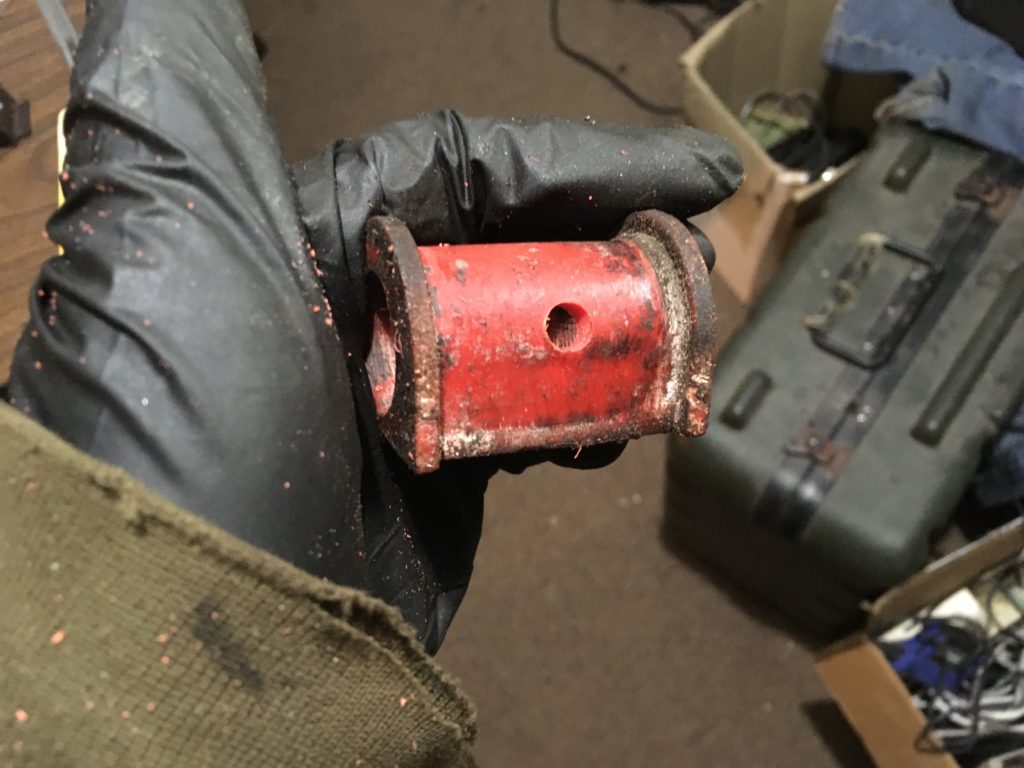
Wouldn’t lubricate much without this.
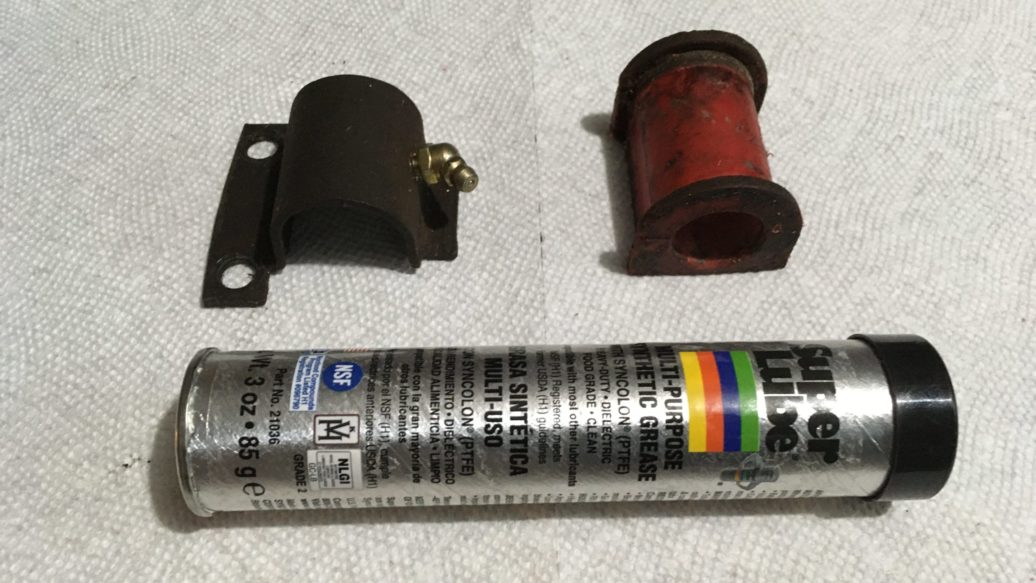
I found the mini-grease-gun cartridge of Super Lube that I’d bought seven years ago when I last did this on Kugel, manually lubed up the insides of the bushings, and slid them onto the sway bars. I suppose that if I really wanted to test that the grease fittings would get grease where needed, I could have put the bushings in dry, but I didn’t want to let hypothesis-testing take a front seat to actual lubrication. I then slid the clamps onto them, made certain that the holes I’d just drilled in the bushings for the grease were aligned with the holes in the clamps for the fittings, and snugged everything down.
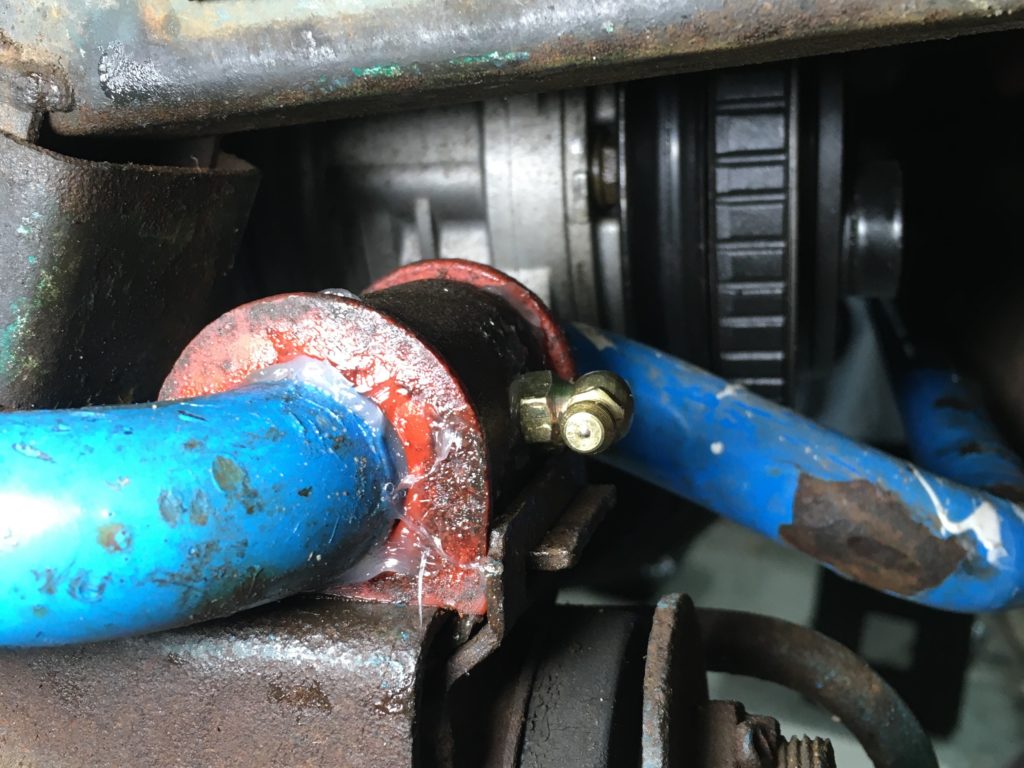
Behold the creation!
As expected, it easily passes the bounce-test for quiet. We’ll see what it does come springtime on real roads.
If I get Louie’s head back next week, I can begin writing about its reassembly. If not, I’ll start on my epic nine-part series “Lint: Is it really worth buying one of those little rollers for?”—Rob Siegel
Rob’s new book, The Best of The Hack Mechanic, is available here on Amazon, as are his seven other books. Signed copies can be ordered directly from Rob here.