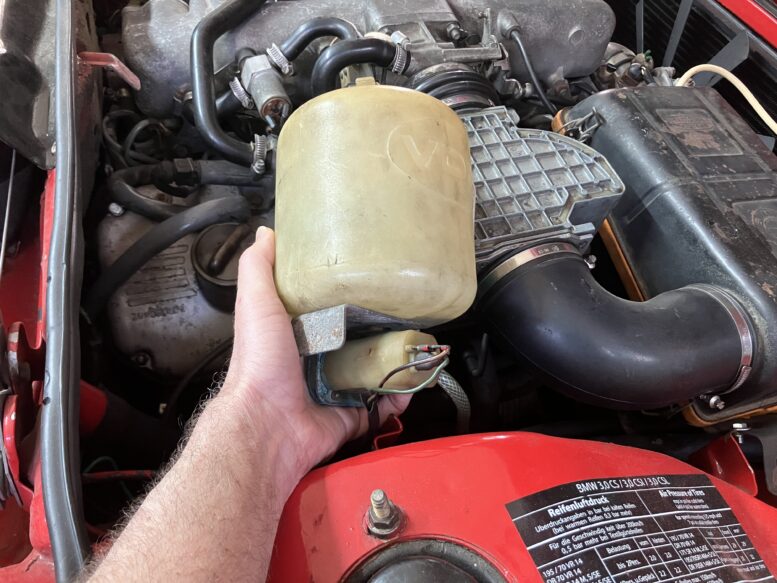
Having the washer pump quit working on a vintage BMW, or buying a car where the pump is non-functional, is a very common problem. For decades I appeared to have an inexhaustible supply of old VDO washer pumps that I could just swap in, but when I was readying Bertha for sale, found the pump not working, and searched the basement and garage for a replacement, I came up empty. New-style VDO washer pumps are about $30, and aftermarket generic ones are as cheap as $10, and both can be jury-rigged into service, but the original pumps have the advantage that they mount directly on the bracket that slides onto the washer bottle. In addition, the cool thing is that on the original ones, the “pump” is actually a combination of a small cylindrical electric motor and a flat square pump that’s really nothing more than a pair of gears, and the two components are separable. The electric motor can seize or burn out, or the gears in the pump can stick. If it’s the latter, the gears can usually be freed up.
Let me take a step back and talk about troubleshooting the system as a whole. If, when you pull in the wiper stalk, you don’t hear the windshield washer pump spin, it can either be because current isn’t being supplied to the pump, or because the pump is stuck. You need to determine which of the two it is. You can directly check for current by taking a multimeter, setting it to measure voltage, pulling the connectors off the pump, sticking the probes into them, pulling in the stalk, and checking for the presence of 12V. If you don’t see it, you need to trace the problem back to the wiper stalk. The third possibility is that you hear the pump spin but no fluid squirts out the nozzle. This really has to be due to either lack of fluid flow into the pump, or a blockage in the tubing leading to the nozzles, or a clog in the nozzles themselves.
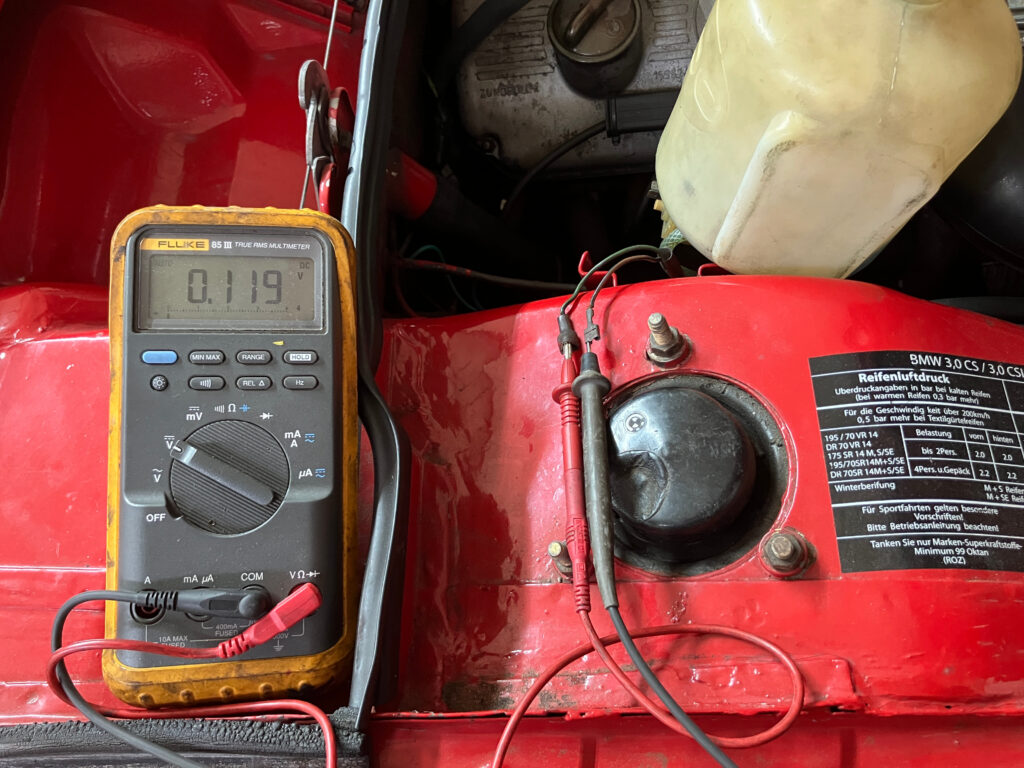
Checking for voltage at the pump with a multimeter. If you don’t see 12V, be sure to verify both the positive and ground paths.
But before you decide that you have a bad wiper stalk, by all means directly check the pump by temporarily hot-wiring it directly to the battery. I’m in the habit of doing this with any electrical component I suspect is bad. That way, if it is, I know it beyond a shadow of a doubt and can get a replacement on order immediately, but if it’s not, I know not to suspect it or needlessly spend money replacing it.
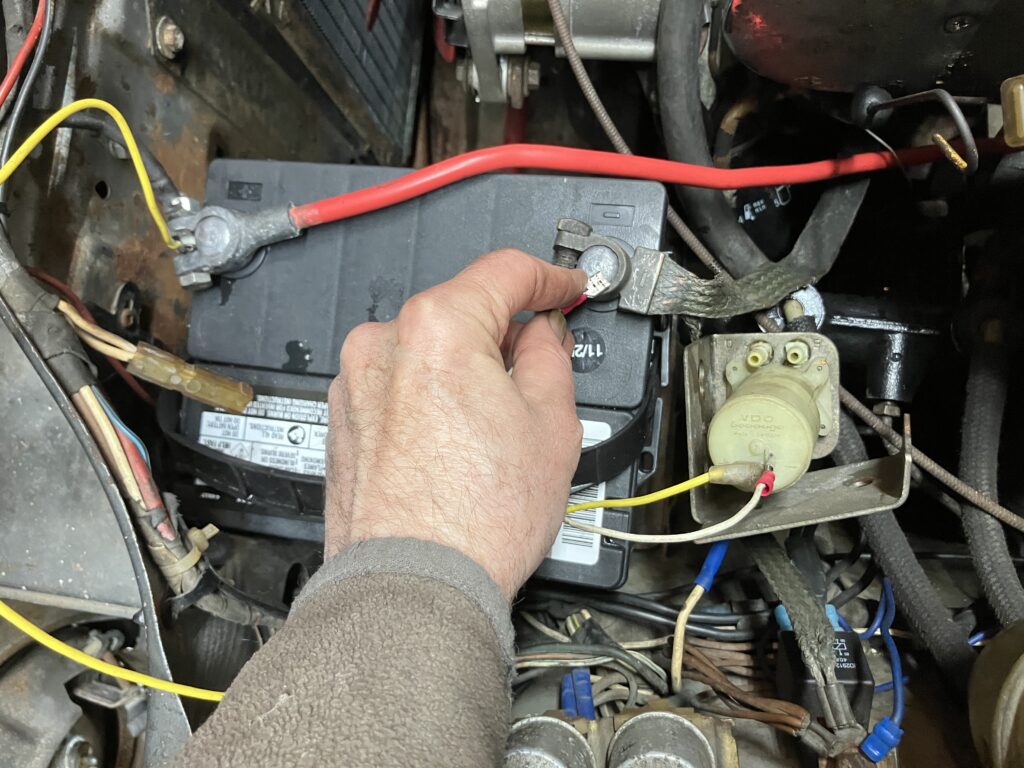
Temporarily hot-wiring the pump directly to the battery.
When you touch the wires to the battery terminals, look and listen. If there’s no sound and no little spark when you make contact, then odds are the electric motor in the pump has an open circuit due to a broken wire or bad brush, and the unit will need to be replaced. (You also can measure the resistance across the two terminals of the pump. If it’s infinite, than it’s an open circuit.) If, however, you see a little spark when you make contact and hear and/or feel a little jolt inside the motor, then the motor is trying to spin, and either it is stuck, or the gears in the pump are.
You can easily tell which it is by disassembling it and separating the motor from the pump. The two are held together with four 6mm screws. Undo them and carefully pull the two sections apart.
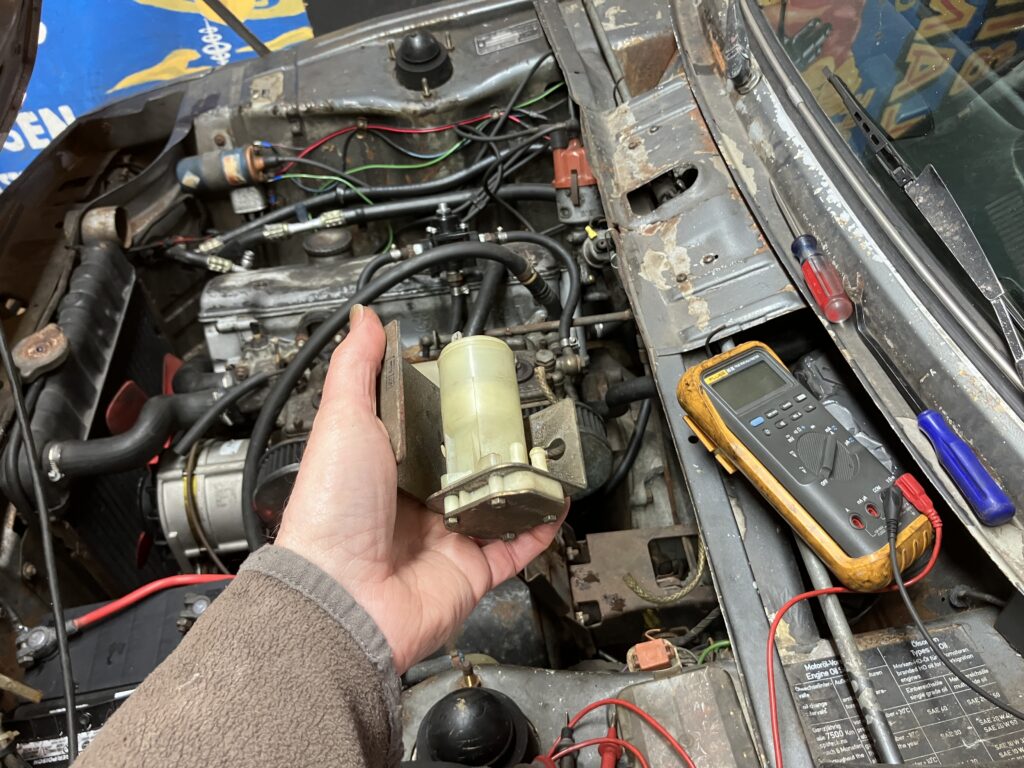
From this angle, you can see how the pump and the motor squeeze the bracket between them.
With the two major components separated, you can see how the motor has a shaft that spins a U-shaped bracket with a pair of prongs on it, and how these turn a little plate with a ridge on it in the pump. Go ahead and turn each of these by hand. Don’t force them. If the motor turns freely, hot-wire it directly to the battery again and verify that it spins. If it doesn’t, try spraying a little SiliKroil on the shaft and gently turning it to free it up. If you can revive it, great, but if not, you and it are done.

The disassembled motor (left) and pump (right).
If the motor is good, move on to the pump. Carefully pry off the metal cover plate. Be careful not to damage the rubber seal that’s under it. You’ll see, as I said, a pair of small gears. Spray a little SiliKroil on them and very gently rotate the ridged plate to free them up. It may not take much effort.
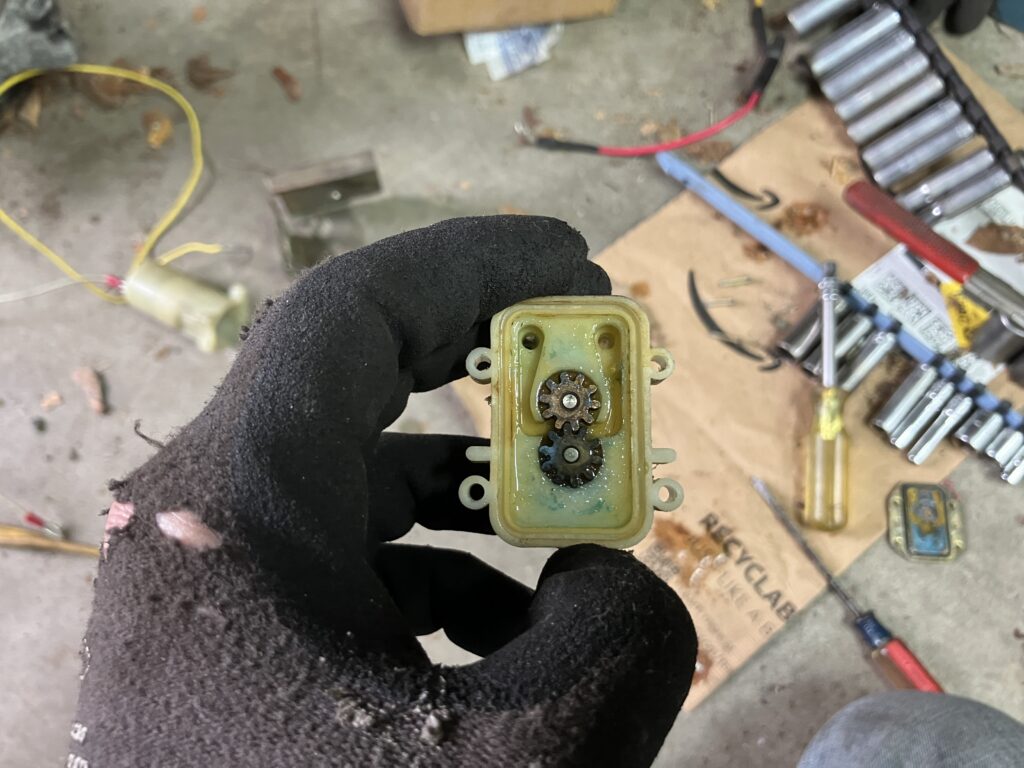
That’s all that’s in the pump.
If you get everything freed up, reassemble and retest. With Bertha, it was completely successful in resurrecting a pump that, in the past, I would’ve tossed.
I don’t know about you, but there are few things more satisfying to me than taking an original 50-year-old component of a BMW and saving it from the junk heap (and replacement with actual modern junk) with 15 minutes of time and a few drops of oil.
—Rob Siegel
____________________________________
Rob’s newly-expanded book The Best Of The Hack Mechanic™: 40 years of hacks, kluges, and assorted automotive mayhem, is available on Amazon here. His other seven books are available here on Amazon, or you can order personally-inscribed copies (including the new Best Of) from Rob’s website, www.robsiegel.com/books.