Last week, I took the valve cover off of Rene (my ’73 3.0CSi with the Frankenstein’s monster M30B32 533i engine with back-fitted L-Jetronic injection) and adjusted the valves, but when I was about to button things back up, I realized that I’d foolishly ordered the wrong valve cover gasket. Fortunately, the gasket is cheap, and even with shipping, it’s only $20 from FCP Euro, and since they’re just a few hours away in Connecticut, the correct gasket was here in a few days. While I was waiting, I installed a new set of plugs, as the ones I pulled out weren’t awful, but were likely as old as the last valve adjustment, meaning that they likely dated back to when George Bush was president. (Which one? Does it matter?)
As I explained last week, part of the challenge I faced in adjusting the valves with my mix-and-match engine was that the valve cover was challenging to get off because the throttle body over-hung it and the valve cover hit its base when I lifted it up and tried to slide it off its studs. So, while I had the cover off, I decided to try removing the top four studs and replacing them with bolts to eliminate this problem in the future. I have a drill-chuck-like cylindrical stud extraction tool, but it wouldn’t clamp down on a stud this small. I tried a plain old Vise Grip on one of the studs, figuring I’d simply bail on the whole task at the first sign of resistance indicating that the tool was slipping and generating metal shavings that could fall into the head. To my surprise and delight, all four studs spun out of their holes. I then took one of the studs down to the local hardware store, matched it up with available fasteners, and determined that 40-mm-long M6 bolts (with, of course, 10mm heads) would do the trick.
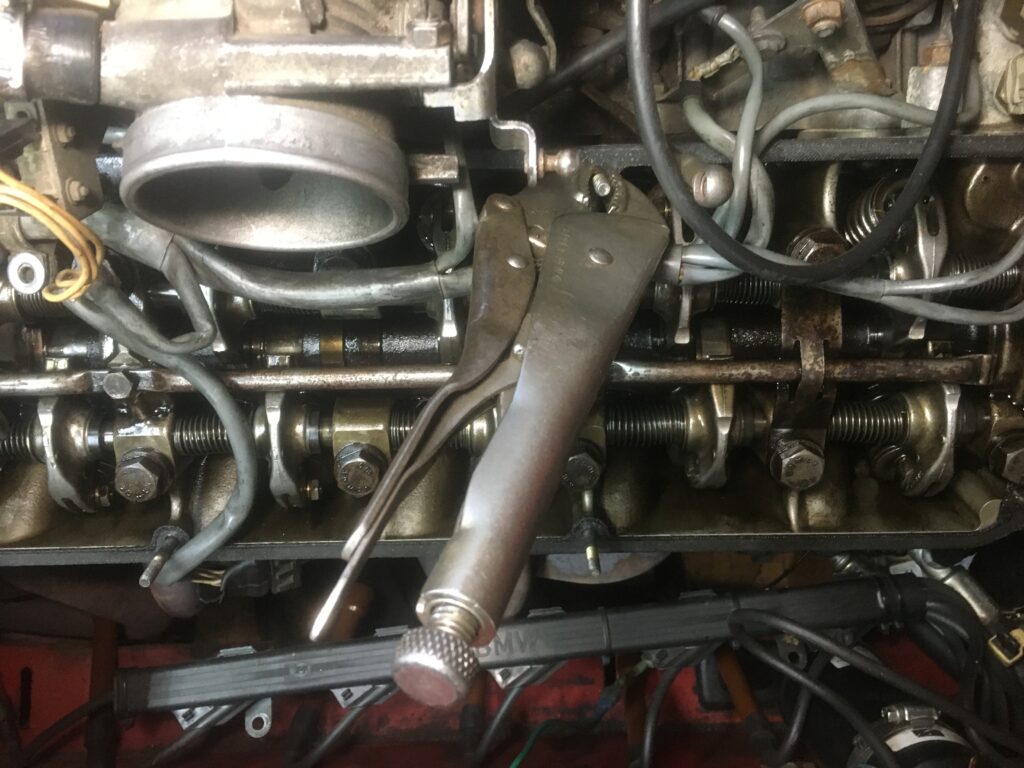
Yeah baby.
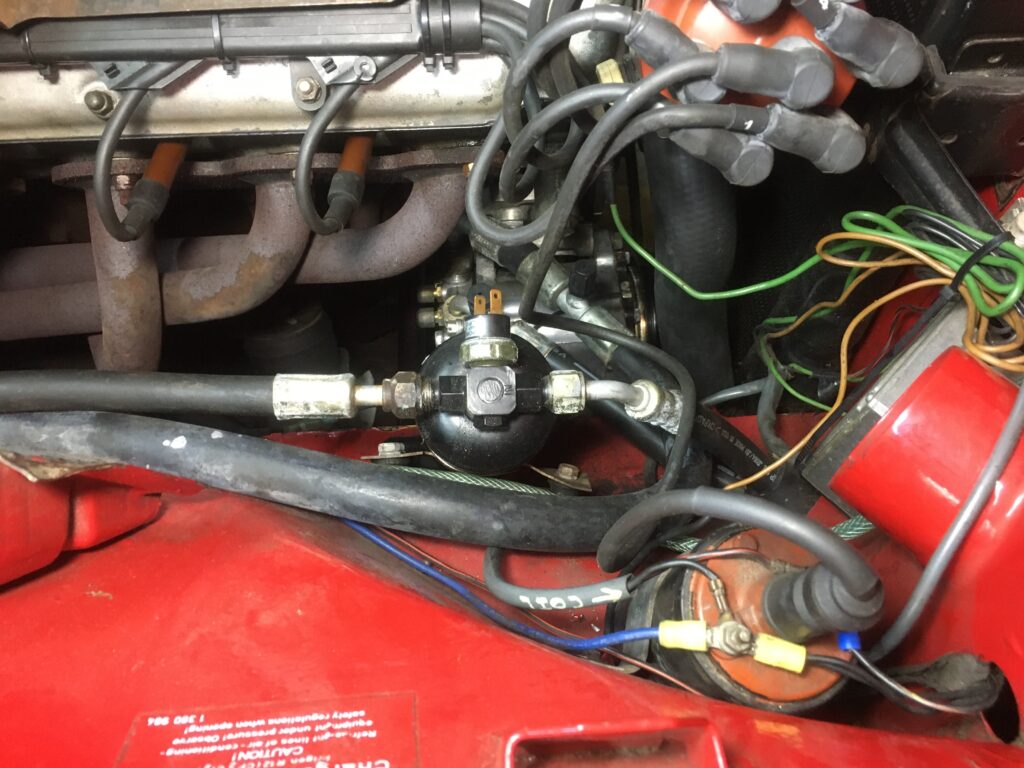
Before I put the new gasket and the valve cover back on, I wanted to scrape the corrosion off the narrow necks on either side of the bottom of the throttle body where it’s fed coolant. This would’ve been much easier had I had the foresight to remove the throttle body, which wasn’t possible while valve cover was on but was possible while it was still off. However, I’d already reconnected other things to the throttle body, so I reached in and scraped the front part of the necks with a screwdriver, and got at the back with a piece of Scotch Brite employed like a shoe-shine pad.
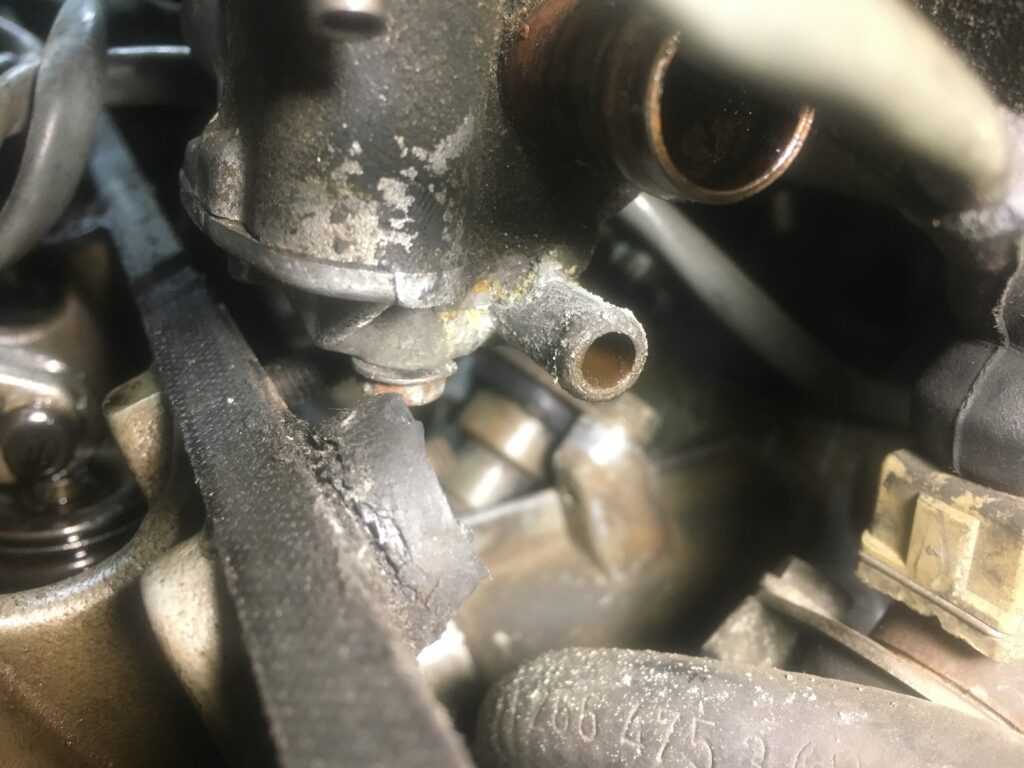
This was right there, yet not easy to reach.
I was very cognizant of the fact that a fair amount of crud had gotten into the valve train, not so much from the neck corrosion removal exercise above but from the deteriorating firewall insulation foam, the crunchy old overhanging wiring harness, and the unavoidable reaching over and into a long in-line six-cylinder head with hands and sleeves that were anything but surgically clean. I inspected the open head closely, pulled out the biggest bits of visible crud with Q-Tips, wiped every surface I could reach with paper towels, still didn’t like what I saw, and elected to spray the entire area with brake cleaner and let it run out the still-unplugged oil pan, hopefully carrying the offending particulate matter with it. Good idea? Bad idea? I don’t know, but it was alarming to see how the brake cleaner almost instantly turned these slick oil-coated surfaces gray and bone-dry. To ensure that I re-lubricated what I’d just de-lubricated, I basted the head with three quarts of oil (one quart poured over the intake rocker, the cam, and the exhaust rocker respectively), let that run out, replaced the drain plug, and called it good enough.
Before I slid on the valve cover, I had a moment’s thought of painting it. After all, I’d just de-greased it in my parts cleaner and left it to dry for five days, and it’d never be easier than right now to give it a coat of silver paint. But then I looked at the rest of the engine compartment, which while not being a basket case, is hardly a painted valve cover away from being in detailed condition. I recalled that when I had my ’72 2002tii’s cracked head repaired, the head and front timing cover came back minty clean, so I had the machine shop hot-tank and paint the valve cover too, and once installed, it looked kind of silly against the rest of the unrestored engine compartment.
And with that, I installed the clean, but not repainted valve cover, completing the most protracted valve adjustment procedure I’d ever performed (the valve adjustment itself was uneventful; it was the ramp-up and ramp-down that were time consuming). While I very much enjoyed how easy it was to slide the cover under the throttle body now that the top four studs were gone, the new shiny silver heads of the hardware-store-procured bolts do kind of stick out to the eye. It wasn’t until I got it all buttoned that I realized I could easily Loctite the original acorn-style nuts on top of the original studs, install those like bolts, and make it all look stock. Of course, very little else in the engine compartment is “stock” for a 3.0CSi, but I’ll probably do this over the winter simply because it will give me pleasure.
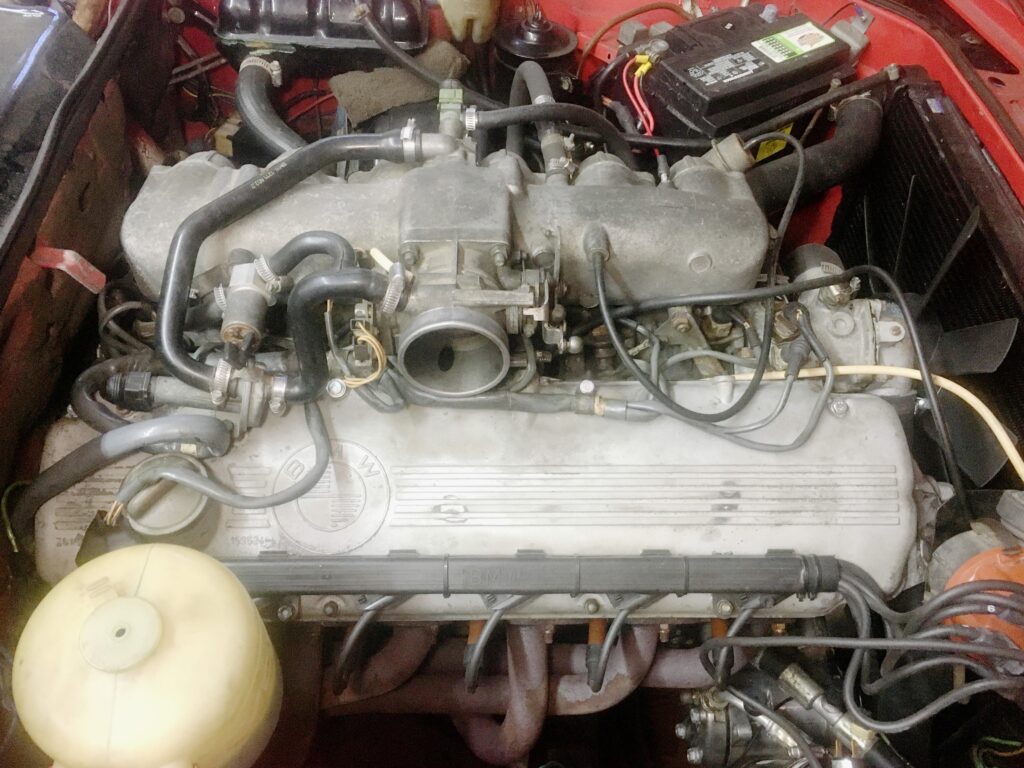
Finally!
The question of choice of engine oil is of course a whole thing by itself. We are nothing without our habits and our allegiances, and I’d feel like I was cheating on both if I didn’t use Castrol 20W50 in my vintage cars. Regarding the issue of oil with a high zinc content, what I’ve read is that higher zinc levels are needed for flat tappet engines, which doesn’t really apply to BMW M10, M20, and M30s, particularly those that are sedately driven as opposed to vintage-raced, but a few years ago Castrol came out with their “Classic GTX High Zinc Content” oil, and since it’s about the same price as regular Castrol 20W50 GTX, I don’t see the harm in using it.
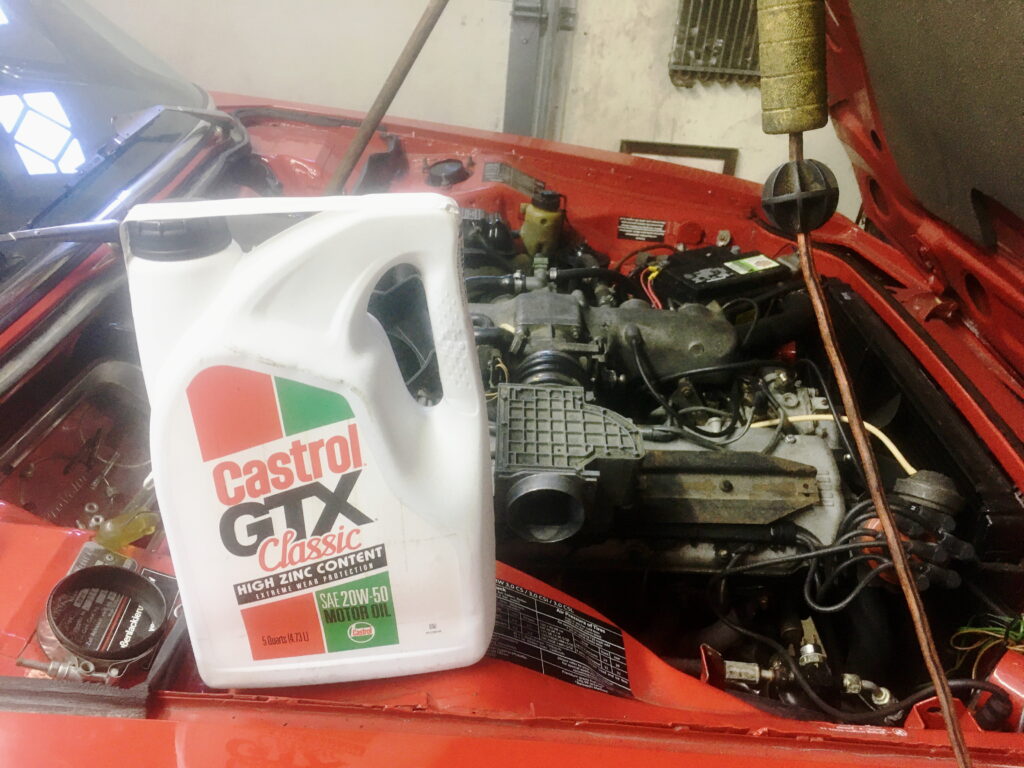
Yeah, okay. Zinc me.
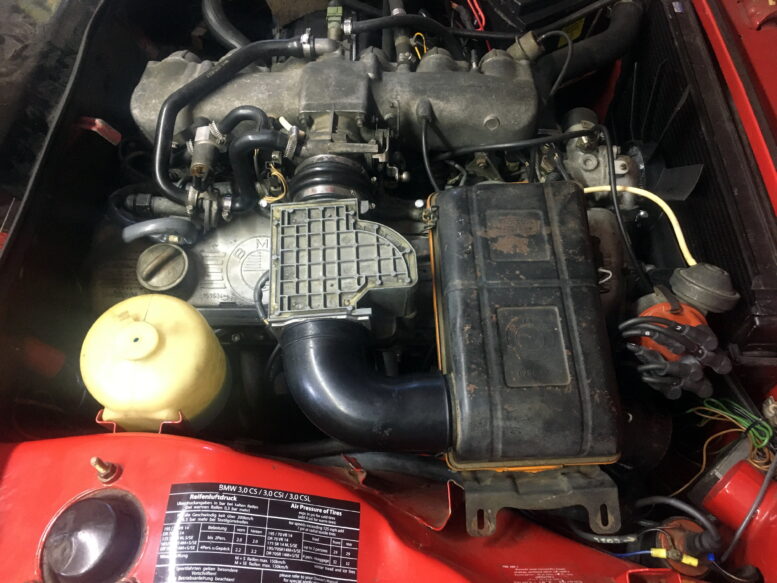
The extra-credit task was to see if I could resolve the decades-long air filter issue. When I installed the L-Jetronic system (sourced from a 1980 E12 528i) in 1999, it came with the stock big rectangular L-Jet air filter box which attaches to the air flow meter via a rubber elbow. I’d installed it, but it had a clearance issue with the hood, so I replaced it with a conical K&N air filter assembly I bought on Amazon “for now.” That was at least fifteen years ago. The K&N setup has always bugged me, both because it looks so glaringly aftermarket, and also because whenever I hit the gas, it generates a whistling sound.
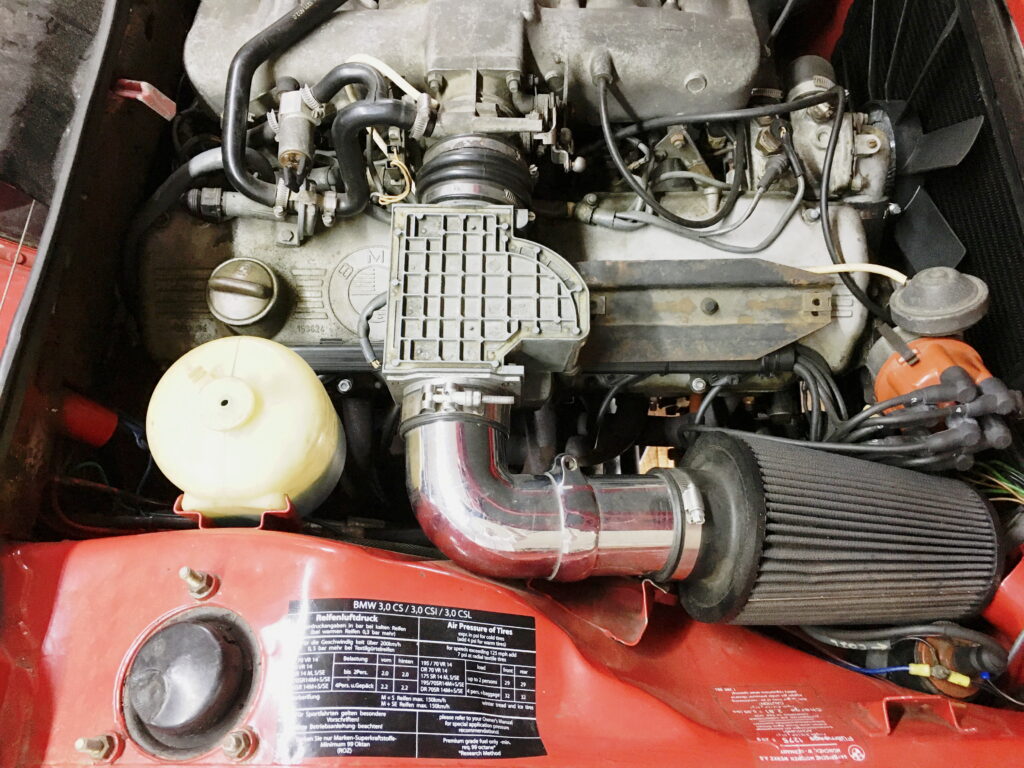
The K&N filter setup was small and convenient, but never looked like it belonged there.
I found the old L-Jet filter assembly in a box in the basement. I cleaned out the dust and the spider webs, test fit it, and immediately saw where the interference with the hood had been.
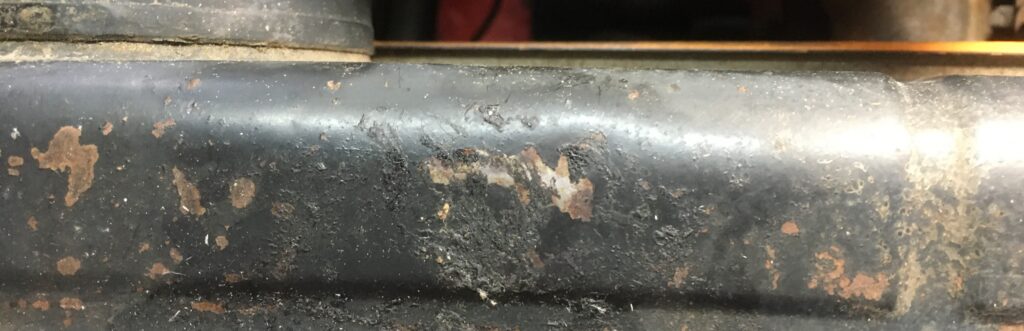
Old rubbing on the air filter housing…
…and the underside of the hood.
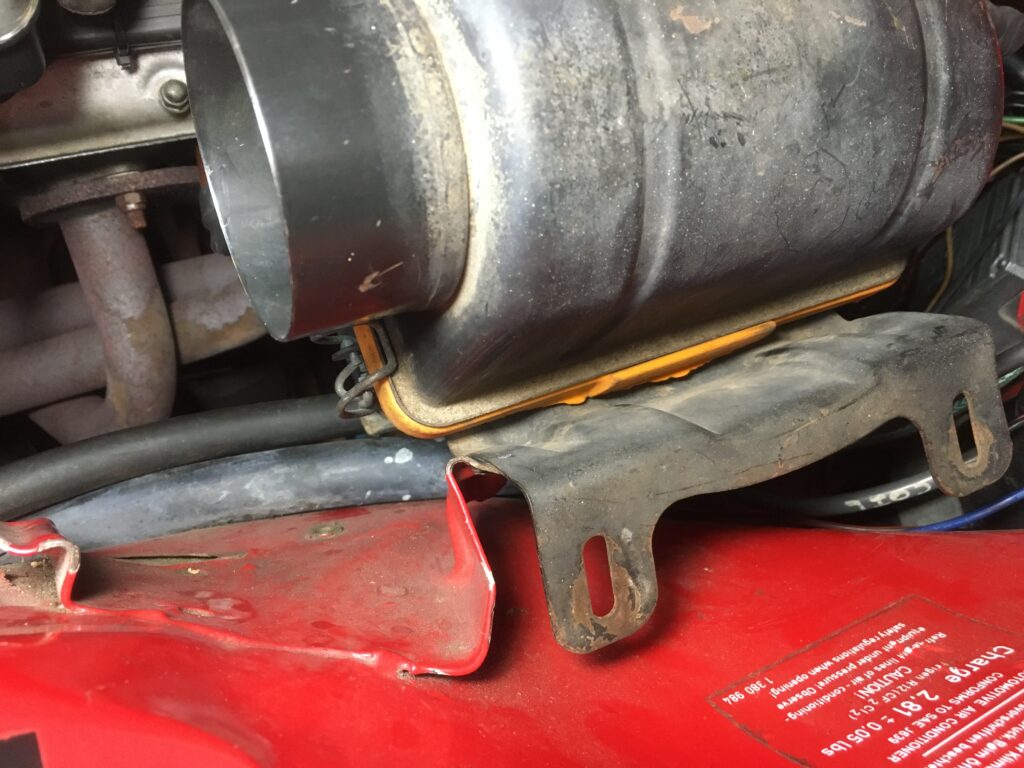
The source of the problem wasn’t hard to find. The bottom of the housing hit the receiver-drier used by the a/c system, thus not allowing the housing to sit low enough. I moved the drier lower, creating enough clearance. It was so easy that I wondered why I didn’t do this fifteen years ago. It’s possible that the drier that was in the car was longer and couldn’t be moved further down.
So YOU were the culprit!
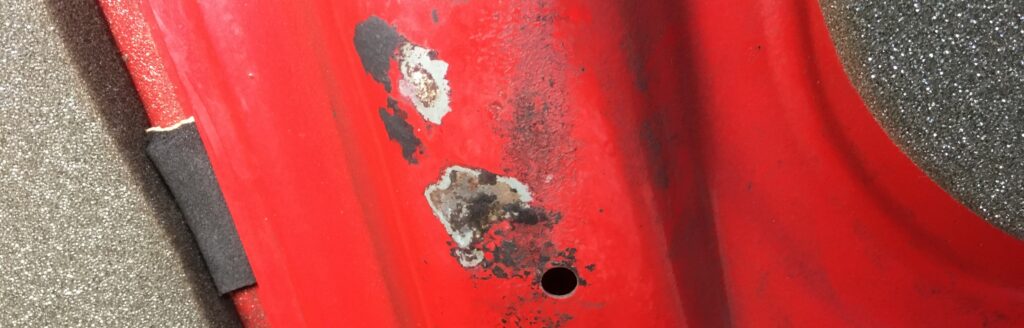
The passenger-side edge of the air filter housing is meant to mount on a bracket with two threaded studs on the inner fender. Obviously those aren’t present on an E9 that never had L-Let. Instead, on a CSi with D-Jetronic, there’s a different bracket meant to receive the D-Jet air box, which is similar in shape but rotated 90 degrees. I could see where, decades ago, I’d intentionally bent the forward edge of this bracket to allow the L-Jet box to rest against it. I could even see where I had marked both pieces for a hole for a small bolt to secure them, but had never drilled it.
That’s awfully close to sort-of fitting, in a, you know, Hack Mechanic sense.
I still needed the rubber elbow needed to connect the filter housing to the air flow meter. I searched the basement and garage, but could not find it. Fortunately, it’s not a difficult nor an expensive part to find online, and for ten bucks on eBay I clicked and bought. Unfortunately, I forgot to also order proper hose clamps for it. If I can’t scare some up from the Hack Mechanic Ancestral Hose Clamp Collection, I’ll need to source some, but the elbow isn’t going anywhere.

Done. Well, almost.
I left the ignition disconnected and cranked the starter until the oil pressure light went out to make sure the head I’d sprayed with brake cleaner was primed with oil, then reconnected the ignition. Rene started instantly. With the new plugs and freshly-adjusted valves, she idled better than she has in decades. I still need to dial in the timing, and make sure the filter box really isn’t hitting anything before I drill a hole to secure it.
So, it took longer than I thought, but not a bad spa session for my favorite gorgeous girl. Hopefully I can get some seat time before the salt hits the asphalt.
—Rob Siegel
____________________________________
Rob’s newest book, The Best of The Hack Mechanic, is available here on Amazon, as are his seven other books. Signed copies can be ordered directly from Rob here.