Last week I began addressing the broken rocker arm in the Lama, my 1987 E28 535i. I had really, really wanted to leave the head intact and conduct a precise surgical strike, simply replacing the broken rocker and dropping the still-assembled head back on, but by fits and starts, I instead slid all the way down the slippery slope: I knocked out all the rockers and shafts, leak-tested all the valve seats with compressed air and Costco vodka (which, by the way, is rumored to be made in the same factory as Grey Goose. This has nothing to do with the Lama’s head, but it explains why there was a bottle of it in the garage), and found that eight of the twelve valve seats were leaking.
Although I really didn’t want to spend the $375 for a valve job on a likely money-losing car, I had very little choice. I completely disassembled the head, loaded it into the back of one of the tii’s, and took it to Hal at Century Automotive Machine. It was totally the right thing to do, because a few days later, Hal called me, asking me to order three intake valves.
“Were they bent?” I asked.
“Yup,” he said. “It was obvious as soon as I spun them.”
“Wow,” I said. “Before I pulled the head, I did a leak-down test, and there wasn’t any air hissing out the intake.”
“Well,” the seen-it-all machinist said, “they must’ve been sealing on carbon.” If I write a book about the Lama, I’m totally going to title it Sealing On Carbon.
Hal also told me that the head had a non-trivial warp, about seven thousandths of an inch. The cam still slid in and out of the journals fine, so the warp didn’t threaten the head’s ability to be re-used. Hal milled it flat.
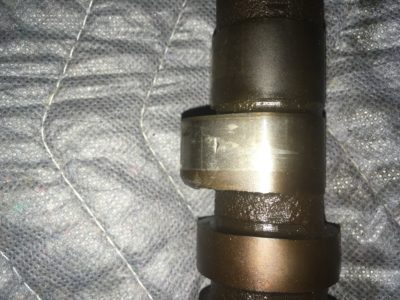
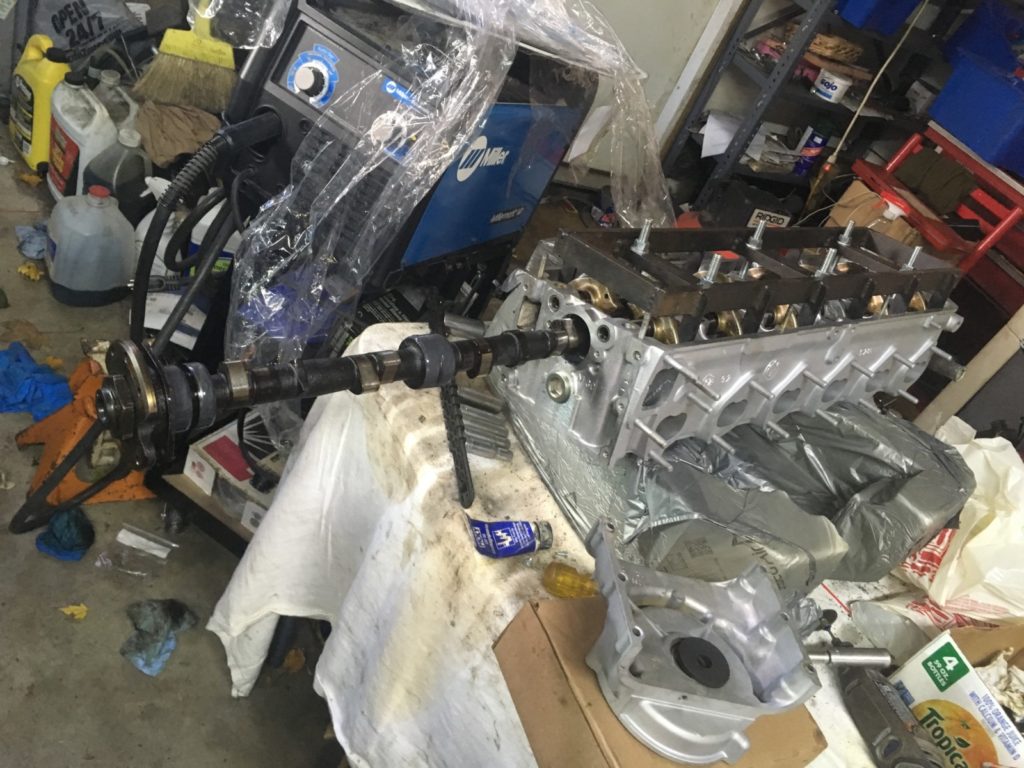
I couldn’t re-install a cam with this kind of damage.
Speaking of the camshaft, while I was waiting for the head, I looked closely at the cam. When the rocker arm broke, it chipped the adjacent cam lobe. The chip just barely intruded into the side of the running surface; I would’ve felt justified in smoothing it down with crocus cloth and re-using the cam, but once the cam was out of the head and I could look at it more closely, I saw that on the other side of the lobe, there was a pretty sizable divot right in the middle of the running surface. With the head already disassembled, re-using an obviously damaged camshaft would be false economy.
I don’t usually ask for charity, but with the costs of the job mounting, I threw myself at the mercy of my Facebook E28 friends and put out the “Hack Mechanic Needs Motronic Camshaft” call. A number of kind souls responded; several people offered to disassemble a cracked head sitting in their garage and extract the cam. Knowing how much work that is, I waved them off in favor of finding a bare cam. CCA member Robert Olmeda offered one in exchange for my enduring gratitude and a signed copy of my next book, and I jumped at his terms. Thanks, Robert!
This was bad.
This was much better.
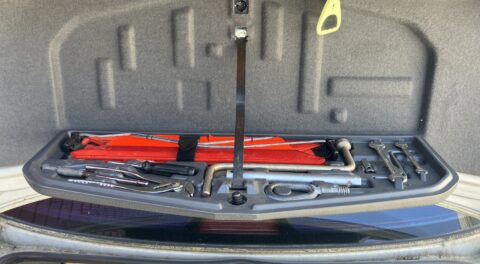
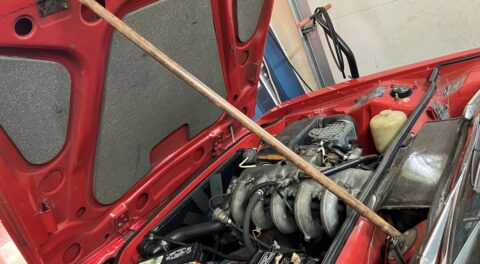
In the meantime, I did some necessary while-you’re-in-there work on the engine compartment.
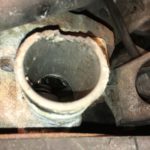
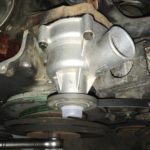
I was relentlessly trying to contain cost, so my basic tack was that I wasn’t going spend money unless something was actually broken that would prevent the car from being driven—but when I pulled the hose off the water-pump neck, the neck was so corroded that a piece of it broke off. $35 bought a new metal-vane Graf water pump. The belt that ran the pump was visibly cracked, so that was replaced as well. The C-shaped hose feeding the water pump was replaced, but the others appeared fine and were reused.
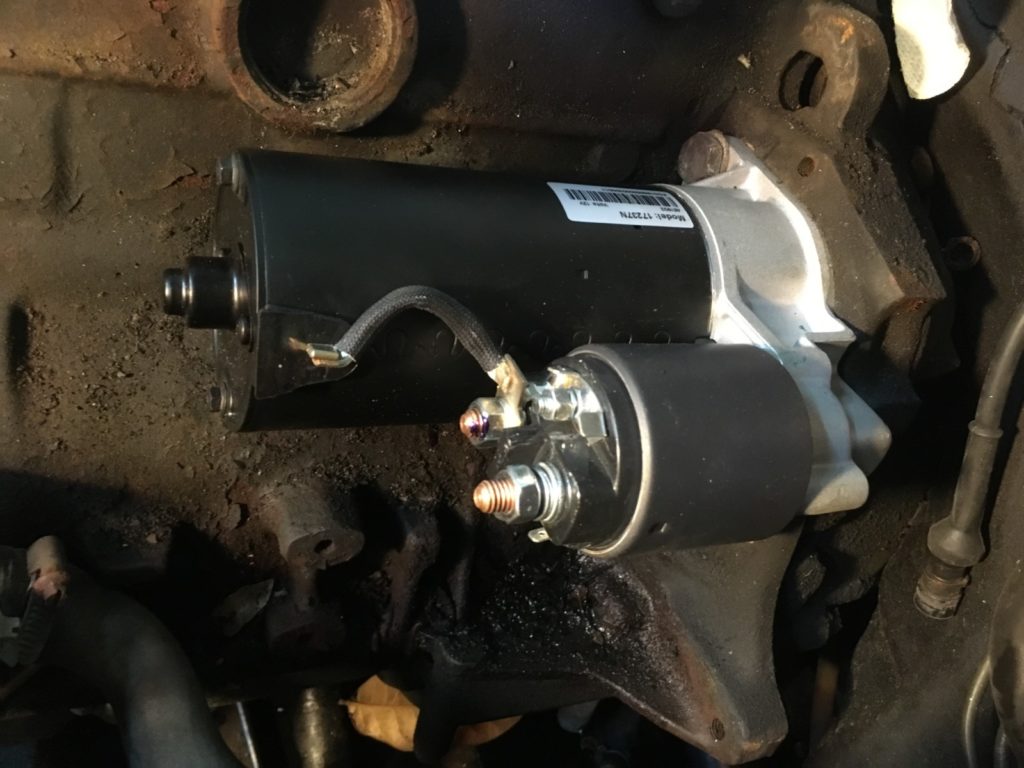
I took the opportunity created by the missing intake manifold to replace the starter, which was clearly on its last legs, engaging only every fourth or so twist of the key. As I recently did in the 2002tii, I opted for one of smaller gear-reduction starters available inexpensively on eBay.
While I was in the neighborhood…
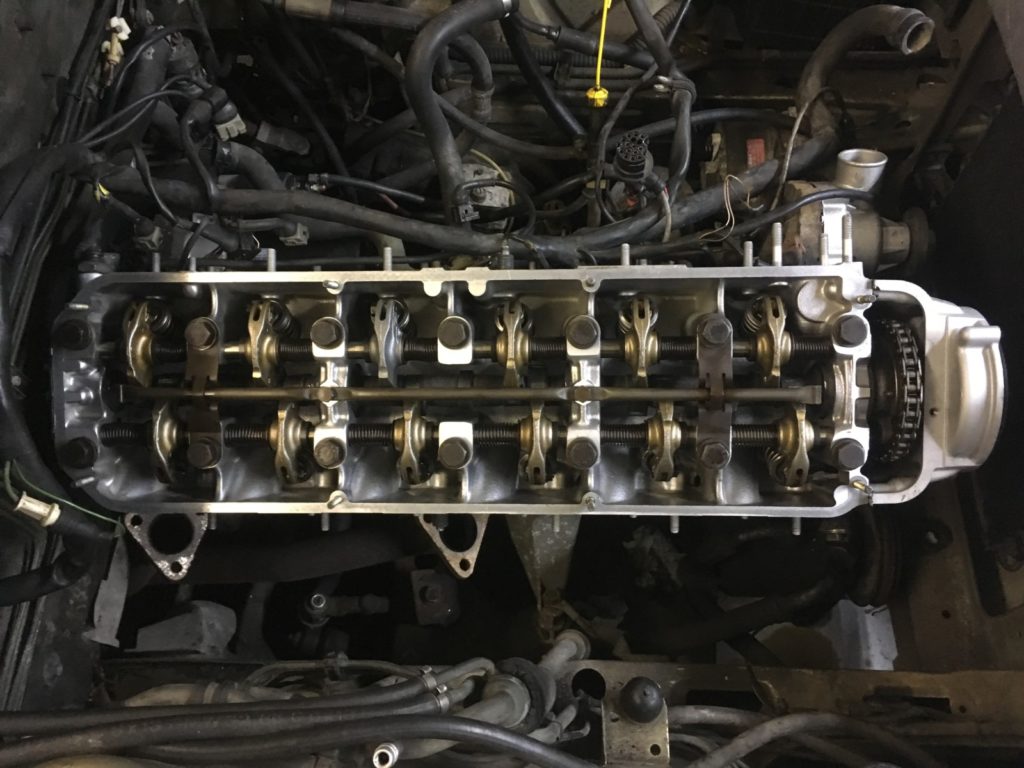
Finally, I got the call from Hal at the machine shop that the head was ready, and when I got back from picking it up, the cam sent by Robert Olmedo was on my front porch. I dragged everything into the garage, set it on the table, and prepared to re-assemble the head.
As they say, assembly is the reverse of disassembly: The camshaft needs to go in first, and then the rocker shafts must be knocked in and their arms threaded on. For each rocker arm, the cam needs to be rotated so that the lobes next to the arm being threaded on are pointing away, providing clearance to get the arm on the shaft. Initially this is easy, but as more rocker arms go on, when you rotate the cam to gain clearance for the next arm, it makes the cam lobes encounter an already-installed arm, which depresses a valve, which puts the rocker shaft under tension, which makes it harder to knock that shaft in, making the process increasingly more difficult. But unless you have the special jig that depresses the rocker arms—which I don’t—you have no choice.
Before I began the process, I needed to transfer over the big gland nut and the retaining plate from the nose of the damaged cam onto the cam I’d just received. And I saw that there was a problem: On my ’87 535i, the nose of the cam is flat, with a small retaining hole that receives a pin from the ignition-rotor adapter. The cam Robert Olmedo had sent had a thin crescent-moon-shaped prong instead. I did some research online and learned that this was a cam from a 533i.
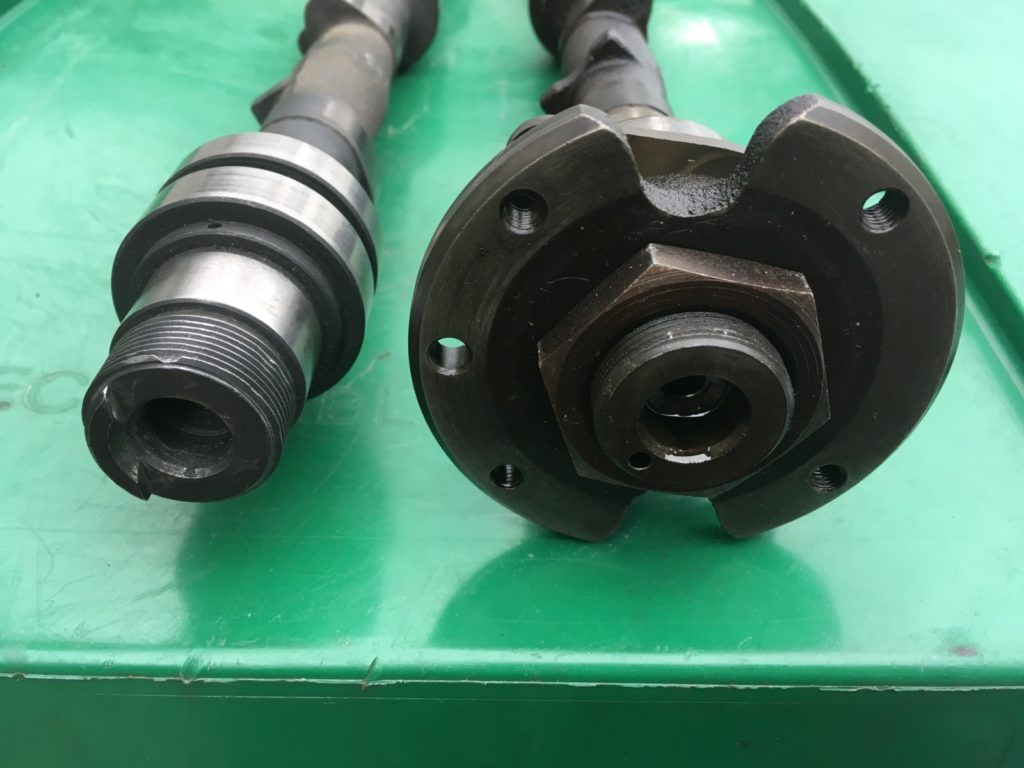
533i cam with prong on nose (left), and 535i cam with hole in nose (right).
At first this didn’t seem like a big deal. In fact, I felt lucky, as early 533is reportedly have a sought-after 272-degree cam (the stock 535i cam is 264). There were references on myE28.com to using a different rotor-drive adapter to put a 533i cam in a 535i. Professional mechanic and all-around killer helpful guy Tom Jones advised that the best way to do this would be to use the adapter that was part of the BMW Engine Campaign in 1986 (bad gas, valve deposits, walnut shells, and all that). Tom sent me a Xerox of the first few pages of the Engine Campaign manual that included the part numbers for the updated a rotor adapter.
Unfortunately, that part number (88 88 1 500 038) is rarer than rare. Not only does it not show up in realoem.com or in dealer parts sites like GetBMWParts.com, it doesn’t show up online anywhere. It is unobtanium. The only place you’re likely to find one is in a junkyard motor from a 533i, a 633CSi, or 733i that received service under BMW’s Engine Campaign.
Okay, then, I thought, I’ll simply use the stock rotor adapter for the 533i, which used a push-on rotor. This was changed in the 535i to a bolt-on rotor. Again, I thought, no big deal. Unfortunately, although this adapter appears to still be available, this path was problematic as well; the push-on rotor requires a different distributor cap, so I’d need to buy a rotor adapter, rotor, and cap, which adds up to nearly the price of a correct used 535i cam. Second, 535i’s use a high-voltage 30-kV ignition system, and 533i’s don’t. There was an update issued, so what you really want is the 30-kV version of the 533i rotor adapter. However, this part is listed as NLA.
After several hours of searching and weighing the pros and cons, I realized that I needed to suck it up and get the correct cam.
A Facebook friend in New Hampshire offered me a whole trashed head for free, but when I looked into it, it was from an early L-Jetronic car with a different cam. I reached out to my friend Paul Muskopf, a major E28 guy and a BMW CCA Technical Service Officer. Paul said that he not only had a proper 535i cam, but also had the rocker-arm-depressing jig, and could send me both. This was perfect, as it meant that I could begin assembling the head—knocking in the rocker shafts and threading the rocker arms on them—and then insert the cam when the jig and the cam arrived.
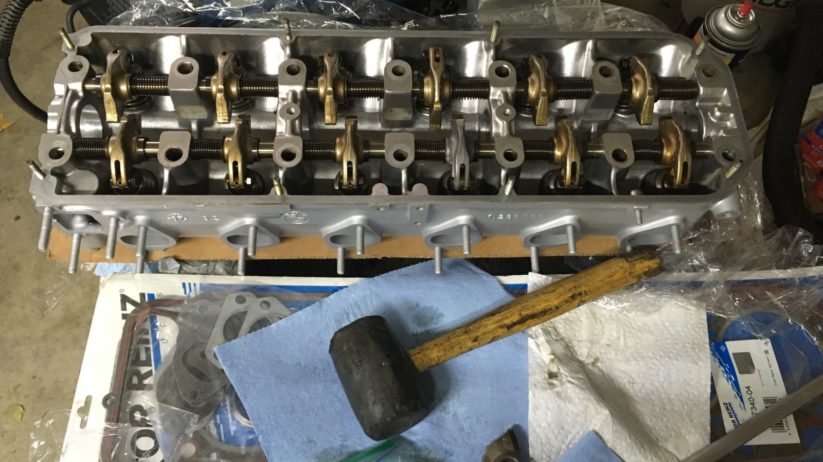
So that’s what I did. I reused all of the shafts and rockers (except obviously the broken one), as any wear marks were minor. I used a fine file to dress the ends of the shafts to get rid of any mushrooming that may have occurred when they were knocked out. I replaced the broken rocker arm with a new Febi part. I later had someone on Facebook recount the story of their new Febi rocker arm breaking in their newly-rebuilt head; he suggested that I would’ve been better off substituting another 30-year-old rocker. So if, after all this work, the new Febi rocker breaks, I’ll feel like an idiot. But from a form-follows-function standpoint, I love how the other eleven original rockers have a gold oil-impregnated hue while the one new one is silver, echoing the story every time the valve cover is removed.
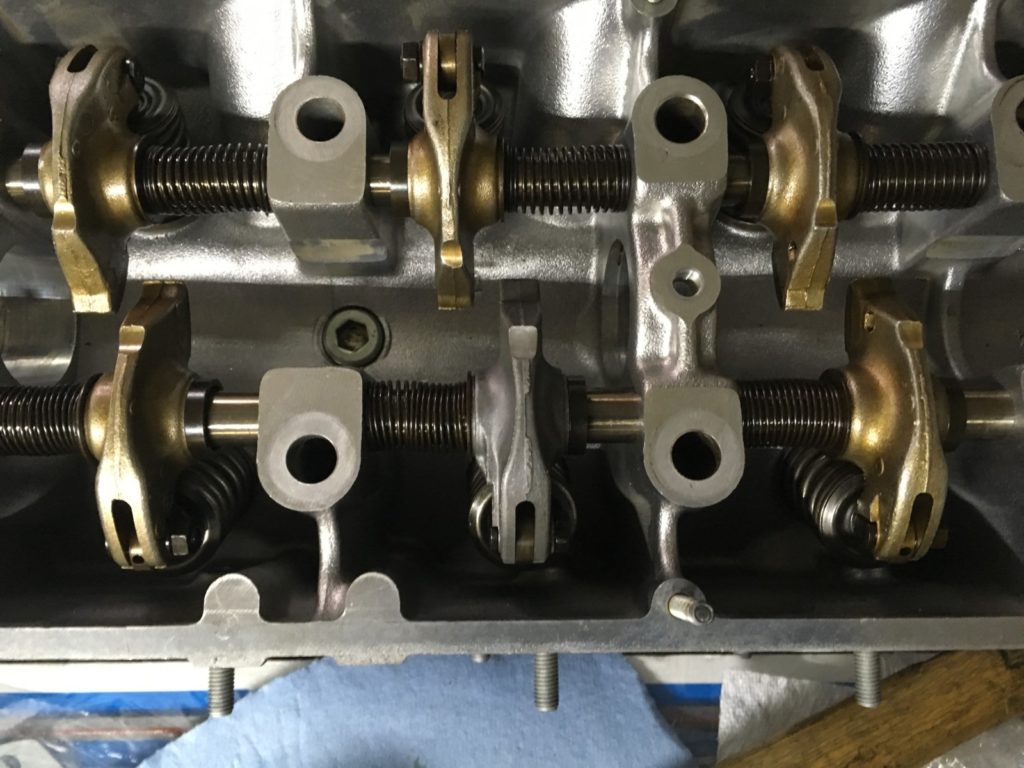
One of these things is still not like the other.
I hadn’t reassembled a six-cylinder head in 30 years. It requires a bit more care than a four-cylinder head, as both the intake and exhaust sides have front and rear rocker shafts, and each has to be aligned carefully, both in terms of how far you knock it in (the rocker eccentrics have to be centered over the valve stems) and its rotation (the indented sections that allow the head bolts to get past them have to be at the correct angle). But not having to deal with the camshaft made it go very quickly. In addition to the shafts not being under tension from the cam, I also could knock the front shafts in from the front, which sped things up considerably. I don’t believe that you can do this with the cam in place, since the plate on the front of the cam blocks access to the shafts.
This shows the valve-depressing jig in place on the head.

Here are the rubber washers on the underside.
When the jig and the correct cam arrived, I found that the jig needed to be attached to the head using the holes for the head bolts, but the original bolts weren’t long enough to reach through the holes in the jig. I ran down to the hardware store and bought some long carriage bolts and nuts. I used wide fender washers with rubber washers under them to make sure that the heads of the carriage bolts weren’t marring the newly-machined surface of the underside of the head.
I’ve used this sort of a jig on a 2002 head before The jig has prongs that sit directly over the eccentrics on the rocker arms. You need to first loosen the eccentrics all the way. This seems counter-intuitive, but loosening them tips the see-saw of the rockers toward the valve, which lifts the cam-facing ends higher, which allows the cam surfaces to get past the rockers.
As you tighten down on the bolts, you need to be extremely careful that the intake and exhaust valves don’t crash into each other, as this can cause the valves to bend before you know what’s happened. You’re advised to tighten down on the exhaust side first, thus opening the exhaust valves and getting them ahead of the the intake valves. Then it’s a matter of cranking down a quarter of a turn on the ratchet wrench at a time, and visually inspecting each pair of valves with each turn to be certain that you’re not courting disaster. When the valves are far enough open, the rocker arms clear the cam, and with a little judicious rotation, the cam slides into its journals in the head.
It’s a little ungainly, but effective.
The same care must be taken when loosening the bolts to remove the jig. I initially panicked over the fact that some of the valves remained depressed, then did the big “D’oh!” when I realized that it was just their naturally remaining open due to where the rockers were on the cam lobes.
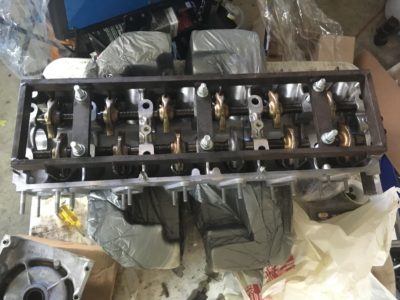
The Lama’s head was reassembled.
Before dropping it on the block, I got the block surface squeaky clean. I used brake cleaner and a Scotch Brite pad to clean the carbon deposits off the pistons. With those shiny, the kiss marks from the intake valves could be very clearly seen on all six pistons. This was a little jarring, as I still don’t know what caused the contact.
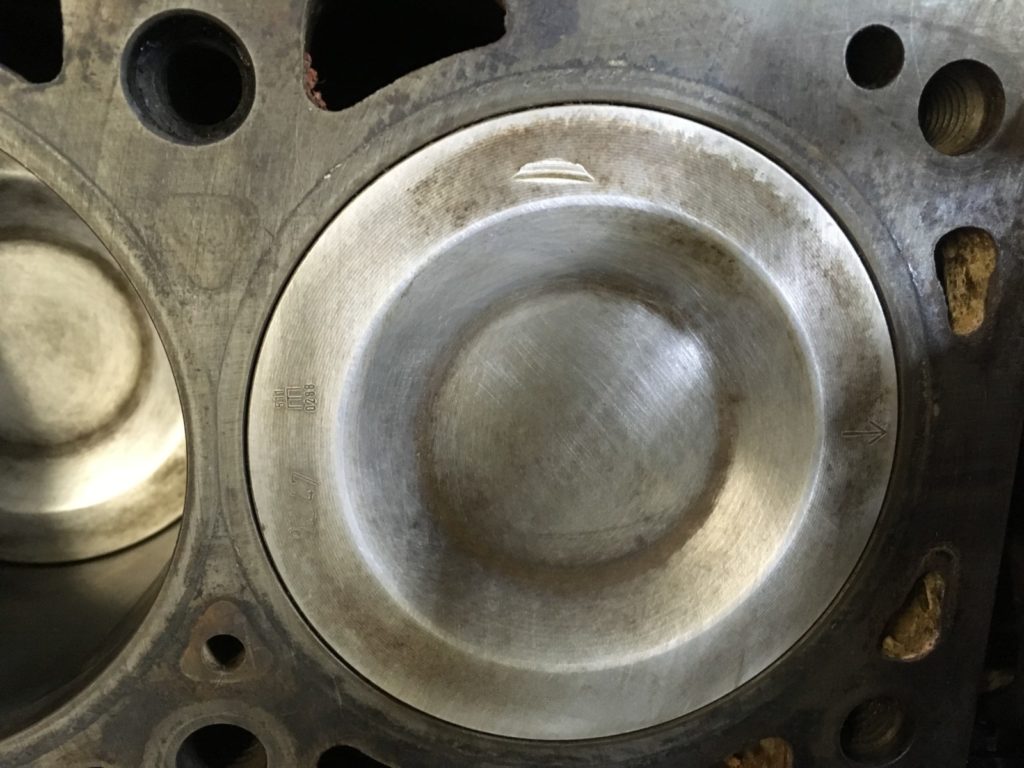
SOMETHING caused those contact marks.
The head certainly weighed much less than it did when I removed it with the intake and exhaust manifolds still attached, but it was still heavier than I could safely muscle into place by myself, so I again pressed my ceiling-hung Warn PullzAll electric winch into service. I banged in the positioning dowels, laid the head gasket in place, checked one final time to be certain that a 10-mm socket hadn’t rolled into a cylinder (they all go somewhere, right?), and gently guided the head back home. I did the two stages of torquing listed in the head-gasket instructions, bolted on the upper timing cover, and called it a night.
Mission accomplished. Whew!
And that, dear readers, is where we are. The manifolds need to go back on, and the wiring and the vacuum lines all need to be carefully reconnected, but the Lama has been, as I joked about last week, recapitated. I am hopeful that next week we’ll discuss another new word: Lamathrust!—Rob Siegel
Rob’s new book, Just Needs a Recharge: The Hack MechanicTM Guide to Vintage Air Conditioning, is available here on Amazon. His previous book Ran When Parked is available here. Or you can order personally inscribed copies of all of his books through Rob’s website: www.robsiegel.com.