I’m close to finishing the installation of the rejuvenated cylinder head in Louie, my ’72 2002tii. If I’d been a little more organized and forward-thinking, it would be done by now, but part of the joy of a winter project like this is letting it proceed at its own relaxed pace. Maybe that’s twenty minutes at a time in a cold garage. Maybe that’s not getting bent out of shape if the rhythm that it presents is one in which it drags itself to a halt over small things. It’s all fine.
I do hope to drive the car to MidAmerica 02Fest at the end of April, but that’s still roughly eight weeks away.
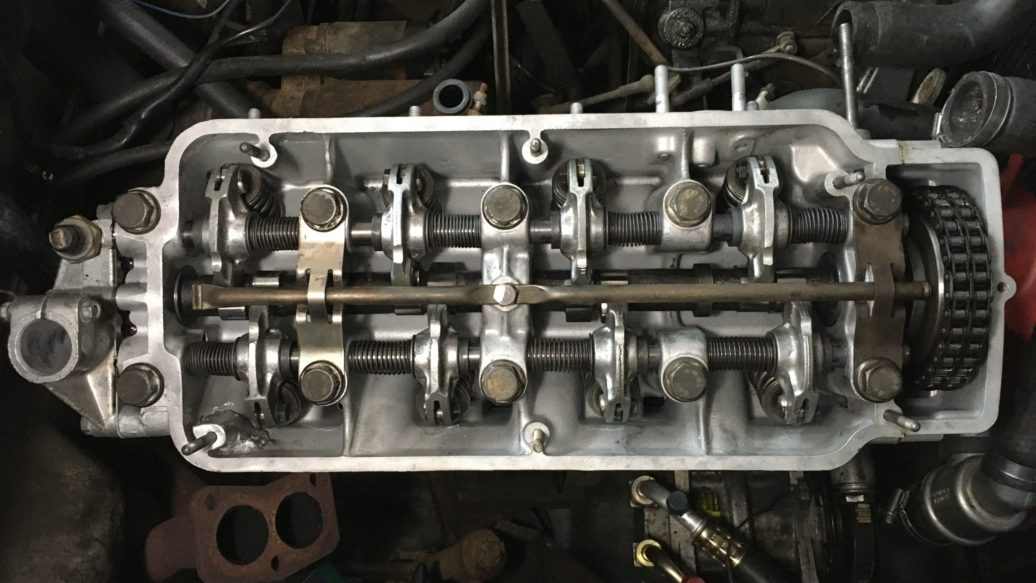
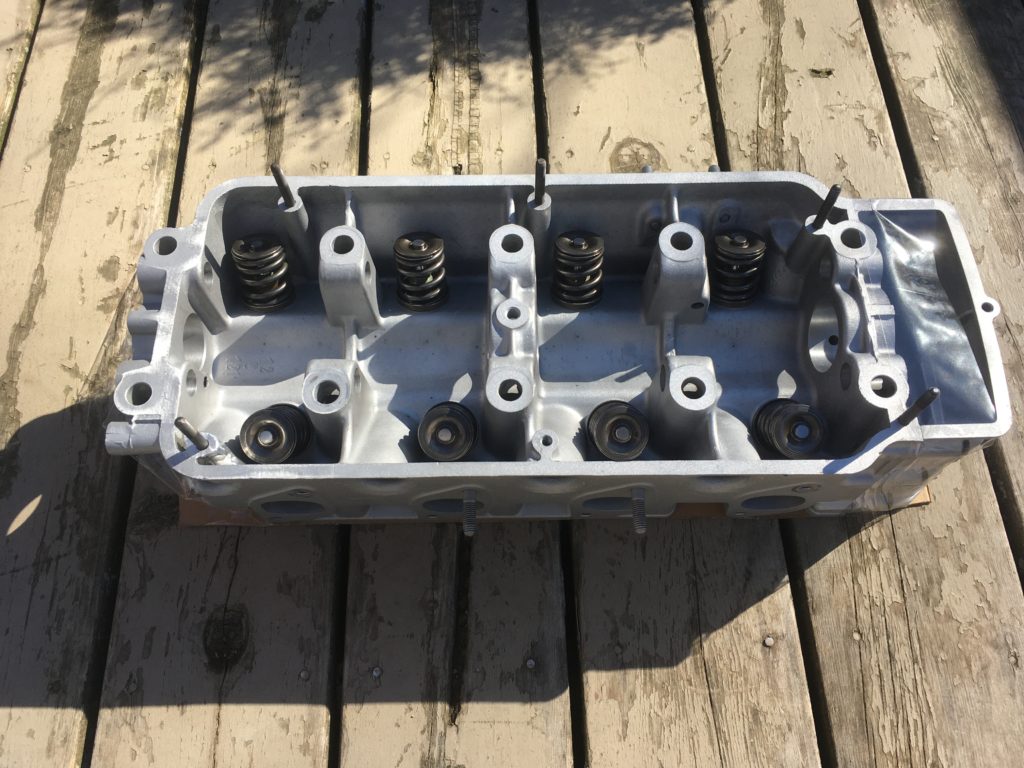
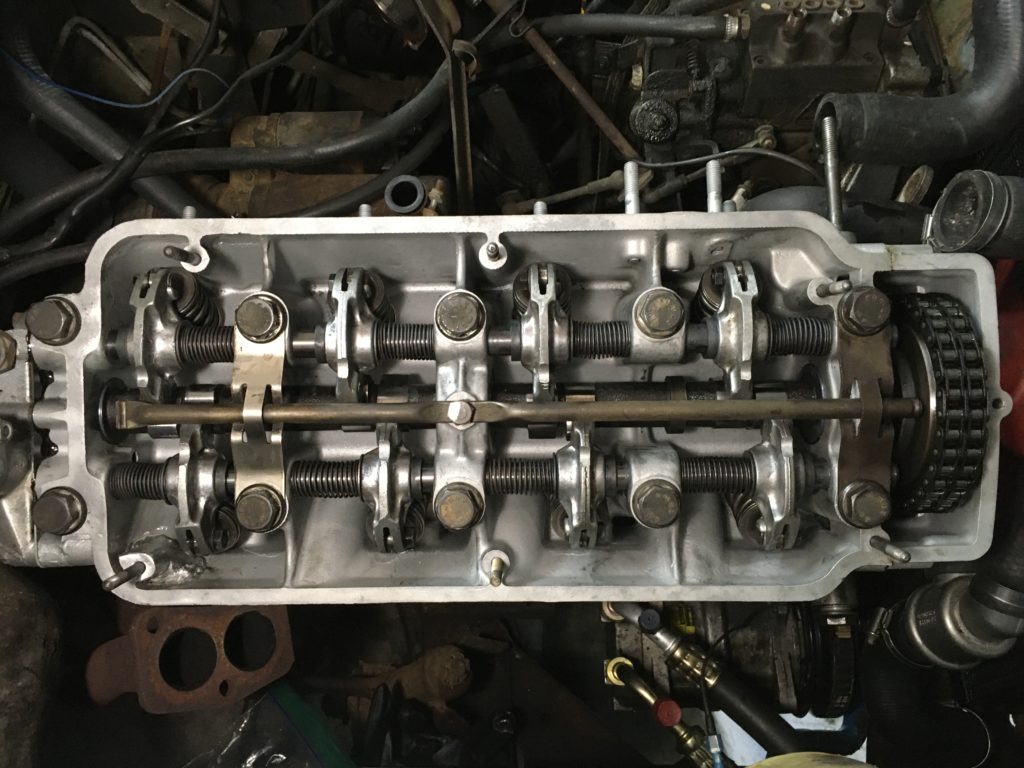
Last week I reassembled the valve train and was ready to drop the head back on. I had a Reinz head-gasket set that I’d bought a few years ago for the express purpose of tossing it in the trunk when I was road-tripping, just in case I had to do the Wegweiser-Thongsai thing and replace the head gasket in a parking lot (as if).
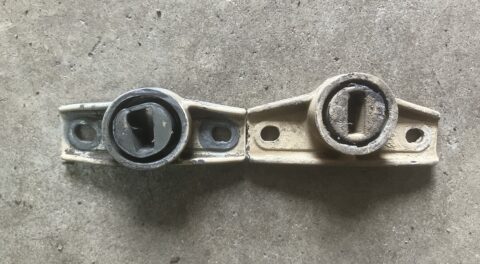
While Elring head gaskets have more cachet than the Reinz ones, I didn’t have any qualms about using the Reinz gasket. I’ve used them before, and the consensus on bmw2002faq.com seems to be that they’re fine. However, as I was preparing to install it, I noticed that the red sealing bead doesn’t run all the way around the cutout for the timing cover, as it does on the Elring gasket. This gave me enough pause that I ordered an Elring gasket. Yeah, I know I could’ve just sealed around the cutout with Permatex Aviation Form-a-Gasket, as I’ve done in the past, but when you do that, if you have to have to pull the upper timing cover back off, it can cause the front of the gasket to tear, and getting it to reseal can be difficult.
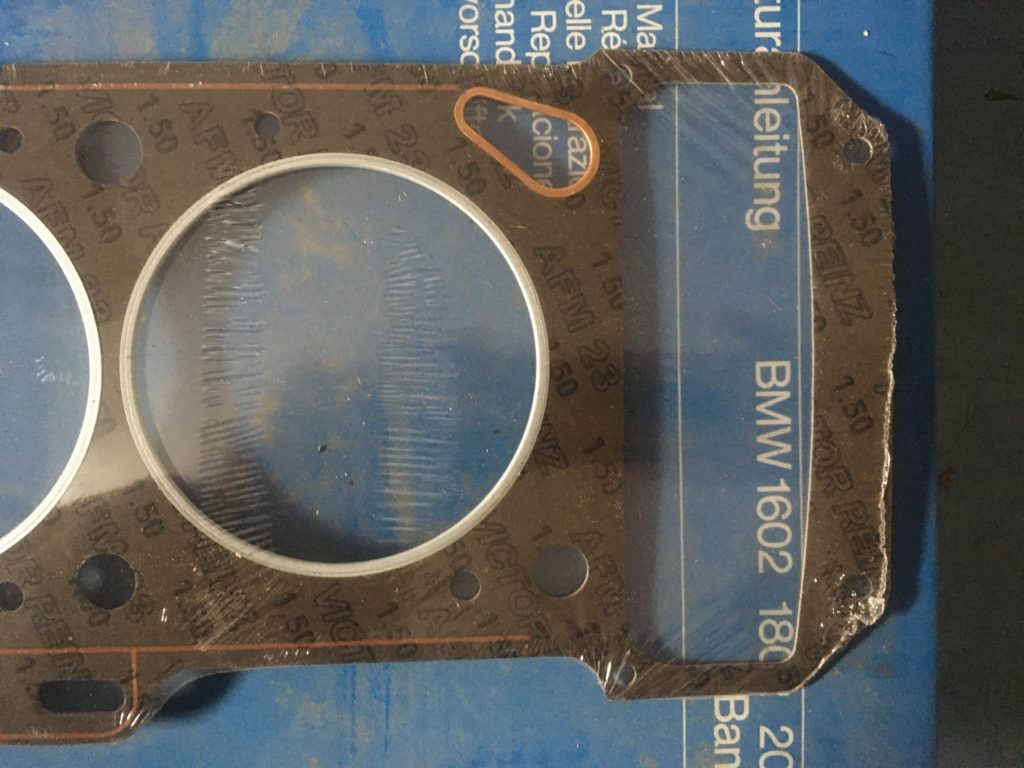
Note how the red sealing bead on the Reinz head gasket doesn’t continue around the cutout for the upper timing cover.
While I was waiting for the Elring head gasket to arrive, I sent the fuel injectors off to a diesel shop in New Hampshire to be cleaned and tested, something I should have done weeks ago. I also did some cleanup of the block: I scraped the mating surface with a single-edge razor blade, and cleaned it as well as the carbon on the tops of the pistons using brake cleaner and a red Scotch Brite pad. I’ve since been warned that the red Scotch Brite pads aren’t the best choice, because the aluminum oxide they contain can scratch the cylinder bores: Live and learn.
I rotated the engine and wiped everything up off the cylinder walls as best I could.
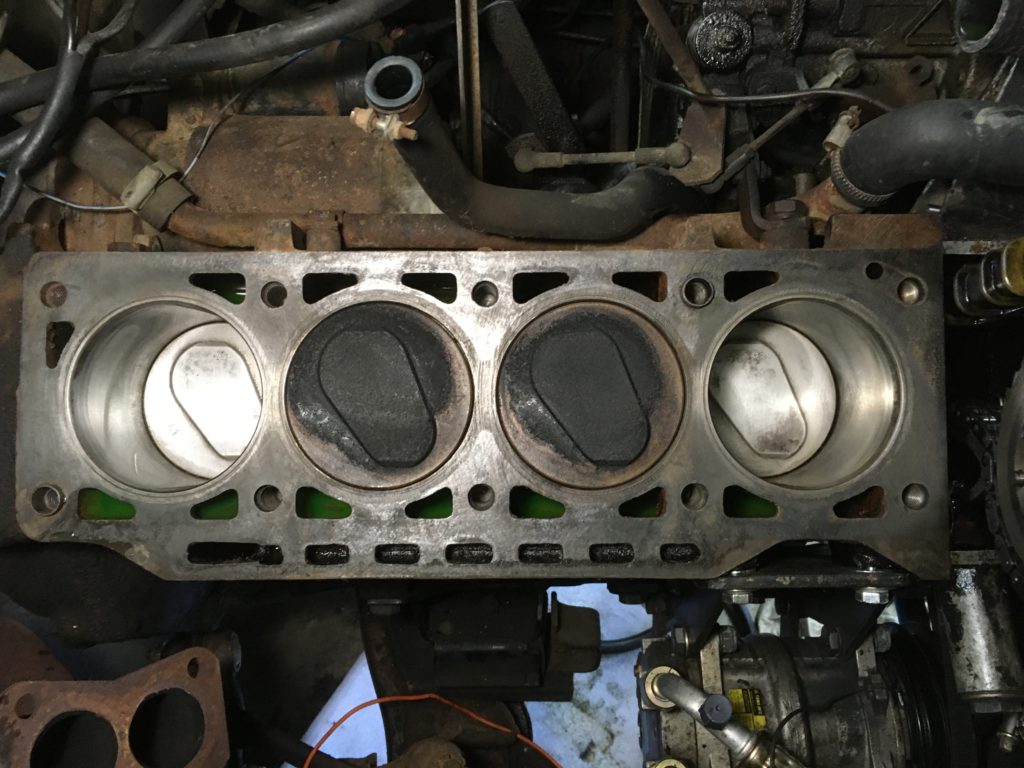
Two down, two to go.
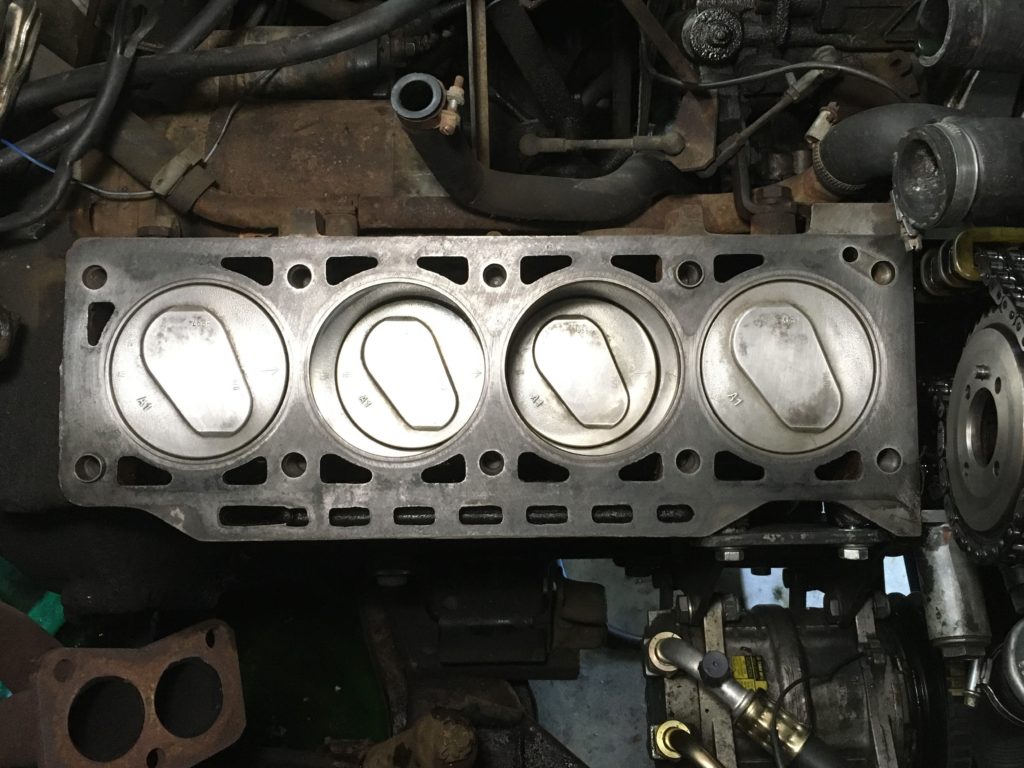
Neat and clean. I hope I didn’t damage anything.
Next came the hoses. When I resurrected Louie five years ago after his decade-long sit and drove him the thousand miles home, I replaced the radiator hoses but didn’t dig into the smaller coolant hoses that plumb the heater core or the warmup regulator on the back of the Kugelfischer injection pump. With the head and the intake manifold still off, it was easy to reach these. The heater hoses were both rock-hard, and ballooning over their hose clamps, which is kind of a scary combination, as I usually see one of these conditions, but not both. It’s possible that some of the hoses were original to the car.
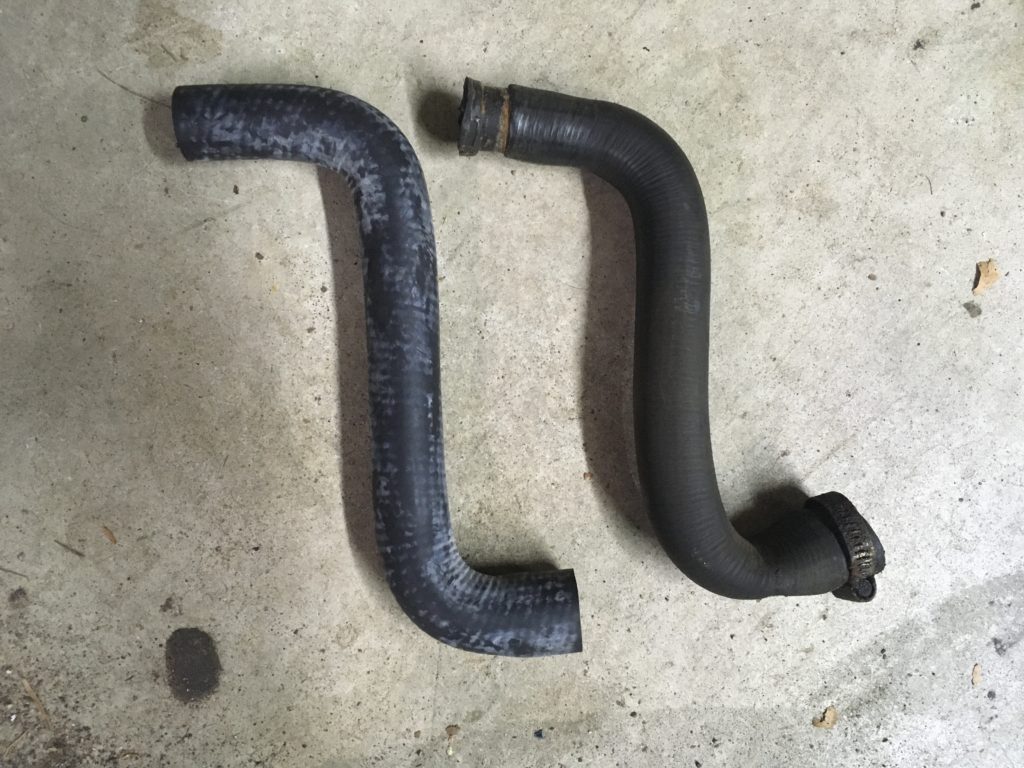
Old (right) and new (left) heater hoses.
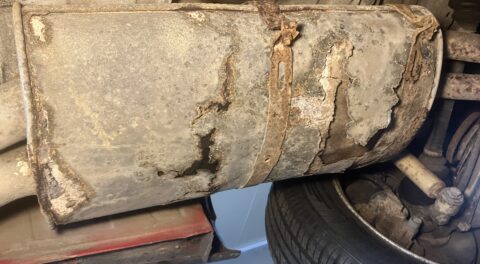
Whenever I replace hoses, I take the opportunity to scrape any corrosion off the coolant necks. The one at the inlet to the warmup regular was especially gnarly.
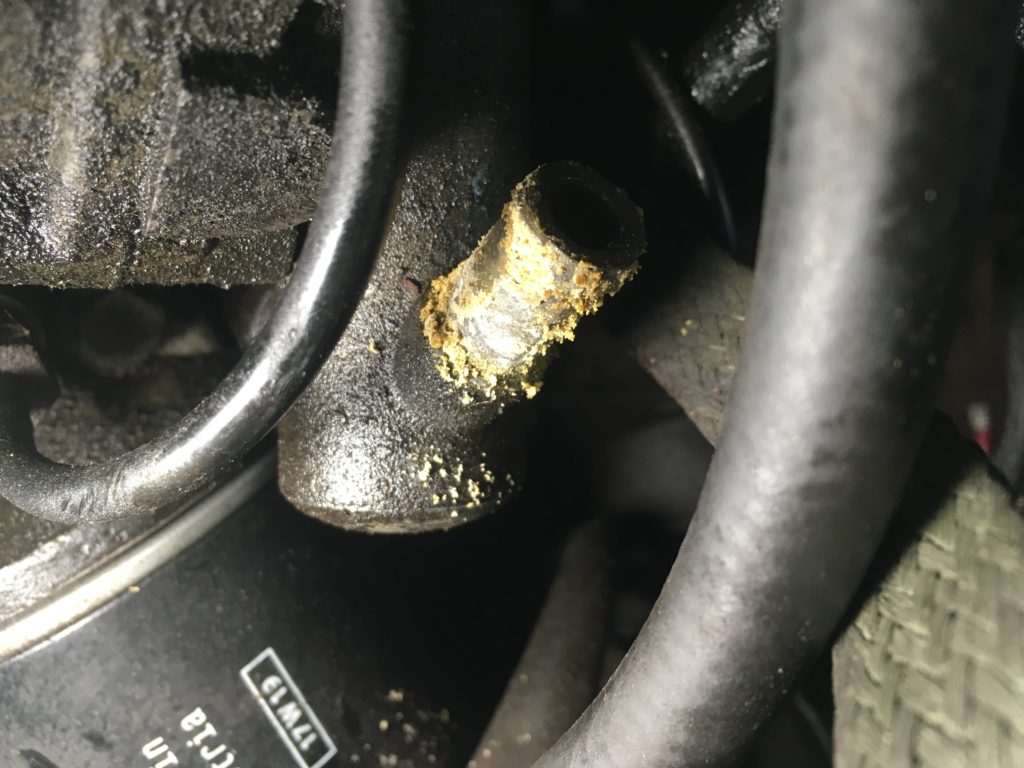
Parmesan cheese, anyone?
When the new Elring head gasket arrived, I gave the block surface and bolt holes a final cleaning, put the gasket on, positioned the head and the oil-distribution tube, and prepared to slide the head bolts in and torque them down.

Note how the red sealing bead on the Elring gasket continues around the timing cover cut-out.
The manual specifies a three-stage torque-down procedure for the original head gasket, but both the gasket materials and the installation method have changed over the past 50 years. The instructions that come with the Reinz gasket call for a conventional initial torquing, followed by two stages of angle-torquing. Some folks still swear by the original procedure, but this is an area where I follow the gasket instructions to the letter.
However, for some reason this Elring head gasket was missing its instructions. I searched on bmw2002faq.com and found them; they were essentially the same as the instructions listed on the back of the Reinz gasket: 60 Newton-meters (45 foot-pounds) of torque, let it rest for fifteen minutes, then angle-torque it to 33 degrees plus or minus three degrees. After assembly and a 25-minute engine warmup stage, there’s another angle-torquing of 25 degrees, plus or minus five.
The instructions also call for lightly oiling the head bolts. I’ve never done this before. Perhaps I’d never read them carefully enough. Obviously the warmup and final angle-torquing will need to wait until the manifolds, injection, and cooling system are all buttoned up.
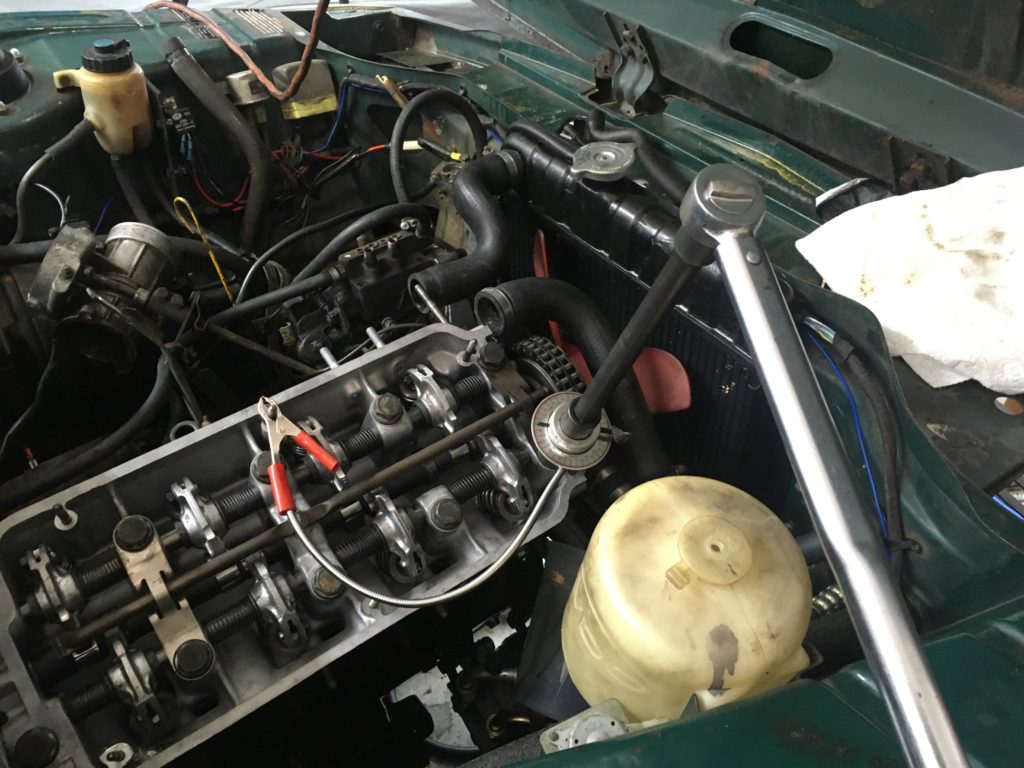
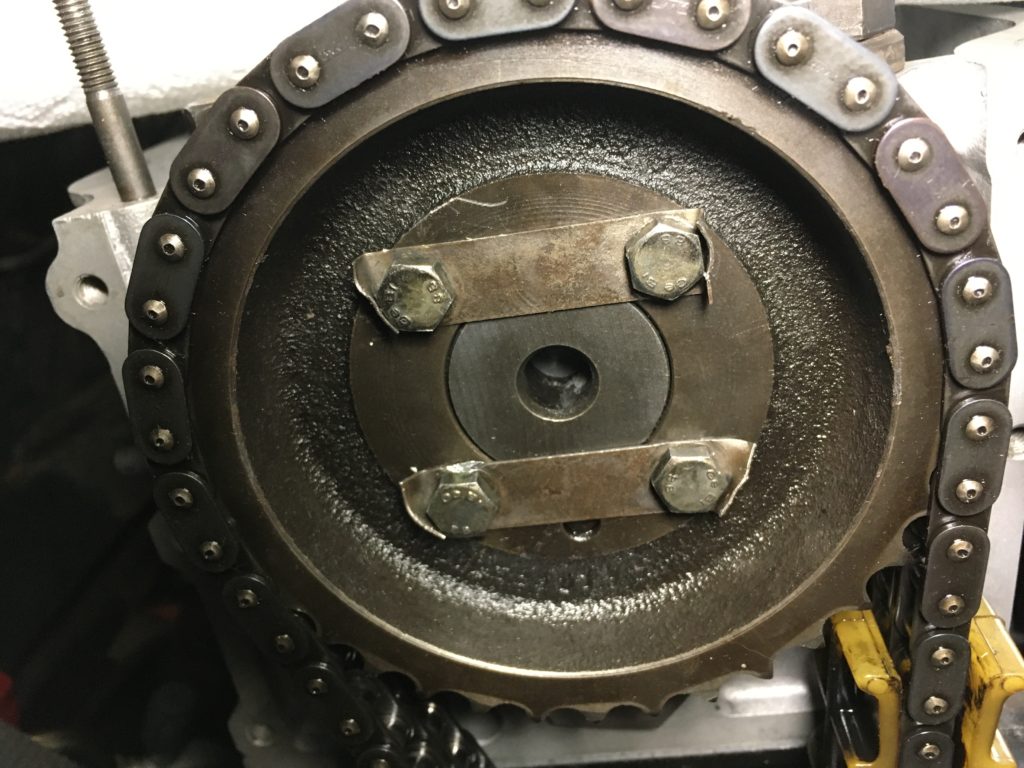
Angle-torquing the head bolts.
The last step I wanted to get through before calling it a weekend—and an installed head—was attaching the cam gear and the upper timing cover. Unfortunately, I couldn’t find the little baggie holding the cam gear’s 10-mm bolts and locking strips. It made sense to me that I would have put these cam-gear fasteners and the timing-cover bolts in the same bag; that the cam fasteners were missing was especially odd, because I clearly remembered bringing the baggie into the basement where I performed the valve-train disassembly so that I could screw two of the bolts into the cam and pass a screwdriver between them to rotate the cam while I was banging out the rockers.\
I did have the six long bolts that hold the timing cover to the head, but I realized that I was also missing the two shorter bolts that hold the cover to the block.
I thought about it carefully and remembered that the machine shop always asks me to bring the bolts that affix the timing cover to the head so that they can resurface the head and the cover together. I found the long bolts, but none of the others. But I remember that when I picked the head up from the machine shop, the timing cover was still attached with these bolts.
I wasn’t imagining that the machine shop returned the head to me with the timing cover bolted to it.
I decided that it was likely that I’d brought the bag with all the cam and timing-cover fasteners to the machine shop, and they’d neglected to return the bag with the unused ones to me. I had to wait until they reopened on Monday morning to find out, but that did indeed turn out to be the case. I felt like Colombo. (Hey, better that then Humphrey Bogart being mistaken about the strawberries in The Caine Mutiny.)
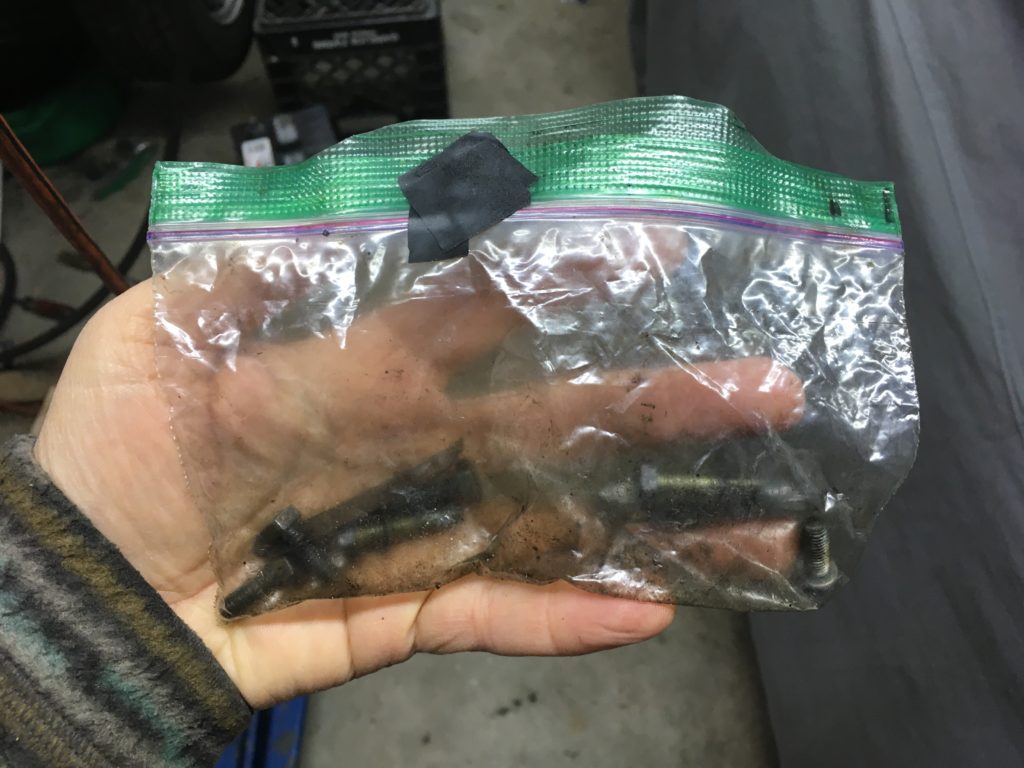
My powers of deduction paid off, and the errant bag of fasteners was retrieved from the machine shop.
With the necessary bolts and locking tabs in hand, back on went the cam gear and the upper timing cover.
Having misplaced these bits, this was oddly satisfying.
As Beatrix Kiddo said in Kill Bill, “Hard part’s over.”
So the head’s back on. Next week, the rest of it get buttoned up.—Rob Siegel
Rob’s new book, The Best of The Hack Mechanic, is available here on Amazon, as are his seven other books. Signed copies can be ordered directly from Rob here.