A few weeks ago, I talked about how Zelda, my ’99 Z3, mildewed while sitting under a cover at the end of my driveway for two months. The problem was ameliorated by autumn’s arrival, causing me to drive the car again, and when covering it, leaving it in a sunny patch of the driveway rather than buried at the Fangorn Forest-like end in front of the RV and the truck.
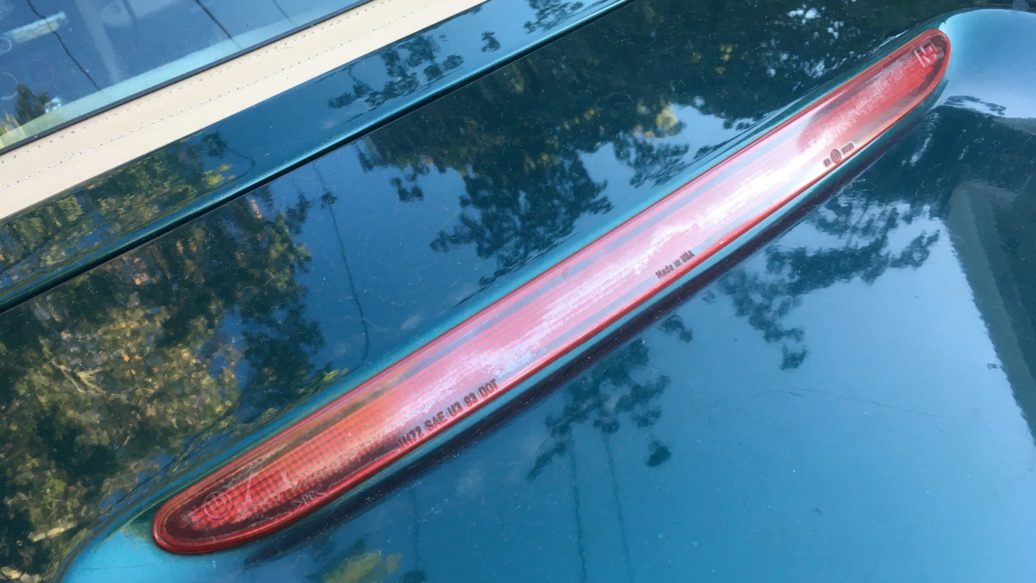
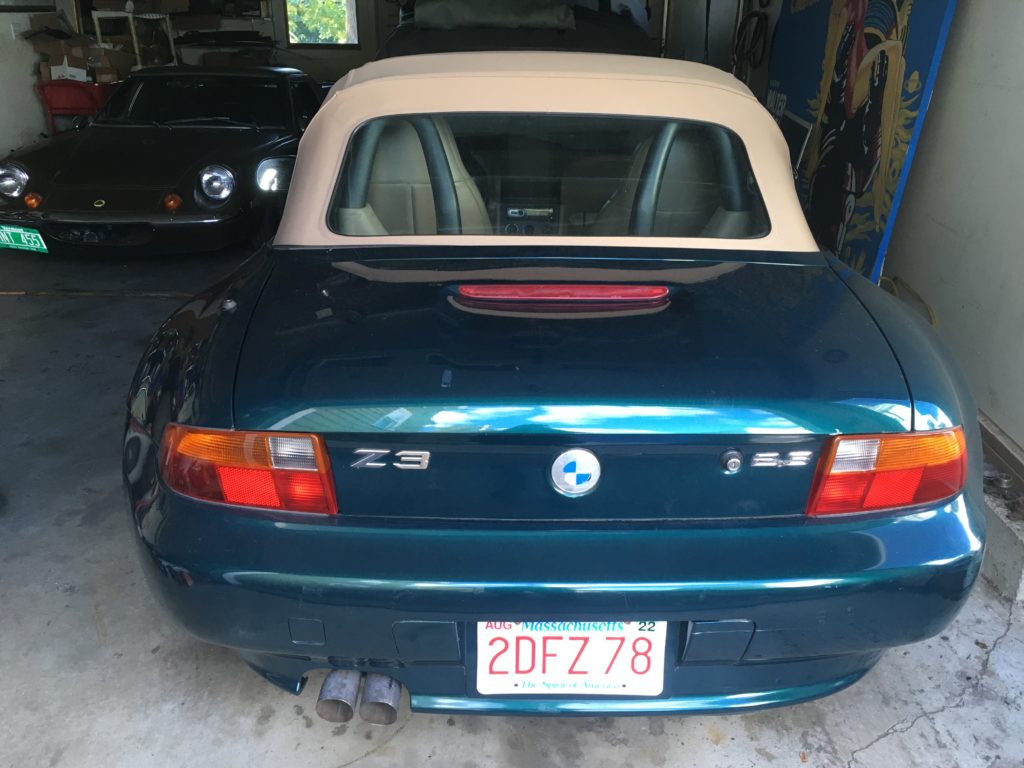
However, I noticed that there was another annoying quirk that wasn’t solved by moving the car: Water would soak through the cover and accumulate on the trunk lid, and when I lifted up the lid to twist the knob on the battery-disconnect switch, a stream of water would pour through the wide oval space in the trunk lid for the third brake light. Clearly the seal around the light was no longer doing its job. I thought about squelching it Hack Mechanic-style by just laying down a bead of clear silicone, but to do that, I would have to first pull it apart, which was a bit more of a pain than I anticipated.
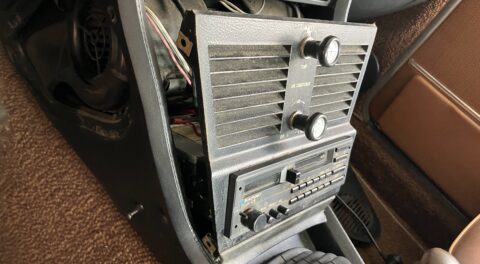
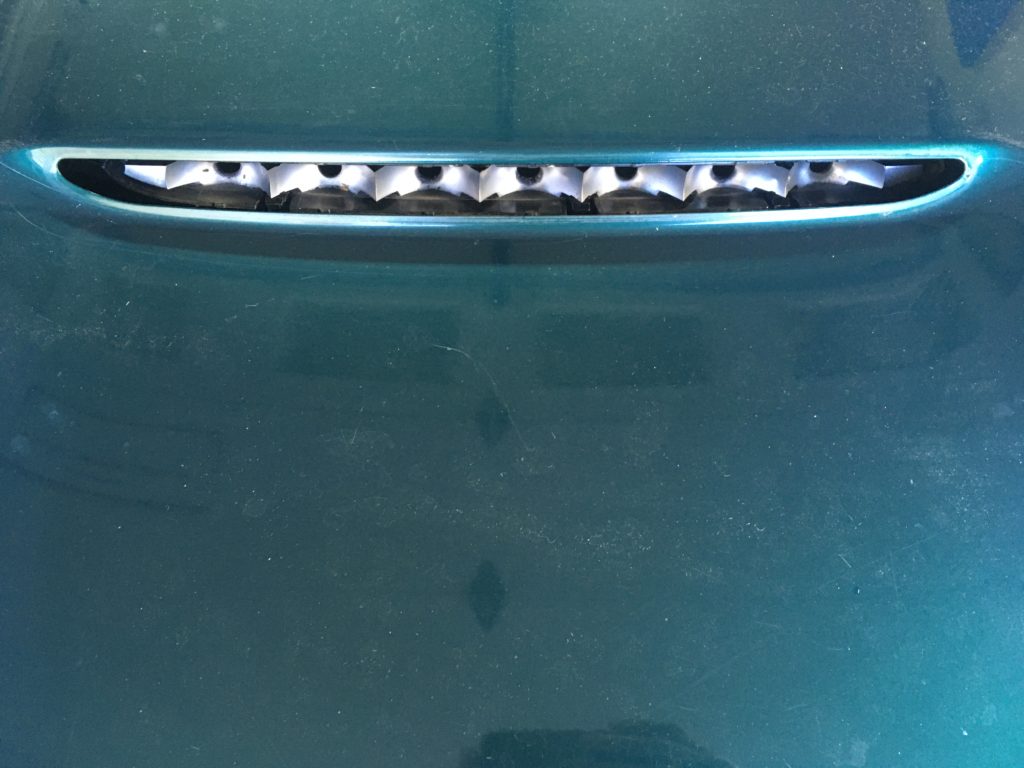
First you pull down the black plastic cover. It just snaps into the underside of the trunk lid.
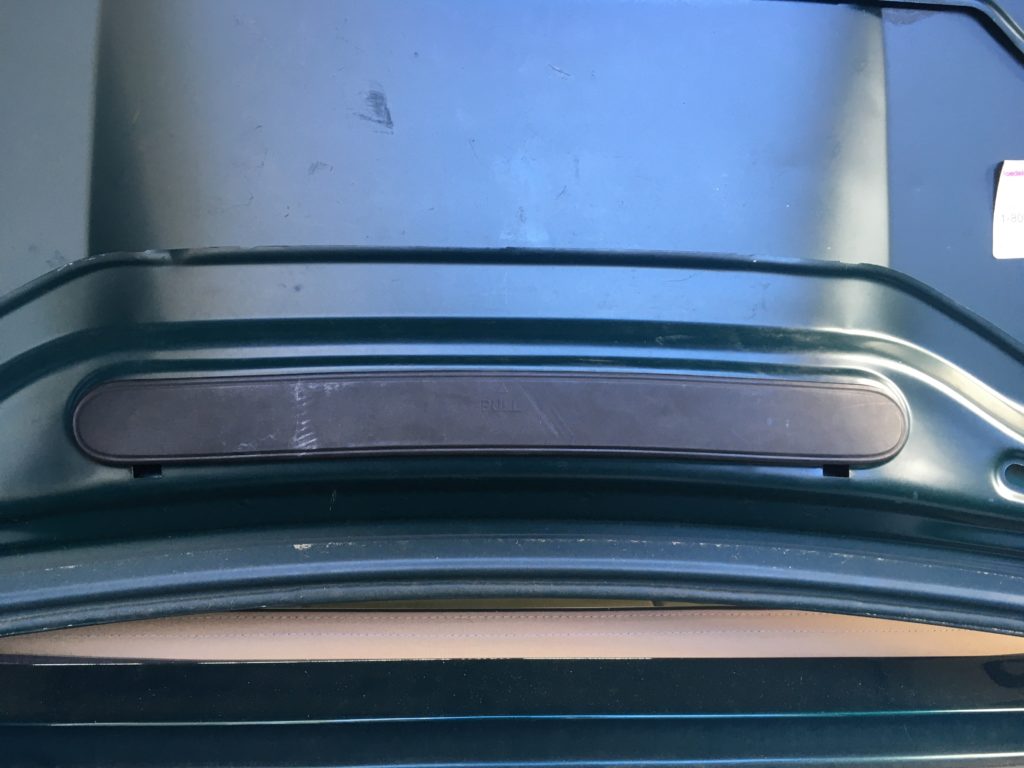
This cover gives it up pretty easily.
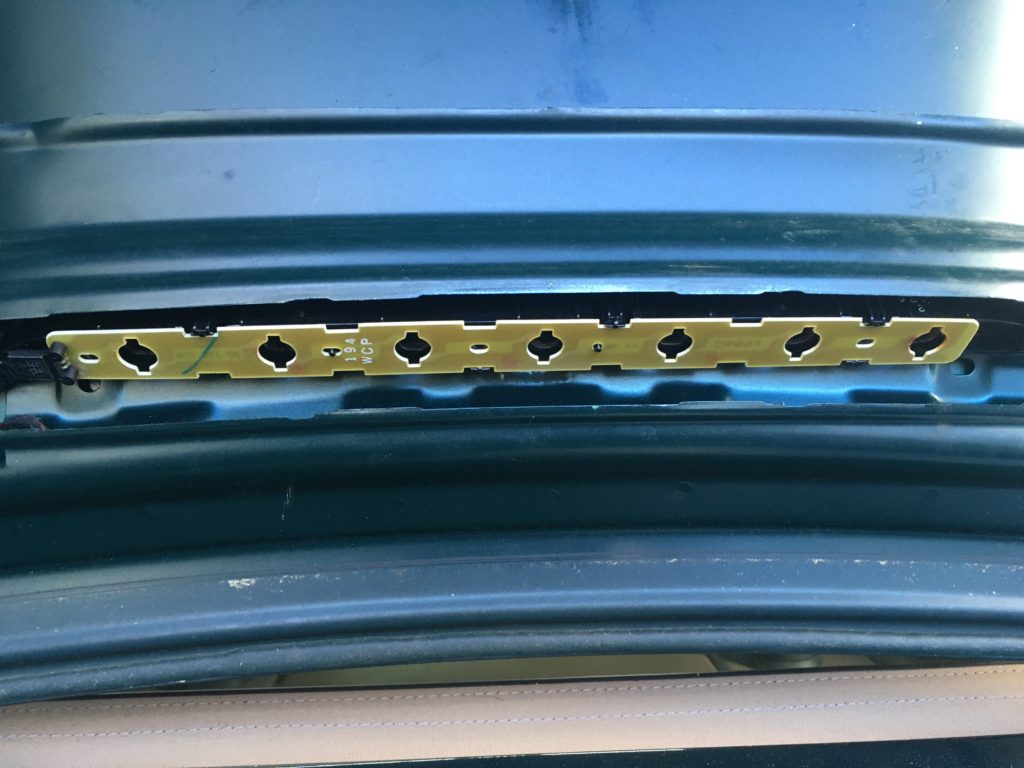
That exposes the electrical panel that holds the bulbs. You need to undo the electrical connector at the left edge, then remove the three Phillips screws holding the panel to the underside of the assembly. I strongly recommend putting a paper towel under the screws, because if they fall down into the trunk lid’s interior gap, it’s almost impossible to get them out.
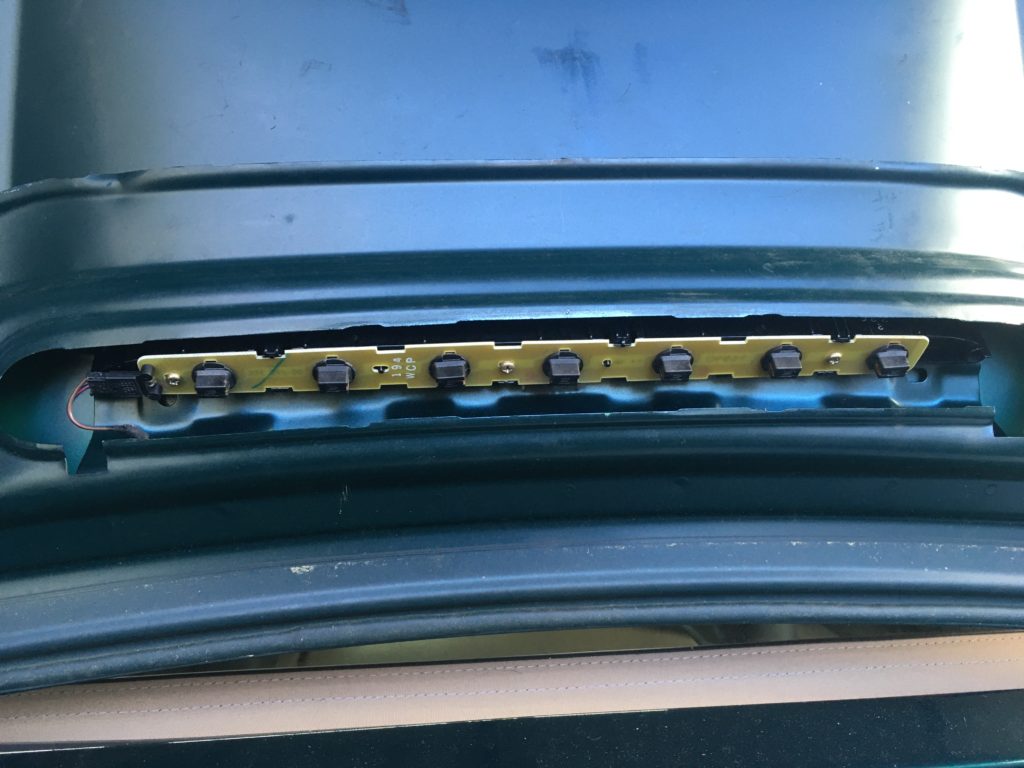
The brake-light panel is exposed.
With the brake-light electrical panel and the electrical connector removed, the black plastic reflector panel it’s screwed to is exposed. You need a Torx T8 bit to undo the two recessed screws that hold the corners of the reflector panel to the red lens. Here, I did not heed my advice about stuffing the crevice with a paper towel, and dropped one of the Torx fasteners into it. I had to pull it out using a magnet at the end of a wand while watching with the little inspection camera I employed while de-mousing the heater box in my truck.
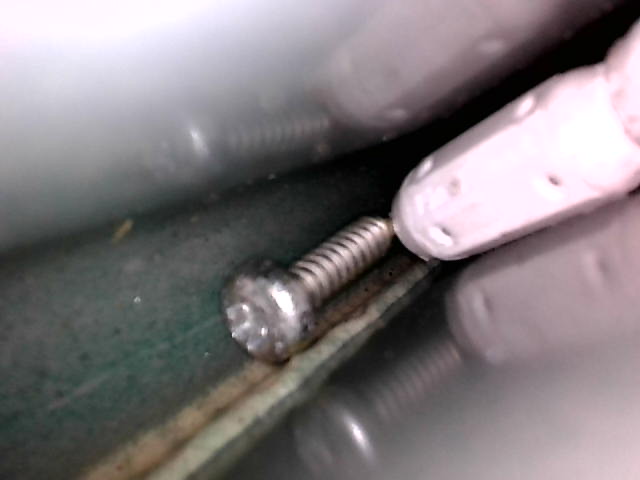
This was one of those small moments of triumph you live for.
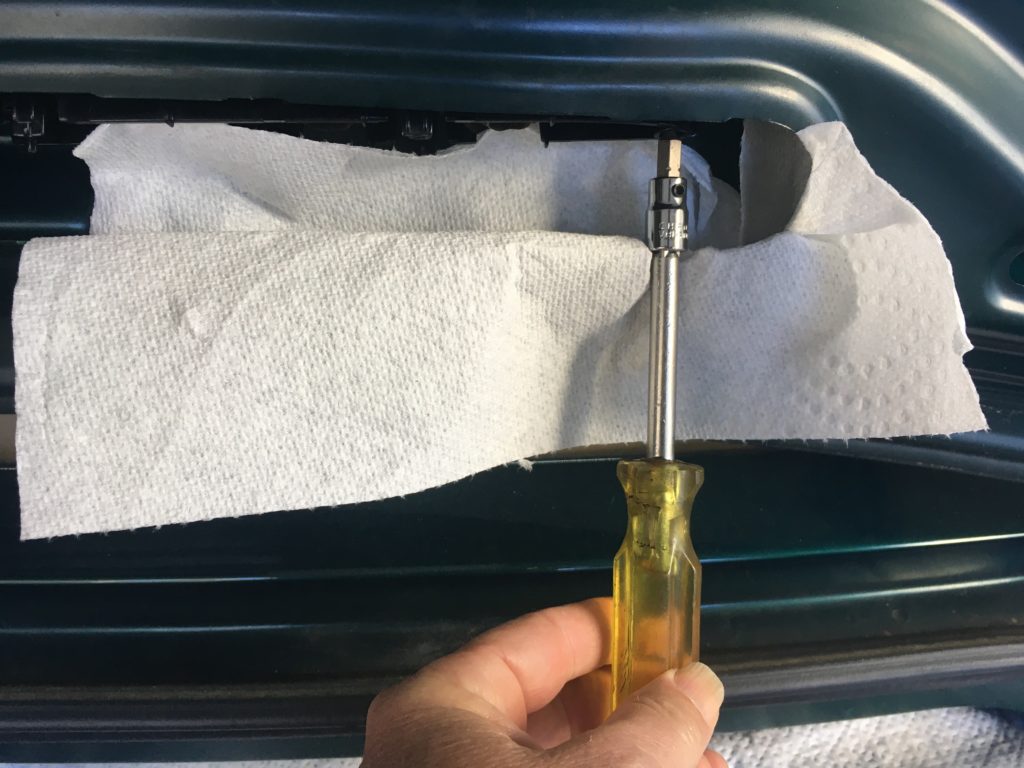
I used the paper towel on the second Torx fastener!
With the Torx screws out, however, the black plastic reflector panel doesn’t free itself from the underside of the red lens. It’s difficult to tell by looking at it, but the black plastic piece also snaps into the underside of the lens. To release it, you need to squeeze six tabs. The two pairs on the ends are symmetrically opposed, but the two in the middle are staggered.
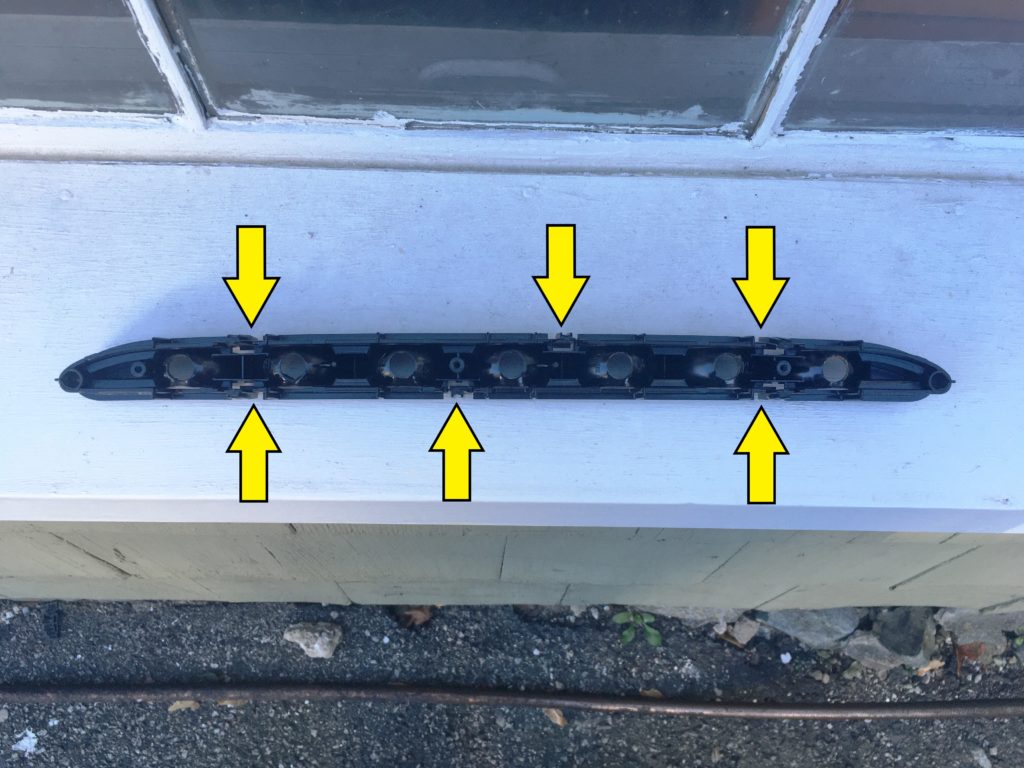
The tabs you need to squeeze to remove the black plastic reflector panel from the underside of the red lens: It’s easier to see them with the panel removed from the car.
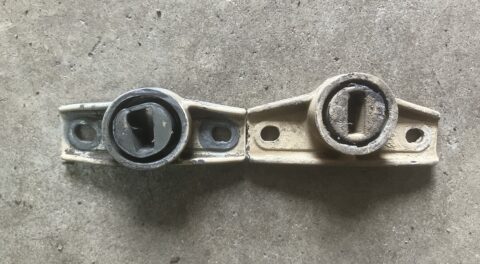
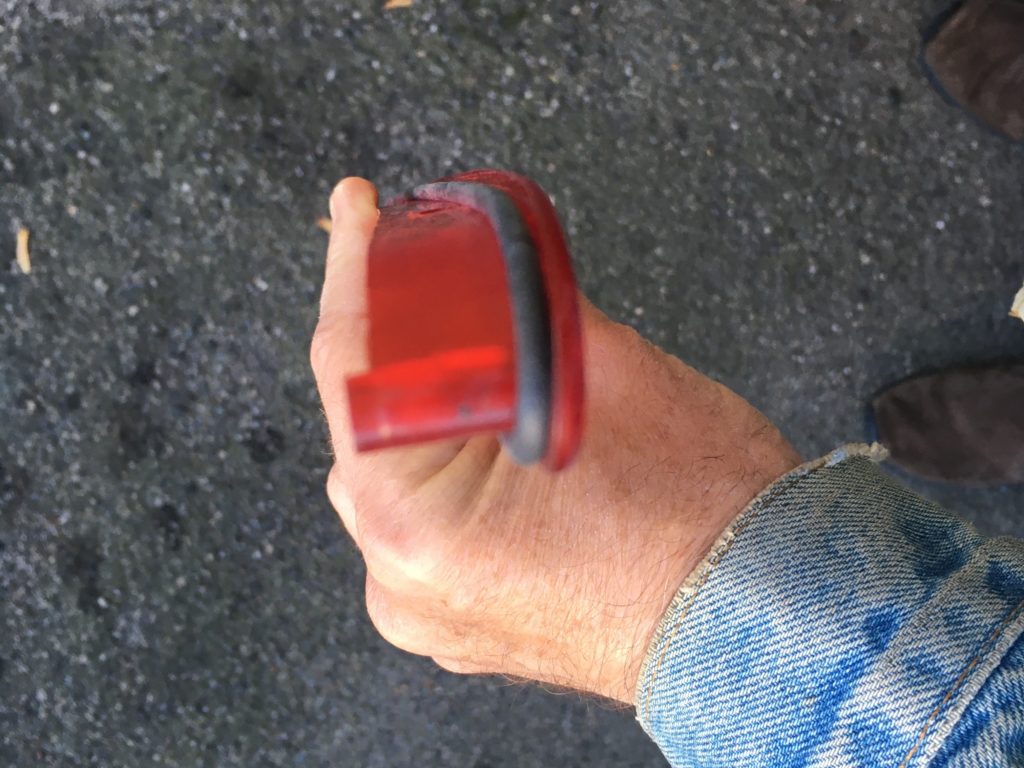
With the tabs freed, the black plastic reflector panel can be withdrawn from underneath, and the red lens pulled up from the top. With the lens out, it was completely obvious why it was leaking: the rubber seal had been squeezed flat.

Yeah, that explains a lot.
This is why I call the black plastic piece the “reflector panel.” Looks kind of evil, doesn’t it?
Now that everything was apart, and the cause of the leak was so obvious that my original idea of sealing things up with a bead of clear silicone seemed like an unnecessary hack. The seal, part number 63258389735, is only about ten bucks shipped. There was nothing pressing on me to complete the repair then and there, so I left everything apart, ordered the new seal, and did the job correctly.
I know you’re shocked. Hey, I do not hack wantonly. I hack strategically.
That looks a little better, don’t you think?
The one part of assembly that wasn’t the exact reverse of disassembly was that after the black plastic reflector panel is snapped to the underside of the red lens, the light panel doesn’t want to easily fit between the snap-in tabs. I wound up removing the bulbs from it, inserting it at an angle, and pulling the ends of the tabs back with a little screwdriver. It might have been better to first fit the light panel to the underside of the black reflector panel, and then snap the pair of them to the red lens. Not a big deal either way.
My bulbs-out approach to getting things to snap in place.
C’est fini!
It really was the perfect repair: Clear beginning, clear end. Problem completely solved. Low cost. Short of finding a car you crave for a fraction of its market value for sale two miles from your house and snagging it before anyone else gets there, things in my automotive world really don’t get better than that.
But if it still leaks, I’m going for the silicone.—Rob Siegel
Rob’s new book, The Best of The Hack Mechanic, is available here on Amazon, as are his seven other books. Signed copies can be ordered directly from Rob here.