Let’s continue my picture-postcard travelogue of the a/c retrofit into Louie, my 1972 2002tii, which I began here last week. (If you want more information, the folks at bmw2002faq.com—the 2002 brain trust—have carved out space for me to post a series of highly-detailed articles about the a/c installation. You can find them here.)
Punching Holes In The Firewall
The most nerve-wracking part of an a/c installation into a car that never had it is having to punch holes in the firewall for the two hoses that plumb the evaporator assembly. On the one hand, the general area that the holes need to go is pretty obvious, the hole location doesn’t need to be millimeter-accurate, and the hoses are flexible—but it is your car, and they are pretty good-sized holes. In an original dealer a/c installation, the holes are usually made just above the exhaust manifold. I thought that I could get them away from the heat by punching the holes in the right rear corner of the engine compartment (near the ignition coil) instead.
In addition, in order to keep the holes as small as possible, I used bulkhead connectors. However, for a number of reasons, I don’t think I’d do either of these things again. There’s about to be a lot more information on this in the series on bmw2002faq.com.

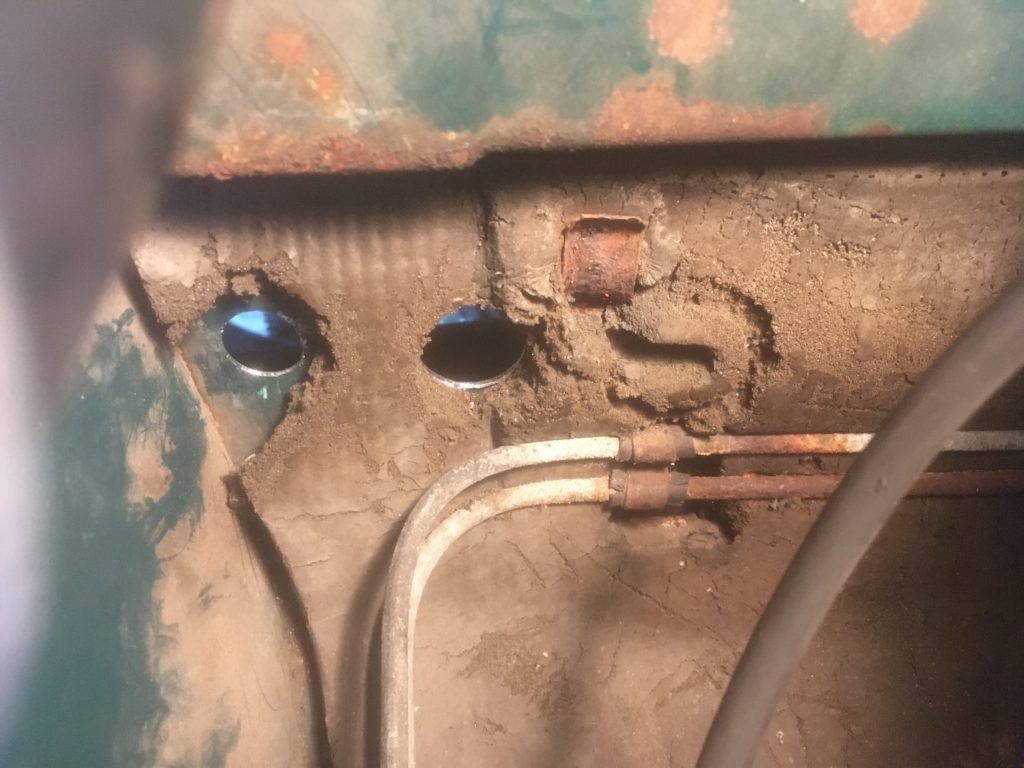
Evaporator-hose hole location as viewed from inside the car: The hole at lower left is the uncovered port (it’s usually plugged) that’s originally on the car. Unfortunately, it can’t be used to run a hose as it exits directly behind the brake lines.
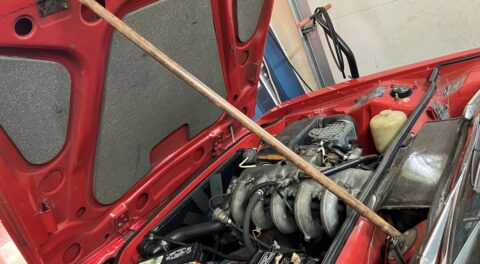
Holes viewed from the engine compartment.
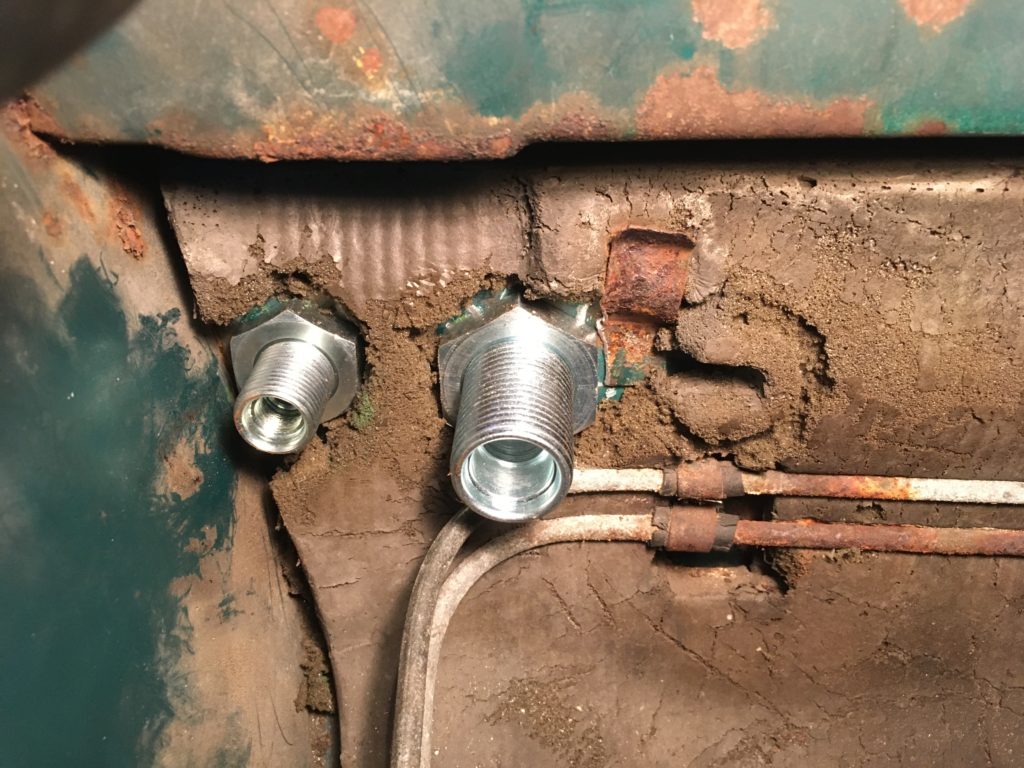
The individual bulkhead connectors were probably more trouble than they were worth.
They did, however, make for a fairly clean installation in the engine compartment.
The Clardy Evaporator Assembly
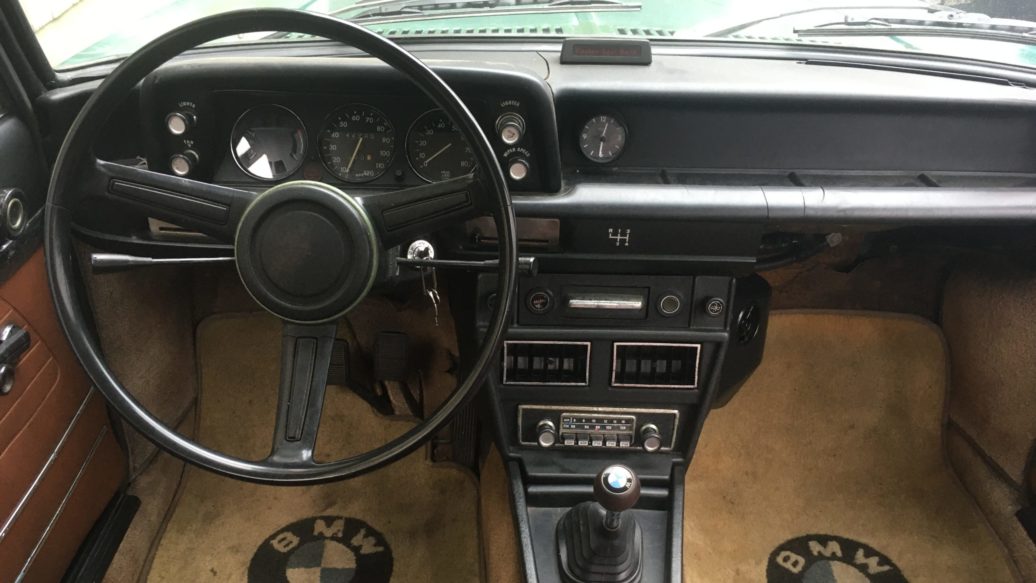
As I said in the last installment, this whole thing started because when I was at the Vintage in 2017, I bought a full Clardy a/c system that someone had removed from his 2002. So out came Louie’s original console…
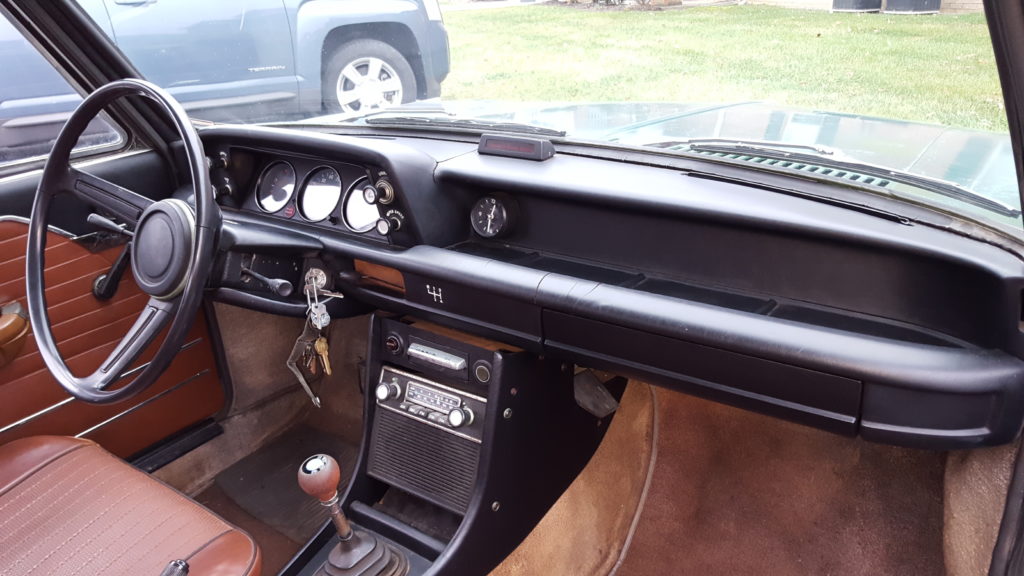
Such a pretty original interior! It definitely gave me pause to pull the console out.

It’s like a bare canvas on which to draw an evaporator assembly.
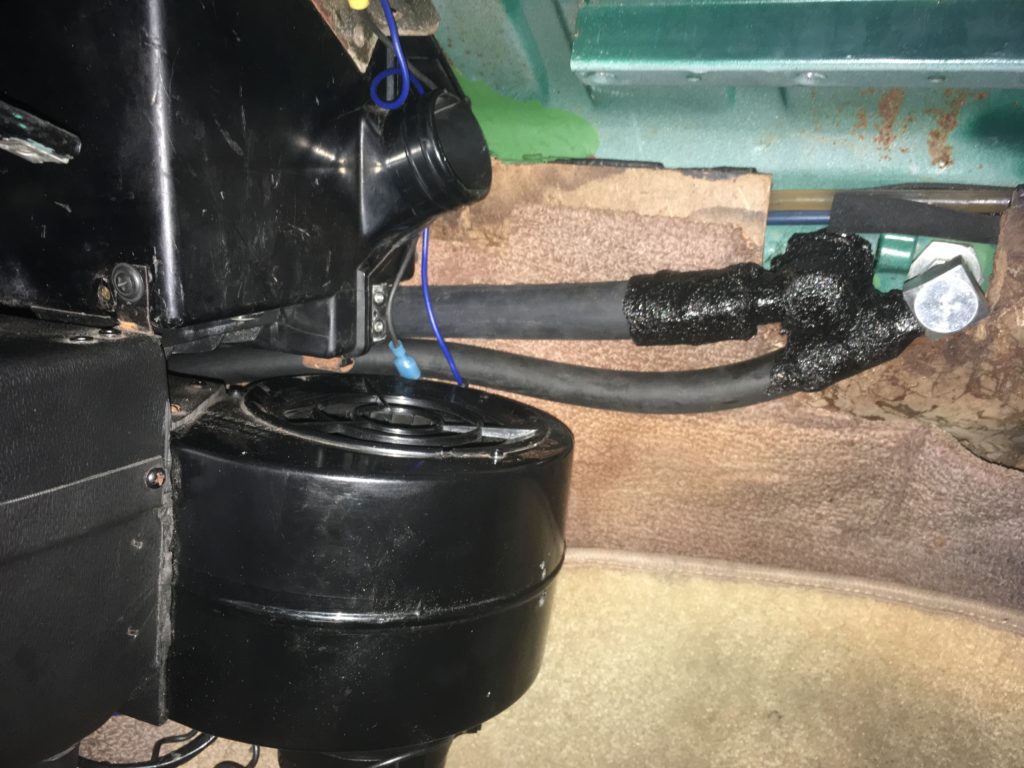
… and, after flushing, and replacement of the expansion valve and O-rings, in went the Clardy evaporator assembly, and eventually the console that surrounds it. It’s rather an odd unit, with the expansion valve external to the case and mounted all the way on the left, with the fan hanging out into the passenger-side footwell and the “console” being more like thin plastic flaps that cover the left and right sides. Further, it doesn’t sit on the transmission hump like the Behr units I’m familiar with. Instead, you have to hang it from the corners of the plastic heater box, which requires drilling holes in the corners. Yeesh!
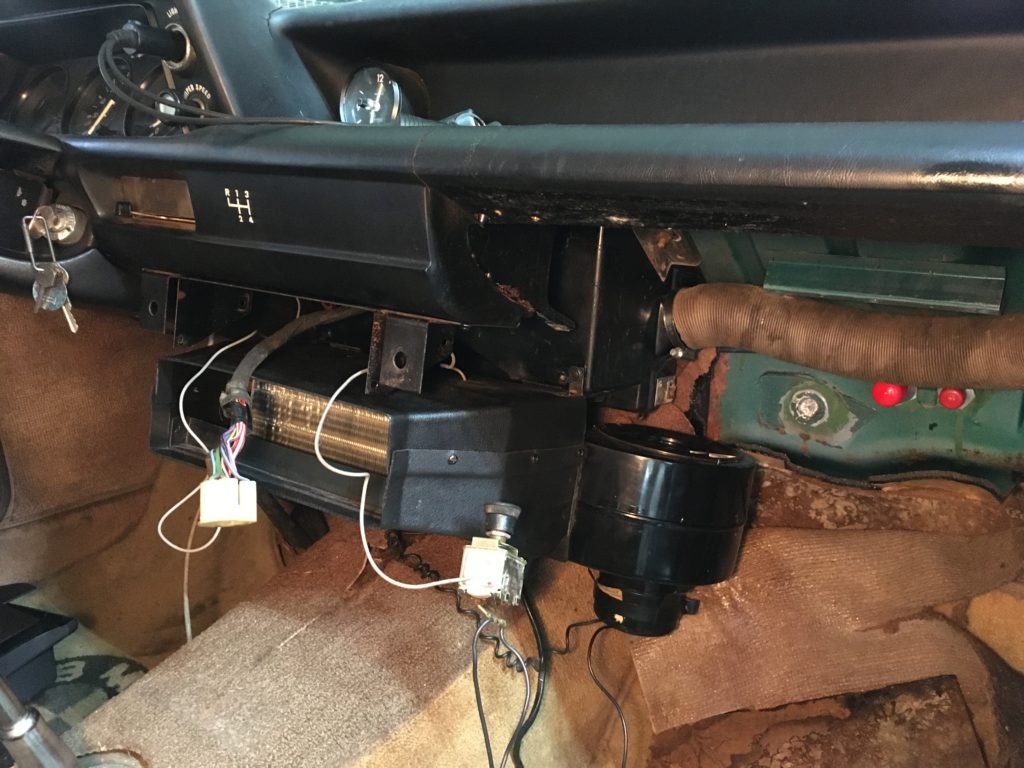
Test-fitting the evaporator assembly and the bracket that holds the console faceplate.
Since the expansion valve is on the left, the two hoses from the bulkhead connectors have to run around the back of the evaporator assembly. There’s very little room back there—zero extra room for slack in the hoses if they’re too long. They need to be cut and test-fitted in place, then crimped, in order to get them right. Holes must also be drilled for the drain hoses on both sides of the evaporator assembly; one of them is visible in the lower right corner of the second photograph below.
Hoses from the right…
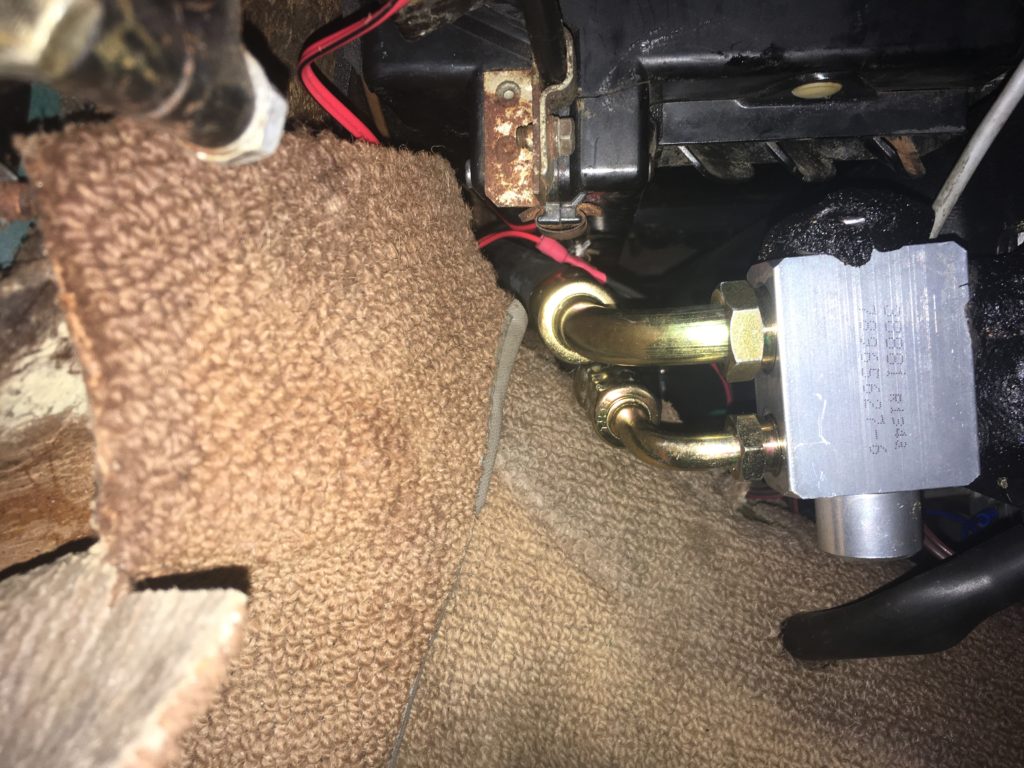
… entering the expansion valve on the left.
Wiring And Electrical Connections
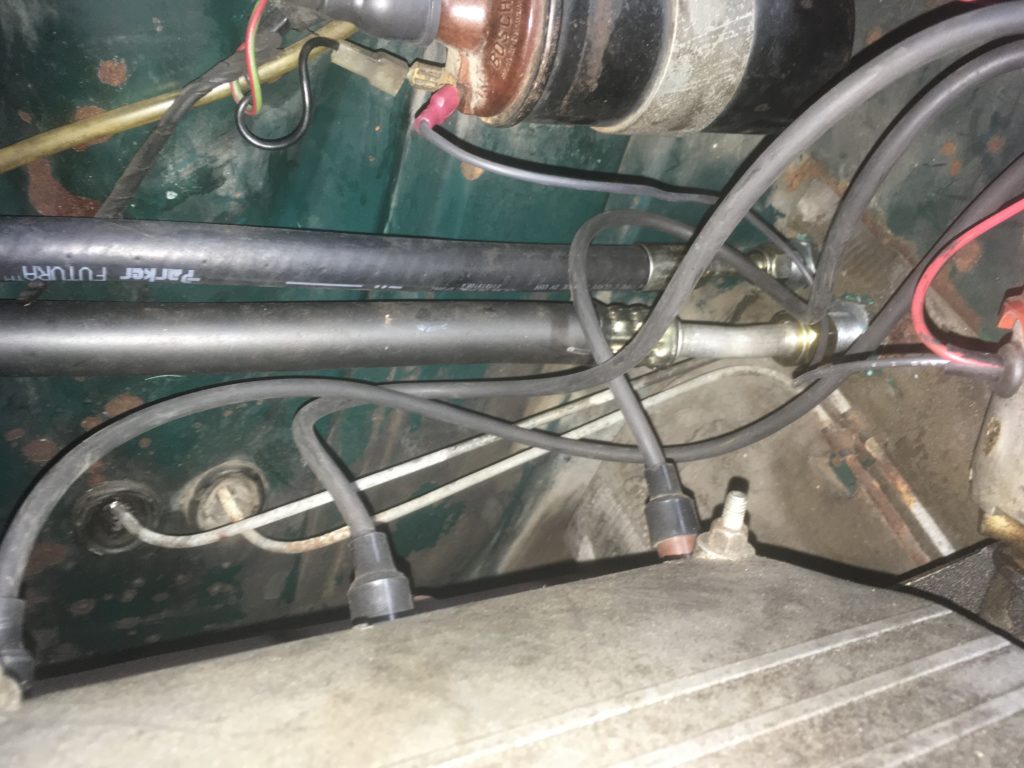
The wiring is the easiest part of an a/c installation. The fan-speed switch for the evaporator blower has to receive power. You can tap it into a wire on the back of the ignition switch as is frequently done with other accessories, but I like to run a wire directly to the fusebox and run it to the rear-window defroster fuse, since I’m unlikely to ever use both the defroster and the a/c at the same time. Switching on the a/c sends power to the compressor to energize the clutch, so a medium-size wire has to be run along the right side of the engine compartment.
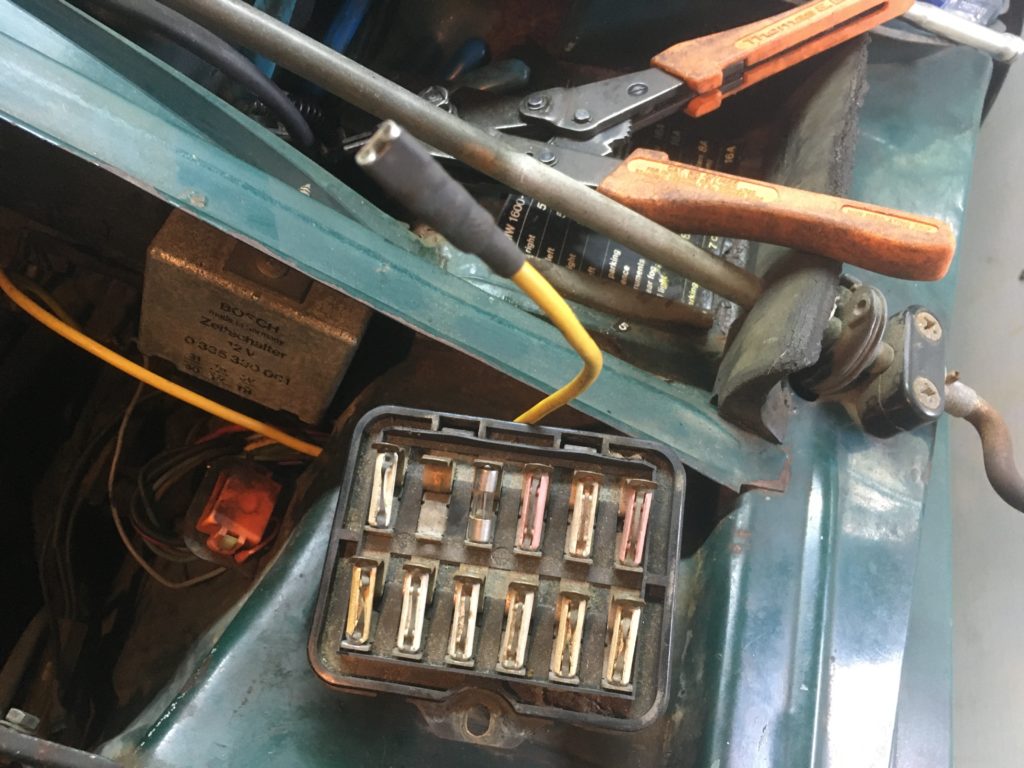
I ran the main a/c power wire for the evaporator blower fan to the underside of the fuse box.
The condenser fan draws a lot of amperage, so it’s best that it’s wired with a fuse directly to the battery and switched on via a relay.
The Surprise
When I had everything installed and pressure-tested, I dropped the radiator back in, reconnected the hoses, and filled the cooling system with a fresh antifreeze mix, only to find that the compressor pulley hit the lower radiator hose. That’s not unusual when using a radiator with the old style of rear-facing lower port, as I was doing. You can usually just trim a little off the front of the hose and pull it forward to get the needed clearance.
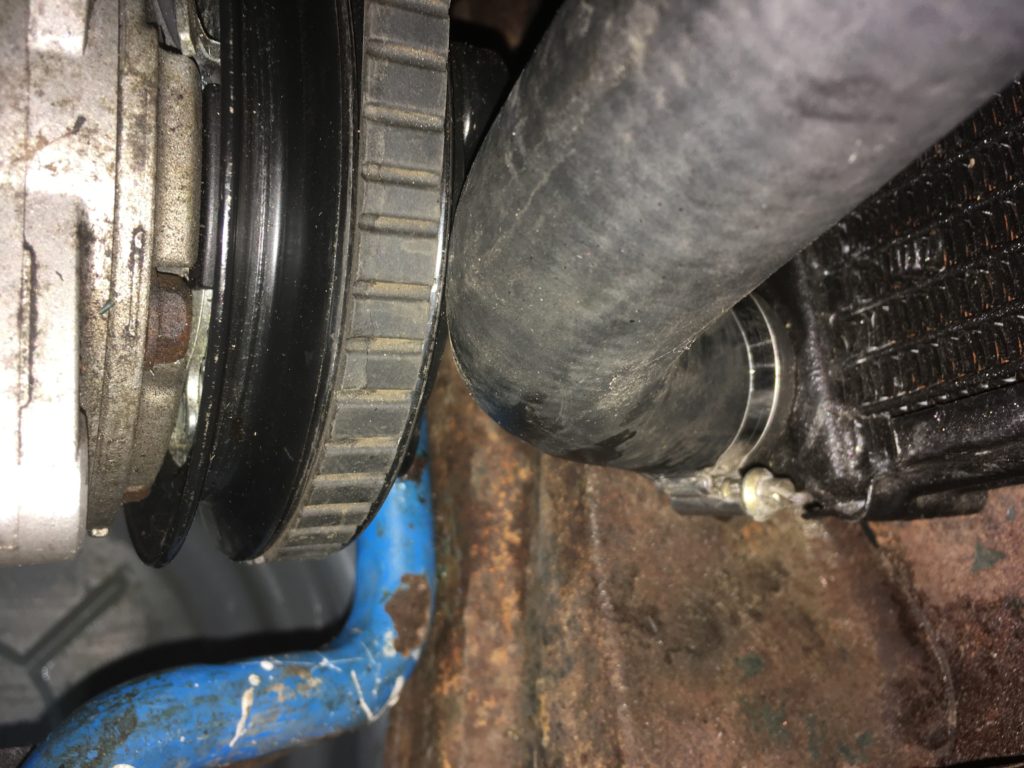
The hose was touching the pulley, but it wasn’t the real problem.
Unfortunately, when I pulled the hose off, I saw that there was a larger problem: The twenty-year-old Seltec compressor, the one that I had originally in my 3.0CSi that I reusing in Louie, has an unusually large clutch on the front, with three big round nubs, and there was no possible way that they’d clear the underside of the radiator hose.
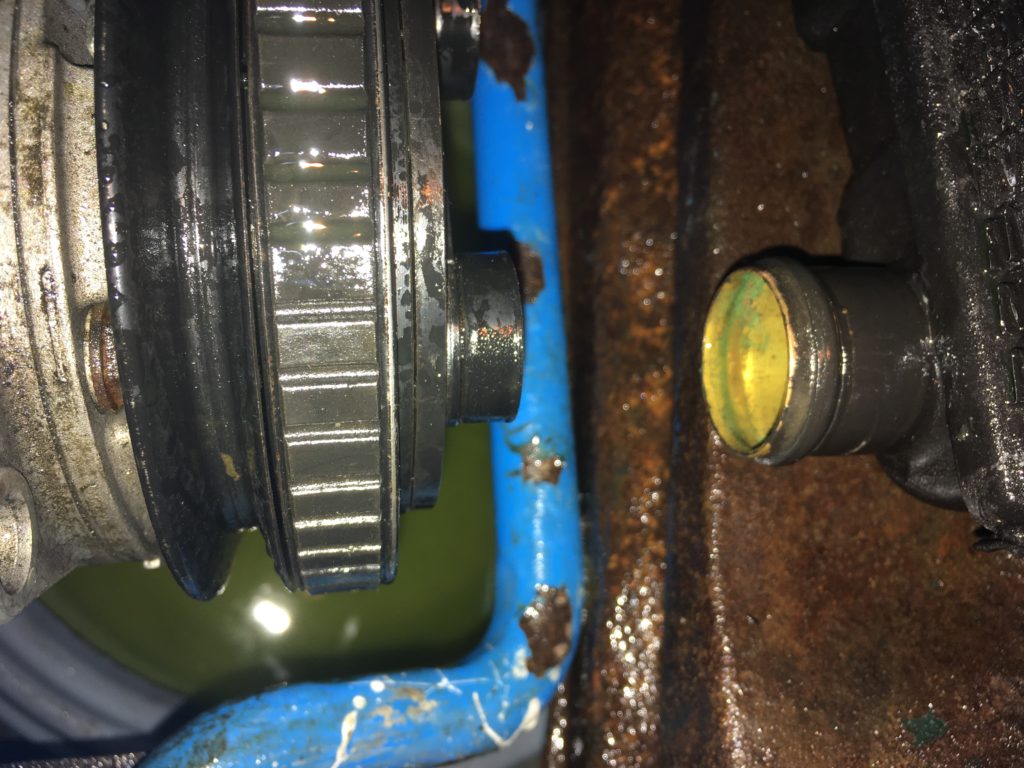
It was this.
The radiator that was in Louie was a Walloth Nesch “extra cooling” radiator I’d bought a few years back. I’ve found that these work well and are reasonably priced. I remembered that I had an original 2002 radiator with the angled lower port specifically designed to clear the a/c compressor kicking around under my back porch. Unfortunately, it was only under the porch because I’d pulled it out of a car because it was causing the car to run hot.
I took both radiators in to a local radiator shop (J.P. Carroll’s in Lexington, Massachusetts), and for an incredibly reasonable price, they swapped the lower tank from the original radiator onto the WN. Thank god for old-school radiator shops! Problem solved.
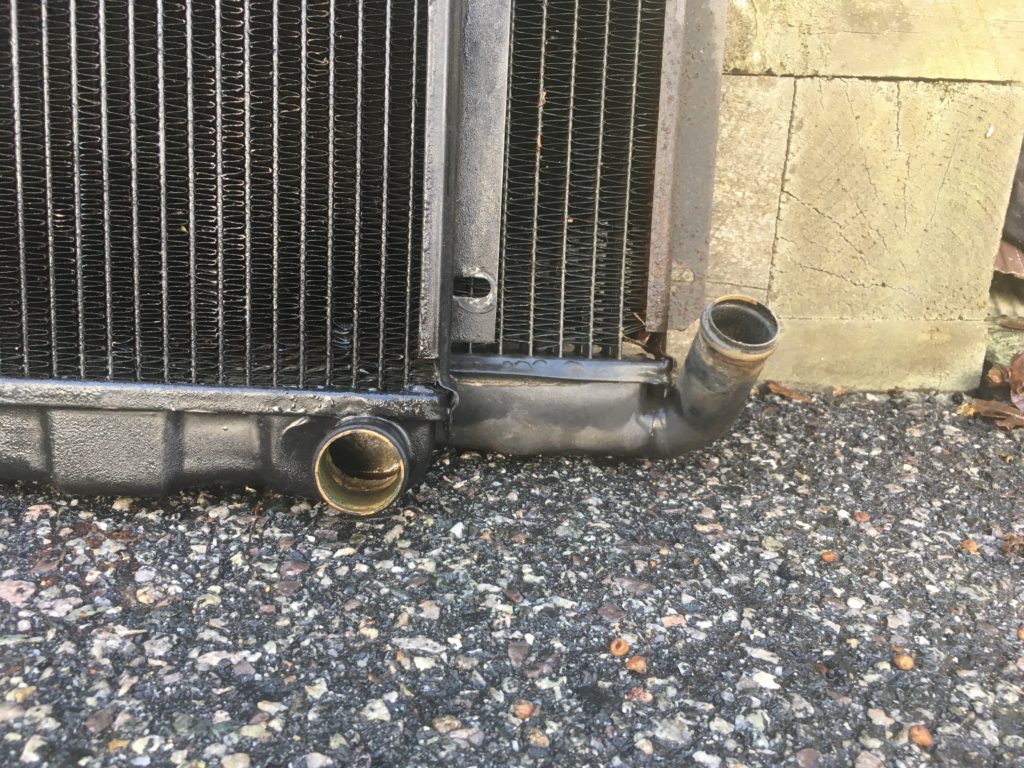
Rear-facing lower port (left), and angled compressor-friendly port (right).

All better!
Faceplate, Radio, And Console
Part of the appeal of this installation was that Louie is a survivor car with a good amount of patina, including a bit of bumpy corrosion on the chrome trim around the ashtray and the Blaupunkt radio, and the used Clardy console matched it; it was likely to look like it had been in the car all along. The original Blaupunkt radio no longer worked, but I had another one that did. I transferred that into the console, along with the original patina-laden bezel that surrounds the radio.
When you install a/c in a 2002, you have to relocate the little four-by-six-inch speaker from the center console; I moved it to the left kick panel near the hood release. Incredibly, in the massive entropy of my basement, I found the four-by-six-inch speaker that was left over from when I’d bought a pair the last time I did a job like this. I can now twiddle the dial of the Blaupunkt just like it’s 1972.
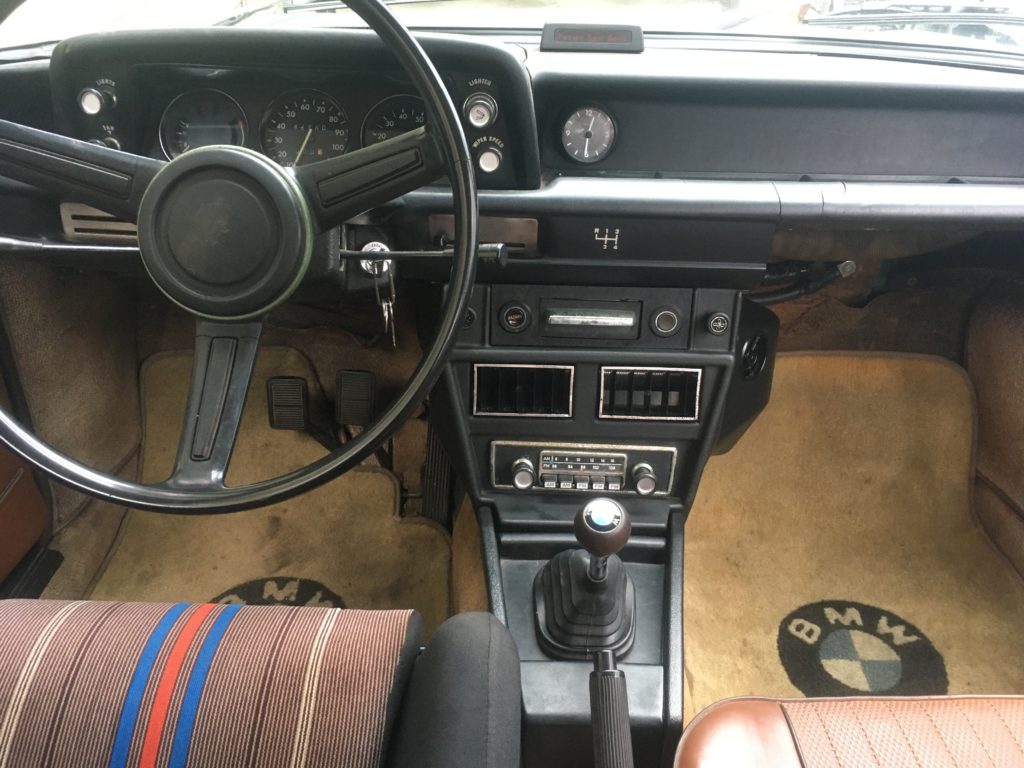
Not bad. Not bad at all.
So it’s done. There’s still a little buttoning-up to do—the glovebox needs to be reattached, and the shift surround isn’t screwed down yet—but it’s all there, and it’s functional. By the time I took it for its first drive, the heat wave in Boston had started to break, so it was maybe high 80s instead of nearly 100.
My knees got so cold that they hurt. Not bad for something that began by walking past a guy selling a used Clardy system at the Vintage in 2017.—Rob Siegel
Rob covers this a/c retrofit in a lot of detail at bmw2002faq.com/thehackmechanic, so for more information, look there. His new book, The Best of The Hack Mechanic, is available here on Amazon, as are his seven other books, including his vintage air-conditioning book, Just Needs A Recharge. Signed copies of all Rob’s books can be ordered directly from Rob here.