
Last week, when I practically collapsed from exhaustion at 5:30 p.m. on Christmas Eve. I had led Zelda’s transmission to water, but could not make it drink. That is, I’d muscled it into position using my transmission-jack-balanced-on-a-lift-table-then-slid-onto-a-wooden-platform contraption, felt the splines on the input shaft align with those in the clutch disc (you can tell by leaving the transmission in gear and trying to rotate the transmission’s output flange; when the splines line up, it’ll no longer turn), but could not for the life of me pull the transmission flush with the block. I tried connecting a ratchet strap to the base of the transmission jack and wrapping it around the sway bar; tightening the strap initially appeared to have the desired effect, but then the jack began to slide forward under the transmission, which was certainly not a good thing.
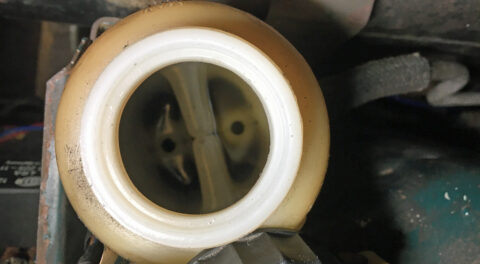
The inability to fully mate engine and transmission is usually due to the tip of the input shaft not sliding into the hole in the center of the pilot bearing that’s in the end of the crankshaft. Alignment of the clutch disc with the pilot bearing is essential, and that’s what the plastic alignment tool that comes with every clutch kit is for. But last week I described having some difficulty removing the alignment tool, so I wondered if maybe the clutch disc had slipped, in which case I would need to pull the transmission completely out so I could recheck the spline-to-pilot-bearing-hole alignment—a possibility that made me cringe. So I left it at that point.
On Christmas morning, I decided to simply give it another go before resorting to more drastic measures. I rooted around in my war zone of a garage and found the threaded rod that I’d ordered from McMaster-Carr ten years ago when I did this same job on my Z3 M coupe. I cut two six-inch sections, found the necessary nuts and washers, and put one set on each side of the transmission. I wasn’t able to get a traditional wrench on the nuts and turn it due to clearance issues, but my rarely-used crow-foot wrenches rescued me.
I slowly tightened the nuts, taking care to examine the gap at the bell housing and keeping it even on both sides. The threaded rods overcame whatever pilot-bearing alignment issue I had, and once the tip of the input shaft started to go into the hole in the center of the bearing, I gave the transmission a good shove from the back, and it just slid all the way in with a reassuring THOCK. And if that sounds erotic, damn Sam, it was awfully good! At least it was for me.
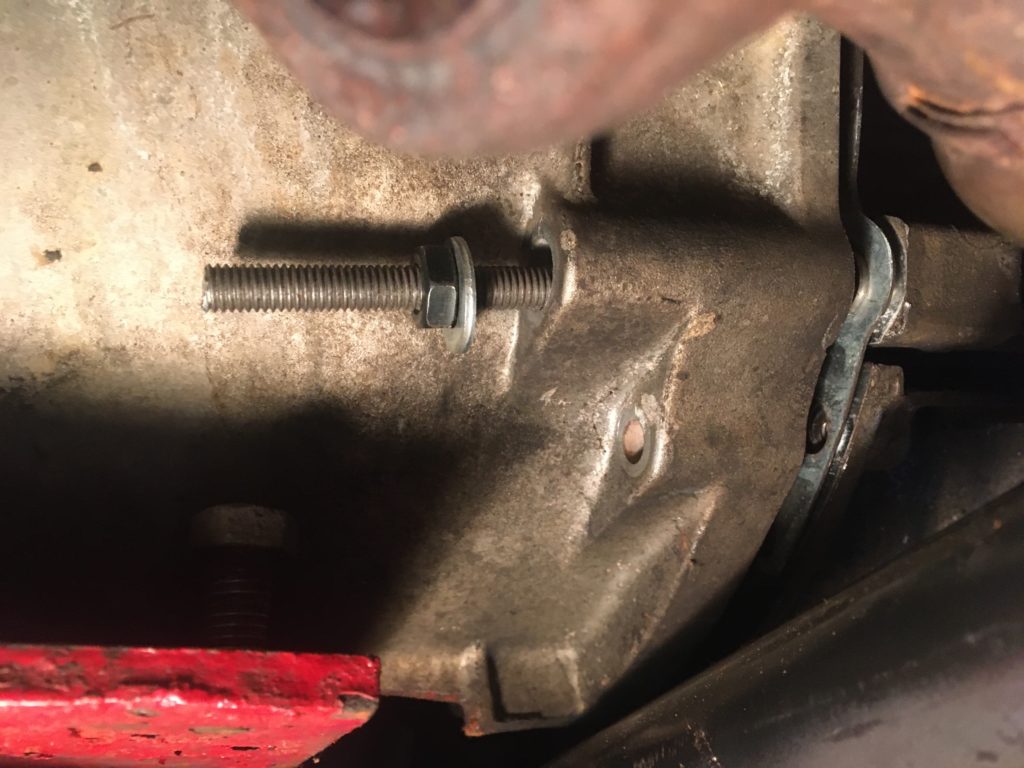
I used threaded rods and nuts to pull the transmission toward the engine.
I thought I was home free, needing only to reattach the starter to complete the gearbox-to-engine mounting. But then I realized that in addition to the two Torx-head bolts that are accessible from underneath the car vial long extensions, I had to deal with the starter alignment pin on the gearbox.
To remove the gearbox, I’d had to place a long screwdriver down from the top and bang on it with a hammer to pry the starter off the pin. At that time I made a mental note to clean and sand the pin in order to make it easier to get the starter back on, but I forgot. And now the starter would not seat itself on the pin for love nor money.
On a vintage car, there’s plenty of access to the starter, but on modern fuel-injected cars, it’s typically way up under the intake manifold. It was nearly impossible to even get a hand on the back of it to lift it up so that its front would seat on the pin. I tried forcing it on by tightening the two Torx-head bolts, but without the pin being seated first, it just jammed, and I had to pry it back off and start again.
The troublesome starter alignment dowel pin in the transmission (photo: evbimmer325i.blogspot.com)
I used two ratchets to evenly tighten the starter bolts.
And then it got worse.
While I was buttoning things up, I found that the connector that’s supposed to snap onto the reverse switch on the transmission wouldn’t reach it. I think I was simply in denial over the possibility that the cable was pinched between the engine and transmission, because I’d taken a lot of care to make sure it wasn’t. When I was through with the transmission installation, reconnected the battery, and turned the key to ignition, the temperature gauge pegged, and when I tried to start the car, it cranked but showed zero inclination to fire up. I offered a sacrifice in the form of a blast of starting fluid into the intake bellows, but it made zero difference.
I totally should’ve regarded this as evidence that the wires were pinched before I buttoned everything up.
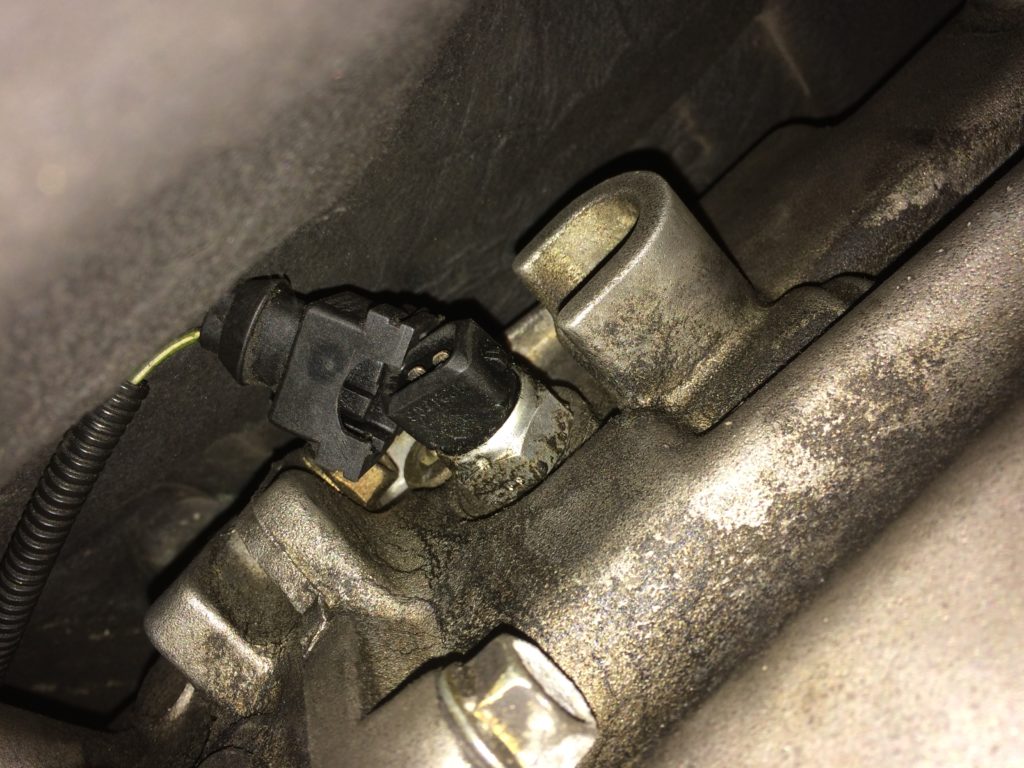
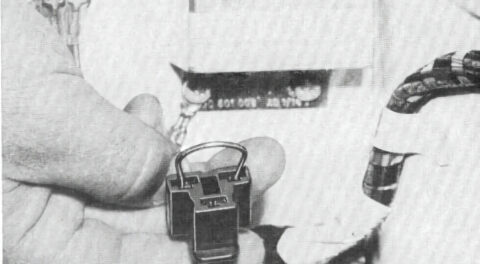
It’s difficult to access or even see the top of the bell housing, but by undoing the harness tray that runs around the back of the firewall and pulling it away, I was able to see where the wire (actually a pair of wires inside a plastic conduit) vanished between the transmission and engine block. Damn!
The trapped wires in their conduit (screwdriver and yellow arrow) as they disappear into their transmission-to-engine sandwich.
Now there was zero question that the wires to the reverse switch were pinched, and it was reasonable to assume that they were shorting to ground. However, I checked the fuses in all three locations (the main fuse box on the left side of the engine compartment, the power distribution box on the right side, and the high-amperage fuses inside the car above your left knee) and didn’t find any that were blown, so it seemed odd that the pinched wires would cause the temperature gauge to be pegged and the no-start condition. I pulled out my ancient Windows XP laptop with my copy of BMW Scanner V1.40, and the OBD-II interface, and read the codes. They were an odd combination of EWS (immobilizer), SRS codes almost certainly related to the airbag set off from the car’s recent curb strike, and IKE (instrument cluster) codes.
I cleared them, but the IKE codes immediately returned. Were the IKE codes related to the temperature gauge being pegged?
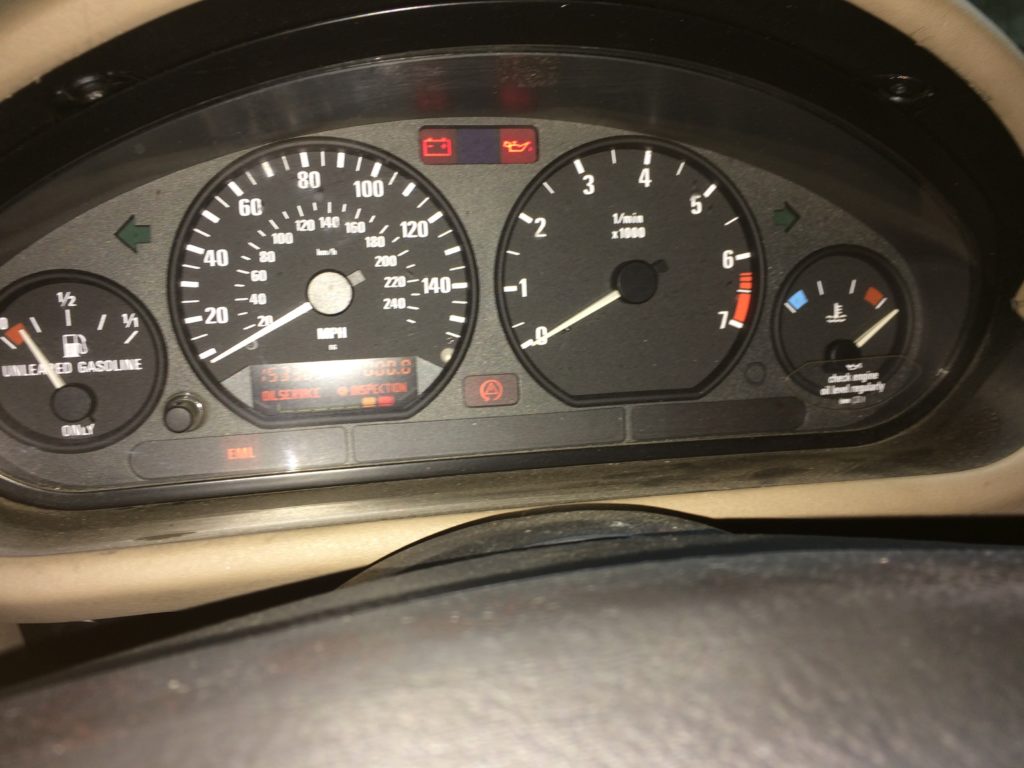
The no-start was one thing, but the temperature gauge being pegged was an odd symptom.
I posted the question on Facebook to get input from the hive mind. FB friend Brian Dix was very specific, advising that I check Fuse 26, but I’d already checked all the fuses and hadn’t found any were blown. FB friend Sam Aleksanyan offered that the no-start and the temperature gauge being pegged together were a textbook symptom of the DME being in boot mode. I did some onlinesearching and verified that this appeared to be true. The temperature gauge being pegged initially seemed odd until I remembered that on modern BMWs, the gauge isn’t directly connected to the temperature sensor—its reading is actually determined by the DME. That is, if it’s 100 degrees out and you’re driving 85 mph up a hill, the engine will run a bit hotter, but the DME is going to keep the temperature gauge right in the middle so that the driver doesn’t, you know, worry. [It works the same way, but in reserve, with a failed thermostat. Ask me how I know.—Alex Tock.]
I thought of the problem as two separate issues. The first was that I needed to free the pinched wires, because even if I didn’t understand why, it was inconceivable to me that this wasn’t the root cause of the no-start. The second was that with the wires freed, I needed to see if the car started again, and if not, trouble-shoot why.
Regarding the first issue, I was tempted to simply cut the wires, as the alternative was separating the transmission far enough to pull them out, and this meant disconnecting the driveshaft, which in turn required dropping the exhaust. I might have cut the wires, but the more I looked at it, the more I realized that it would be difficult to even get a pair of wire cutters or a single-edge razor blade down to where the wires were pinched, much less to get crimpers in there to splice in a repair after I’d cut them. Plus, if for some reason I was wrong—if cutting the wires didn’t fix the no-start—I’d just be making work for myself.
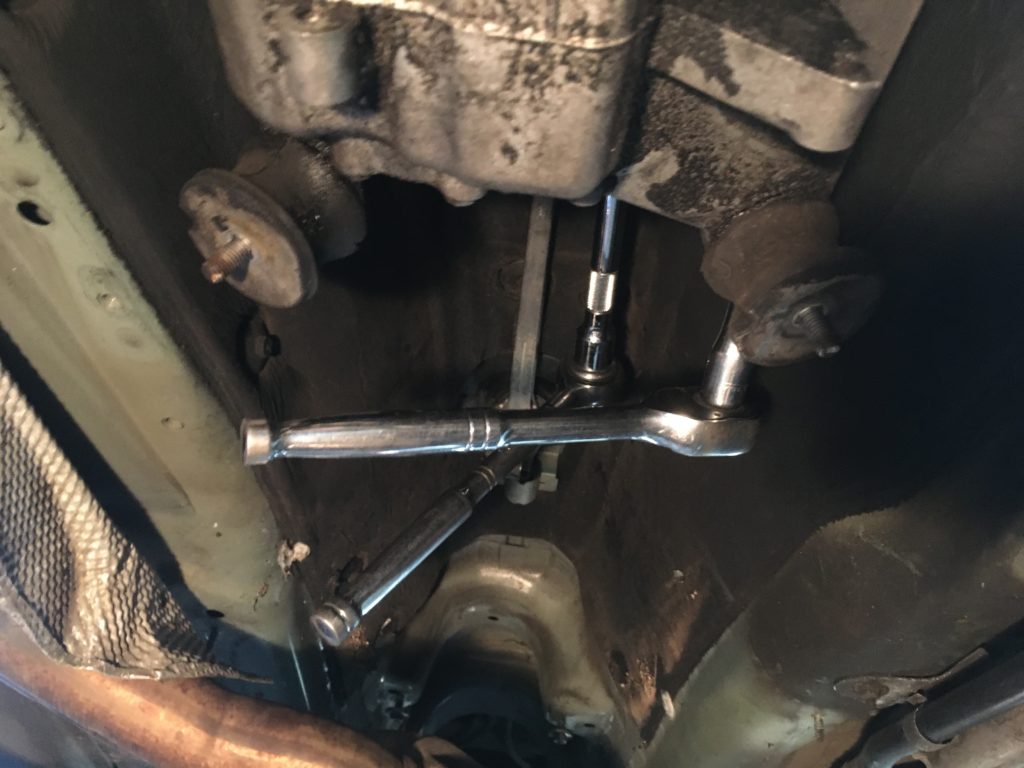
So I began the maddening and somewhat humiliating process of disconnecting stuff from the just-installed transmission and separating it slightly from the engine. Like many such things, it wasn’t as bad as I imagined—about an hour to drop the exhaust and driveshaft and lower the back of the transmission (again), and about half an hour to reach and loosen the Torx-head bell housing bolts (again). A step in this process requires disconnecting the shift-support rod from the back of the transmission, which means undoing the “bitch clip.” I was glad that I took Facebook friend Jeffrey Miner’s advice and ordered a tool from Amazon that makes it easy, even though I’d previously succeeded in getting the clip off without the tool. This time,it took about fifteen seconds.
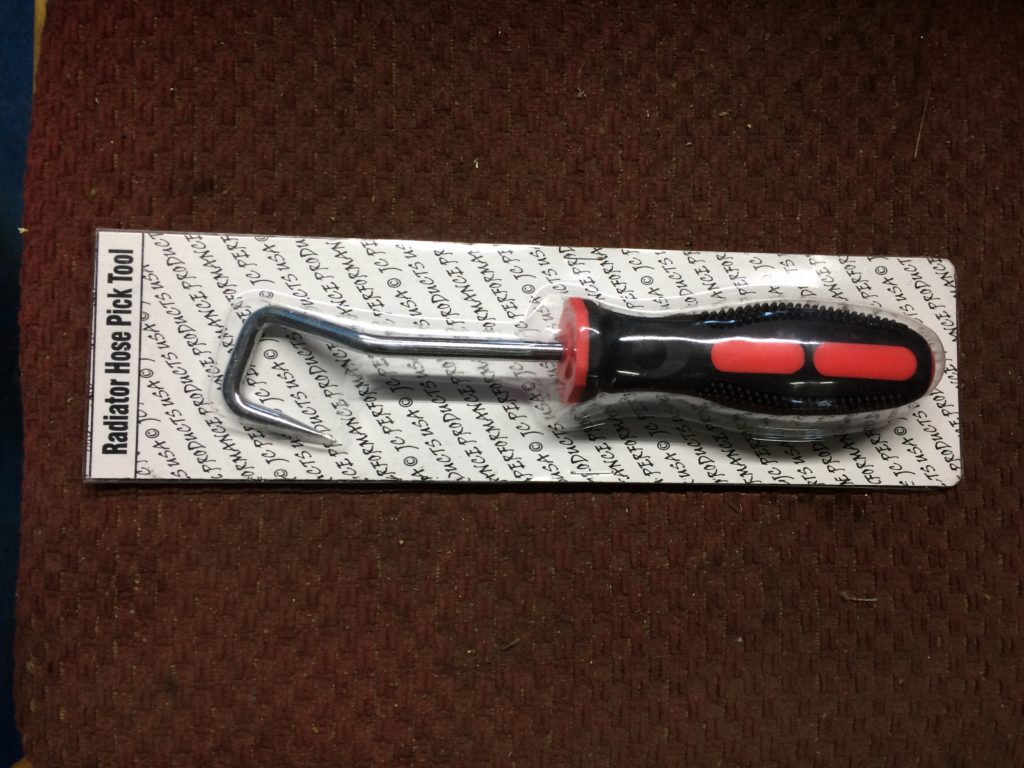
Coolant-hose hook, aka bitch-clip remover.
But even once I’d loosened the Torx-head bolts and levered the transmission away from the engine and could see a good 1/4″ gap between the two, actually freeing the trapped piece of conduit was surprisingly challenging, because one of the Torx bolts went through a metal eyelet holding the conduit in place. Its purpose is to keep the section of conduit above the engine-transmission gap, which was ironic because not only had it failed in this purpose, it was now making it almost impossible to free the trapped section. I had to withdraw the Torx bolt completely from the eyelet, then take a coat hanger with a hook bent into the end, drop it down from the top, and lift out the section conduit that was mashed firmly against—and probably shorting out to—the bell housing.
Unfortunately, when I reconnected the battery and turned the key, there was no change: The temperature gauge was still pegged, and the car still showed zero inclination to start.
I was livid. Suddenly, the months of work I’d done on Zelda, first resurrecting her after her curb strike in November by the previous owner’s son, then replacing the clutch, all seemed for naught. My mind fast-forwarded straight to the worst-case scenario of never being able to figure it out and selling the car for parts. Then I calmed down, became a bit more, to make a bad pun, grounded, and decided that it was still likely that this was something related to the pinched wires having shorted against the drivetrain.
I contacted Sam Aleksanyan, the fellow who’d proposed the theory that the DME wasn’t getting out of boot mode. We exchanged a few messages in which he offered that the problem could be because the DME wasn’t getting power on all of the pins where it was needed, or because one of its sensor inputs was wacky, or because it needed to be re-flashed. Sam is local and offered to come over and help diagnose it, re-flashing the DME if necessary. I gratefully accepted. We scheduled something for the following day.
In the meantime, I thought I’d closely examine the DME’s power source. I don’t use my Bentley manuals much these days, preferring the longer, more detailed explanations I can find in online forums, but the Z3 manual does have a thorough section on fuses. I saw that Fuse F108 inside the car is for the DME main relay, Fuse 202 in the power-distribution box lists the ECM, and Fuse 26 in the main fuse box—the one Brian Dix had mentioned—lists both the DME and the back-up lights. So it made sense that if the pinched wires had shorted to ground, Fuse 26 would be the one that was blown, and this would pull the DME down with it.
Now, I’d checked every fuse before, but what this means is that I visually inspected the fuses whose tops were open and showed the exposed link that melts when the fuse is blown, and tested the fuses whose tops were closed by touching the little contacts on the edges with a multimeter set to measure resistance and beeping if there’s continuity. However, it’s possible to get either of these wrong. This time I pulled Fuse 26 (a closed-topped fuse) out of its socket. When I turned it sideways, I could see that the link inside had melted. I’m not sure how I’d screwed up the first time, but it doesn’t matter. The point was: Gotcha!

Open and close-topped fuses share the main fuse box.
I replaced Fuse 26, turned the key to ignition, saw that the temperature gauge was no longer pegged, cracked the starter, and the engine instantly fired up, throaty-loud because I hadn’t reconnected the exhaust yet. In the immortal words of Stuart Scott, booyah!
I then spent another four hours buttoning the transmission back up, largely due to that Torx bolt at the top of the engine—the one that had the ring connector on it—that I could not easily get back into its hole and get the Torx socket back onto. Plus, there were the usual delays due to sockets and fasteners skittering across the garage floor into oblivion. I took particular joy in reconnecting the backup-light switch while also rolling my eyes at myself for the amount of denial it took to not immediately stop and find the problem when I couldn’t connect it the first time.
This felt awfully good.
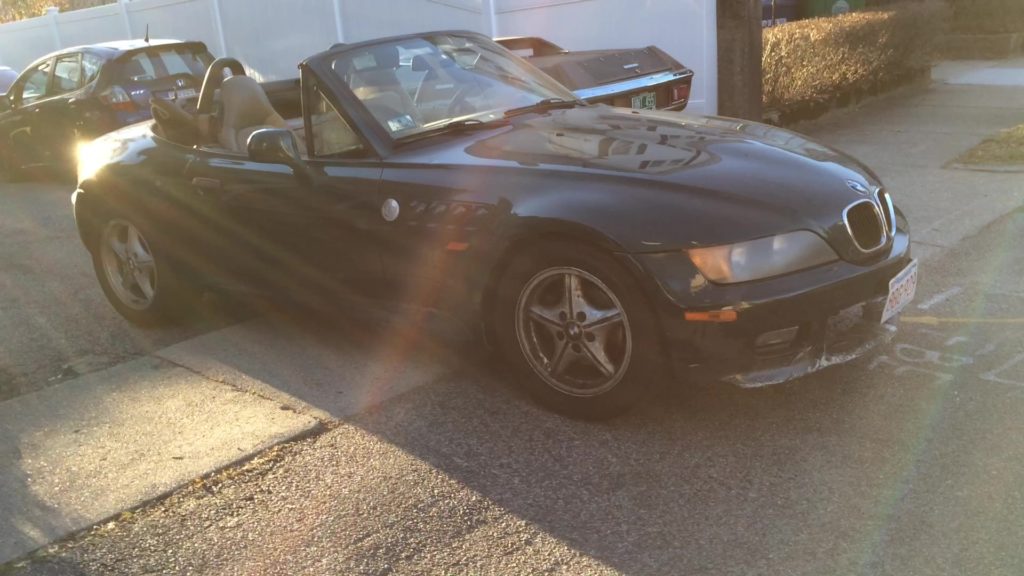
I’d bought back Zelda from my friend and neighbor Kim on December 1, and had immediately parked it on the lift to dive into the transmission removal and clutch repair. I drove it out of the garage on December 29, so the clutch job took me nearly a month. This didn’t surprise me at all; while I have no doubt that folks can replace clutches in a day, I no longer have that kind of stamina, and I certainly don’t have all the parts in stock in my garage.
However, the number of things that went wrong did surprise me. And not only in the transmission installation. I thought about it from an anthropomorphic standpoint. When I owned Zelda, she was like a happy-go-lucky kid: Very little went wrong with her. But the last year, with the stuck throttle body, the throttle cable that lost its grommet, the curb strike, and now this challenging clutch job, it was like Zelda was going through adolescence.
Well, no. The car is a ’99, so she’s 22. Maybe more like too many cosmopolitans after a breakup with her first serious college boyfriend.
But then I realized the reason for the spate of problems this year was way more obvious than that. One word: 2020.—Rob Siegel
Rob’s latest book, The Lotus Chronicles: One man’s sordid tale of passion and madness resurrecting a 40-year-dead Lotus Europa Twin Cam Special, is now available here on Amazon. Signed copies of this and his other books can be ordered directly from Rob here.


 (1)")