From the last few posts, you can tell that I have several garage projects proceeding in parallel. These include giving my E39 some love and replacing its crankcase-ventilation valve (CVV), and buttoning up the engine compartment in Hampton (the 48,000-mile ’73 2002 I bought last September)—and that’s not even mentioning everything on the Lotus.
All the CVV parts for the E39 have arrived, but the past week it’s been rainy. The E39 has been in the driveway all winter. I’d love to bring it into the garage and be able to knock off the CVV repair a bit at a time after dinner, where it’s warm, and the tools are feet away, but other cars are still shoehorned in there: The garage is 31 feet deep, which means that only certain cars will fit nose-to-tail. The one in the back right is the 3.0CSi, and it’ll fit nose-to-tail with the Lotus, but it won’t with the E39, and the 3.0 sure as hell isn’t going to sit outside in the rain. So the CVV will have to wait.
So for now, it’s back to finishing the water-pump replacement and buttoning up Hampton’s engine compartment. This makes sense anyway, as it will enable me to pull the car in and out of the garage under its own power. I don’t want it out in the rain, either, but it’s currently the car on roller dollies blocking in Louie, the other 2002. Making it mobile gives me options.
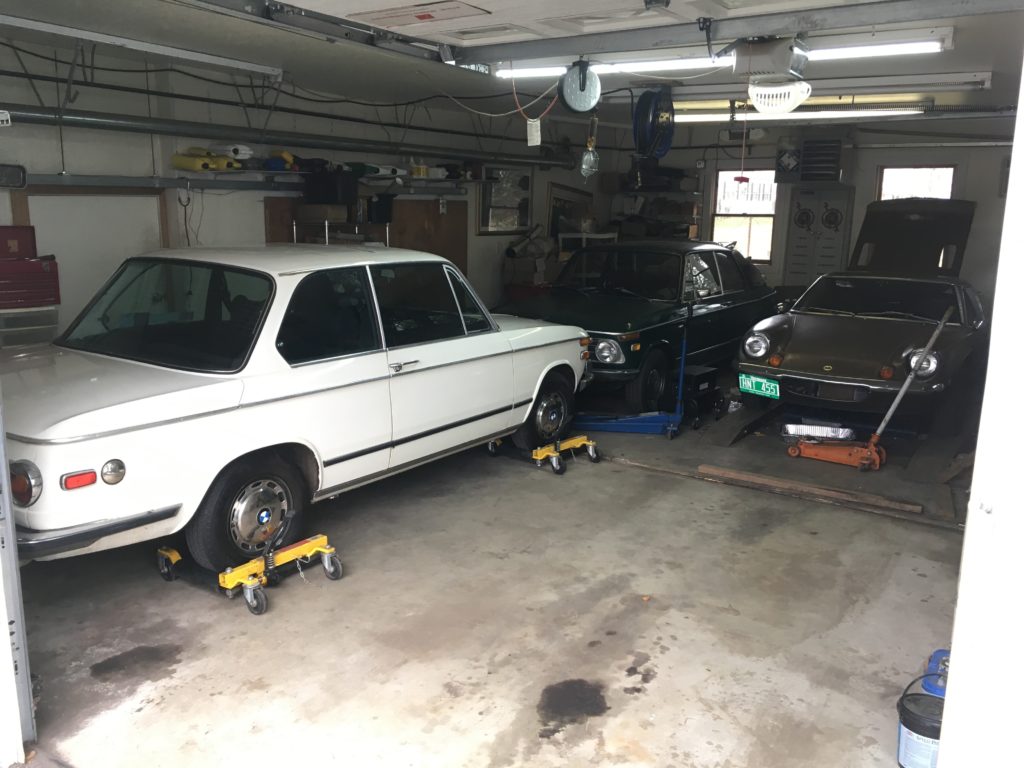
Hampton slid into its winter space shortly after Thanksgiving, rendering it and Louie, the ’72tii, immobile without committed action on my part.
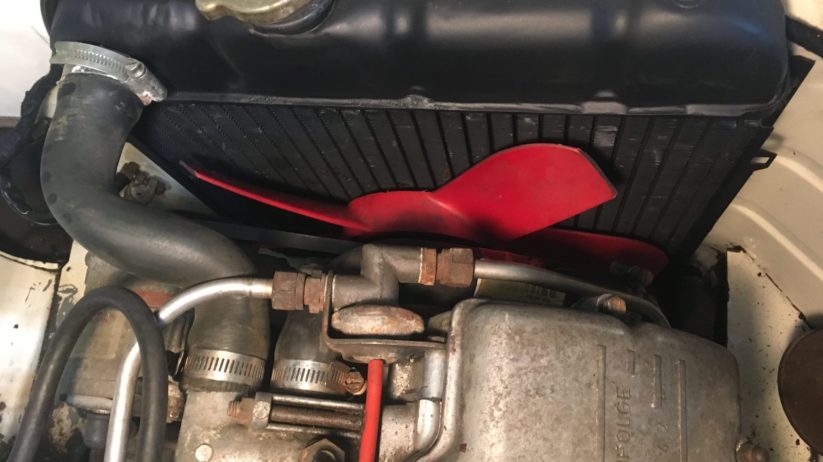
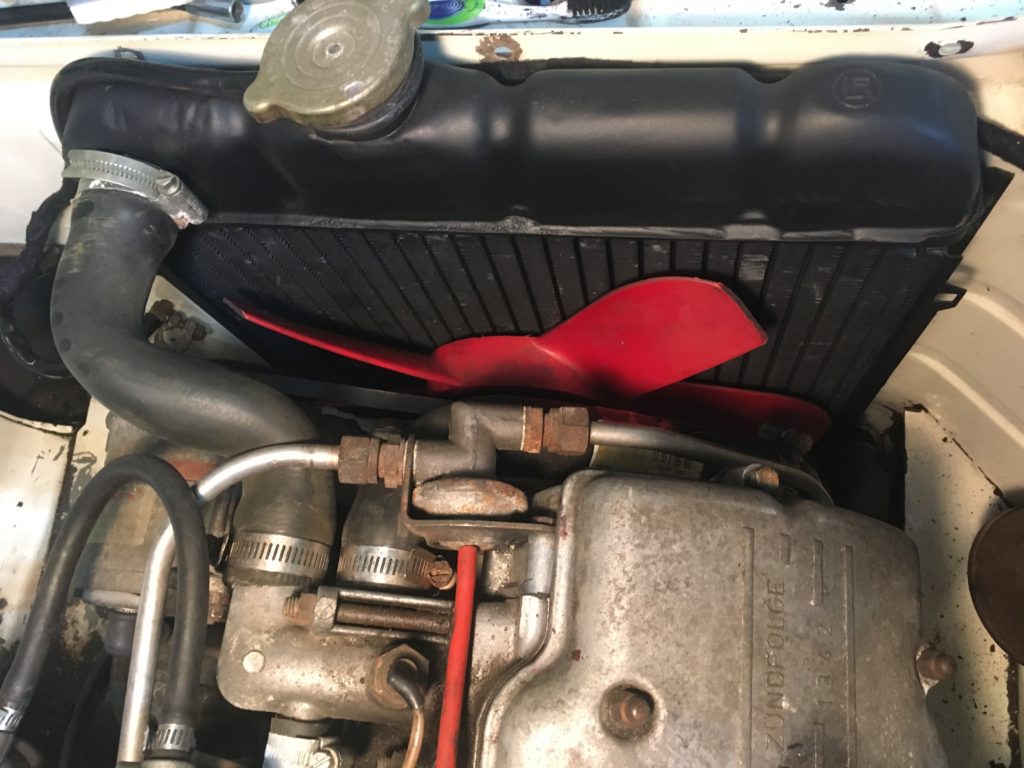
Two weeks ago, I’d reinstalled the rebuilt original water pump and was hedging on the issue of whether to treat the small amount of surface rust behind the radiator with a rust converter or inhibitor like Loctite Extended or Rustoleum Rust Reformer. I decided that this choice was better left to the next owner, whoever he or she may be. The radiator itself, although in apparently very good shape, had a few scrapes on it. I’m usually not big on repainting engine-compartment components, since I think they look out of place unless you do everything, and I’m not prepared to go down that rabbit hole, but if you buy a new radiator or take yours into a radiator shop for a boil-out, it comes back freshly painted, so I didn’t see the harm in giving it a coat of flat black.
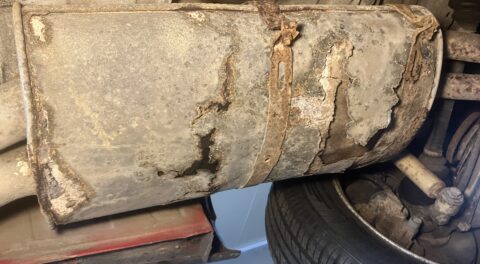
As I pulled the hoses off the radiator in preparation to paint it, I saw a chunk of crystallized coolant dangling in the entry to the upper hose. This car had sat for a decade, and the coolant level had fallen due to a leaky water pump, so it’s possible that’s where the air/coolant line had been (just a guess). I rinsed out the radiator before painting it, and made a note to drain the rest of the coolant from the block and flush it with a hose.
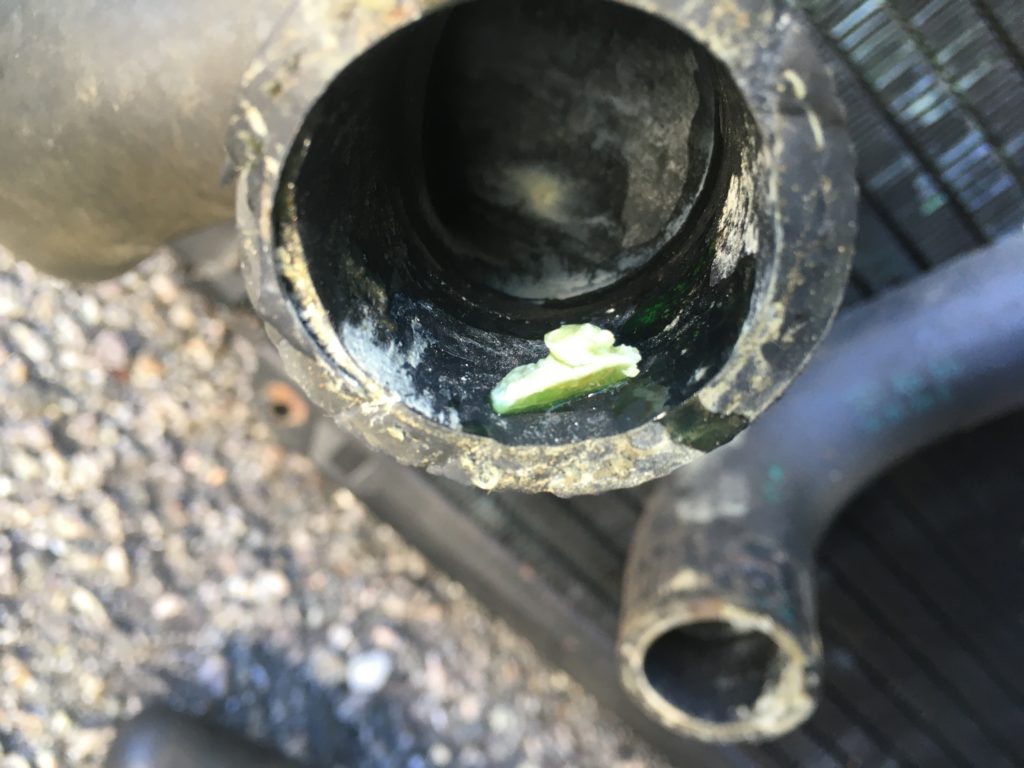
You’ll sometimes see crystallized coolant like this where it’s exposed to air.
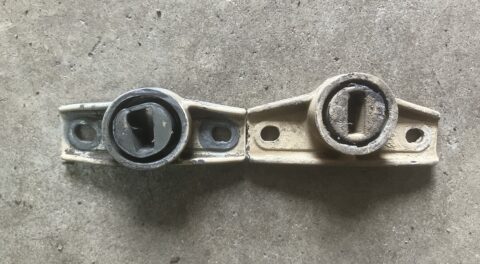
One of the advantages of having the coolant hoses removed is that it gives you the chance to scrape the powdery corrosion off the necks of the water divider that bolts to the head. In a car that’s been sitting, all the coolant necks are potential leak sites due to this kind of corrosion, but this aluminum divider seems to bear the brunt of corrosion more than any other neck. I use a putty knife on the parts I can reach, then tear off a one-inch wide strip off a big Scotch-Brite pad and use it shoeshine-style to clean the parts of the coolant necks you can’t reach.
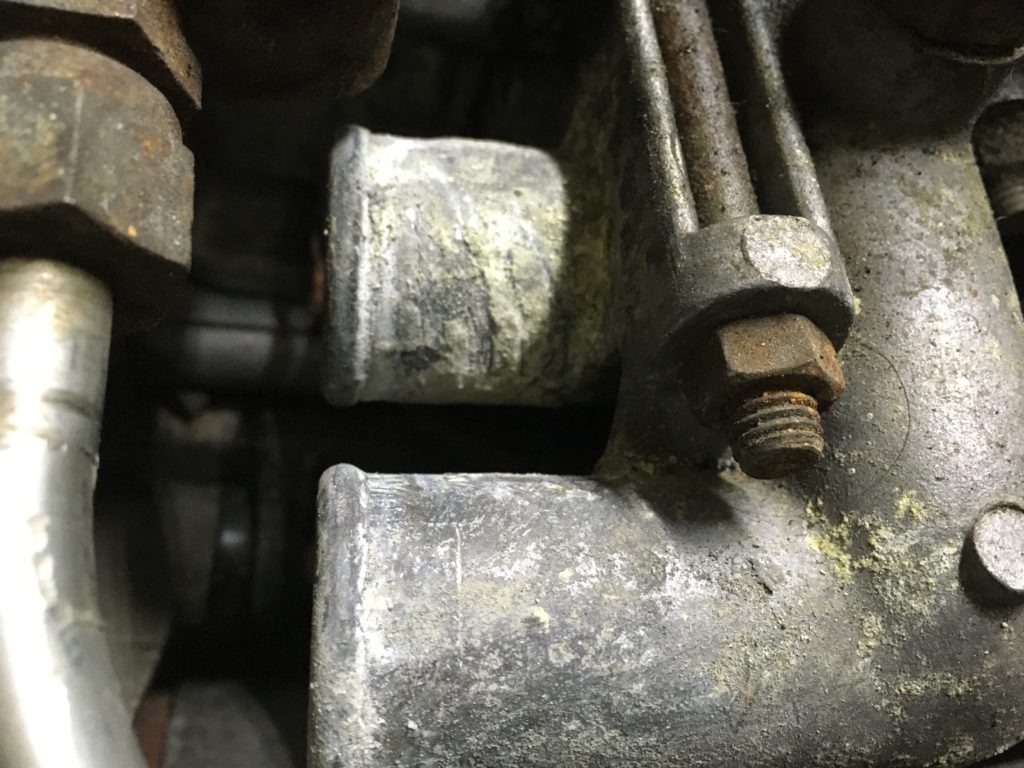
The neck in the foreground has been cleaned; the one in the background has been started.
Before I put the radiator in, I looked at the wiring harness, and remembered that I’d ordered a roll of the Tesa self-adhesive wiring-harness tape used on German cars, and I’d also ordered the special black harness ties (zip ties) to hold the harness to the inside top of the nose just above the radiator. I located the tape but could not find the harness ties for love nor money. I realized that if I found the harness ties, I could probably install them with the radiator in place, but that I should re-tape the wiring harness now, as clearance was much better with the radiator out.
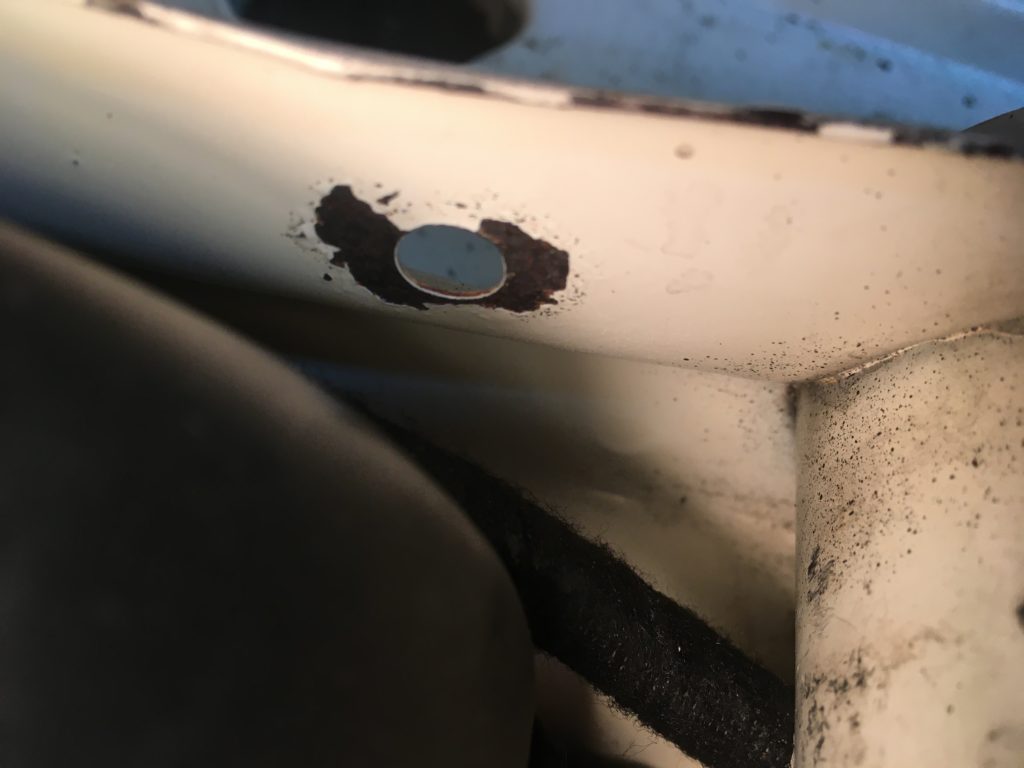
One of the holes for the harness ties I’d bought but could not find.
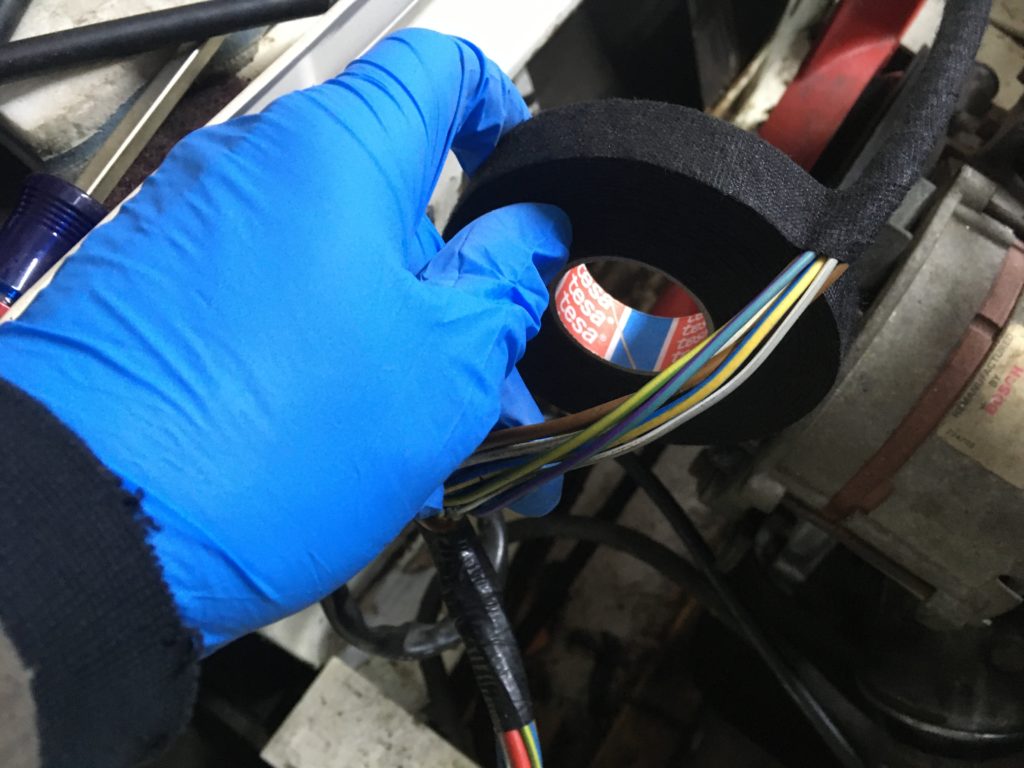
Using the self-adhesive tape.
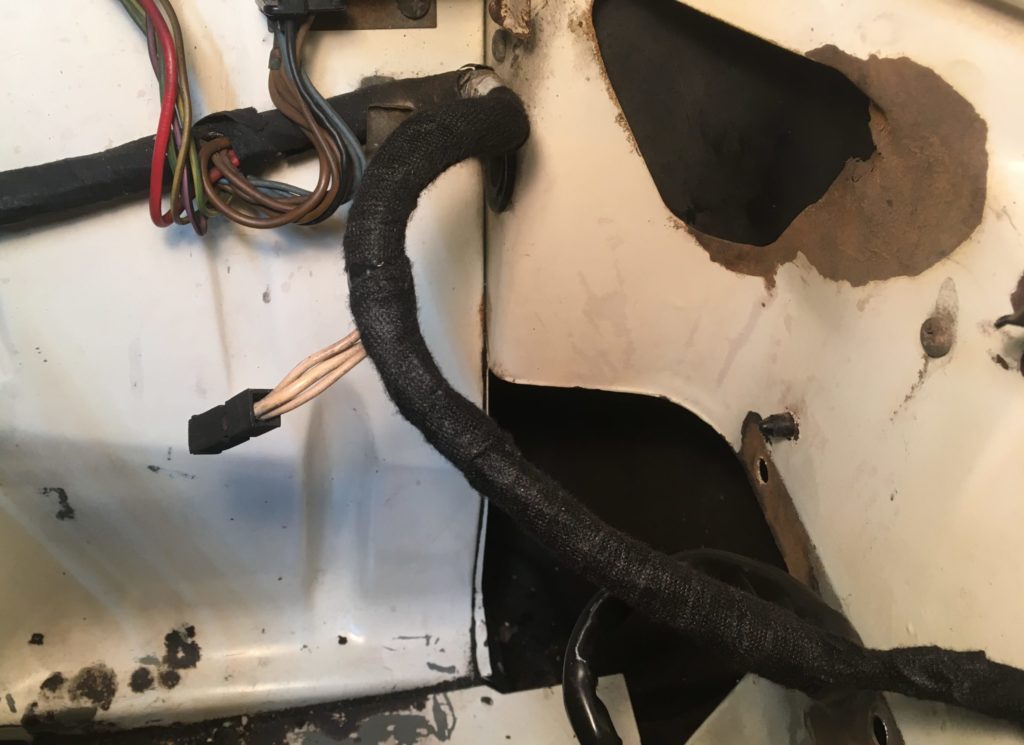
Much better.
Obviously you’d be foolish to re-install hoses that are visibly bad, so be sure to give each of them a squeeze to check if they’re either pillowy or rock hard, and check the ends and bent sections for cracks. The ones on Hampton had been replaced with dealer-bought hoses not long before the car had gone into storage. The labels had been left on the hoses, which wouldn’t have been my choice, but added to the provenance on the care of the car.
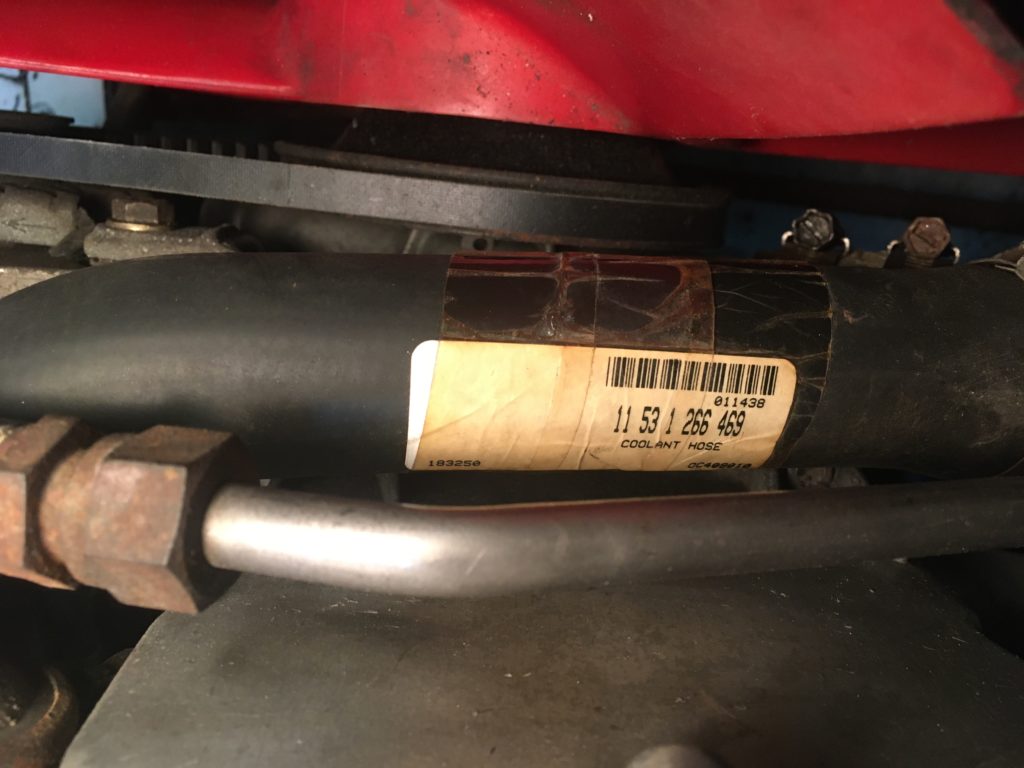
Hey, it’s a look.
I need to remind myself that the goal of these efforts is to make the car look like the best version of a 48,000-mile one-owner survivor 2002 possible. I’m not trying to restore it or even detail it, just move it from the literal barn-find it was to drivable and lightly sorted. It is in this context that leaving the EGR plumbing, the labels on the hoses, and the slotted hose clamps all made sense to me. Normally, for a car I’d be driving, I’d replace all the hose clamps with new non-slotted nut-driver clamps, but their newness would stick out.
Not bad.
I’ll probably get the battery tray and battery back in tonight. The next step is to pull out the 3.0CSi, slide Hampton sideways on the dollies, roll him out of the garage, undo the coolant plug on the block, stick a hose in the radiator, give the cooling system a quick flush, and fill it.
As soon as it stops raining.—Rob Siegel
Rob’s new book, Resurrecting Bertha: Buying Back Our Wedding Car After 26 Years In Storage, is available on Amazon here. His other books, including his recent Just Needs a Recharge: The Hack MechanicTM Guide to Vintage Air Conditioning, are available here on Amazon. Or you can order personally-inscribed copies of all of his books through Rob’s website: www.robsiegel.com.