Last week, BMW CCA member Jonathan Selig saved the day by producing the valve guide I needed out of thin air. This enabled me to get the guide to the machinist who had Bertha’s head, who in turn got me the head back the morning of Friday, July 6—just two days before I had to leave for Oktoberfest in Pittsburgh. While I had initially pooh-poohed the possibility of driving Bertha to O’Fest, once I had her head back, I had a fighting chance.
I spent all of Friday reassembling the head. It did not go well.
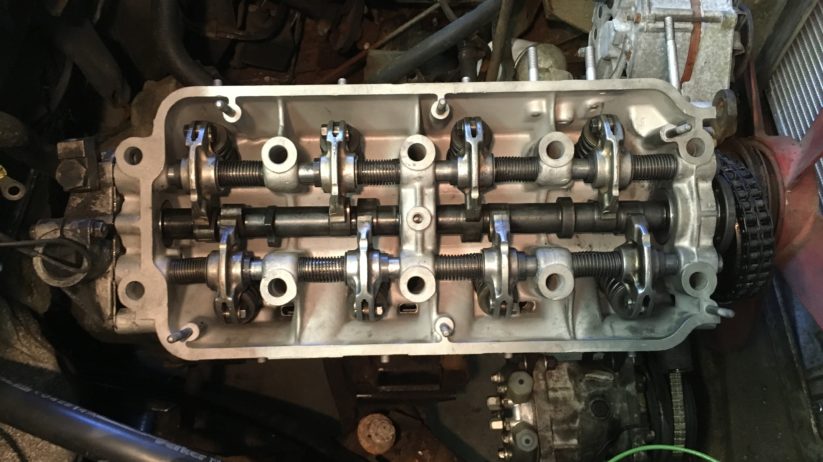
The 2002 valve train uses a shaft-and-rocker arrangement.
BMW M10, M20, and M30 engines have a rocker-shaft-and-arm valvetrain configuration in which long rocker shafts go through holes in the head, and the rocker arms, spacers, and springs are threaded onto the shafts. To disassemble the head, as needs to be done prior to a valve job, you need to take a drift (such as an aluminum rod) and hit it with a hammer to bang out the shafts. In doing so, you need to be really careful not to bang too hard, because if you mushroom the end of a shaft, you’ll have a bear of a time getting it out of the head. It’s good to use an aluminum rod as a drift because it is softer than the rocker shaft (better to mushroom the end of the aluminum rod). But even so, you often wind up slightly spreading the end of the rocker shaft, which in turn galls or gouges the rocker arms’ internal bushings as it goes through them.
If you’re using new rockers and shafts, it doesn’t matter much if you mushroom the shafts and gouge the rockers (provided that you can still get the shafts out), but if you’re trying to re-use the old ones, as I was, you need to be very careful when you re-fit the components. You’re advised to test-fit the rockers on the shafts, and test-fit shafts in the head, smoothing off any mushrooming with a fine file or stone.
Guess what Mister Rushing-To-Meet-A-Deadline didn’t do?
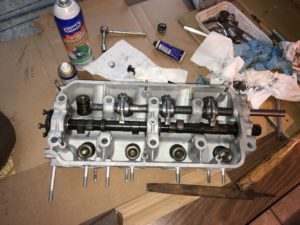
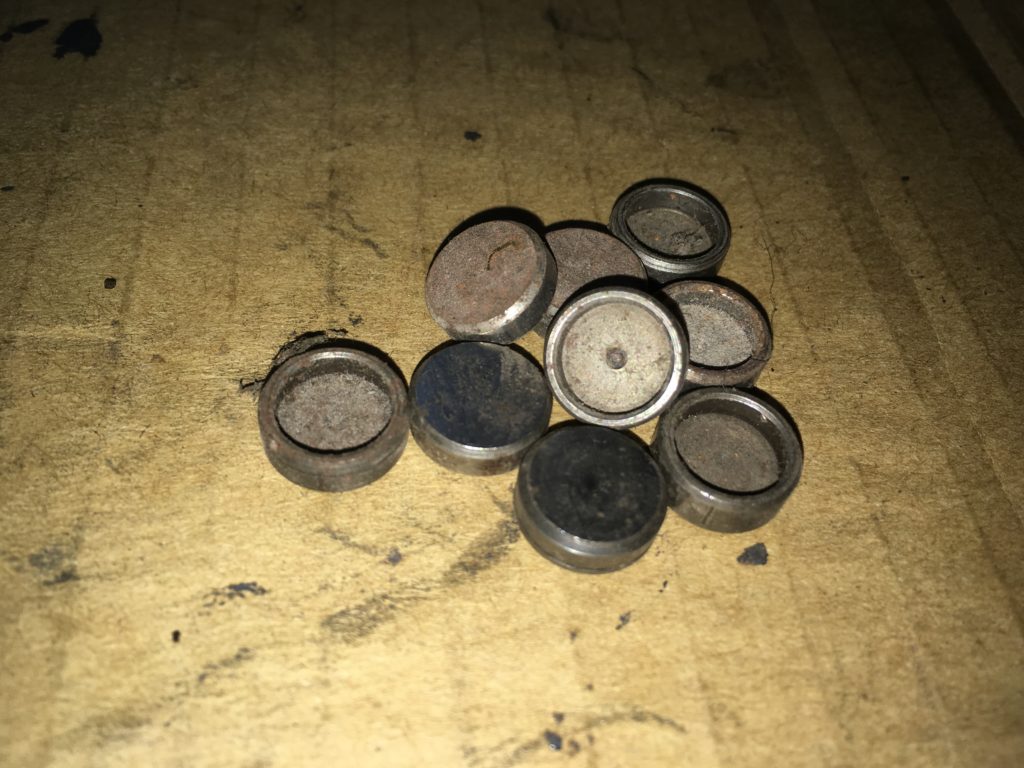
By mid-afternoon, I had the head reassembled, only to find that several of the rocker arms did not move easily on the shafts; I had to disassemble the head and start over. I found that five of the eight rocker arms were badly galled on the inside. Fortunately, I still had the used rocker arms from when I’d rebuilt Kugel’s (my ’72 2002tii) head a few years back. This time I carefully filed the ends of the shafts and test-fit the rockers on them. Finally, by late afternoon, I had what appeared to be an assembled head with a functioning valve train.
I love getting my head together.
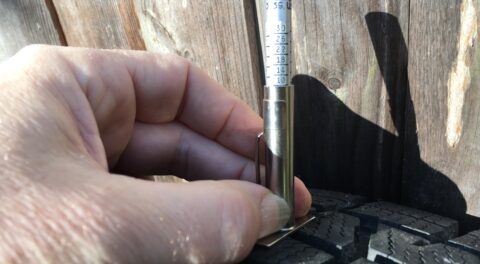
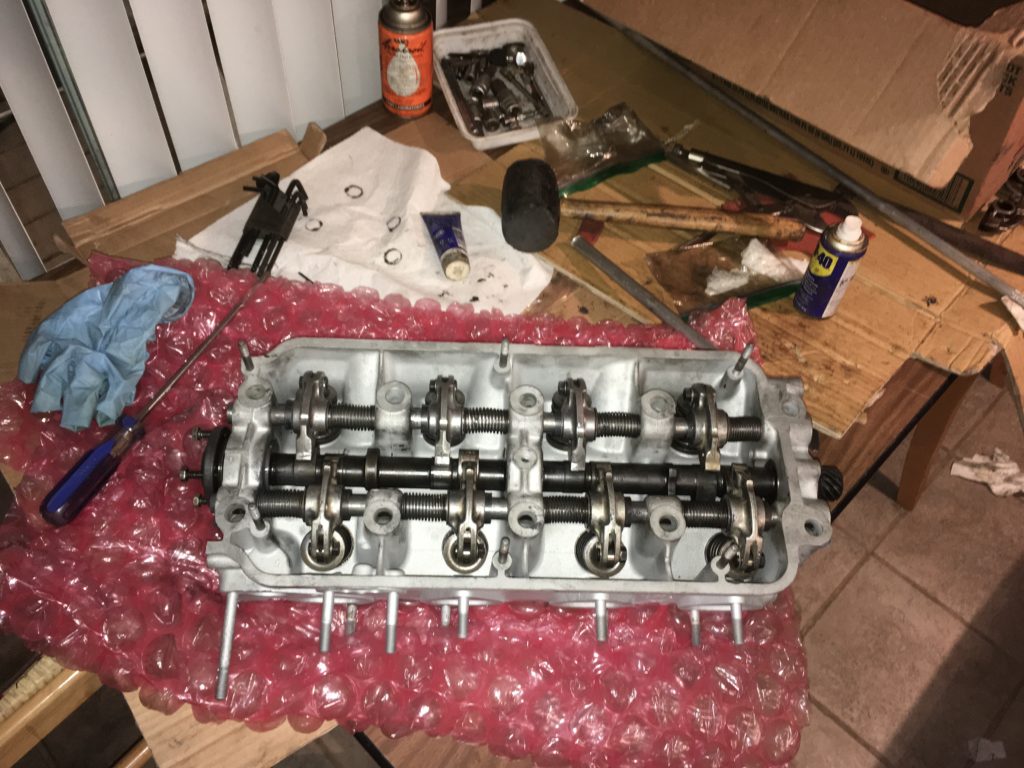
The next step was to adjust the valves. It’s a little quicker to do this while the head is off, as it’s easier to turn the cam. Unfortunately, I found that one of the eccentrics spun all the way around without getting the valve clearance within the 0.006″ to 0.008″ range. Bertha’s head has an Iskendarian reground cam in it, and regrinds typically take material off the back of the cam lobe to make the total valve lift higher; thus it’s possible that the adjusting eccentrics might not reach the tip of the valve stem. I’d adjusted Bertha’s valves when I’d gotten her running last month, and didn’t recall having this happen. It was possible that wear in the pad on one of the rocker arms I’d replaced was just enough to create the problem.
I recalled that 30 years ago, I’d written an article for Roundel explaining how, with reground cams or with badly-worn rockers and shafts, you can use Alfa Romeo valve shims (also called lash caps). Sliding one over the top of the valve stem will effectively elongate it and enable the adjusting eccentric to reach it. There are also oversize eccentrics you can buy that solve the problem. I swore that I had a bunch of Alfa lash caps kicking around in my garage or basement, but even after tearing the place apart for nearly an hour, I could not find them.
I seemed to have reached the end of the road of the possible.
Then I looked one more time, and found the lash caps in the very back of a sliding drawer, behind a divider I hadn’t previously seen. The lash cap went on, and the errant valve became adjustable.
I found my stash of 35-year-old Alfa lash caps…
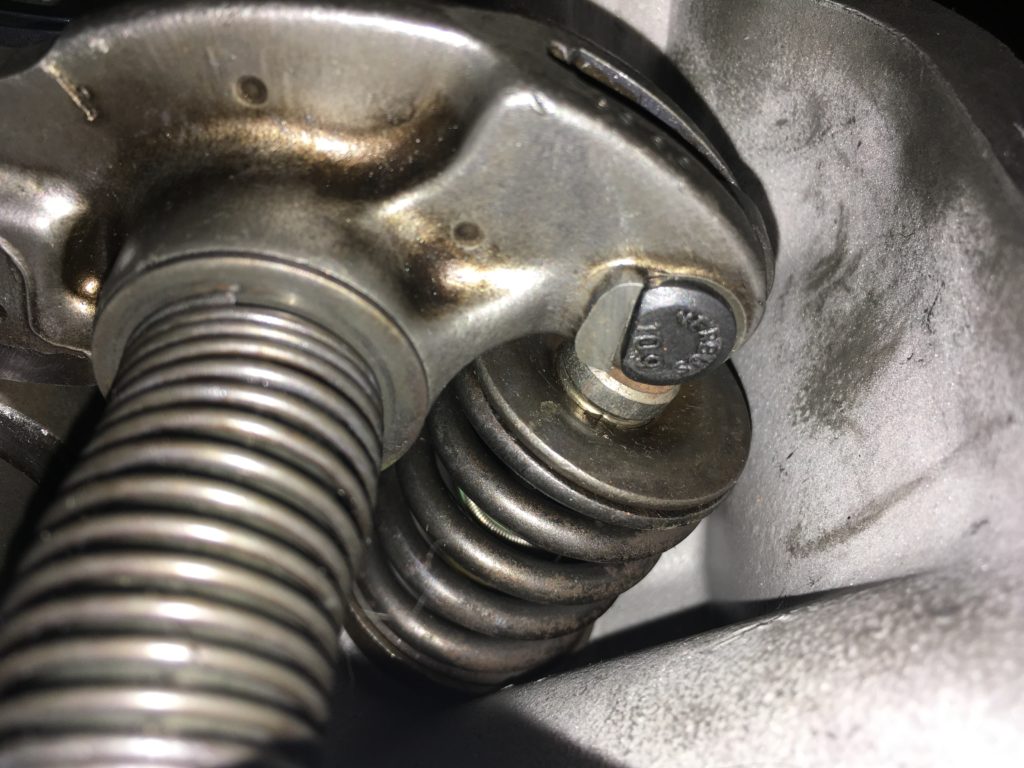
…and one of them saved the day. Note the location of the cap at the top of the valve stem.
The next day, I installed the head—and right off the bat, I screwed up.
I set the head on the block, put the oil-distribution tube on, dropped in the ten head bolts, and followed the directions that came with the head gasket to the letter: using the torque wrench for the first phase, letting the head sit for twenty minutes, and then angle-torquing it. A third and final phase would occur after the engine had warmed up.
I then installed the cam gear, the front timing cover, the Webers and intake manifolds, and the exhaust manifold. It was when I was about to lay on the valve-cover gasket that I saw my mistake. Anyone see the problem?
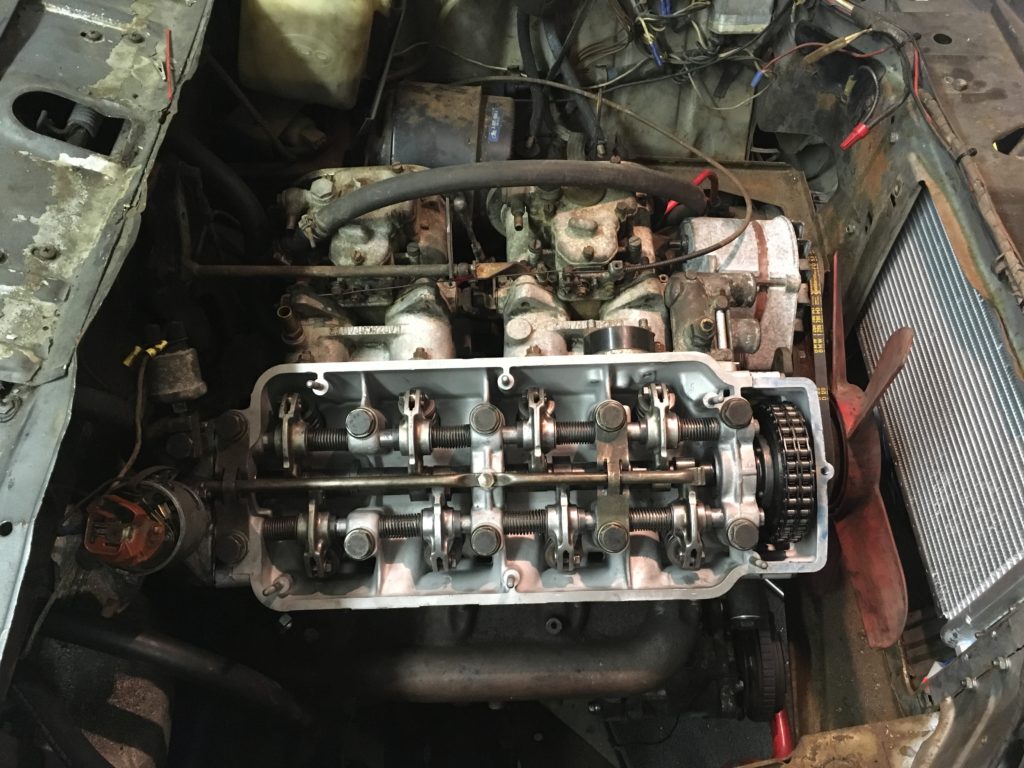
What’s wrong with this picture?
If you look at the oil-distribution tube, you’ll see that I’ve installed it rotated by 180 degrees; the left side of the tube is sitting in the place where the left side of the valve cover and its gasket are supposed to sit. That bracket is instead supposed to sit beneath the two head bolts all the way to the right, behind the timing gear. D’oh! This is what happens when you rush.
So out came the head bolts, and 180 degrees around went the oil-distribution tube. Head gaskets are supposed to be single-use; if I’d had another one, I might have pulled the head up and replaced it, but I didn’t, so I shrugged and re-torqued the head down onto the existing gasket.
When I went to install the exhaust manifold, I found that there was an issue. I was only using the manifold because I’d broken Bertha’s original Headercraft exhaust headers, and because I live mostly in the tii world, I had forgotten that a stock 2002 exhaust manifold has a threaded port for the almost-always-removed EGR pipe. On this manifold, there was nothing blocking up the port.
I went to a hardware store to find a bolt with that thread size, but they didn’t have one. Then I did what I should’ve done before I left the house: I searched bmw2002faq for the problem. On my phone, I pulled up a post that not only identified the thread size as M16x1.5, but said that the oil-drain plug on late-model Subarus uses that thread size, and even comes with a crush washer. Sometimes you just have to love the connected world in which we live. I asked Siri where the nearest Subaru dealership was, and ten minutes and $6.30 later, a nice gentleman at the parts counter handed me the correctly-threaded oil-drain plug, and smiled as he saw me test-fit it for this unusual application.
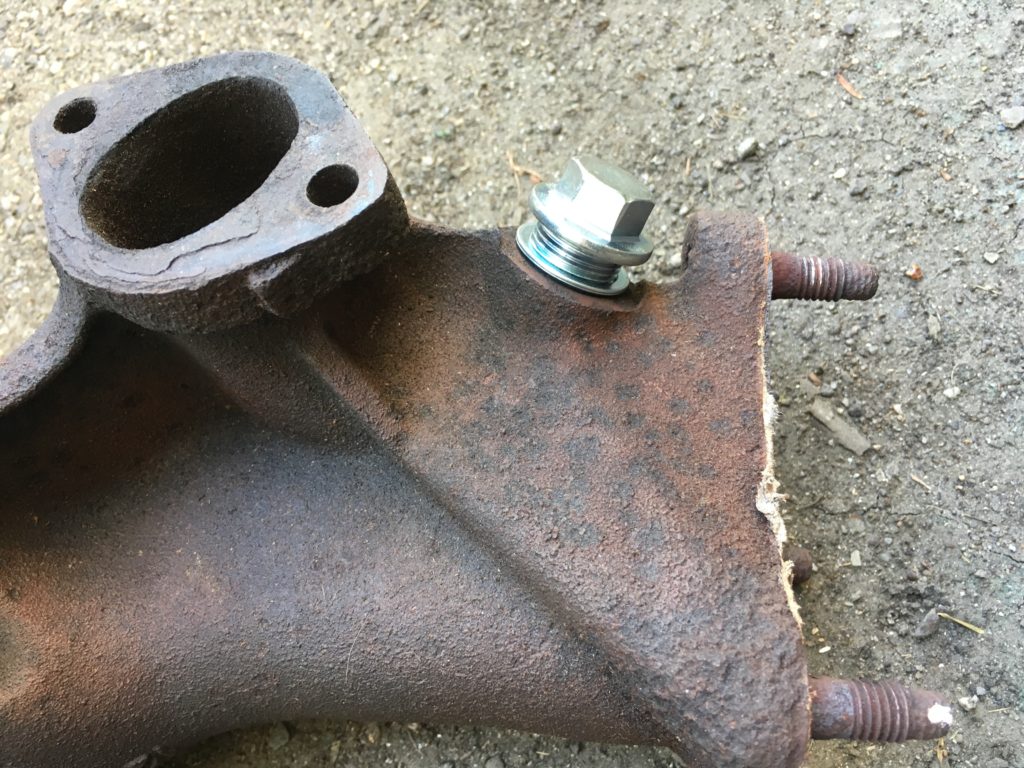
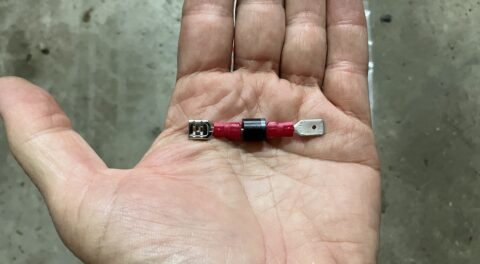
The M16x1.5 threads on the oil-drain plug on a late-model Subaru are perfect for plugging up the EGR port on a 2002 exhaust manifold.
By Saturday evening, all ancillary engine compartment components—Webers, exhaust, alternator, hoses, radiator—were installed. I had non-car-related plans for Monday, and was leaving for Oktoberfest on Tuesday morning. That left Sunday to get the car not only running, but driven a sufficient number of miles to unearth and ameliorate any issues.
This also did not go well.
On Sunday, I first changed the sole remaining rubber gas line that I hadn’t changed in Alex’s garage, the one that runs from the metal gas line at the left frame rail up to the Webers. (Over 30 years ago, I’d installed a high-pressure fuel pump in Bertha, and wanted to use the metal line instead of the plastic one.) I then filled the system with coolant, and fired up Bertha. She started with little effort, but when I checked for leaks, I found coolant dribbling out from what looked like the front left of the head gasket. Damn, I thought, re-using the head gasket was tripping me up after all.
But then I realized that what I was seeing was probably water dripping out from the coolant neck that’s bolted to the head just above that point. I also remembered that the gasket for that coolant neck is shared with the gasket for the #1 intake port, and realized that I hadn’t coated the coolant section of that gasket with sealer.
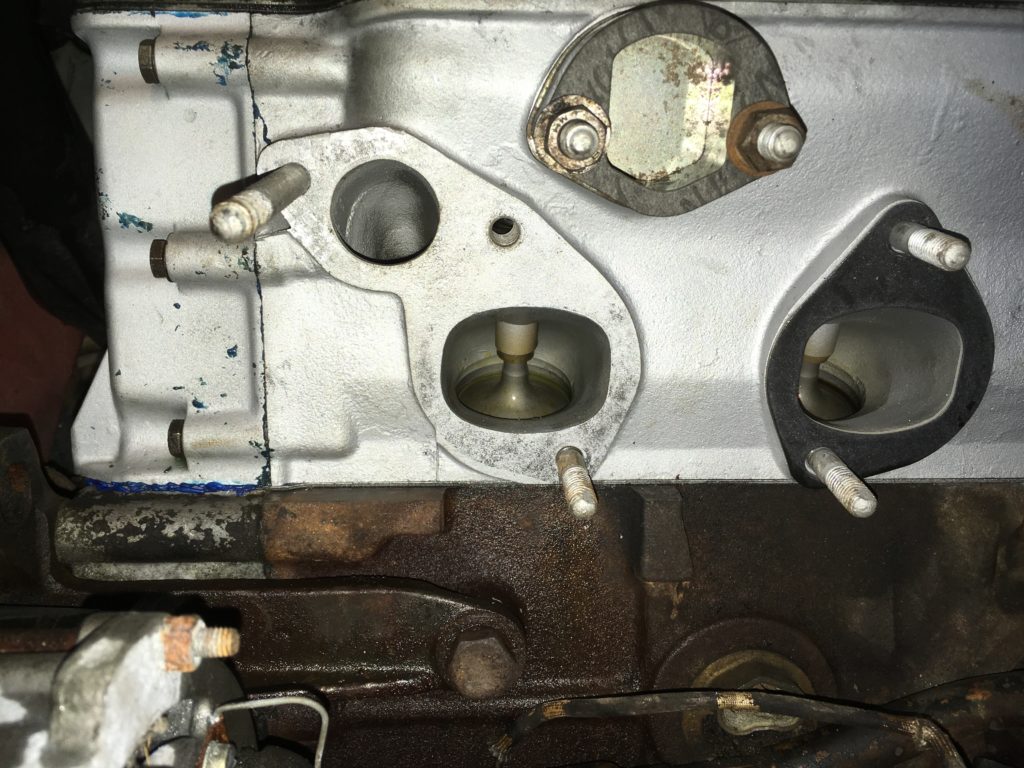
This is the location of the flange where a single gasket is used to seal the coolant neck (upper left) and the #1 intake port (center).
The gasket for this section seals both the #1 intake port and the coolant neck, but for the latter, the gasket needs sealant on it. So off came the coolant neck and the Webers and the intake manifolds. I pulled the gasket off and let it dry in the sun for twenty minutes, then coated both sides of its coolant section with Permatex Aviation Form-A-Gasket. This solved the problem.
I then idled the car, to burn the grease off the old exhaust manifold as well as to get the engine hot enough to then let it cool so I could do the final angle-torquing stage, but as I was doing this, I smelled gas. I immediately shut the engine off, and saw a lot of fuel dripping out the front left corner of the engine compartment where I’d replaced the last original rubber fuel line. I re-seated the hose and the clamp and turned the fuel pump back on, and found that the dripping continued unabated.
When I examined things more carefully, I found that the source of the leak was in the metal fuel line itself. Bertha is a heavily patina’d car with a very solid body, but there is one large rust hole in the floor, right alongside and behind the pedal bucket. The leak had occurred where the fuel line ran between the frame rail and the side of the bucket.
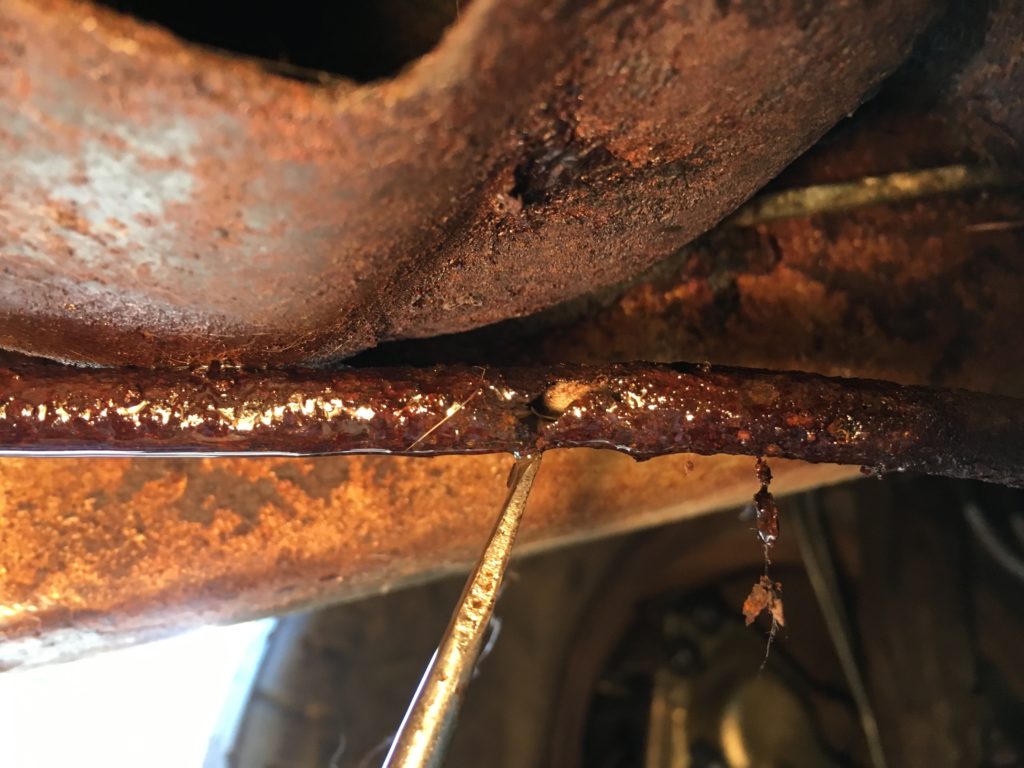
This was certainly not good. (The screwdriver shows the location of the leak.)
When a metal fuel line or brake line has rotted and ruptured, it gives you pause. (If it doesn’t, it certainly should.) What else under the car, you wonder, is in this condition?
I sat under the car, and looked, and thought. By this time it was late Sunday afternoon, and I still hadn’t driven the car.
I used a tubing cutter to trim off the rusted section of brake line, and simply ran a longer section of rubber hose to it. (In retrospect, I could’ve also reverted to using the original plastic fuel line that runs through the interior of the car.) I then re-checked to be certain that this time the fuel system wasn’t leaking.
Although I knew that any realistic hope of driving Bertha to Oktoberfest had already passed, I wanted to follow events to their conclusion; I wanted to know if Bertha was going to be like Louie, when, eighteen months ago, on his very first test-drive, the vibe was so clearly, “Yes! I’m BACK! Button me up and drive me to Boston!”
Or whether instead the car would feel like a grumpy old man awakened too soon from a nap.
I checked a few more things, then lowered Bertha down off the mid-rise lift. I cleared the month-long accumulation of tools and parts that were between her and the garage door, started the car, and eased her forward the 40 or so feet up to the top of the driveway.
Everything felt wrong.
In particular, the brakes, clutch, and accelerator all felt just on the edge of functionality. I hadn’t yet replaced the clutch hydraulics; after they’d sat for 26 years, this was like painting a big red bulls-eye on them. I’d replaced all of the braking components except the master cylinder and power-assist booster. The brakes functioned, but the brake-pedal travel felt kind of grainy. The accelerator pedal, which had been completely bound up in Alex’s garage, had been freed, but the movement of the throttle linkage felt unpredictable. Unlike Louie’s “Let’s run” vibe eighteen months ago, Bertha’s vibe was, “Don’t even think about it, pal.”
I rolled back down the driveway and drove back up to the top. I briefly considered running Bertha slowly around the block, but there was nothing to gain, and only time to lose should she die outside the gravity-fed convenience of the driveway and garage.
So that was it. After several premature reports, the death of the dream of driving Bertha to Oktoberfest occurred for real on Sunday, July 8, at about 7:00 p.m. The following night, I packed Kugel, and on Tuesday, we had a blissfully non-eventful trip down to O’Fest in Pittsburgh.
So, despite my best efforts, it wasn’t even close. But in the end, what apparently was important to me was that I had given it my best effort. There was no self-recrimination on being too risk-averse; there was no woulda-shoulda-coulda. Plus, by trying to get Bertha ready for Oktoberfest, even though I failed, I moved things further along, and far more quickly, than I would have if I hadn’t given it my best shot.
Bertha’s sort-out can now continue on a saner and safertime frame. No, it’s not exciting as a gonzo road trip would’ve been, but it’s apparently what Bertha wanted me to do.—Rob Siegel
Rob’s new book, Just Needs a Recharge: The Hack MechanicTM Guide to Vintage Air Conditioning, is available here on Amazon. His previous book Ran When Parked is available here. Or you can order personally inscribed copies of all of his books through Rob’s website: www.robsiegel.com.