Last week, I talked about how, in preparation to tell the Bavaria to good friends who have bought two other cars from me, I replaced the clutch slave cylinder and had the New Old Stock (NOS) muffler I had kicking around the garage for five years welded on. This week I dealt with the hood that wouldn’t stay up.
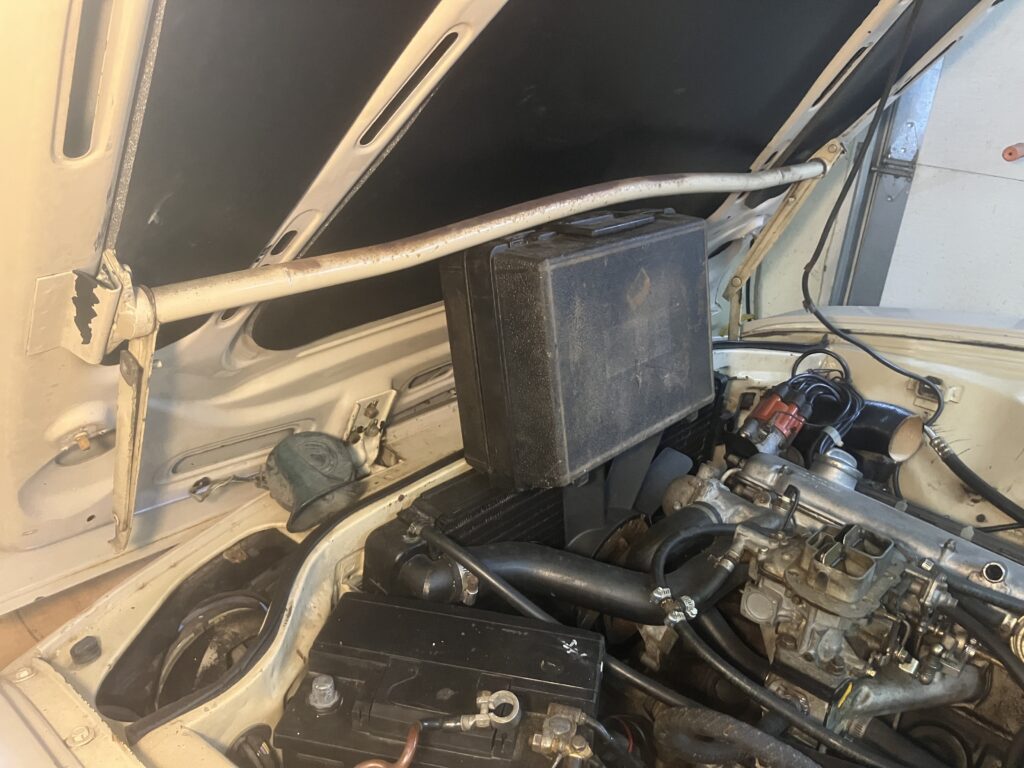
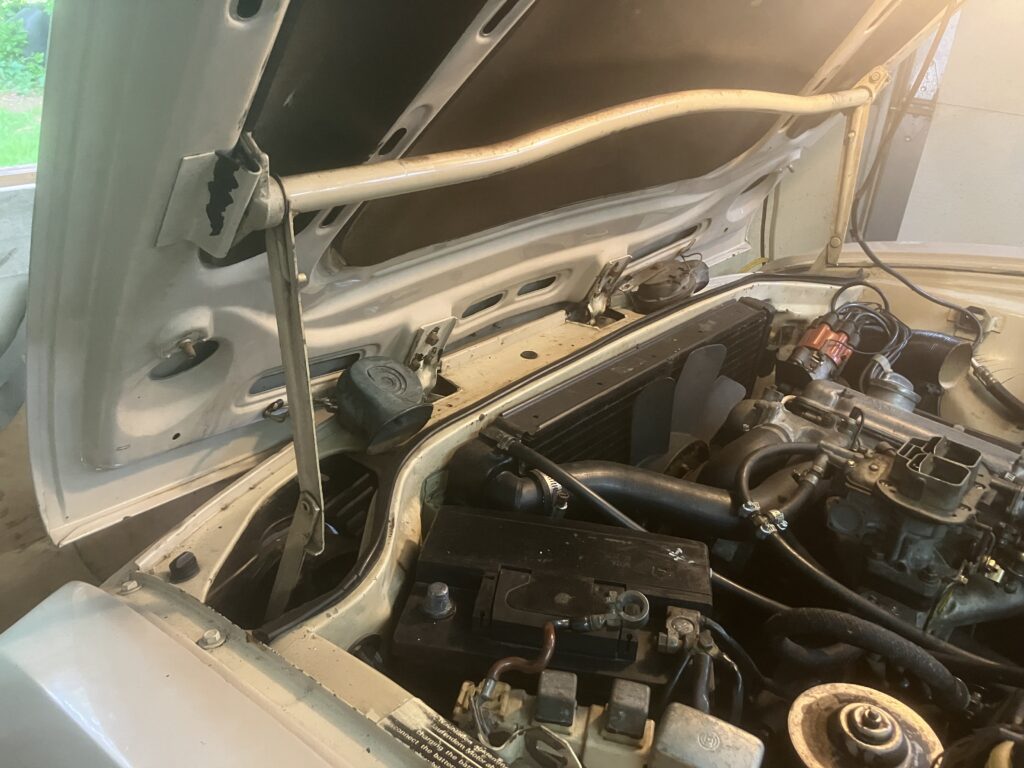
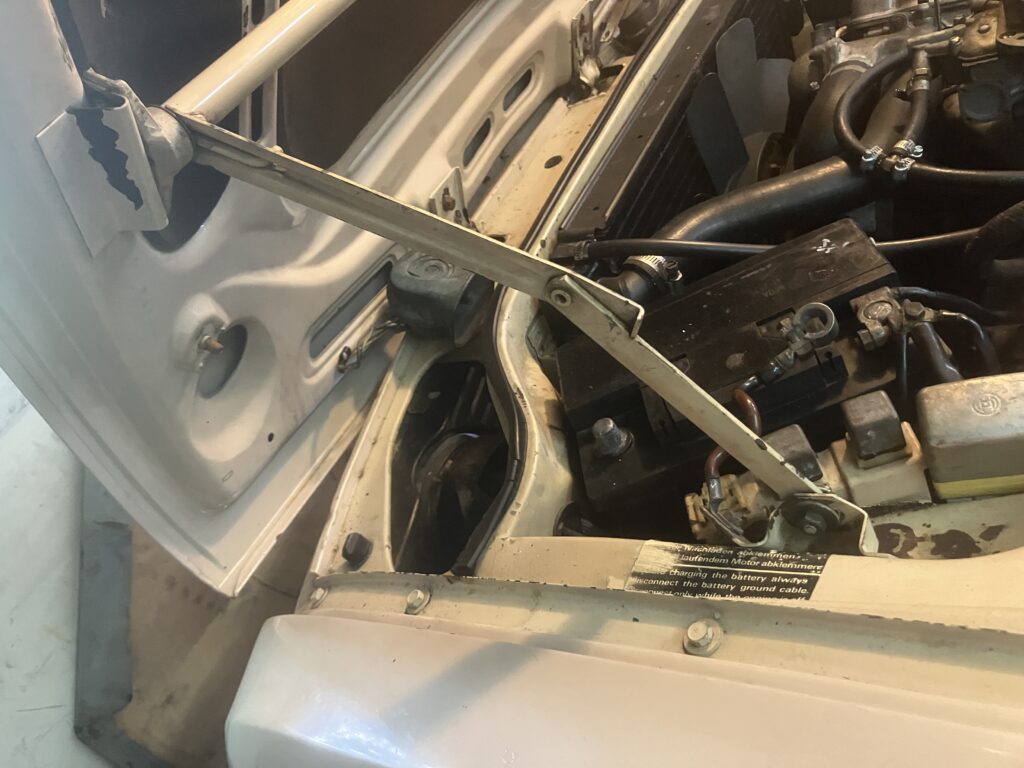
There must be something about me, hoods, and early 1970s BMWs with M30 engines. In addition to having propped the Bavaria’s hood up for the 11 years I’ve owned it with a piece of PVC pipe strategically wedged between the bottom of one of the hood legs and one of the strut tower bushing studs, the 1973 E9 3.0CSi I’ve owned for 40 years hasn’t had its hood-raising mechanism installed since the car was painted in 1988. The guy who shot it said something about it not working, and I never followed up on it. It’s somewhere under my back porch. At least the Bavaria’s non-functional mechanism was still in the car and complete.
Effective, but not befitting such a lovely car.
I did some reading and learned that the culprit for hood flaccidity was usually the brackets that sit between the torsion springs and the hood rod and legs. I found a detailed post on the E9 forum (E9coupe.com) by Dick Steinkamp, the fellow who’s Bavaria recently sold on BaT for $55k, showing how the slots on the insides of the brackets that hold the ends of the torsion springs deform. I pulled apart mine, and that was exactly what was wrong.
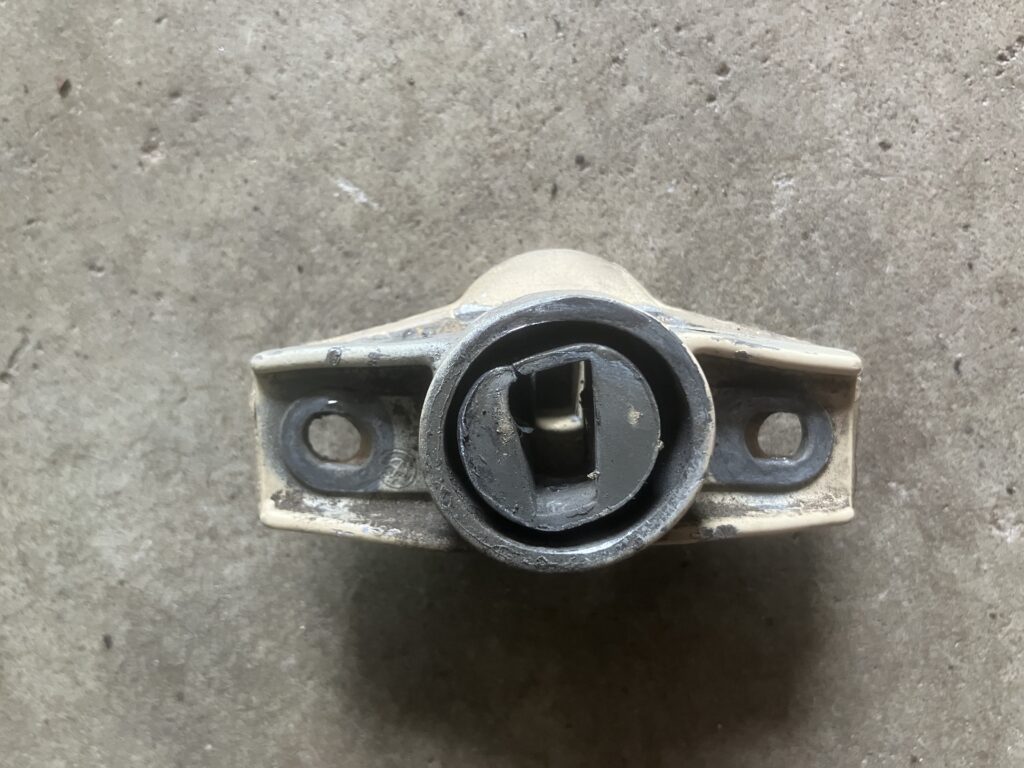
Yeah, that’s not right.
The part for the bracket is 41611802203. At about $11 per side, it’s not expensive, but a web search gave conflicting information on whether it was No Longer Available (NLA) in the BMW dealer network. So when I saw a pair of good used sandblasted ones on eBay in Canada for about $55 shipped to the United States, I clicked and bought.

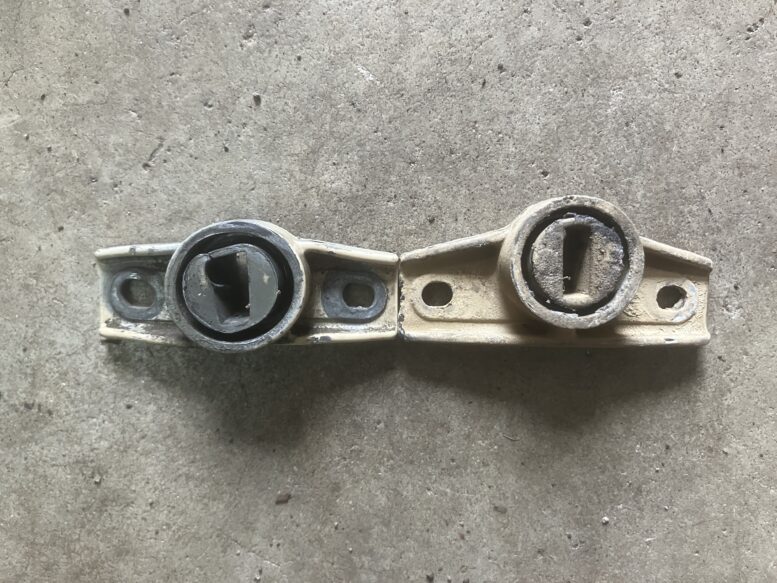
Looks right, right?
When they arrived, I matched the Sahara paint as best as I could at a hardware store, rattle-canned them, and once they were dry, began installing them, but found that the hole spacing wasn’t the same as the mating surface under the hood. I then compared them to the damaged brackets I’d removed, and found that they were different. Not only was the hole spacing wider, the circular part of the bracket sat further offset from the holes. Investigation revealed that what I’d bought appeared to be 2002 hood brackets that someone had sold on eBay using the Bavaria hood bracket part number.

Obviously, old damaged Bavaria hood bracket on the bottom, 2002 bracket on the top.
Further reading on E9coupe unearthed posts where people said that 2002 hood brackets could be used if the hole spacing was widened. So I had at it and tried to make them work.
I’d never dealt with hood torsion springs before, and I don’t really wish to do it again, as it’s a pain. The installation onto the ends of the already-removed hood bar is trivial; you just slide the brackets over the ends of the springs. The challenge is in getting the assembly installed under the hood and the legs rotated under tension into position. My method was to prop the hood up, remove the two horns and move them out of the way, hold the assembly in place, and screw in the lower bracket bolts on both sides. This is way easier with two people, but I got it done solo by balancing the assembly on top of a plastic box.
Cajoling the hood spring assembling into hanging there.
With the hinged hood legs hanging down, you can pull up against the spring tension and rotate them into position. I did this in two steps. First I swung the legs down behind the headlights.
Then I pulled them up against the tension of the springs and got them into position where I could put the bolts through their mounting tabs on the inner fenders. In doing so, the hood brackets themselves rotated around the lower bolts securing them to the hood, allowing the upper bolts to be put in place.
Triumphantly, the hood stayed up.
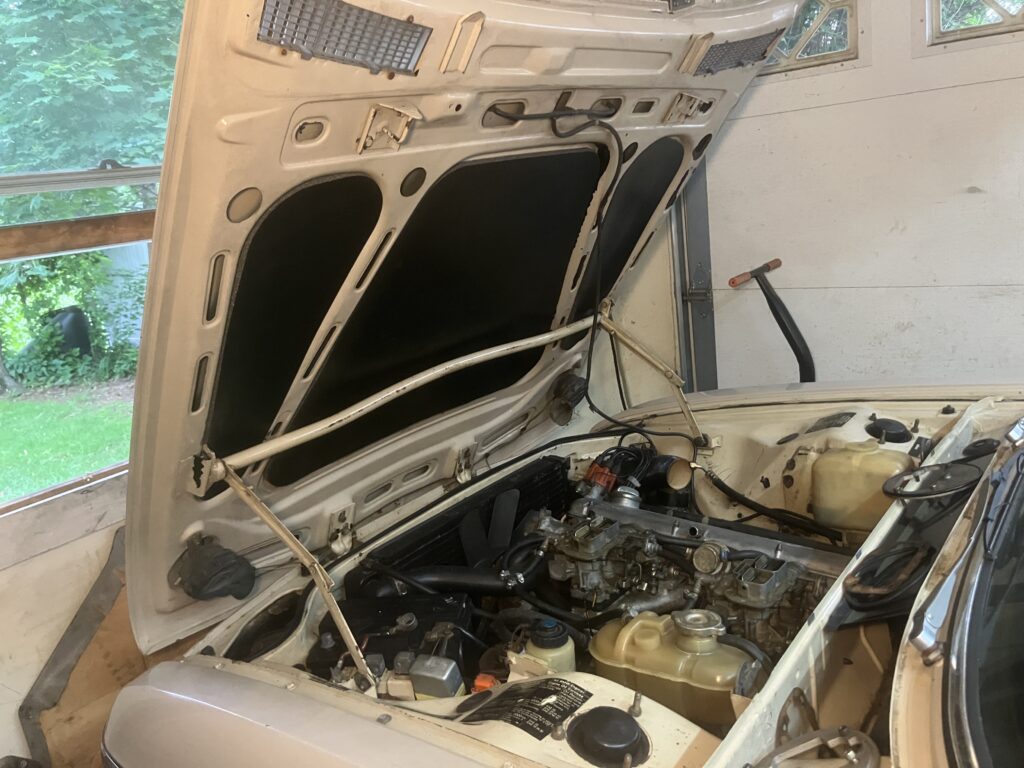
Ta-DA!
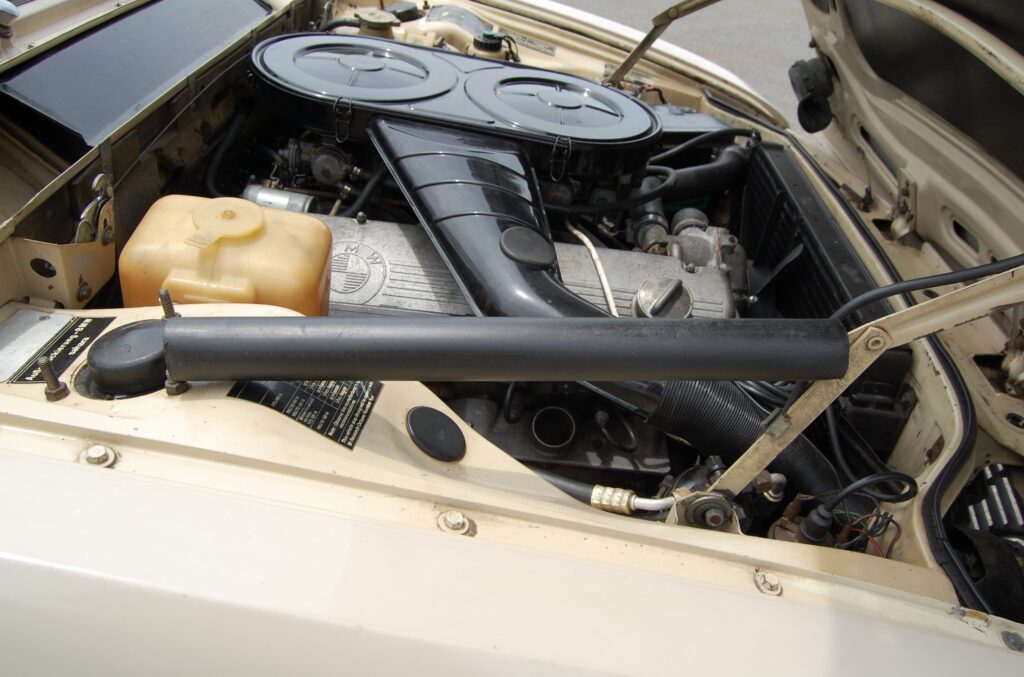
Unfortunately, I then had the other-side-of-the-coin problem: The hood wouldn’t close, or at least wouldn’t do so easily. I wondered if I’d need to try ordering actual Bavaria brackets and do the whole thing over, but several days of futzing with it finally got it close-able and acceptably aligned. Initially, I wondered if, now that I knew how to do this, I’d rush to installing the long-absent hood supports into my E9, but this was such a giant pain that I felt that relying on the broomstick I’ve been using in the E9 since 1988 is a perfectly acceptable solution.
Next was the even-throttle-at-low-to-mid-RPM buffeting issue. I couldn’t definitively say whether the car had done this for as long as I’d owned it or if it had recently gotten worse, but the new owners are planning on flying up and driving the car back to Alabama, so if it’s a problem that’s getting worse, I am honor-bound to fix it. I first adjusted the valves, then checked and adjust the dwell (the point gap). I checked for vacuum leaks, and didn’t find any. I checked the spark plugs, re-gapped them, and verified that they all were firing. It was unlikely that any of that was the problem, as the car didn’t stumble in the slightest when I booted it, but I wanted to be thorough. It seemed most likely that this was a lean-running problem. I had a similar issue in Hampton, my 50,000-mile survivor ’73 2002, and found that it was largely ameliorated by increasing the main jet size. In order to buy new jets, I needed to know what size the jets in it were, so I pulled the tops off the carbs, and was surprised when I found a fair amount of rusty sediment in the float bowls.
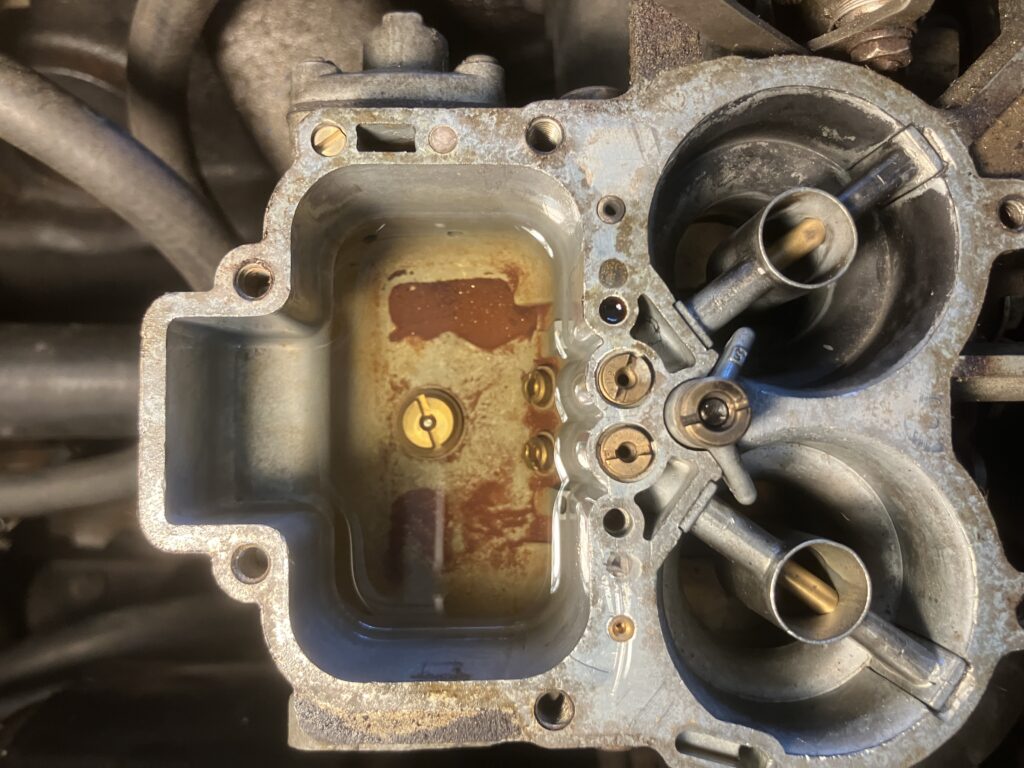
Yeesh!
I recalled that, nine years ago, I found the same thing in the bowls when the car died and wouldn’t restart. The problem back then turned out to be unrelated—an ungrounded condenser—but I can’t imagine that at that time I wouldn’t have replaced the fuel filter. I pulled the filter out, dumped the fuel into a plastic tub, and saw that it was full of sediment.
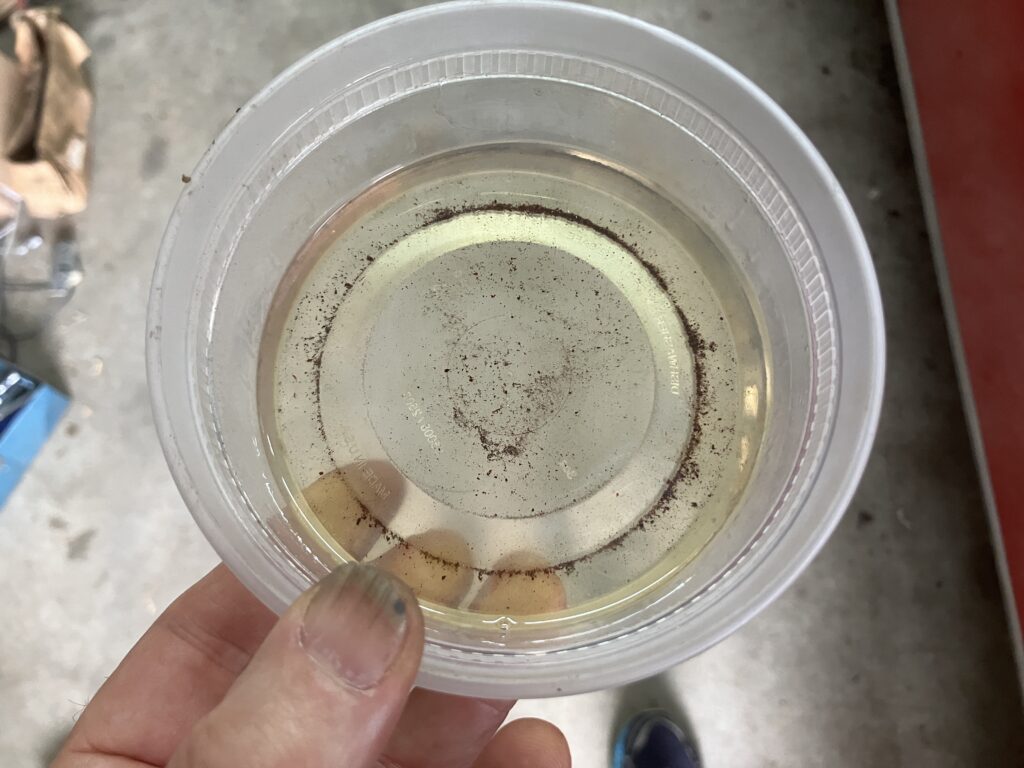
Not good.
At some point, I or the Bavaria’s new owners will need to open up the gas tank and look inside, but I didn’t want to get sidetracked with that now; I needed to know if sediment in the carbs was the cause of the buffeting. I cleaned out both float bowls, blew out and recorded the sizes of all the jets (the mains were 135s), installed a small clear fuel filter so I could see if there was more sediment, and drove the car. There was no change—it still buffeted at low to mid RPM—so the sediment itself didn’t seem to be the problem.
I ordered pairs of jets two sizes larger—140s and 145s—from Pierce Manifolds. While I was waiting for them, I played a bit with the timing of the car. I couldn’t recall doing this before, but I probably had because I found Wite-Out-painted marks on both the crank pulley and the flywheel. For now, I settled on disconnecting the vacuum advance and setting the total mechanical advance at around 30 degrees. I both ran the engine in my garage and drove the car. Changes in timing had little or no effect on the buffeting.
When the new jets arrived five days later, I pulled the tops back off the carbs, and was astonished to see a small amount of sediment inside the flow bowls that I had cleaned the previous week. Since there was a new fuel filter in place, the sediment could only have come from the path between the filter and the carbs. I removed the fuel pump, dumped the fuel onto a paper towel, and sure enough, there was a non-trivial amount of sediment in it. So there was sediment in the pump. I swore that I had a box of spare fuel pumps, but I couldn’t find another one requiring the long-length pushrod, so I flushed the fuel pump out with carb cleaner until no more sediment came out, and reinstalled it.
I then installed the new 140 main jets, and drove the car. If there was any difference in the buffeting, it was imperceptible.
However, going up to 145 main jets did seem to make a difference. Once engine RPM was up over 3000, I couldn’t detect any buffeting. This moved the buffeting issue away from being a front-burner “can’t sell the car like this” condition, but made me think that I really did need to have a look inside the tank to see if it was a soup of sediment. Unfortunately, like on a 2002, the Bavaria has a twist-in level sensor sealed by a rubber o-ring, and my experience is that, unless you replace the o-ring with a new one, it leaks like a sieve when you try to reinstall it, so, discretion being the better part of valor, without a new o-ring in hand, I’m not going in.
And that’s where we are today. There are still belts to replace (a pain on the Bavaria), and the question of whether to prophylactically replace the water pump.
—Rob Siegel
____________________________________
Rob’s newest book, The Best of The Hack Mechanic, is available here on Amazon, as are his seven other books. Signed copies can be ordered directly from Rob here.