Many automotive DIYers lament the Good Old Days, a time when men were men, and cars and life were simpler. Indeed, as cars get more complicated and technologically advanced, they can seem more difficult to work on, but that’s simply not the case.
Modern cars may be very different from the machines we cut our tinkering teeth on twenty or more years ago. However, at the end of the day, there’s still four wheels, an engine, and the same parts we know and love (plus a few new ones).
The first step is to think back to the halcyon days of your youth, and the first time you worked on a car. Maybe you were very young, passing tools to your Dad as he fixed the family Oldsmobile. Perhaps you were a bit older, and you were trying to save a few pennies by doing your own repairs on your first car.
Maybe you’ve never worked on a car at all, but you want to try. It doesn’t matter. My advice is the same for everyone; demystify yourself.
Cars are hopelessly complicated if you look at them as a whole. However, a car is made up of dozens of interconnected systems, none of which, on their own, are particularly difficult to understand.
Let’s take, for example, one time-honored tradition; the brake job. Typically completed in an afternoon, it’s the kind of easy, entry-level task that almost any enthusiast has completed at least once.
Pad and rotor changes can be expensive at the dealer, and even at independent shops, they aren’t exactly cheap. By changing them yourself, you gain a more intimate understanding of how your car’s braking system works —and you can save a considerable amount of money.
Of course, there is some inherent risk in working on your car’s braking system. That said, it’s tremendously hard to mess up a pad and rotor change. Complete this task at your own risk, but remember, the Low Class Yuppie has faith in you.
For those of you that aren’t new to this, you can skip the next few paragraphs. That being said, there is some new information at the end that you might find useful.
The first step, for me, is to break the wheel bolts loose. Obviously, you don’t want to remove them, but you want them to be loose enough to remove when the car is in the air. Then, making sure the car is on a level surface, jack the car up, securely support it with jack stands, and remove the wheels.
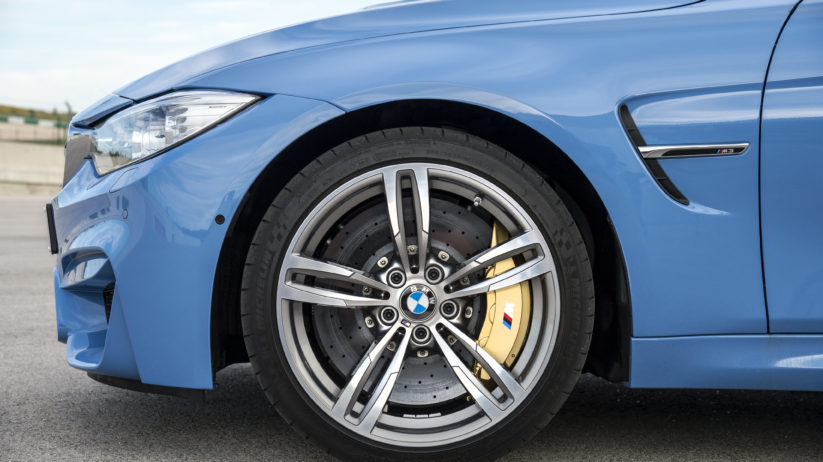
Now you’re looking at your brake pads, calipers, and rotors. The first step is to remove the caliper. Conventionally speaking, are two bolts in the back that hold the caliper to the wheel hub. Loosen those, and pull the caliper away. You might have to use an open-ended wrench to hold the caliper guide pins while you loosen the bolts.
I advise using a bungee cord or a bent-up coat hanger to support the caliper and hold it out of the way—you want to minimize any and all stress on the fluid brake line itself. Next, remove the caliper bracket in much the same way that you un-bolted the caliper.
Lastly, remove the retaining screw from the brake rotor, and you can remove the old brake rotor. Prepare the new brake rotor by cleaning it with brake cleaner. If you’re working in a garage, I recommend doing this outside—brake cleaner is some pretty evil stuff. Wear gloves and glasses, and be sure to clean both sides of the rotor.
Mount your new rotor, replace the set screw, and replace your caliper bracket. Remove your old brake pads and clips while paying close attention to how they’re mounted. Then, install the new ones.
It’s highly likely at this point that you’ll need to compress the piston in the brake caliper to facilitate re-installation. There’s an inexpensive tool made just for this operation that is stocked at all good parts stores. In a pinch, you can use a c-clamp if you’re careful. Some older calipers require a box-shaped tool to rotate the piston closed with a ratchet and an extension.
Before bolting the caliper back to the bracket, this is also a good opportunity to re-lube your caliper pins. In fact, your new pads likely came with a packet of lube for exactly this purpose. Carefully remove the pins without tearing the rubber boot, wipe off the old grease, and spread some new grease on them. Avoid bunching up the rubber boot as you slide them back into place. Then, re-install the caliper, check your bolts to make sure they’re tight, and replace any pad wear sensors you might have tripped.
Up front, changing pads and rotors is a fairly straightforward process. Out back is where things get interesting. Modern BMWs utilize an electronic parking brake. Gone are the days of frozen cables and worn shoes. Also gone, sadly, are the days of yanking the parking brake to pitch the car violently sideways to impress and terrify your prom date. BMW giveth, and BMW taketh away.
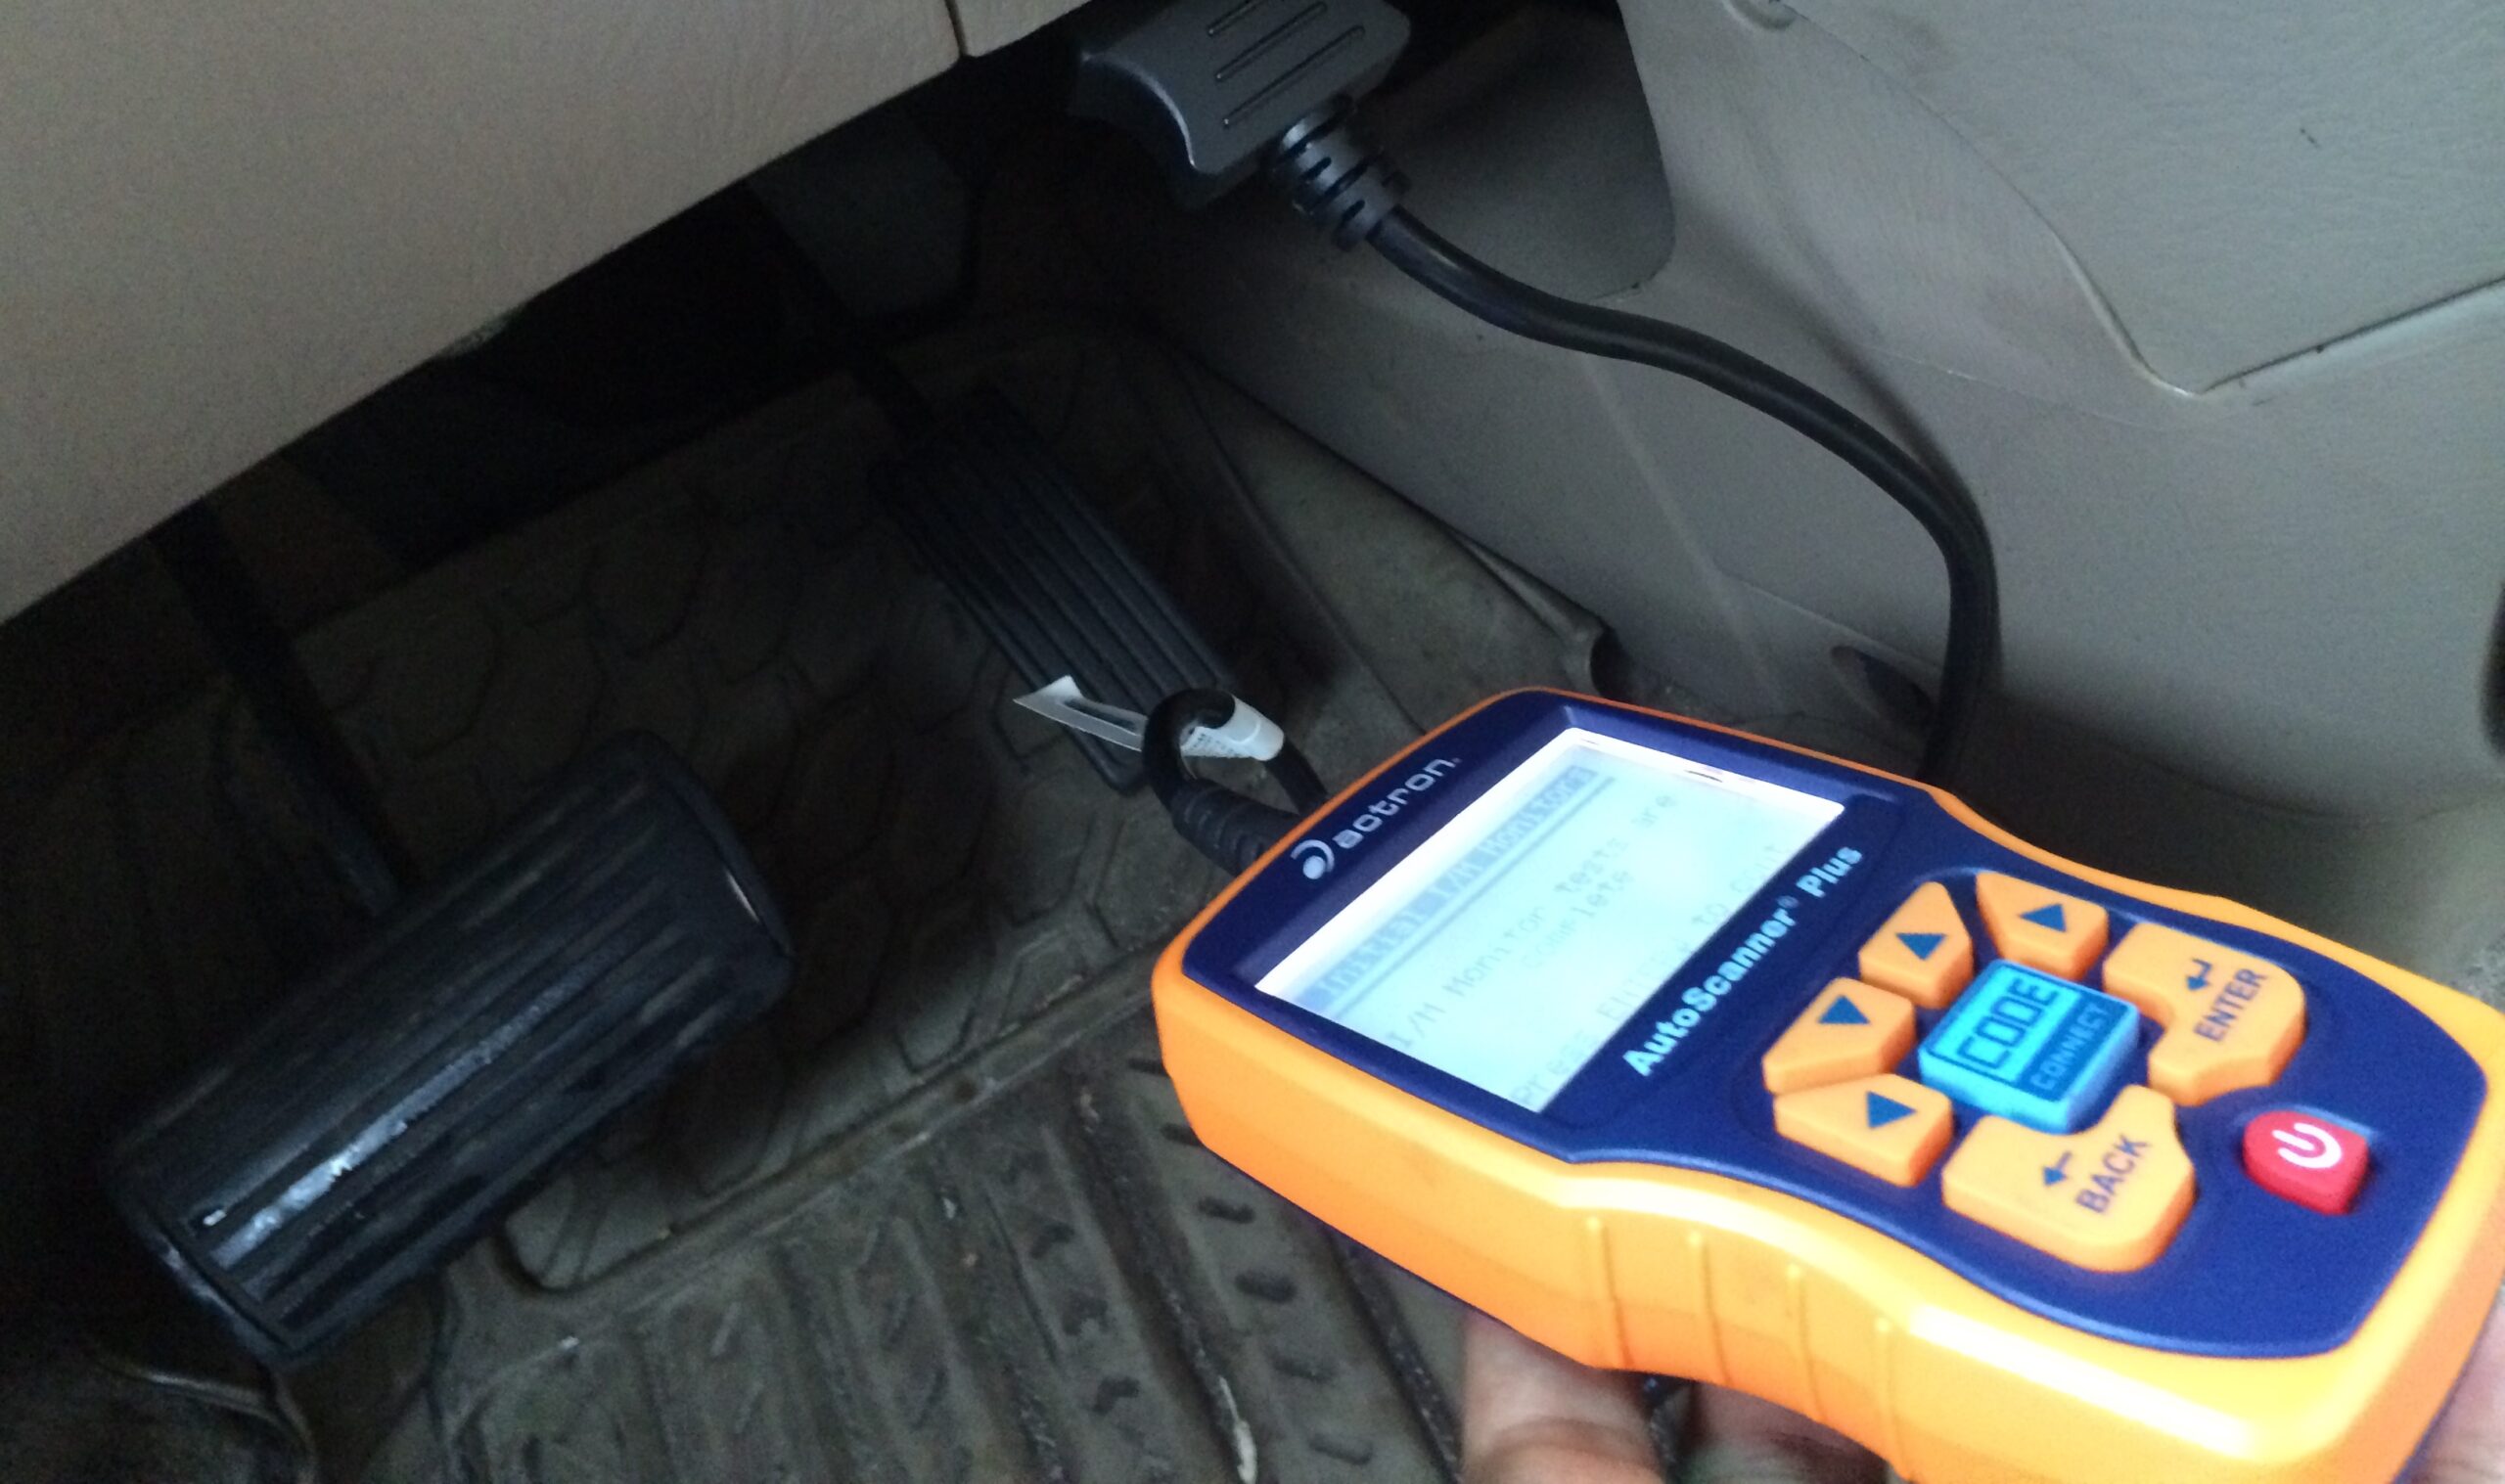
The electronic parking brake manually actuates the rear caliper pistons. This means that, once removed, you cannot simply press or rotate the piston back into place. While many say that an expensive scan tool is necessary to complete a simple brake job, it’s simply not true. All you need are some Torx sockets, which you should already have in your toolbox if you work on your own BMW.
With the caliper removed, carefully rotate it (without twisting or pulling the brake line or power cable) so that you have clear access to the back of the electric motor. There, you’ll find two T30 Torx bolts. Use a wire brush to clean any rust out of these bolts so that you don’t accidentally strip them, and make sure that the socket is securely inserted before attempting to loosen them.
Loosen those two bolts, and the motor should come right off. You can suspend it like you did with the caliper itself, or carefully disconnect the power cable and set it aside. Be gentle when removing the motor, sliding it back and forth to loosen it so that you don’t tear the O-ring seal inside.
With the electric motor removed, you’ll be able to see where the motor interfaces with the caliper. Using either a triple-square socket or a T45 Torx, you can slowly rotate the socket clockwise by hand to retract the electronic parking brake.
From here, you can use a standard piston compressor tool to close the piston. Re-install the electric motor, being careful not to tear or pinch the O-ring, and you can now complete your brake job in much the same way as you did up front. Remember to re-connect the electric motors if you disconnected them.
Once you’ve got your wheels back on and your car on the ground (torque those wheel bolts!) you can check the operation of your brakes and your electronic parking brake. Pump your brakes a few times to ensure that everything works as it should, and that the system is pressurized. Then, with your foot still on the brake, activate and disable the parking brake a few times to verify operation. You should feel a change in the pedal, and you can hear the motors working as well.
The development of the electronic parking brake may be the most impressive technological leap since Fred Flintstone traded his feet for cast-iron drums—or since we traded those drums in for discs. However, you shouldn’t feel intimidated by this new piece of technology. Now you know how to change your rear brakes with common hand tools—and when something even better comes out, we’ll figure out how to fix that, too.—Cam VanDerHorst
[Photos courtesy BMW AG.]


