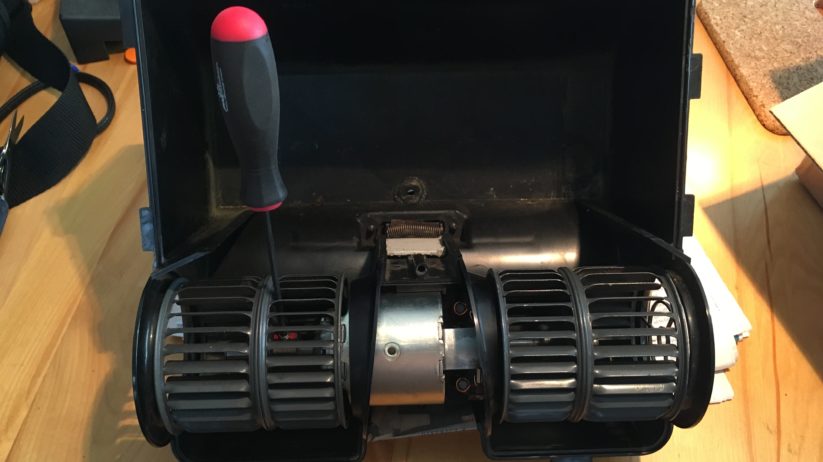
Last week, I decided that, with the evaporator assembly out of my 1973 3.0CSi, I should evaluate the blower motor. The 46-year-old double-squirrel-cage blower felt a bit anemic. I tested it and it worked, but when I re-tested it prior to installation, it had stopped working. I don’t know if it was coincidence or if I damaged it, but it needed to be replaced. I had another evaporator assembly from a 2800CS I’d parted out 30 years ago with a working blower motor, but instead of using its blower, I opted to buy a new one.
If you look on realoem.com, you’ll find that the part number for the blower motor in the E3/E9’s evaporator assembly is also used in the E21, E12, E24, and E28. The part number has been updated several times, and cross-references to Bosch part number 0130063013 which is readily available (without the dual squirrel cages) from any number of vendors. The best price I found is from reputable eBay vendor “Partscontainer” for $67. Hoping that this is the last time I remove and crack open the E9’s evap assembly, rather than install the spare used one that’s been sitting for over 30 years, I ponied up the $67 for the new motor.
I knew that, as you need to do with the heater box blower motor on a 2002, I had to pull the fan off the old motor and transfer it onto the new one. On a 2002, this is a bit of a pain, as the fan is pressed on with a plastic bushing. Our own Mike Self recommends that, on a 2002, you should saw the shaft off the motor with the fan on it, then carefully press the sawed-off shaft out of the bushing. Fortunately, on the E9, the dual squirrel cages don’t need to be pressed off because they’re each held on with a little 3mm Allen-head grub screw. If there’s visible Loctite on the screws, you might want to put a little heat on them. Otherwise, use penetrating oil. Then you need to slip the Allen key between the fins of the squirrel cages to reach the little grub screws. Make sure the 3mm Allen key seats fully and securely; you want to clean any dirt or Loctite out of the hex hole. These are little screws, and if you strip the hex hole, you’re cooked. I bought a nice new 3mm screwdriver-handled Allen key from Amazon to be certain I’d have something with a lot of reach and bite to it. A T-handled key would also work well.
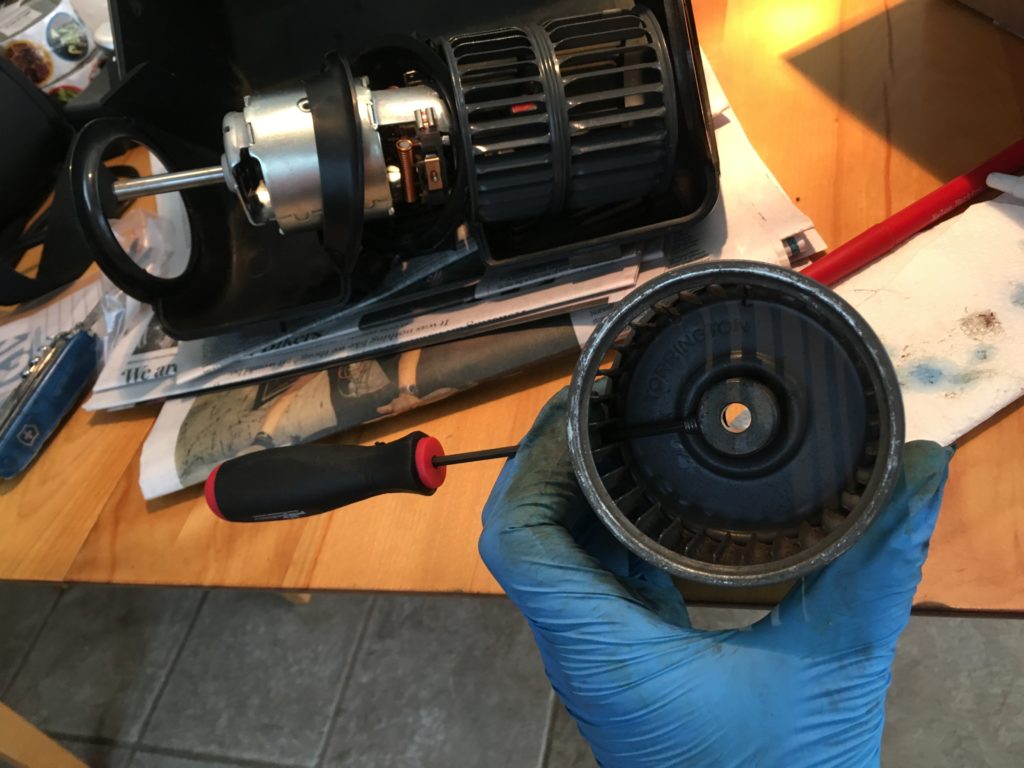
Reaching between the blades in the squirrel cage with a long Allen key.
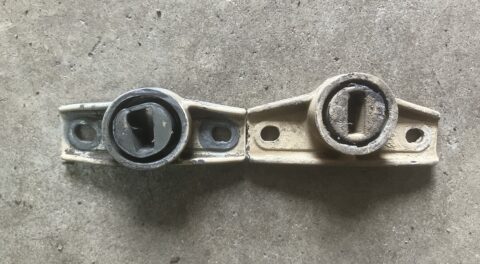
Upon loosening the grub screws and removing the cages, the first thing I noticed was that the shafts of the original blower motor had flat surfaces for the screws to seat against, whereas the replacement motor did not; both shafts were cylindrical. I thought about test-fitting the cages, marking their final locations, then using the Dremel tool to cut a flat spot where the screws needed to sit, but thought better of it, deciding that the new design was probably engineered and vetted by people less hack-y than yours truly.
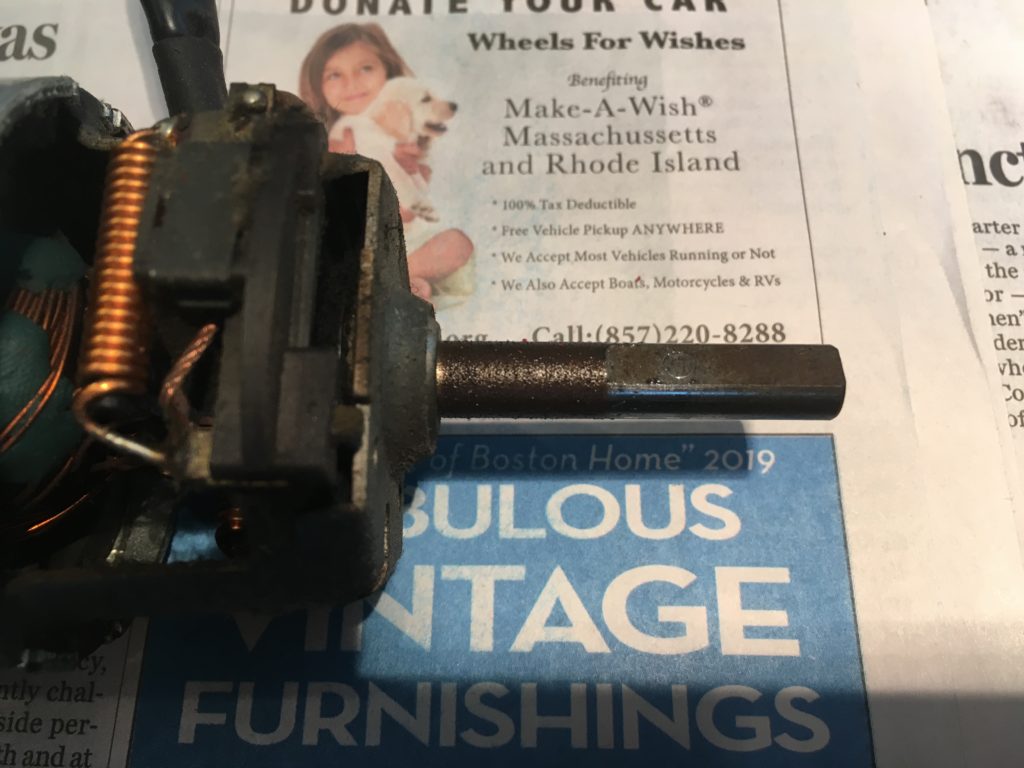
The flat spot on the shaft of the original fan motor.
I did, however, replace the grub screws. Although the Allen key size is 3mm, the actual screw size is 6mm x 1.00 (coarse thread), 4mm long. McMaster-Carr offers a dizzying assortment of grub screws in this size. I opted for the cup-pointed ones where the screws have an edge that digs into the shaft, as these seemed to be what was originally used. A hardware store with a very good assortment of fasteners may carry them as well.
I slid the plastic retaining spacers into position, then coated the new grub screws in Loctite, threaded them loosely into the squirrel cages, and slid the cages onto the shafts. I then set the motor on the little pedestal in the bottom half of the enclosure on which it sits, taking care to slide it hard up to the right against the little alignment stop. I carefully aligned both the left and right squirrel cages so that their edges were equidistant from the retaining spacers on the inside and the edges of the case on the outside, then tightened the grub screws, cranking down on the 3mm Allen driver as tight as I dared (you know, the standard “tighten it until it strips, then back it off half a turn” :^). Lastly, I test-fit the top of the enclosure, again sliding the motor housing as far right as it would go, spinning the cages, and making absolutely certain that there weren’t any clearance issues.
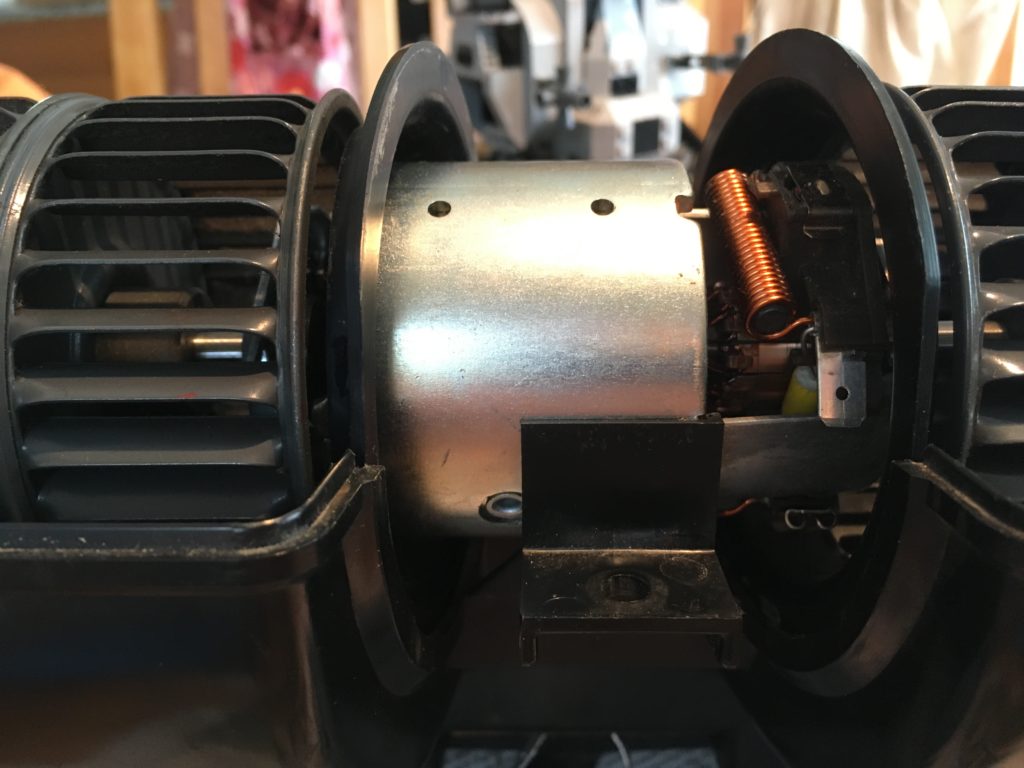
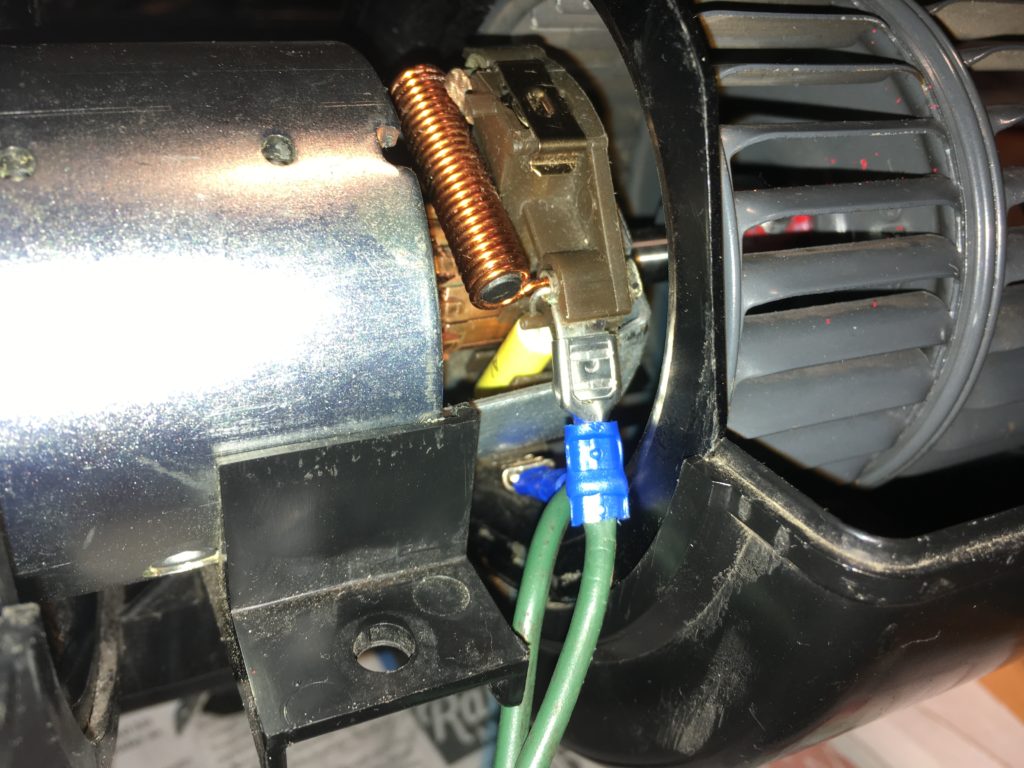
Note how the body of the blower motor is slid up against a little alignment stop on the right. Note also the male and female spade connectors on the right side of the motor.
I was about to button up the enclosure when I realized something: Unlike the original fan motor which had a hard-wired pigtail with two wires stretching down from it, this one had no pigtail. Instead, the new motor had a pair of male and female spade connectors. This sort of thing is often the result of discontinuing a part number and replacing it with a cross-reference to a later part number. The blower motor itself, with its spade connectors, is more universal, but it requires additional wiring fabrication to make it function in a specific car.
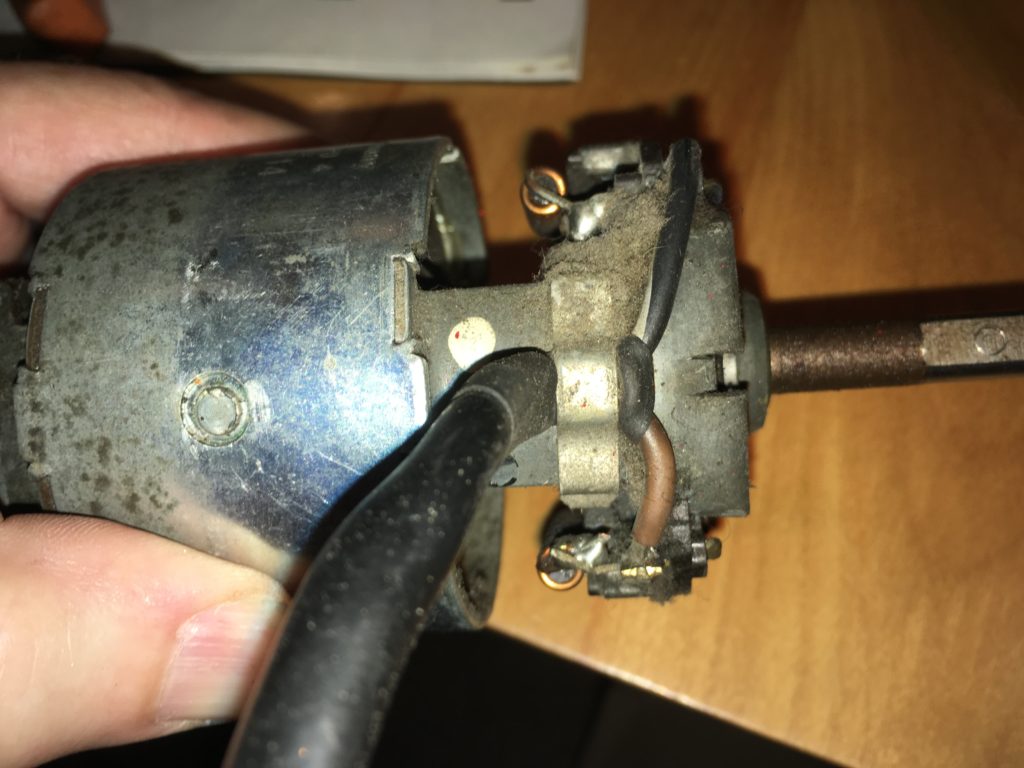
The hard-wired pigtail on the original motor.
I thought that all I needed to do was cut a pair of wires about the length of the original pigtail, crimp a male and a female spade on one end and a pair of female spades on the other, but when I tried to fit the spades to the connectors on the motor, they hit one another. I thought I might need to order some specialty right-angle spade connectors, but some judicious bending of the wires appeared to solve the problem.
It ain’t pretty, but it works.
With that, I could button up the assembly. This requires replacing the little C-shaped spring clips that hold the halves of the enclosure together. When these are removed, they can be gently tapped to the side and slid off the raised bosses where they sit, but if you try to snap them back in place, you risk breaking the plastic bosses. I’ve found that external circlip (snap-ring) pliers work well. You fit the tips of the pliers into the little holes in the clips, allowing you to spread them enough to slide them sideways onto the bosses.
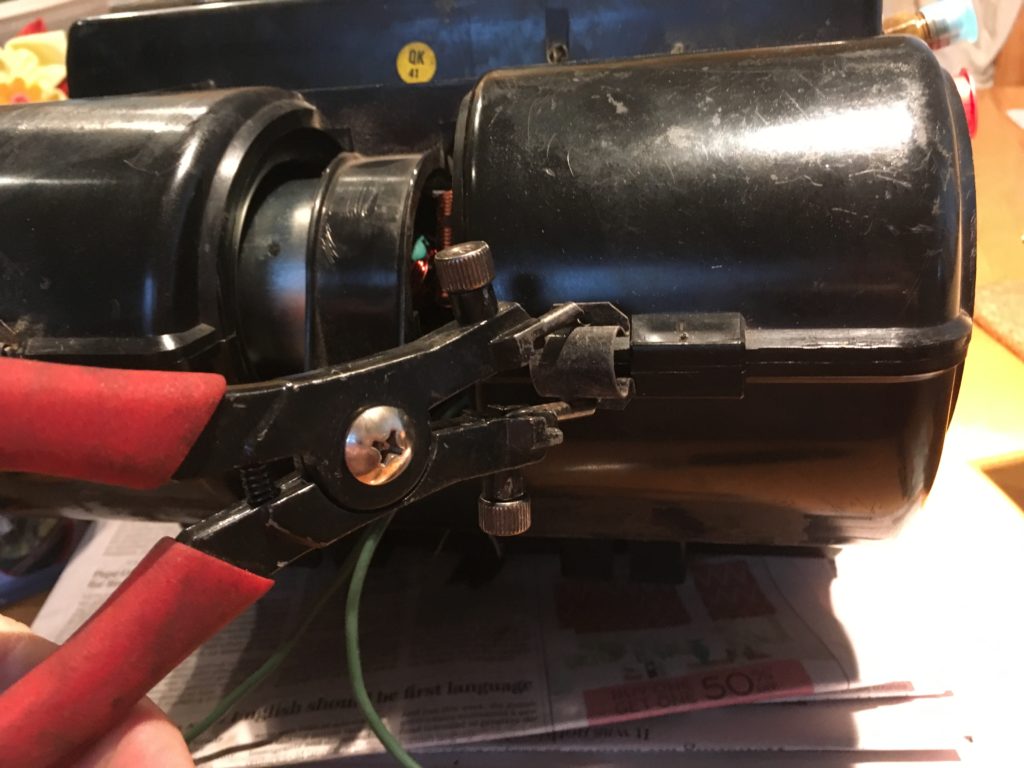
Using circlip pliers to spread the enclosure clips.
With the evaporator assembly finally buttoned back up, I did one final test. I sat the unit in the E9’s engine compartment and touched the wires I’d just installed directly to the battery. This verified that the motor worked, that nothing rubbed, and that I had labeled the spade connectors with the correct polarity so air blew out the top and not out the sides.
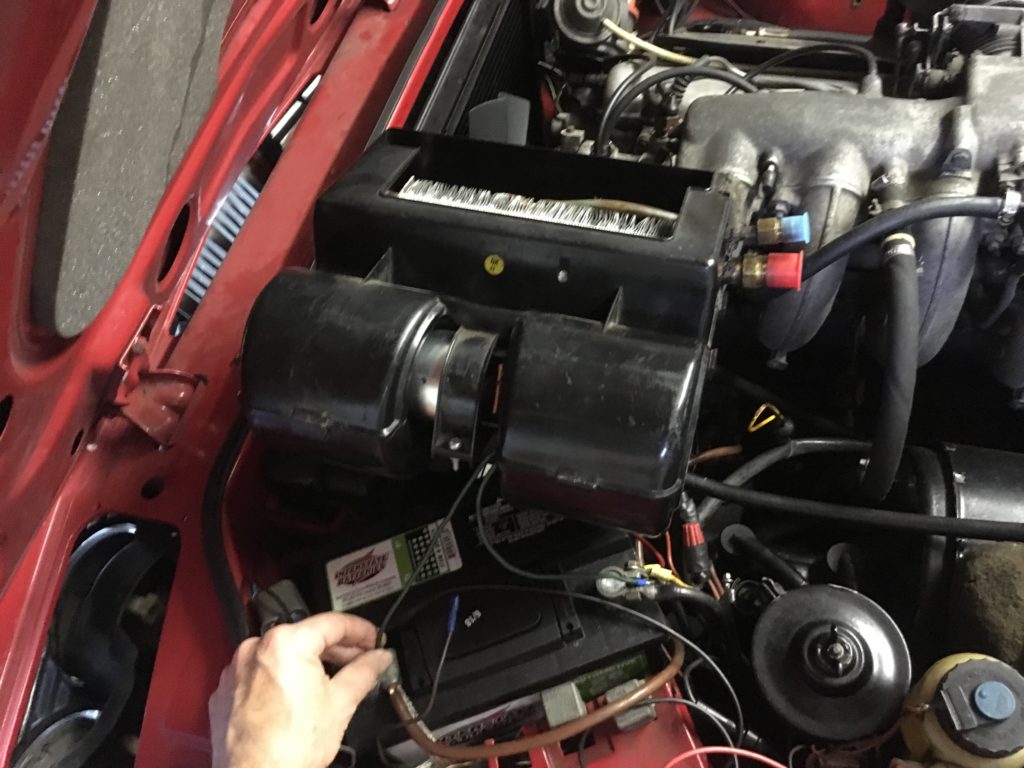
The final verification of the new blower motor before installation.
That just left re-installation of the evaporator assembly, leak-testing, evacuation, and recharging, which will need to wait ’till next week.—Rob Siegel
Rob’s new book, Just Needs a Recharge: The Hack MechanicTM Guide to Vintage Air Conditioning, is available here on Amazon. His previous book Ran When Parked is available here. Or you can order personally inscribed copies of all of his books through Rob’s website: www.robsiegel.com. His next book, Resurrecting Bertha: Buying Back the Car My Wife and I Drove Off From Our Wedding, will be released in the fall.