Your reaction to this might be “Air conditioning work? In the middle of winter? Siegel, have you finally breathed too much brake cleaner?”
It actually makes sense. I do a lot of a/c work over the winter. I mean, if you need to tear into it, what better time than before you need it?
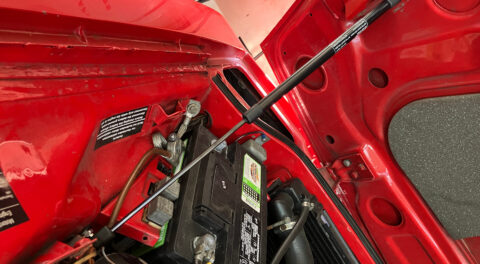
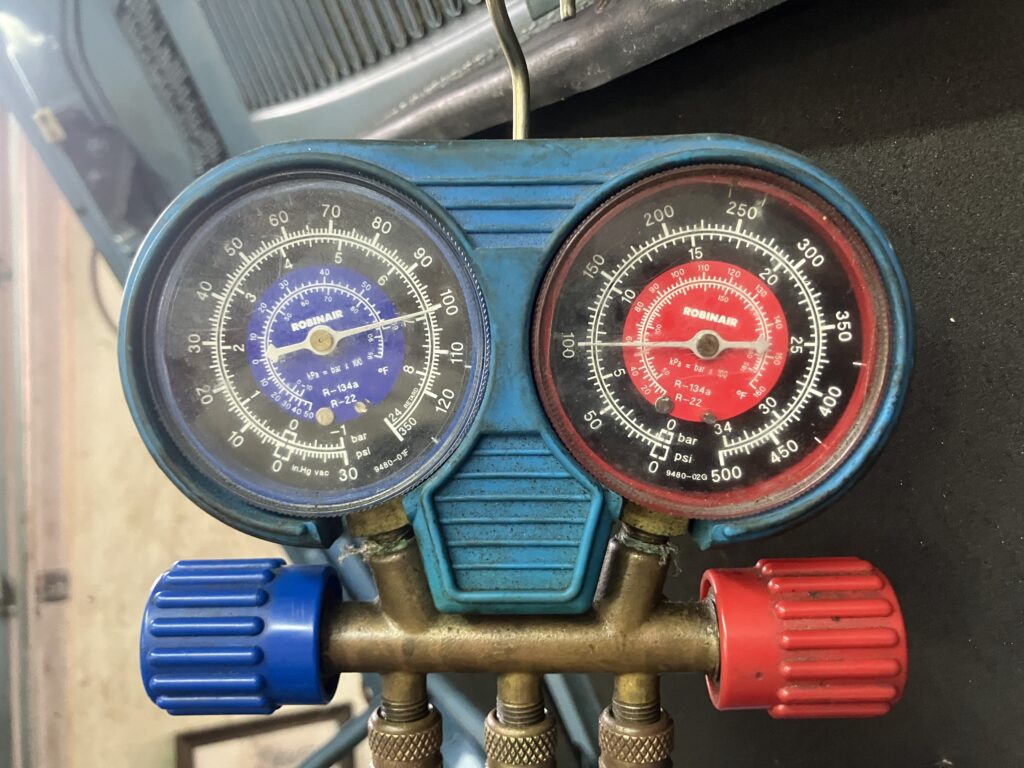
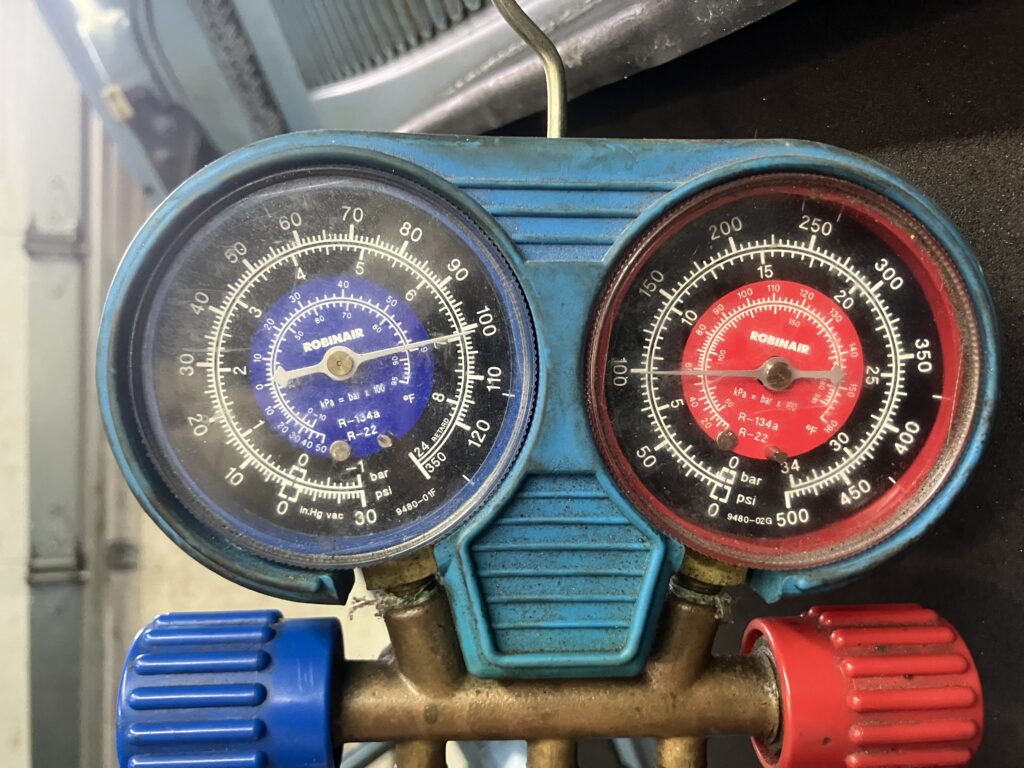
At some point after I drove it to The Vintage in 2019, the resurrected a/c in Bertha—my highly-modified 1975 2002 former track car—quit working. The car had been largely sitting in storage, and I was only driving it when I visited and exercised it, so I have no idea when it happened. Unless the a/c wasn’t working for some utterly trivial reason, like the compressor wire having broken, it was likely the issue was due to a leak, which was was nothing I was going to address in the Monson warehouse. Shortly after I brought the car home in November, I hooked up a manifold gauge set to see if there was any resting pressure in it at all. There was, but it was very low. Now that the car is home for the winter, this was the time to find the leak. Plus, as I wrote a few weeks ago, the heater box has leaky flaps, and to get it out, the a/c evaporator has to come out, so if my a/c work needed to stretch into the evaporator, now would be the time to know about it to bundle the two repairs.
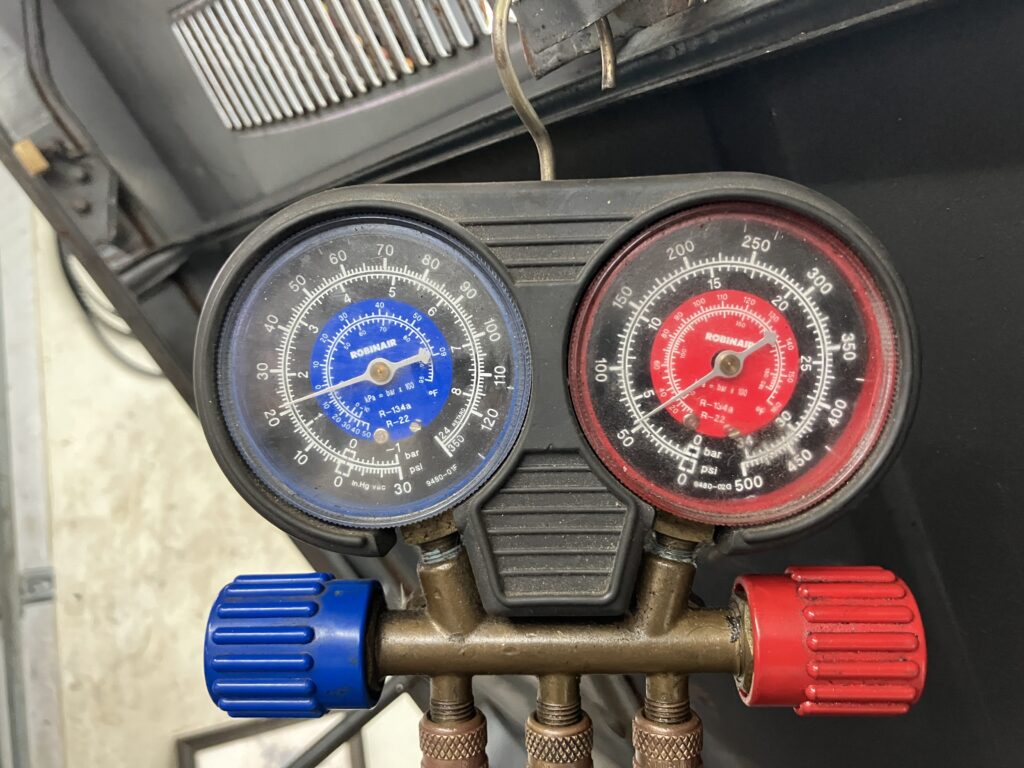
This was back in December. Low but not zero.
As I’ve written about extensively both here and in my air conditioning book, the way I find leaks is to pressure-test the system with nitrogen. I do put dye in the system when I charge it, but I find the nitrogen test better, as you can be fooled by dye from old leaks, or it might not be apparent at all.
Hook up the manifold gauge set to the charging fittings, connect the nitrogen bottle to the yellow hose, open up the taps, and slowly pressurize to about 100 psi. Then just listen. If you hear the nitrogen rushing out, you have a major leak. Just follow it with your ears and your hands. If you don’t hear it but see the gauge dropping, try putting one end of a piece of hose to your ear and walk the other end along every fitting. If you don’t find the leak that way, use Big Blu or other purpose-made leak-finding soap solution. Spray or brush it on all the fittings and crimps. If none of that works, I evacuate the system and shoot a little R134a into it and then use a refrigerant sniffer. If it goes off when you stick it in or near the evaporator, the leak is inside, and you cry. But most times, the leak is at one of the fittings that gets the most exposure and vibration, and those are in the engine compartment.
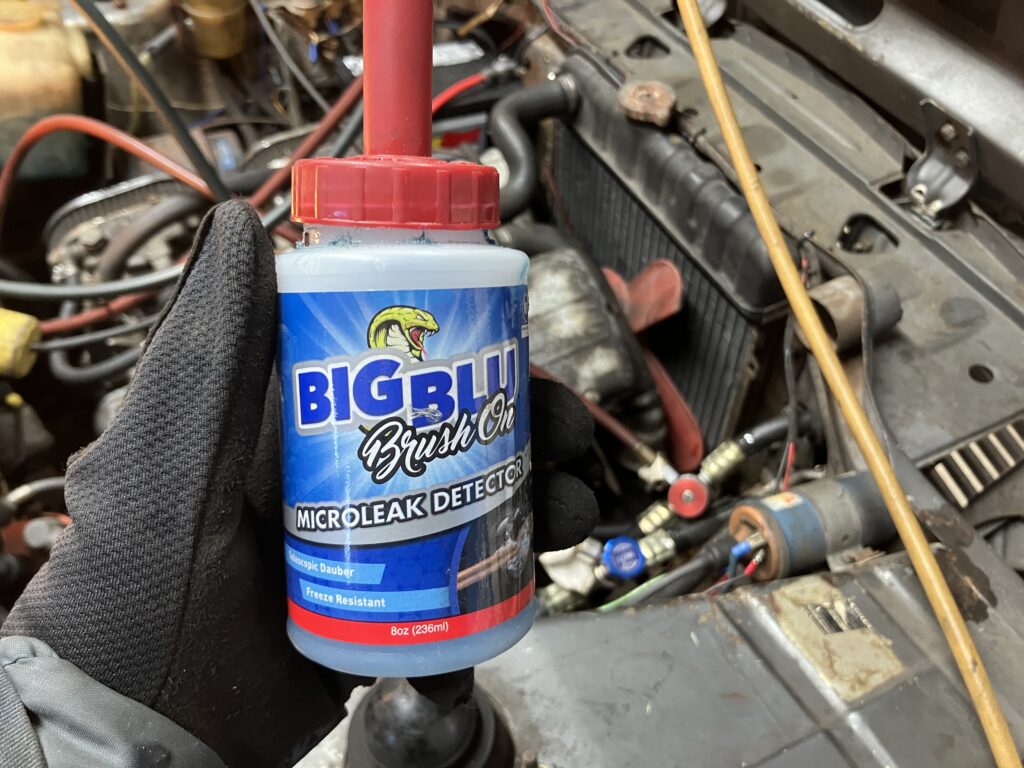
Big Blu leak-finding soap solution. This stuff is the shiznit.
So in I went. The 100 psi of nitrogen didn’t gush out, but over the span of a minute, I could see the gauges slowly falling. I went straight for the Big Blu. I brushed it on the compressor and receiver-drier fittings, and got nothing.
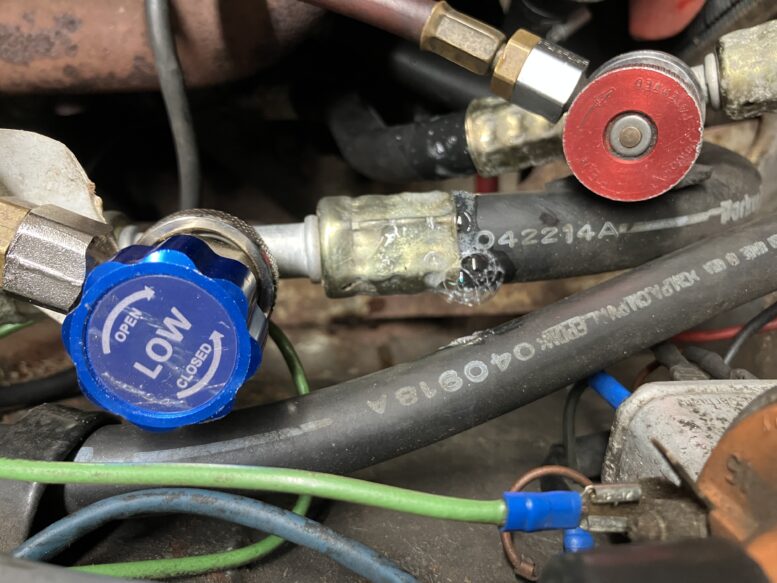
I was about to pull the grilles off to check the fittings on the condenser when I thought to examine the charging fittings themselves. When you install or resurrect an a/c system, you need to put the charging fittings somewhere. Most rotary-style Sanden clone compressors have thread-on R12-style charging fittings on the back, and I used to rely on those, but over time I’ve moved away from that—they’re hard to get at, and you lose a fair amount of refrigerant when you unthread the charging hoses from them. The newer R134a-style snap-in-place charging fittings are much better as far as not leaking when you disconnect them, but they’re also much larger. On both my 3.0CSi and on Bertha, I spliced R134a-style charging fittings directly into the hoses. I’ve also moved away from that, as I think they’re ugly, and it’s four additional crimps that can be sources of leaks. These days, I and many other folks try to use the charging fittings that are directly integrated with the compressor fittings. Whether or not you can depends largely on how close the compressor is to its mounting bracket.
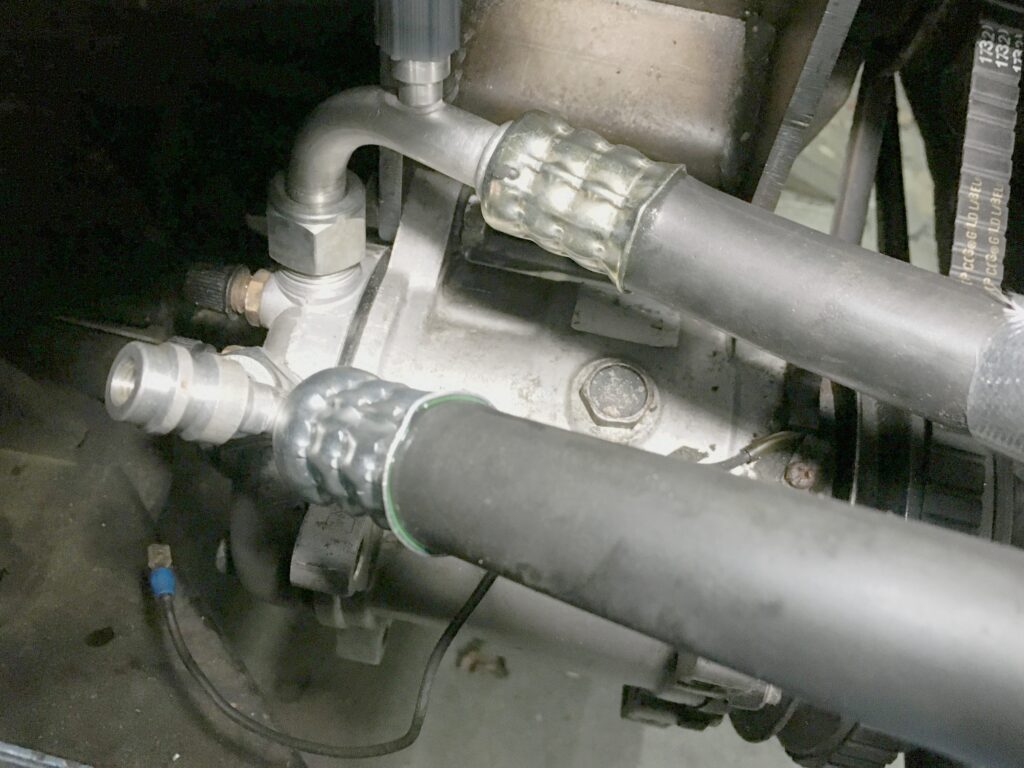
Charging fittings attached to the compressor on a different car.
I’d rebuilt Bertha’s a/c, including all new hoses and fittings, when I resurrected the car in 2018-2019, so I didn’t expect relatively new crimps to be leaking, but that’s why I was here, right? I slathered Big Blu onto the crimps of the charging fittings, and immediately saw obvious bubbles erupting from three of the four of them. Holy leaks, Batman!

One…
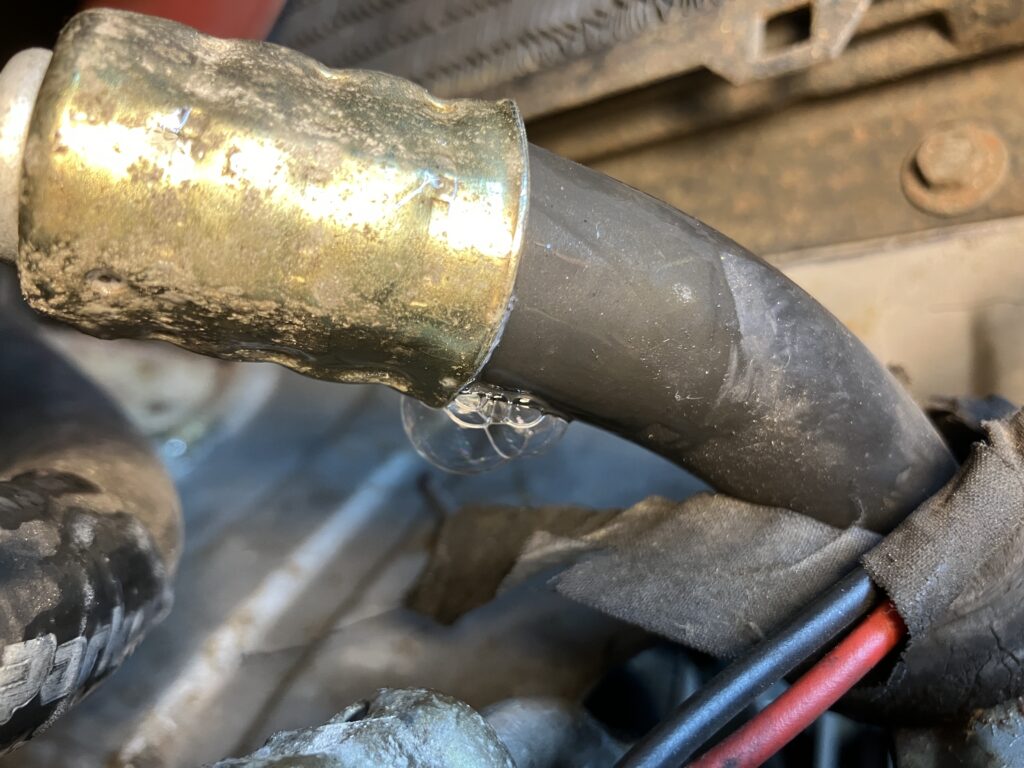
…two…

…and three.
My initial reaction was to think about checking if there was enough clearance to use compressor fittings with charging fittings on them (I couldn’t remember why I hadn’t done this six years ago) and check to see if I had any of those at the house (as well as spare lengths of hose), but then I thought I’d try simply re-crimping the fittings first.
One of the advantages of making your own hoses with a Mastercool 71500 Hydra-Krimp tool is that the tool is hand-held, and can usually crimp fittings in situ. By that, I mean that you can crimp on one end, install the hose, cut the other end to length, test-fit the other fitting, then crimp it on without removing the hose. But typically, when you do that, at least one end is free. Because the charging fittings were in the middle of the hose rather than at the ends, I wondered if I could actually re-crimp them without removing either end of the hose. To my delight, I found that I could, at least on three of the four of them (I did all four). For the one that went to the compressor, I needed to unscrew the compressor fitting and bring it up in order for the tool to get a good bite on the charging fitting, but that was trivial. On all the re-crimps, I crimped it once, then rotated the tool by about 30 degrees and did it again to make sure the crimp wasn’t bulging in any direction.
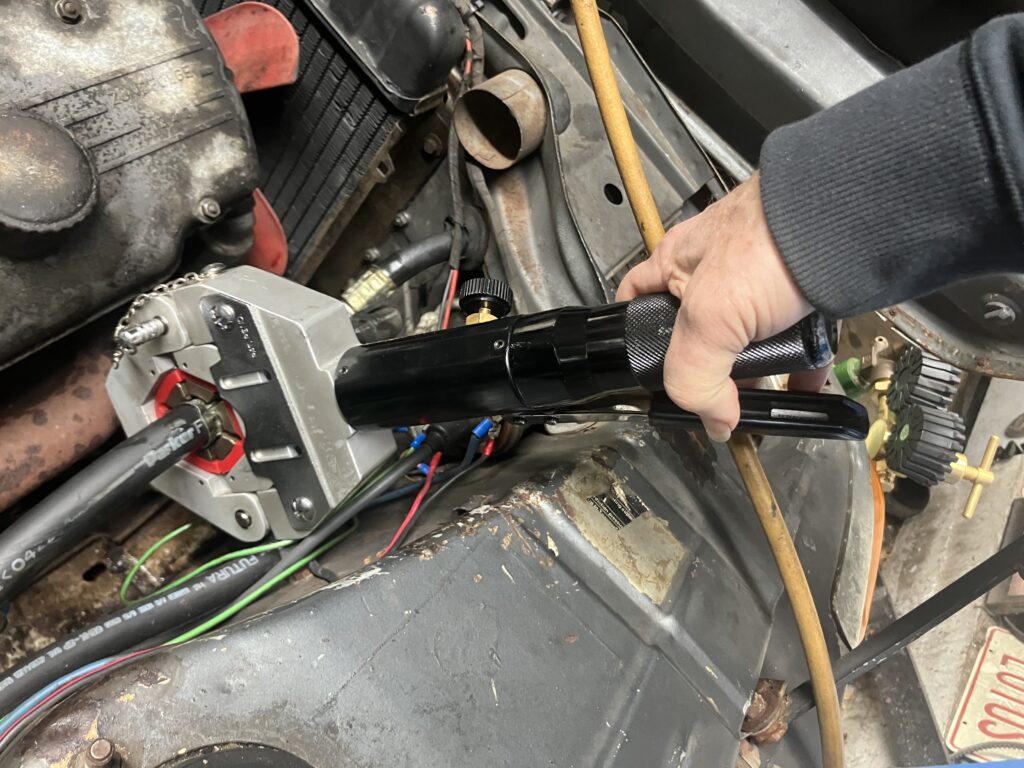
The right tool and all that.
I then re-pressurized the system to 100 psi, watched it, and slathered more Big Blu on the fittings I’d just re-crimped.
“Testing testing, one two three, is this thing on?”
No bubbles.
In the morning, I re-checked the pressure, and it was still sitting at 100 psi.
Goooooooaaaaaaallllllll!
I’ll wait for warmer weather (hopefully there’ll be some high-50s winter day) to evacuate it, shoot refrigerant back in, and make sure the whole system works, but I’m wagering that this is all it was.
As winter a/c repairs go, this is about as quick and easy as it gets.
—Rob Siegel
Rob’s new book, The Best of The Hack Mechanic, is available here on Amazon, as are his seven other books. Signed copies can be ordered directly from Rob here.