As I said last week, having the FrankenThirty reach the point where it’s legal and putting out a fun “drive me” vibe made me want to address a number of non-critical non-reliability non-inspection issues to bring it closer to feeling like a whole intact car. First on the list was making the passenger-side window roll down so I could maximize the flow of the gorgeous autumn air into the car.
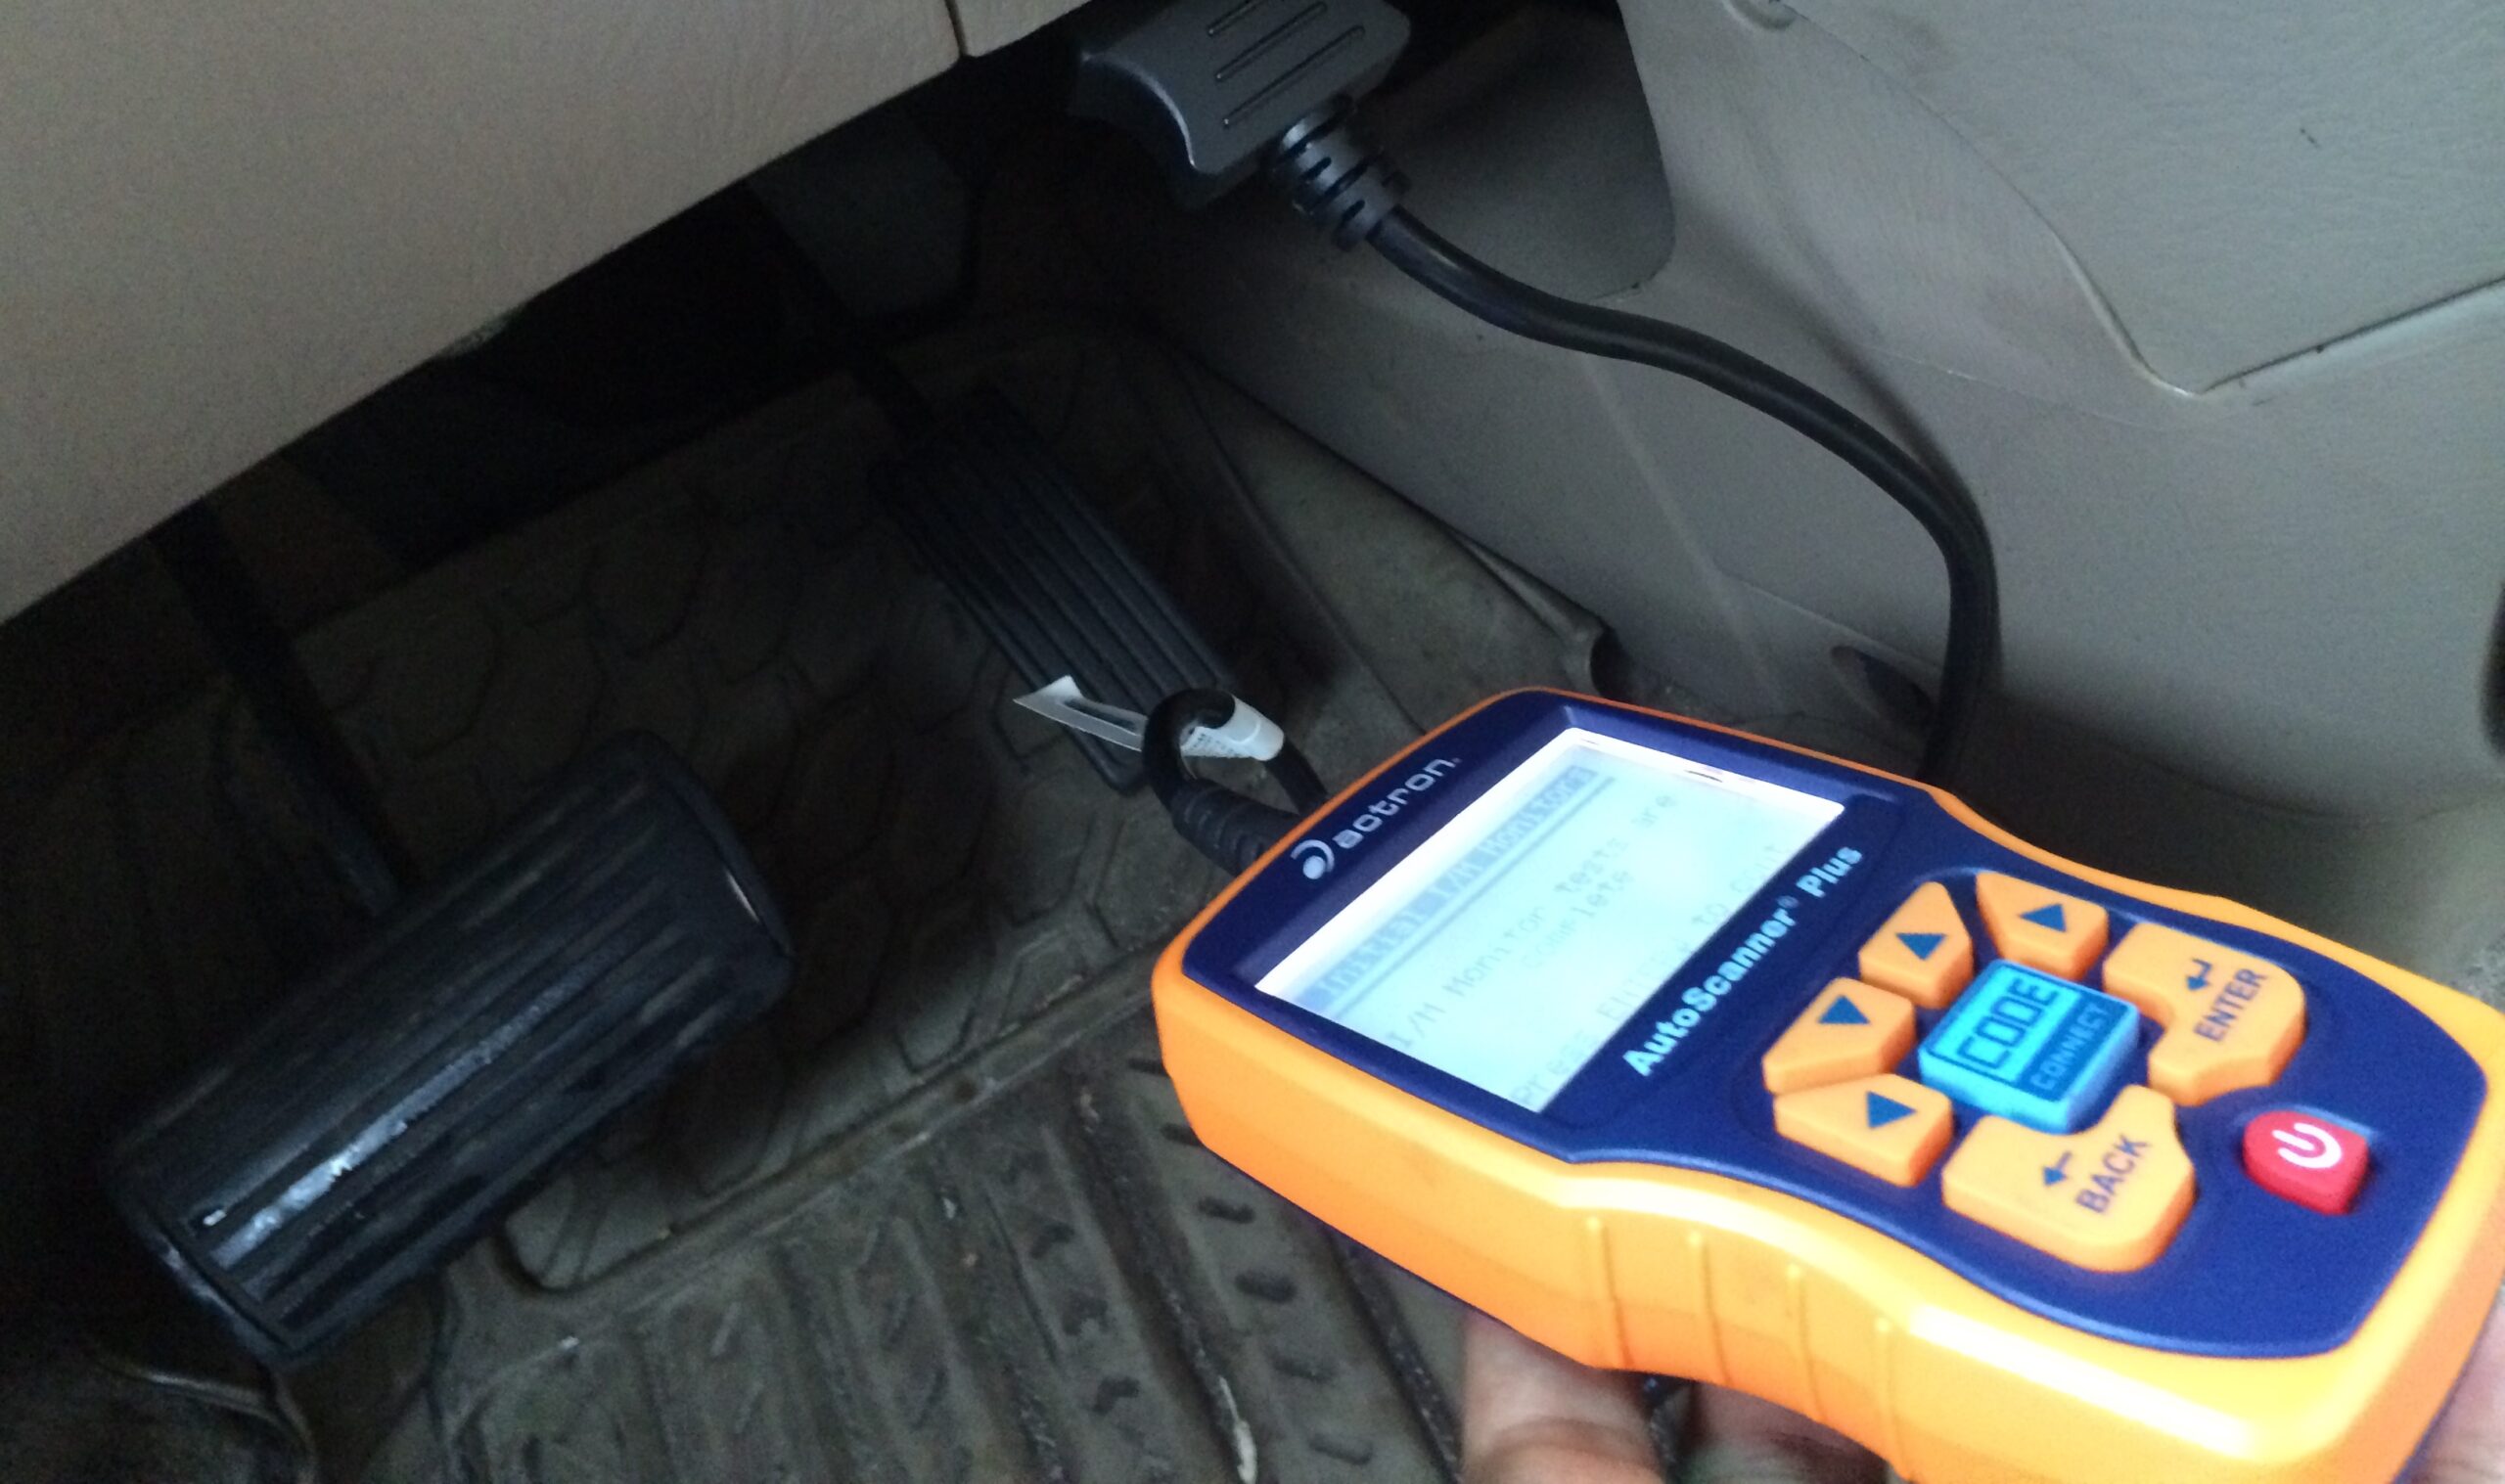
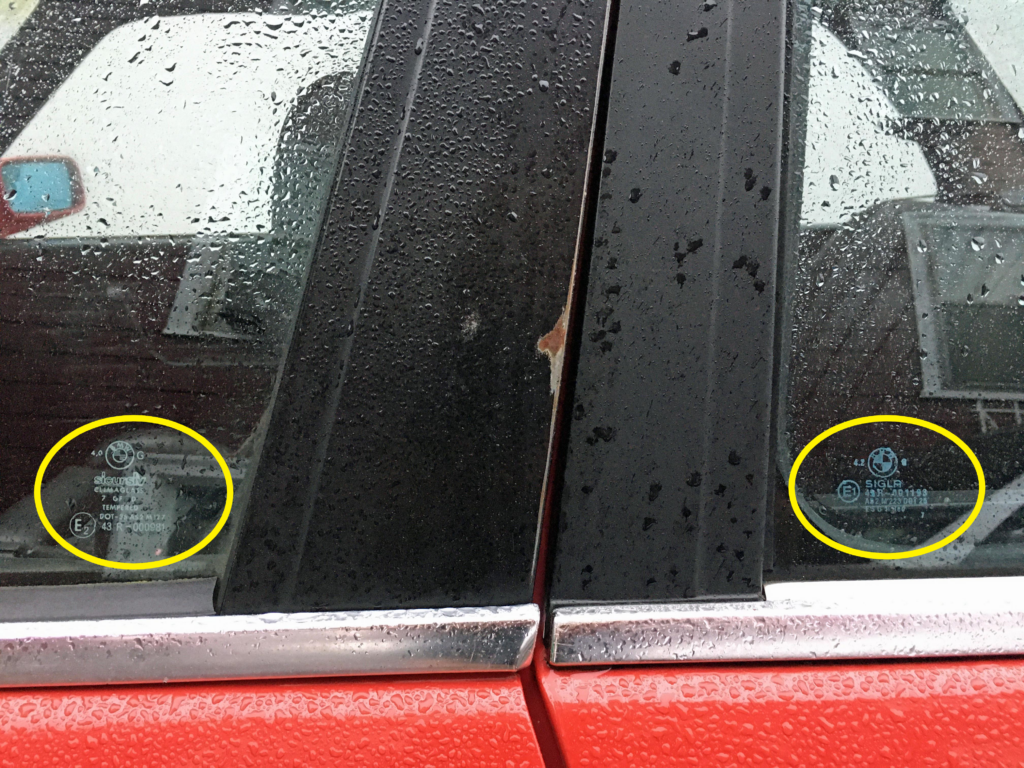
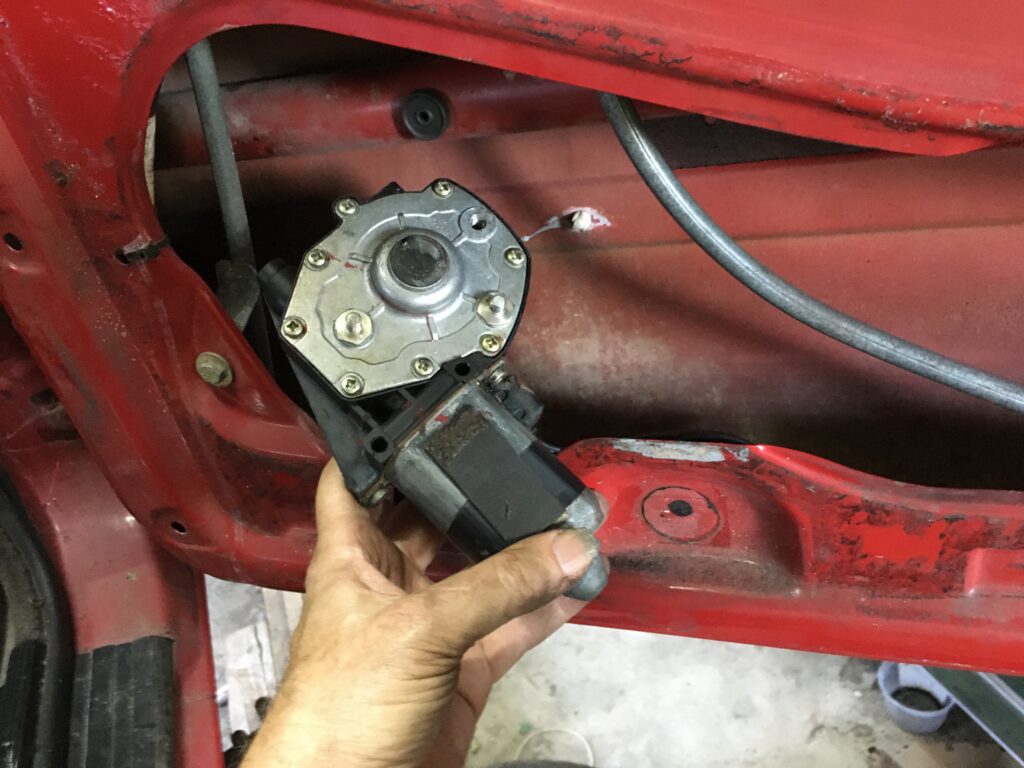
I verified that power was heading into and out of the window switch, which made it likely that the problem was in the window motor itself. As I pulled off the door panel, I noticed something odd: The circular black plug on the panel that I assumed covered up a hex-key hole that could be used to hand-crank the window didn’t snap into place and instead was secured by a small threaded aluminum backing, and there was no hex-key hole behind it. I assumed that this was part of the Franken-car nature of the beast. This was verified when I looked closely at both the different finishes of the front and rear black anodized window frames and the different brands of window glass (Sicursiv in the doors, Sigla on the rear vent windows). This is especially odd because the VIN tags on the doors match the VIN of the car on the door jamb and stamped into the cowl; it’s the tags on the front fenders and hood that don’t match. But hey, whatever. My friend and colleague Mike Self alerted me that there are two different styles of window motors and regulators—the cable-and-pulley arrangement on the earlier cars, and the more conventional rigid-arm setup on the later ones. Mike says that “the door is drilled for both setups, but you have to change the glass.” Perhaps that’s what happened on mine. With the door panel off, I found that I had the early-style arrangement. I undid the motor connector and verified that 12v and ground were reaching it and thus that either the motor itself was bad or the track was seized.
Yeah. Weird.
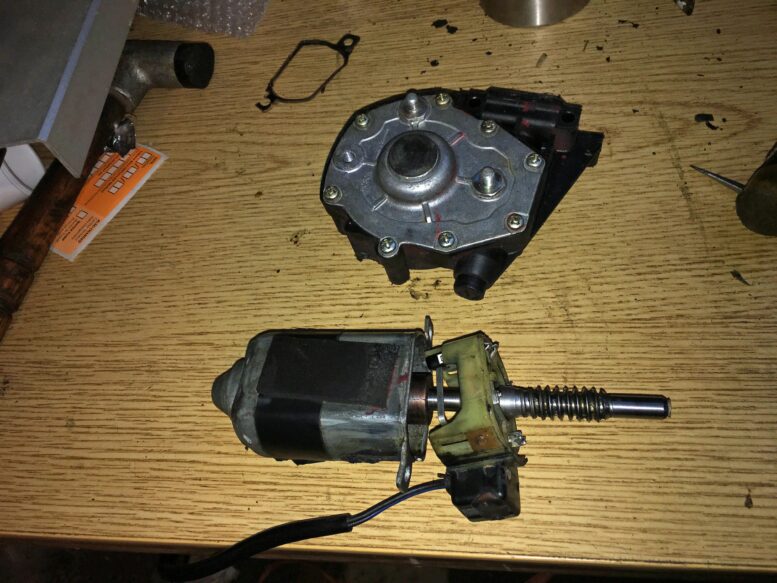
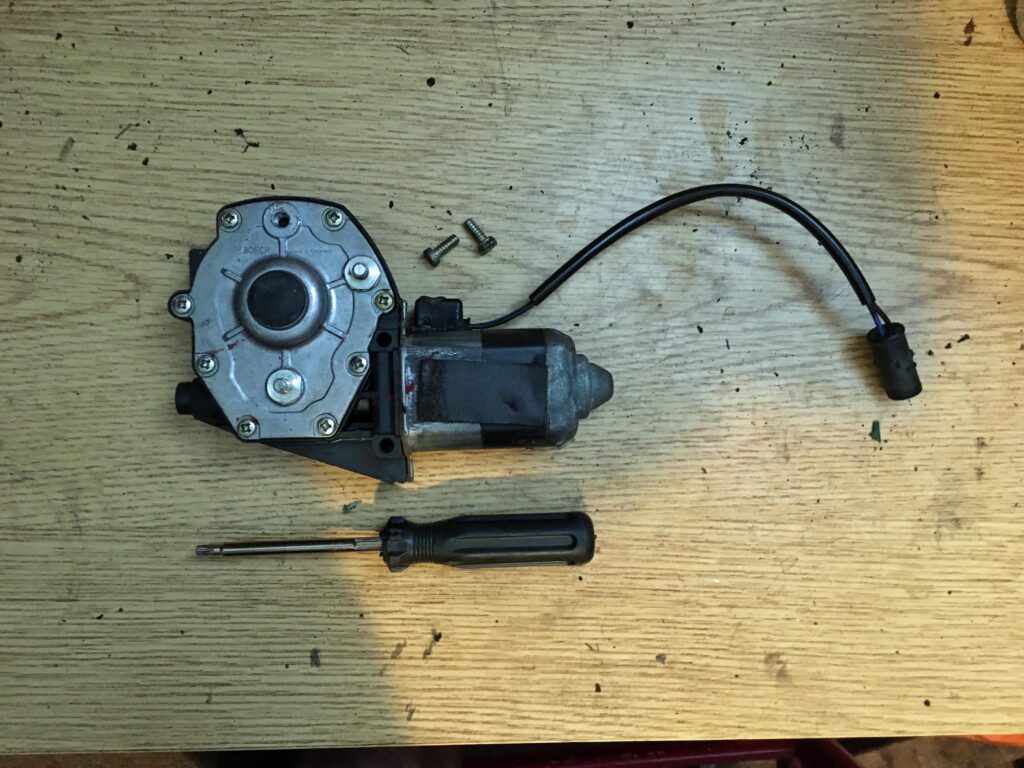
The motor removal is well-documented in a number of videos such as this one. The main issue is that the three 10mm bolts holding the motor to the door are plainly visible, but the four Phillips screws holding it to the regulator cable are not (the four screws attach a bracket to the back of the motor, sandwiching the cable housing in between), and there’s almost no clearance to get at them as the motor is usually installed on the cable before the whole assembly is put in the door. You need a low-clearance right-angle Phillips like one of the little dedicated ratchets shown here or a Phillips bit on a standard 1/4-inch ratchet wrench handle. When the bracket is removed, you can twist the motor off the housing and lower it.

Two of the three 10mm nuts removed.
The bracket removed and the motor drawn down and out.
I did this, then plugged the connector back in to test if the motor could spin when not encumbered by the track. It couldn’t, ergo it was, to quote the Munchkin coroner in The Wizard of Oz, not only merely dead, but really most sincerely dead.
We all have parts that we’re willing to put on the workbench and rebuild ourselves to achieve the near-zero-cost repair, and things where we’re perfectly willing to remove the old part, throw it away, buy a new or used part, install it, and be happy with the cost savings due to not having to pay anyone’s labor (for example, I don’t rebuild brake hydraulics). As cost-conscious as I’ve been about the FrankenThirty, I really had no desire to disassemble the window motor and try to un-seize it, and was more than happy to pick up a used one for the thirty or so bucks I expected it to be. I was stunned to find that the click-and-buy prices on eBay for early E30 window motors started at $200. So, with nothing to lose, I took the window motor apart.
It begins.
The video I linked to above shows the disassembly process. The main thing is that you need to be careful pulling out the plastic section shown in the cover photo so you don’t break it. With it removed, I could pull out the guts. It took me a while to understand what I was looking at on the bottom of the armature assembly. It’s a brass or bronze bushing that was seized to the end of the shaft.
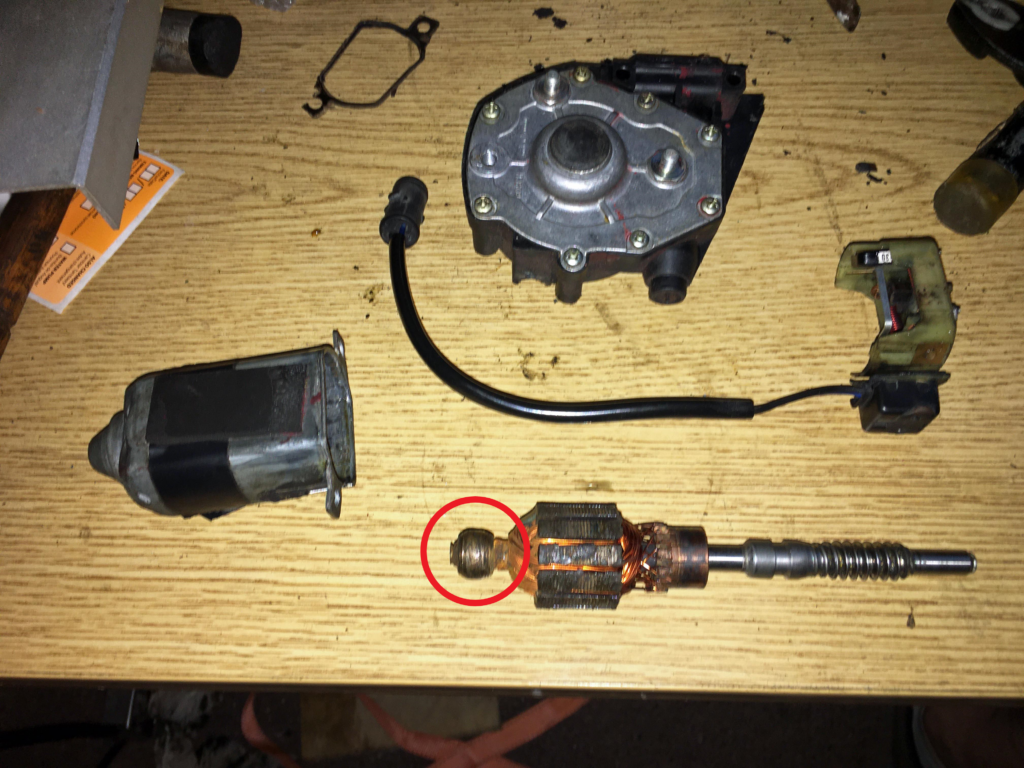
That’s supposed to be in the bottom of the cover, not stuck to the bottom of the shaft.
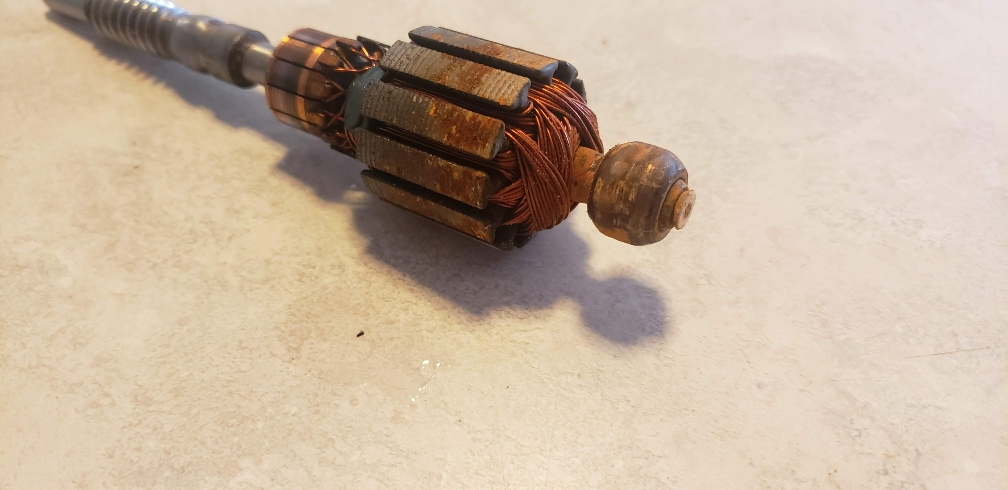
The bushing is sometimes referred to as a “bearing,” but it’s just a brass donut. It doesn’t have any round or cylindrical bearings in it. Below is a better photo I found online (credits in caption).
Closeup of the brass bushing. (thanks to “Tennzguy” on BimmerForums)
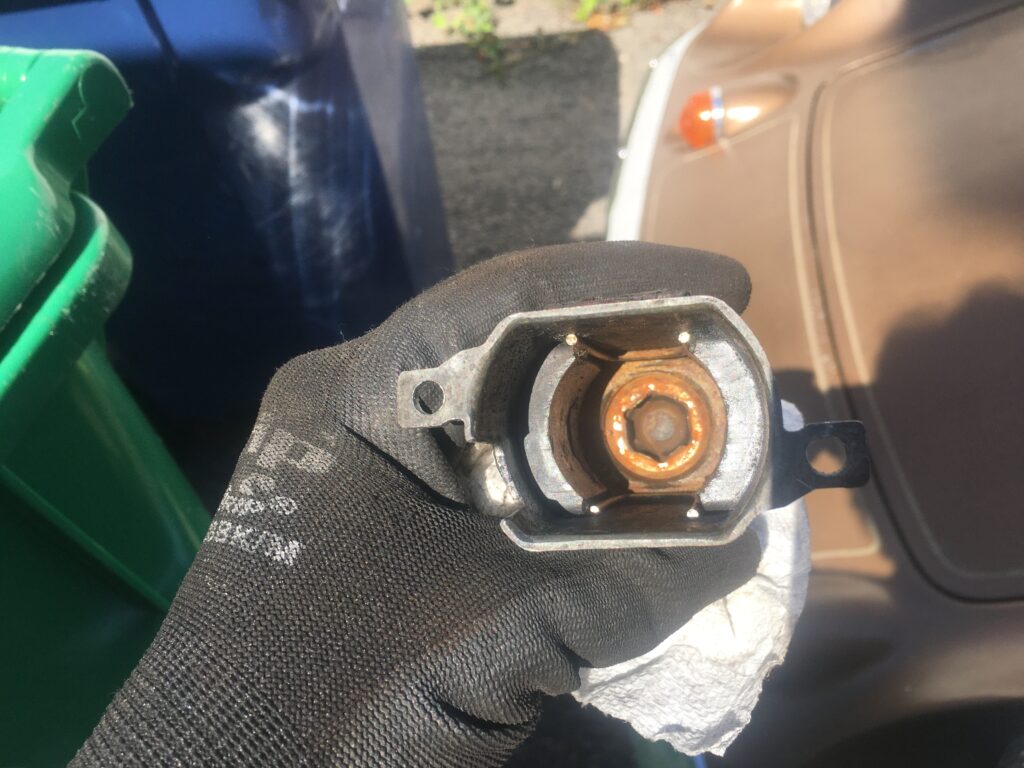
This is the springy six-sided metal clip in the bottom of the cover that the bushing is supposed to sit in.
I scraped the coating of corrosion off the end of the shaft and soaked it and the bushing in SiliKroil overnight, but the bushing still wouldn’t budge. Even the mechanism of trying to pull it off was challenging, as I didn’t want to grab it or the shaft with Vise Grips because I didn’t want to damage them. By trial and error, I found that setting an 8-mm open-end wrench into my bench vise made the perfect jig to sit behind the bushing and allow me to tap the end of the shaft with a non-marring hammer.

My bushing removal jig.
Even still, the bushing wouldn’t budge. I really didn’t want to use heat on it as I was afraid of damaging the armature windings sitting right behind it, but I didn’t have much to lose. It turned out that the bushing is so light and heat-conductive that about 20 seconds of heat with a MAPP gas torch got it glowing red, and a tap on the end of the shaft dislodged it. To get it completely off, I needed to use a drift to tap it the rest of the way through, which is what’s pictured below.
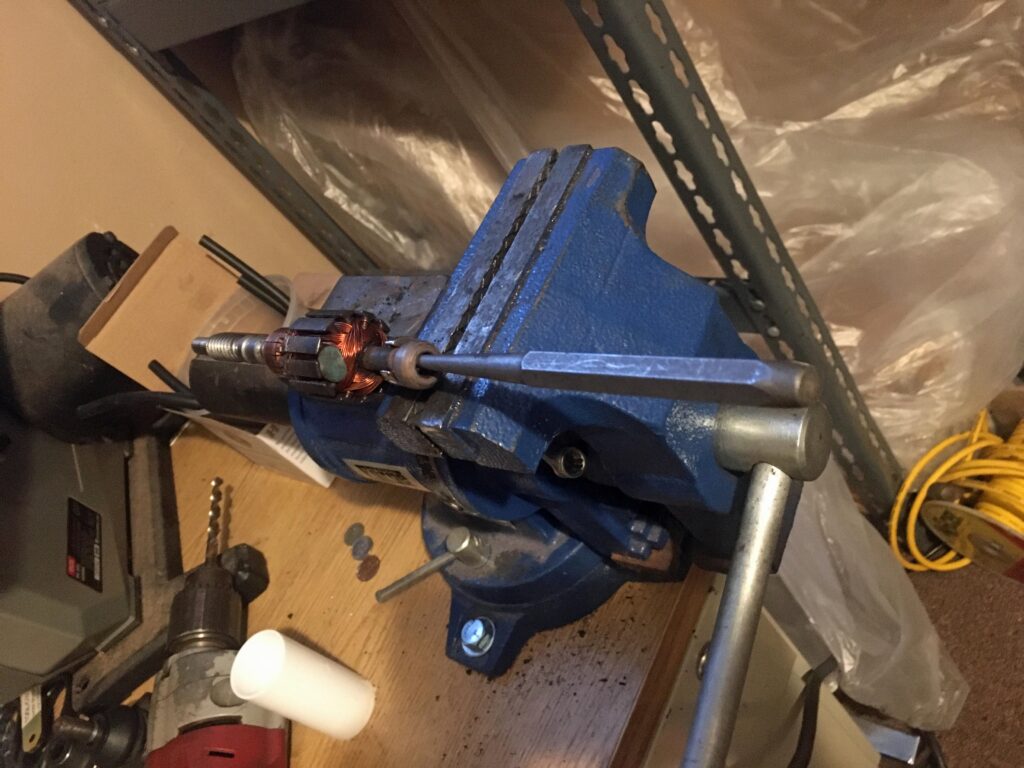
Yeah baby.
I cleaned the end of the shaft and the inside of the bushing with Scotch Brite, verified that it spun freely, lubricated it with white lithium grease, reassembled the motor, then tested it on the bench with a battery to make sure it worked. The fact that it’s a bushing and not a bearing and that the bushing is held at the bottom by a sprung metal clip as opposed to being tapped inside a sleeve that provides actual alignment seems pretty flimsy, but then again this is a window motor that’s only used for short periods, not a fan motor that might be on for hours.
I reattached the motor to the regulator track and tested it. While it’s a bit noisy in one direction, it works. It’s a joy to be able to roll down both windows, let the crisp fall air in, drive the car, and roll them back up.
Next week, I’ll attack the other sliding object that has the same wind-and-water-sealing issues—the sunroof.
—Rob Siegel
____________________________________
Rob’s newest book, The Best of The Hack Mechanic, is available here on Amazon, as are his seven other books. Signed copies can be ordered directly from Rob here.