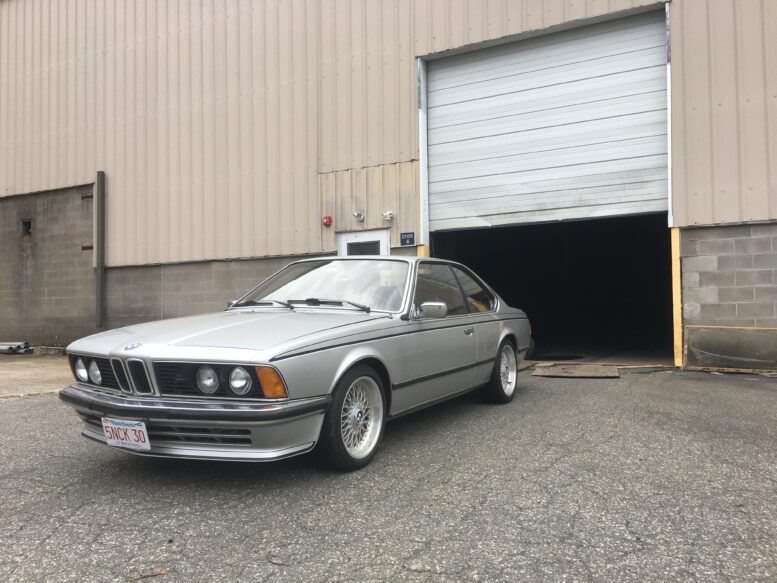
Five of my cars (the Lotus Europa, Louie the ’72 2002tii, Bertha the heavily-patina’d hot-rod ’75 2002, the Bavaria, and Sharkie the ’79 Euro 635CSi) have been sitting in the space I rent in the warehouse in Monson since October 2023. As I wrote here, when I was out there last fall, I was horrified to find the interior of some of the cars coated with mold and mildew, and several of the cloth covers stained with rusty goo dripping from the warehouse roof. I responded by going out there a week later with extra DampRid containers, five of the industrial desiccant bricks that are used in sea-going vessels to stop “container rain,” and five inexpensive thin transparent car covers to put over the cloth covers.
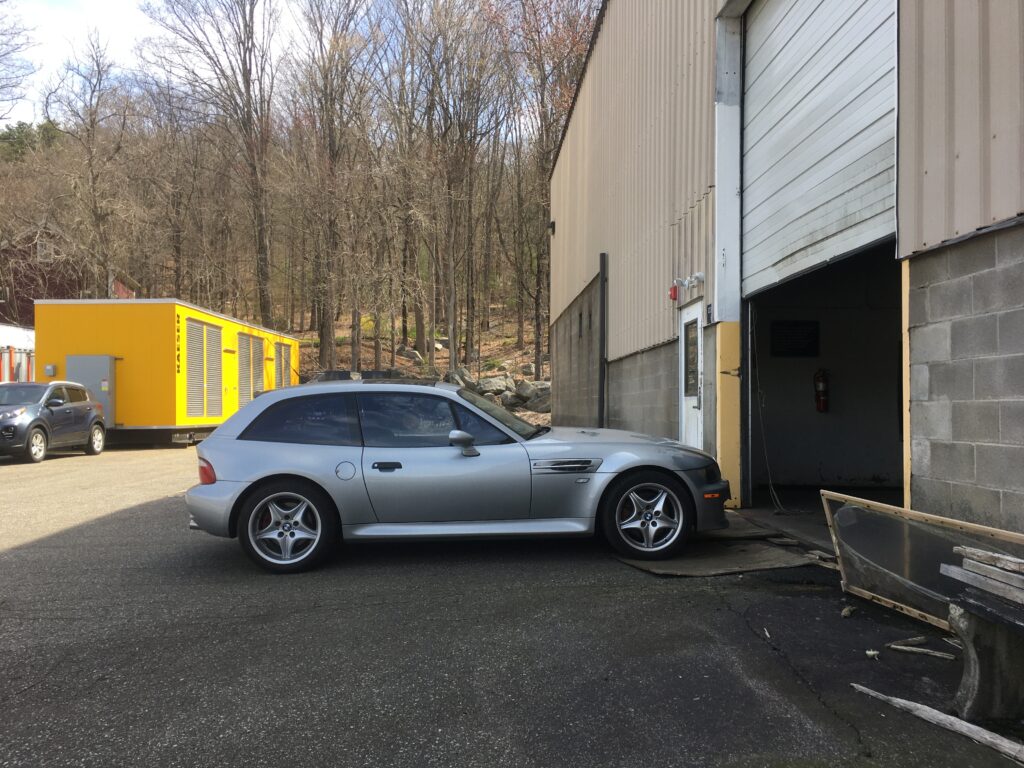
So when I drove out to Monson in the M Coupe last week to check on the cars, I was pleased to find that my full-on desiccant attack was successful; all five cars were mildew-free. Plus, as anticipated, any small amounts of gooey brown rain were stopped by the trash-bag-like car covers.
In you go, mister clownshoe. It won’t be forever.
But in addition to checking on the brood’s general in-storage health, I did have some specific tasks. First on the list was swapping the M Coupe for the Lotus. Lolita had been out there since September (long story), I was deprived of its quirky slot-car presence all fall, and I badly want it back now that spring is here. So I uncovered it, reconnected the battery, pulled out the choke, and it coughed and stumbled its way into existence. While it was idling, I ran through the inspection checklist and found nothing wrong.
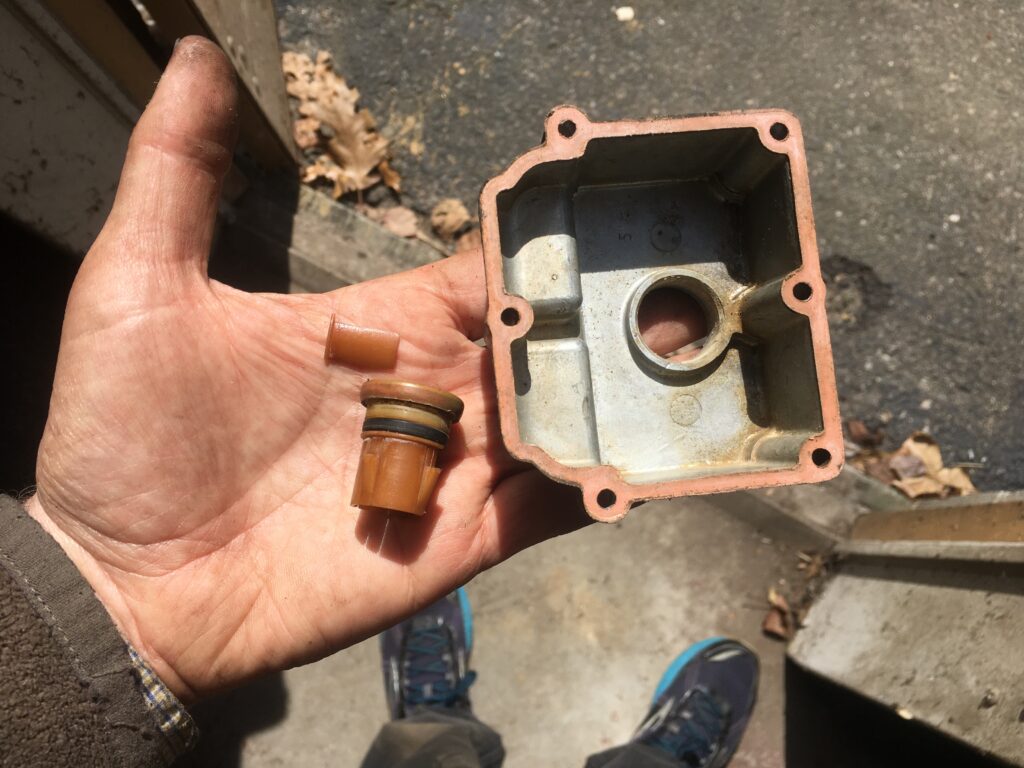
I was just about to hop in it and drive it to the inspection station two blocks away when I reflexively did what I do with any car that’s been sitting—looked underneath it for fluid leaks. And I saw a spreading pile of gas. Obviously I immediately shut it off. I thought I had a fire extinguisher in one of the cars out there, but apparently I was mistaken. I very carefully disconnected the battery. Fuel leaks are something that there should be a zero-tolerance policy for under any circumstances, but the situation was worse on the Europa because any leaks from the Stromberg carbs or the hoses feeding them drip directly onto the starter motor, so you don’t want to restart it unless things are dry. The leak turned out to be from the o-rings on both of the plugs at the bottoms of the Stromberg’s float bowls. I thought that maybe I could just match the o-ring at a nearby hardware store, replace it, wait ’til the gas evaporated, and restart the car, but when I pulled out the first plug, the 50-year-old plastic broke. Lolita wasn’t going anywhere today.
This ruined my plans for the Lotus.
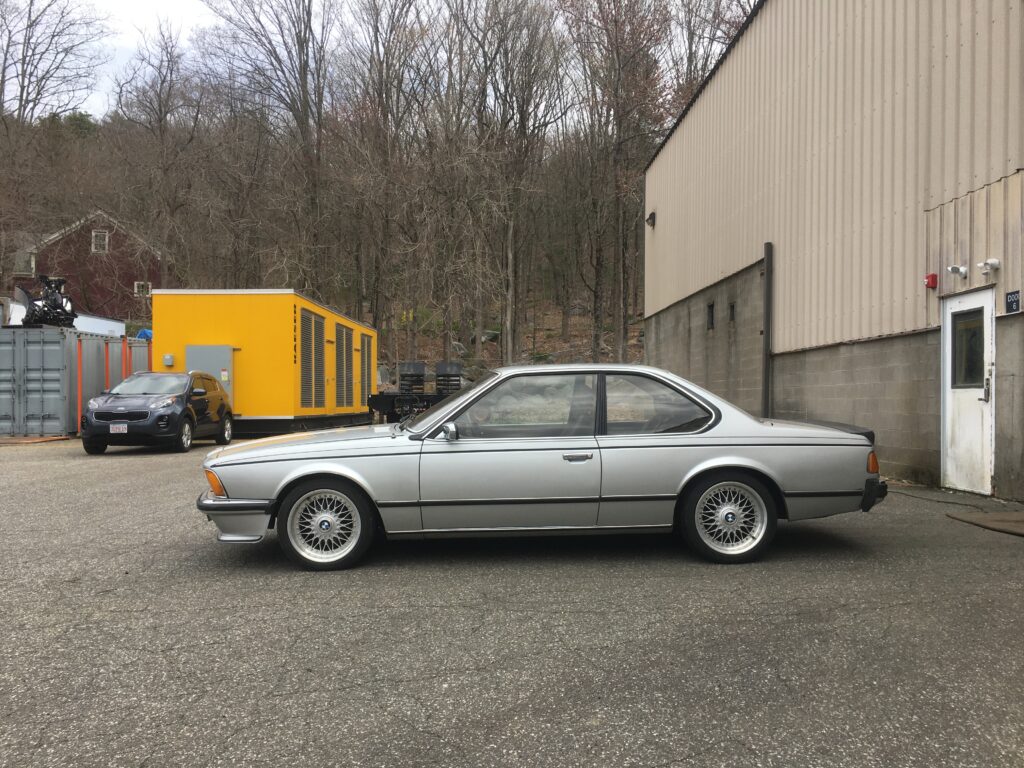
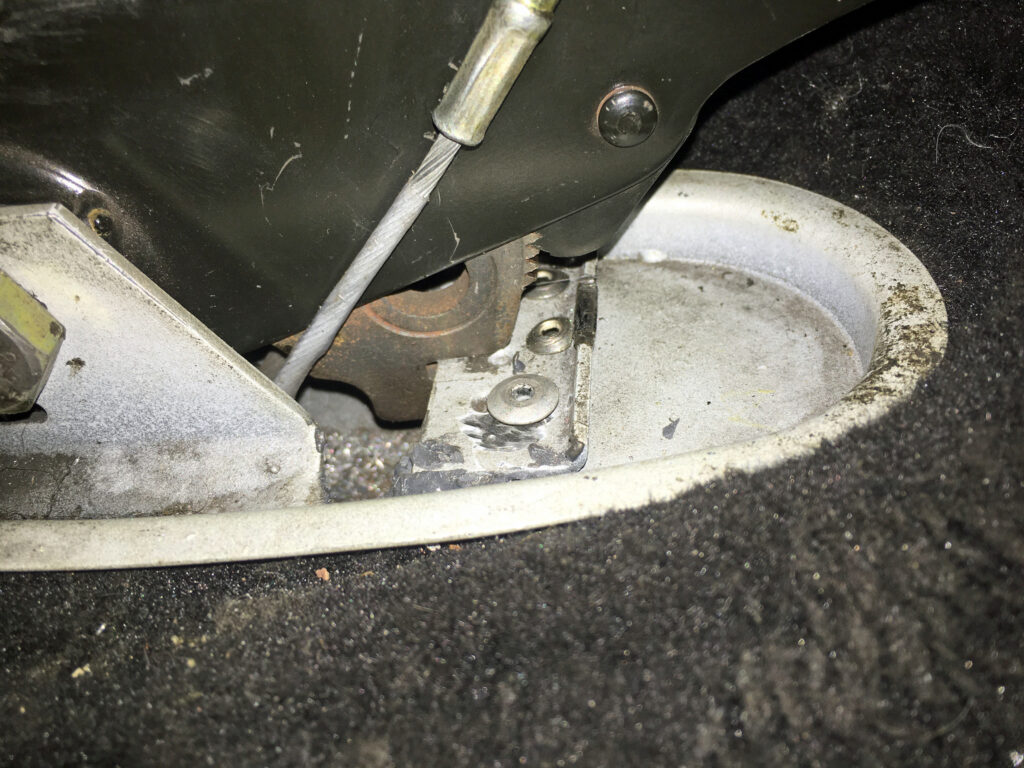
So my attention turned to Sharkie the Euro ’79 635CSi. Sharkie hasn’t seen much use since I drove it to The Vintage in Asheville 2021, and I knew that its inspection sticker was expired. I went through the same fire-it-up-run-the-inspection-checklist procedure, and to my surprise, found a problem with the handbrake lever—the ratchet mechanism wouldn’t stay pulled up. That would be an instant inspection failure. Although I bring a travel toolbox whenever I go to the Monson warehouse, I try not to fix anything out there unless it’s strictly necessary (it’s a giant space that’s usually unlit, and has no electrical outlets where my cars are parked), but I wanted to know if the handbrake issue was caused by something trivial. I pulled back the rubber boot to expose the lever’s pivot point where the e-brake cables are attached. I found something completely unexpected: The metal bracket that secures the front part of the ratcheting mechanism had broken away from the body of the car.
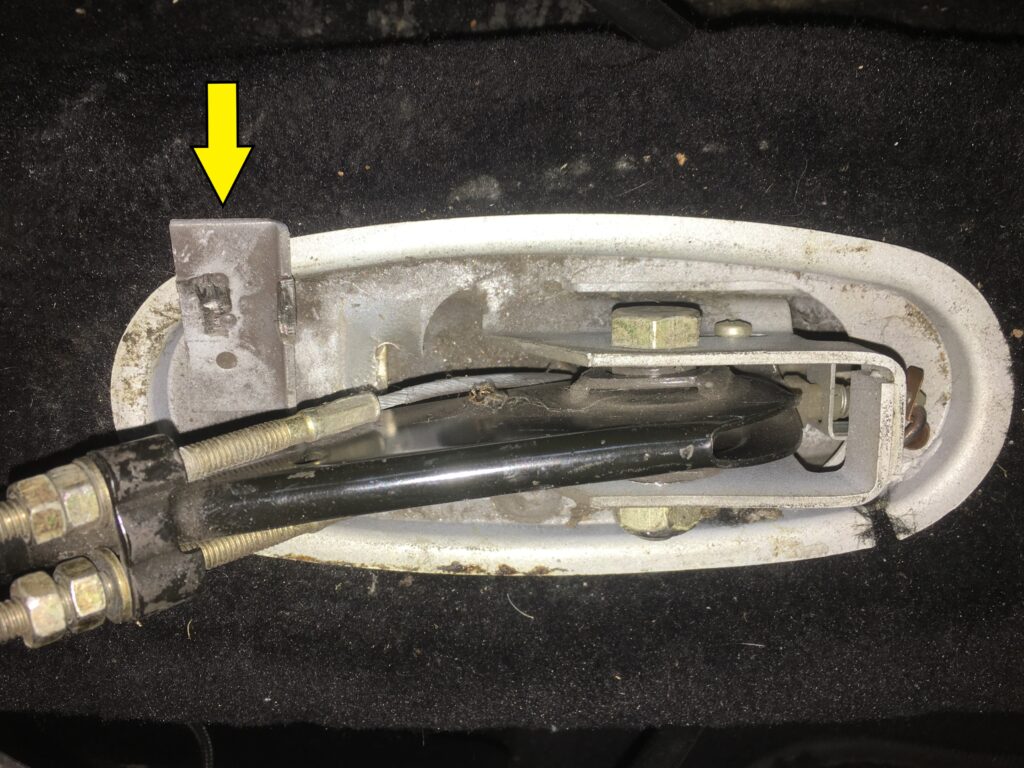
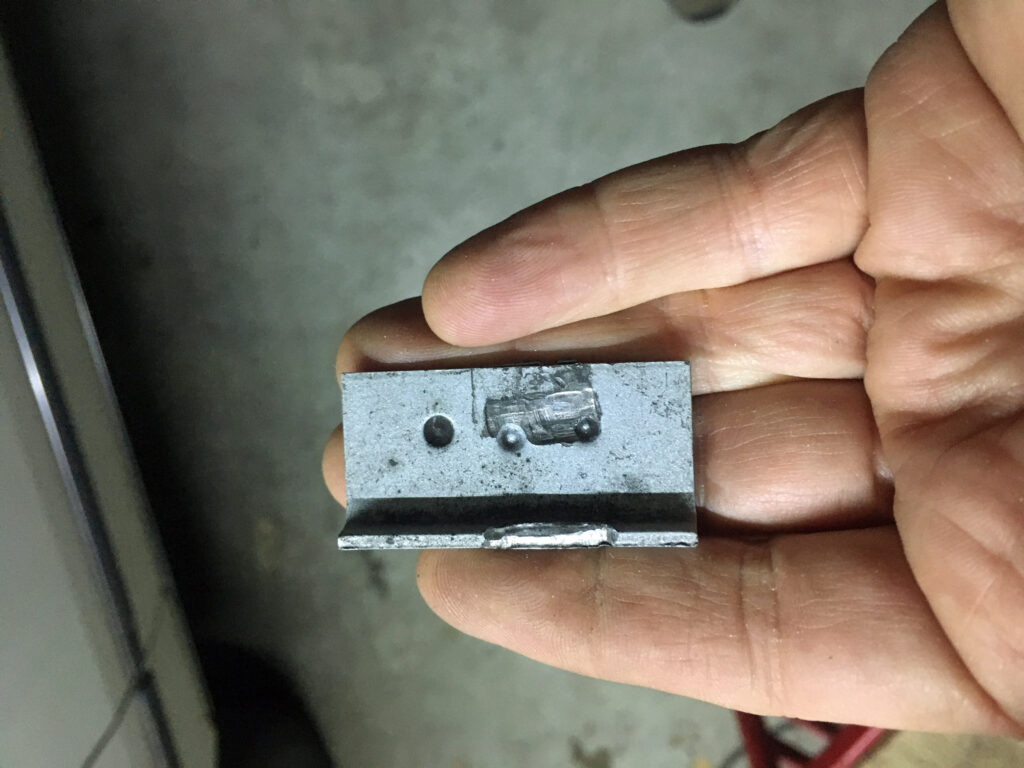
That metal bracket is supposed to be cross-wise under the lever. I moved it so I could take this photo.
Obviously this was something that needed the full retinue of tools in my garage, maybe even the welder, so I risked the ticket and drove Sharkie home with its expired inspection sticker. Fortunately I made it without incident, other than a bunch of thumbs-ups on the drive home.
Everyone loves Sharkie.
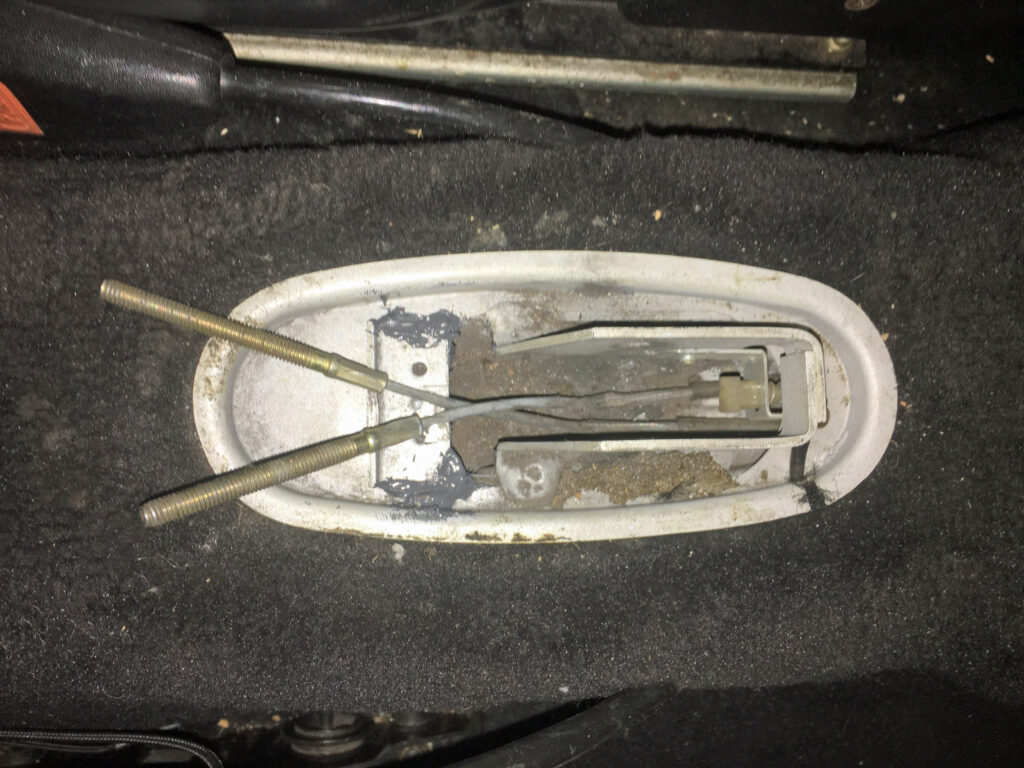
I undid the handbrake cables, removed the 17mm bolt and nut securing the pivot point, and lifted the lever and ratcheting mechanism out so I could see what needed to be re-secured. It was clear that the bracket had torn away from the spot welds holding it to the transmission tunnel, and had taken a small piece of sheet metal with it.
This…

…is supposed to be here. You can see how the sheet metal holding all three spot welds had broken away.
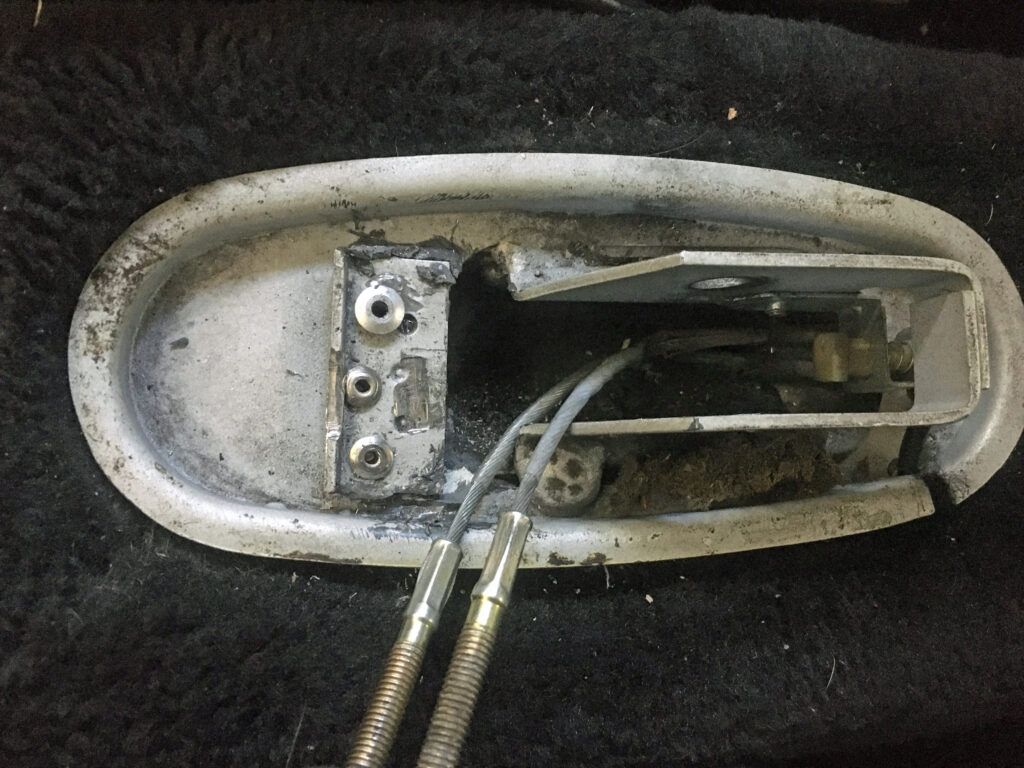
Now, I own this MillerMatic 141 welder I bought used nearly eight years ago, but I’ve never walked up the curve to learn how to use it properly. The handful of times I’ve tried, the welds have veered past ugly into non-functionality. Also, I wasn’t certain whether, to weld safely, I needed to pull the carpet further away, which would’ve been a pain. So rather than saddle this repair with the mantle of “well, THIS will be the one that teaches me how to weld,” I elected to attach the bracket with J-B Weld instead (ah, the irony of using a product with “Weld” in its name that has nothing whatsoever to do with welding—it’s a two-part epoxy). I’ve had very good luck using J-B Weld for a whole variety of repairs, including repairing Louie’s cracked cylinder head. So I cleaned both surfaces with a wire wheel, wiped them down with brake cleaner, let them dry, mixed up the J-B Weld, coated the underside of the bracket with it, matched up the broken piece, pressed the bracket into place, and used a popsicle stick to shovel the epoxy over both sides.
An ugly but I thought complete application of J-B Weld.
In the morning, I went out to the garage prepared to button things up, but for some reason I decided to use a belts-and-suspenders approach and also rivet the bracket down. I have a box of rivets and tools left over from my previous life doing field geophysics. I rifled through it, found some rivets of the right diameter and length, and began drilling the holes. To my surprise and alarm, the bracket pulled right up. When I felt the J-B Weld, I found that it clearly hadn’t completely cured. I know the instructions say to wait 24 hours for full curing, but I’ve waited overnight before and never had this happen. Live and learn.
I guess it’s just suspenders then. I drilled three holes and sunk three rivets in, taking care to space them outside where the bracket had broken away.
Don’t judge me.
When I put it all back together, I had the chance to see the way the handbrake ratchet works. The bracket that had broken off slides into the piece inside the lever that has the teeth for the ratcheting mechanism. When you yank up the lever , the pivoting part of the ratchet slides over the teeth, and stays engaged when you let go. I thought that the bracket took the strain when you yanked up the lever, but it doesn’t. Instead, it’s the thing that holds the lever up while the e-brake remains engaged, which is why it didn’t work without the bracket. So it’s in that position that it takes the strain. If it lets me pass inspection and then breaks and I have to really use it as the thing that makes me learn to weld, fine.
It’s all clear to me now.
And with that, Sharkie was off to inspection.
And it failed. Not because of the handbrake. The reverse lights weren’t working. It isn’t the fuse or blubs, which means it’s the hard-to-reach switch on the side of the transmission, or the wiring.
Ah, the joy of owning vintage cars. As Rosanne Rosanna Danna said, it’s always something.
—Rob Siegel
____________________________________
Rob’s newest book, The Best of The Hack Mechanic, is available here on Amazon, as are his seven other books. Signed copies can be ordered directly from Rob here.