I’m going to interrupt the story of the $115 Chinese-made Weber clone, as a) I still haven’t figured out the car’s hard-starting issue, and b) something more pressing came up.
With winter hopefully behind us, I took an hour and gave my daily driver 2003 E39 530i stick sport some attention—I swapped the winter wheels and tires for the car’s original Style 42s and decent rubber. The winter wheels are a horribly ugly mismatched set (hey, they were free), and the snow tires have a lot of of tread but absolutely kill the handling (hey, they were cheap), so I couldn’t wait to get them off.
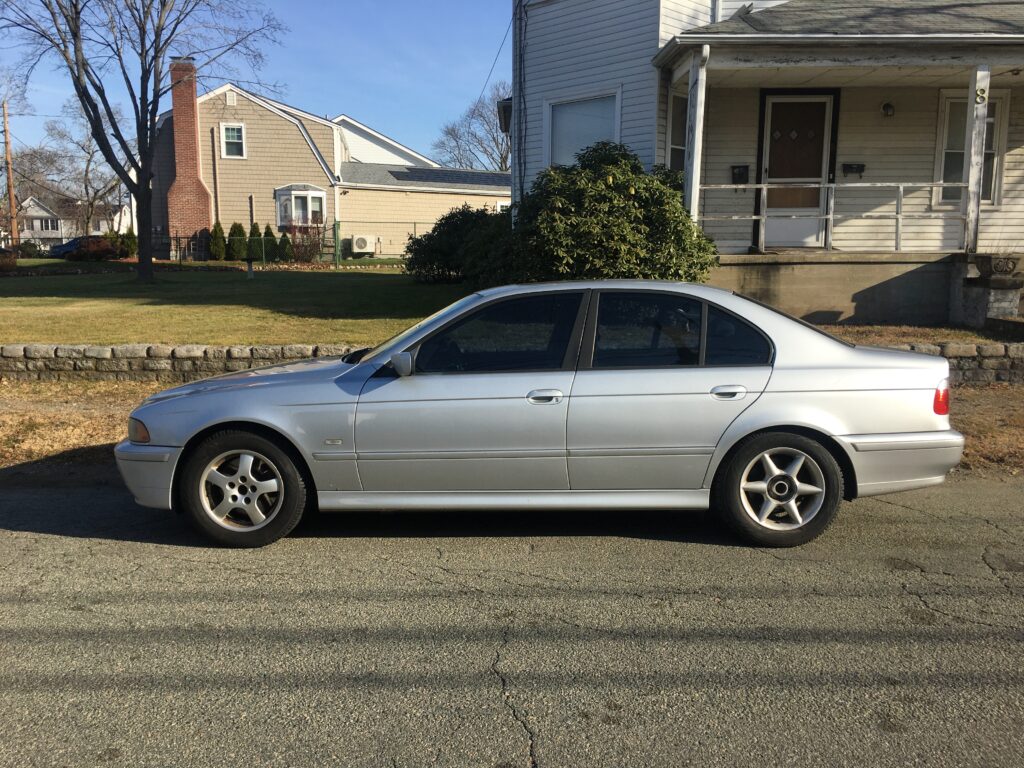
Really, I should be flogged for driving in public like this.
But in addition to that, part of my Hack Mechanic ethos is that the reason to do things like swap your own wheels and change your own oil is that it gives you a chance to give the car a well-needed check-up. With each wheel in the air, grab the tire at 3 and 9 o’clock positions, and rock it side-to-side to check the steering components. Then do the same at 6 and 12 o’clock to check the wheel bearings. When you bring a car in for a wheel swap, either they won’t do this or they will, but if they find something you get goaded or guilted into having them do the work, meaning you don’t have control over the slippery slope of the project or what parts they use (you may want to use either pricey original equipment parts, or less expensive aftermarket ones).
Sure enough, the E39’s right front wheel had steering play. It wasn’t difficult to isolate it to the outer tie rod. As soon as I found it, I realized that it was likely the source of some light thunking and clunking I’d been hearing from the car. As the car’s front-end components have needed attention, I’ve replaced them in pairs—first the lower control arms, then the uppers—but I’ve never given it a systematic front-end rebuild. I assumed the noise was probably from a strut tower bushing and was surprised at the clearly-loose tie rod.
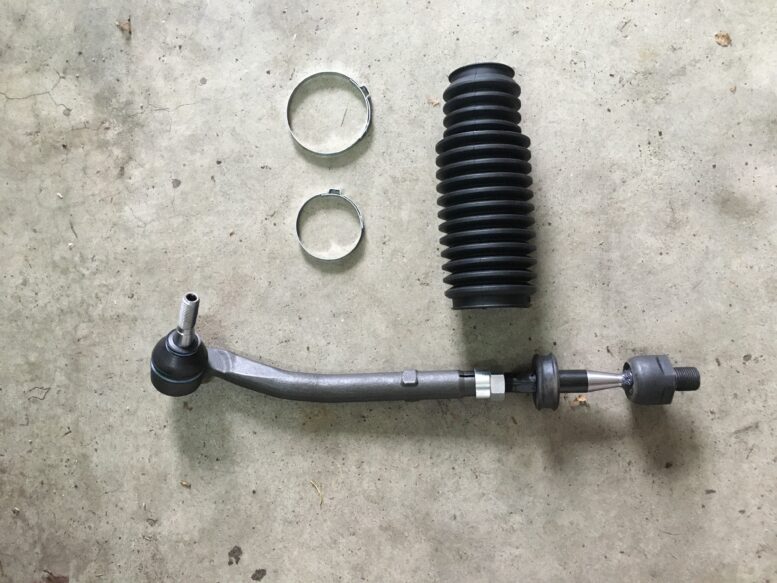
In my opinion, tie rods aren’t quite as bad as ball joints in terms of urgency in that they don’t take as much of the pothole pounding as ball joints do. But like ball joints, if they fail completely, you lose control of the car. So you definitely don’t want to be wrong about it. I work from home, have zero commute, and own other cars, so there was no reason to not fix it immediately. I put the car up on the mid-rise lift, went inside, sat at the laptop, and promptly ordered a Lemforder tie rod kit (inner and outer tie rods, boots, and clamps, everything for both sides) from FCP Euro for about $90.
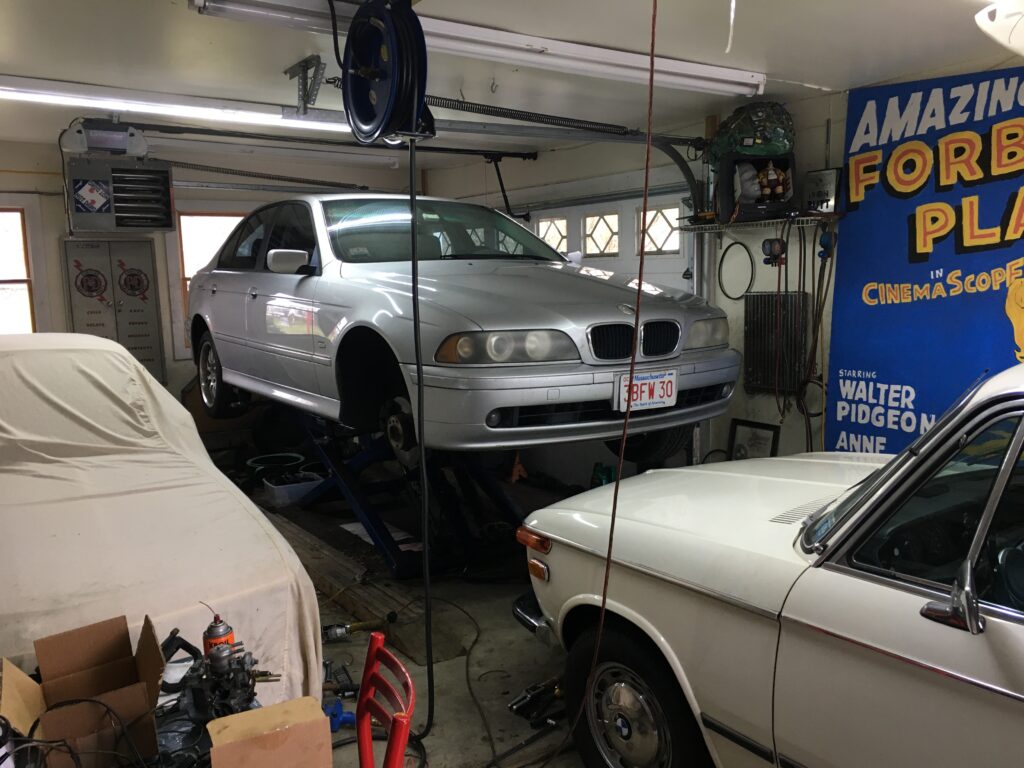
Up you go.
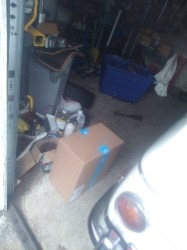 Having ordered the parts, I entertained the “rhythm of repair” question that I wrote about in my first book. That is, do take the car “down” (or, in my case, “up” since it was on the lift) and begin tearing things apart before the parts arrive, or do you wait until you have parts in your hands before you disable it? Since FCP is only one state over in CT, and since UPS showed delivery that afternoon, I decided there was little risk in tearing into it. I had a small moment of panic when the UPS status showed the package as delivered but it was not to be found on my front steps or porch. “Great,” I thought, “I’ve taken apart the car and now the package is lost. At a minimum, it’s at the wrong house. I’ll have to see which neighbor it was mis-delivered to.” I clicked on the option to see the delivery verification photo, and saw that the driver had actually brought it into my garage when I’d gone inside for a break.
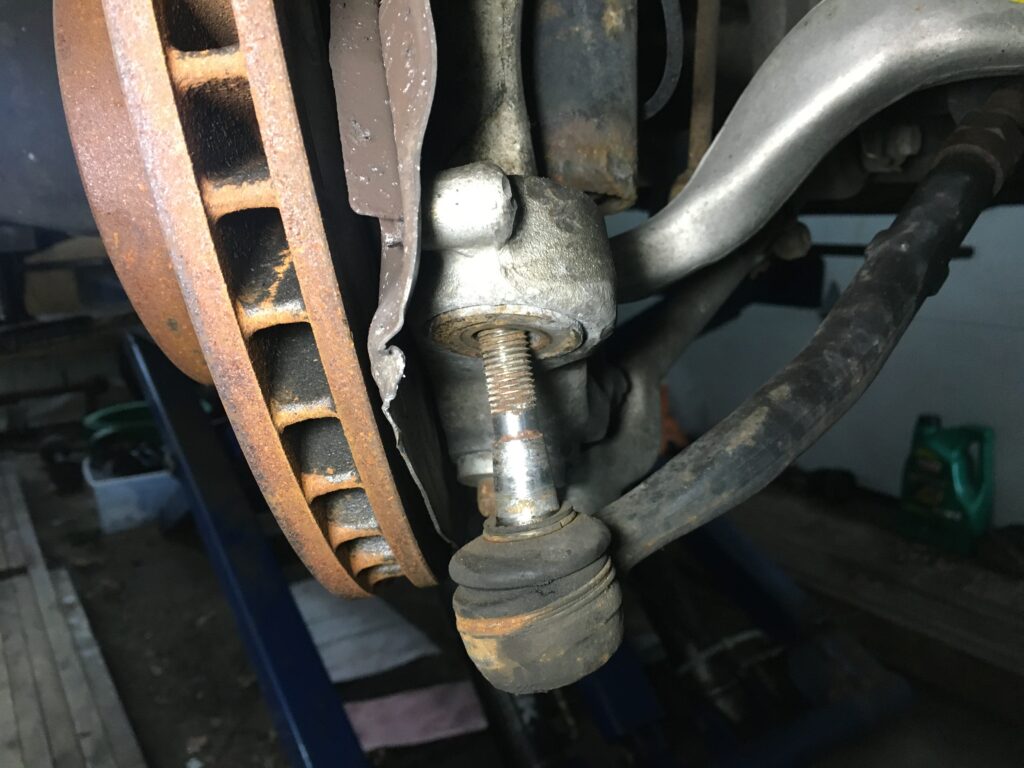
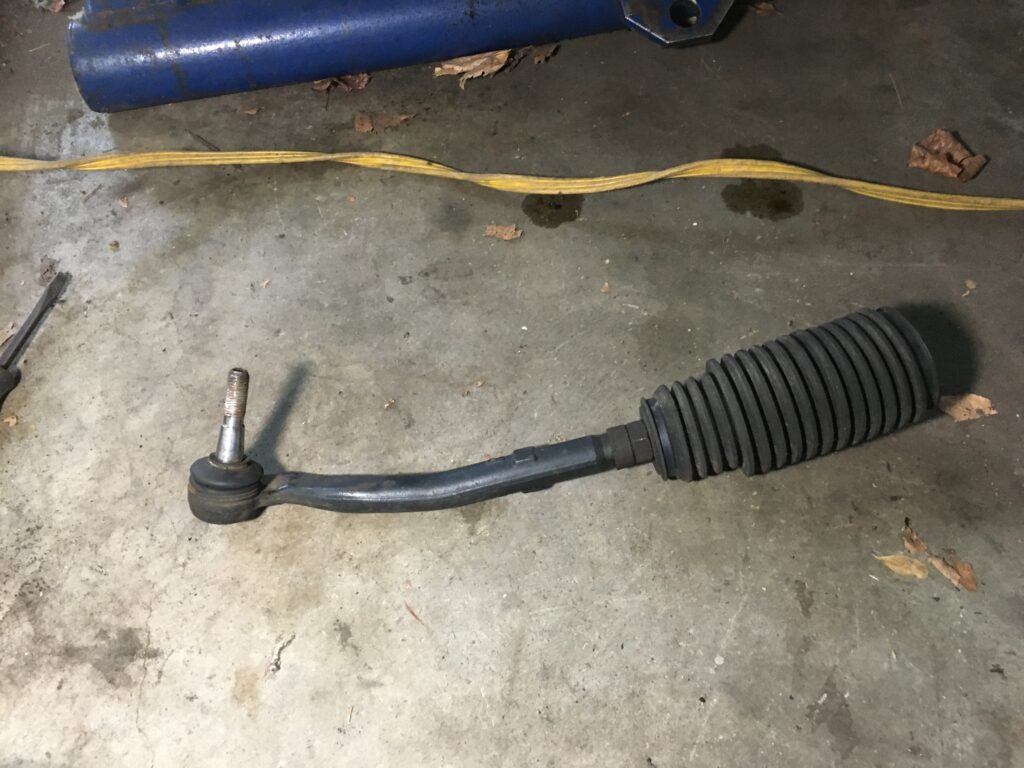
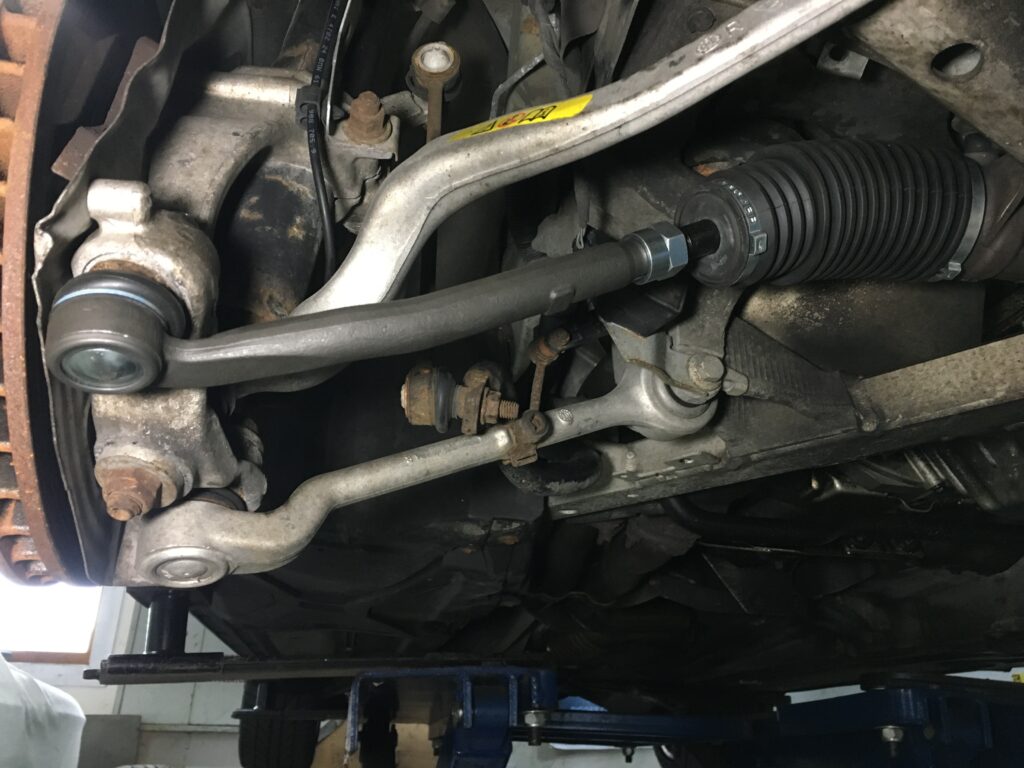
I’ve replaced tie rods on 1970s-era BMWs any number of times, but surprisingly had never done it on a BMW with a steering rack. I watched this video to understand the basics. Removal of the tie rods was easy. The outer one is just like any other outer tie rod on a vintage car, with a tapered rod that goes through a hole in the steering knuckle and a nut on the top.
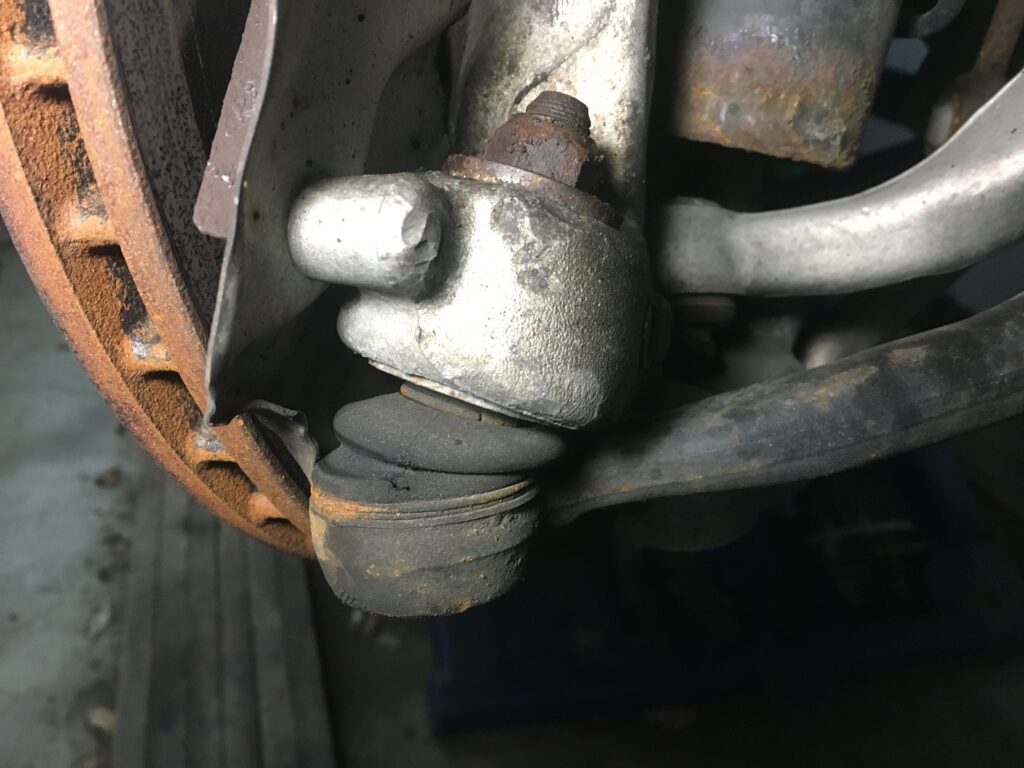
Just your garden-variety outer tie rod end.
I’d sprayed both nuts with Silikroil the night before, and the impact wrench zipped both of them right off. Rotating the steering to turn each wheel all the way outward put each knuckle in the orientation where the extractor slid into position. The extractor then pressed each outer tie rod out of its knuckle, letting go with the characteristic “BANG!” that makes you jump even though you know it’s coming.
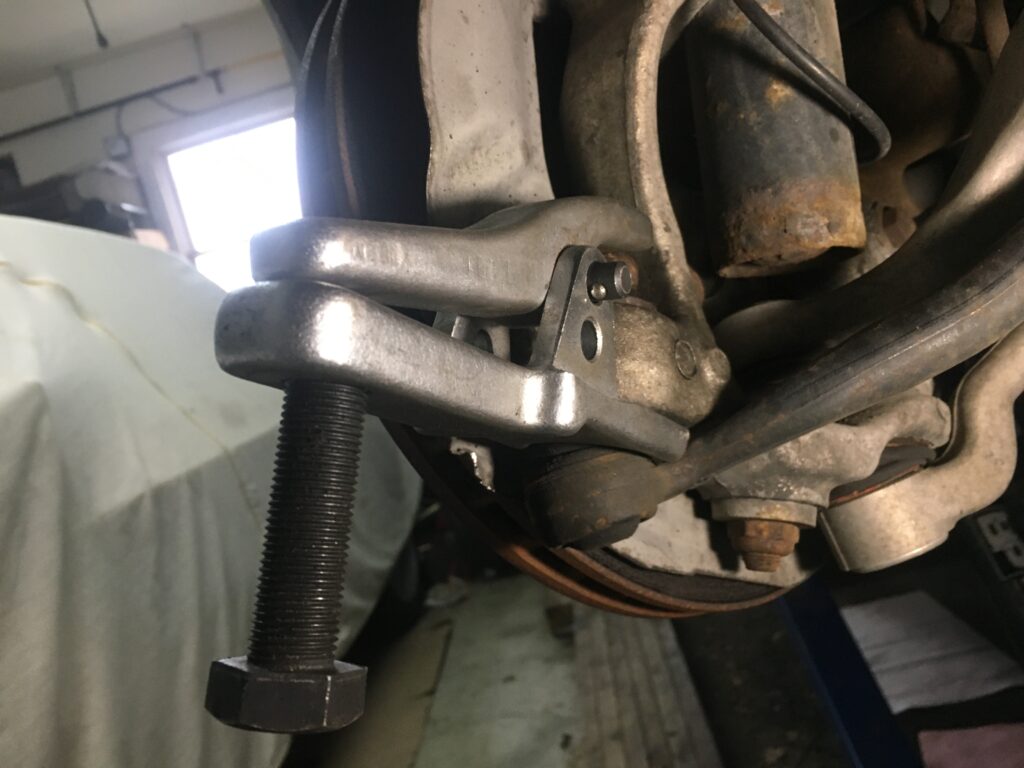
As David Bowie said, under pressure.
One loud BANG later…
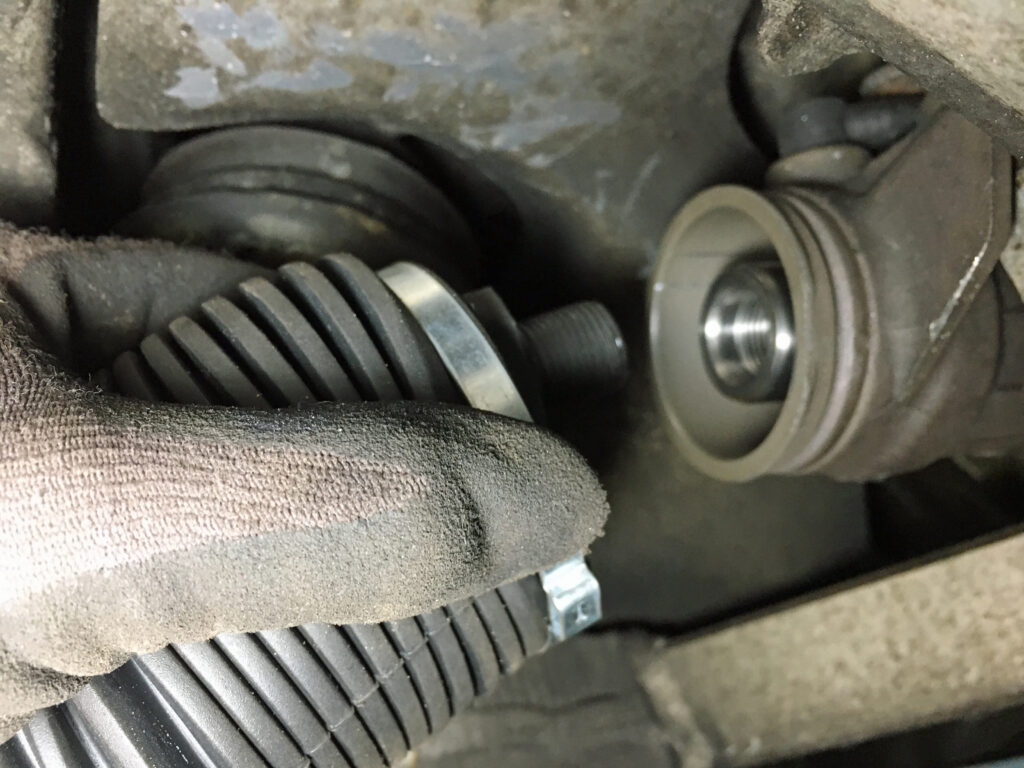
The inner tie rod is hidden inside of the rubber boot, so to access and remove it, the crimped-on band clamp has to be cut off and the boot has to be slid to the side. A 32mm wrench—the same size as a fan clutch wrench—is needed. (Funny story: I’d just loaned my fan clutch removal set to a friend, but told him I didn’t need it back quickly because I somehow had two of them. For a minute, I looked at the inner tie rod, mistakenly thought it was a nut and a lock nut, and thought that I did need both wrenches.) Once the nut is cracked with the wrench, the inner tie rod can be spun off the threads on the end of the steering rack by hand, or you can turn it by rotating the entire tie rod assembly as if it’s a ratchet wrench with a universal joint on it.
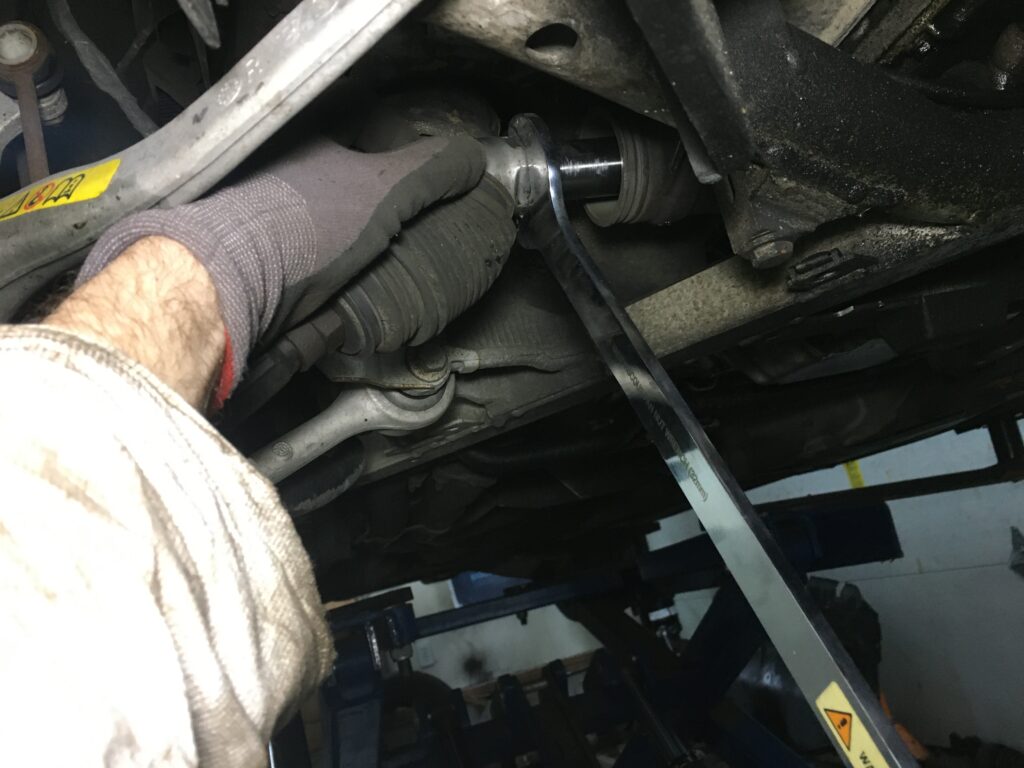
Rubber boot pulled away and the 32mm wrench on the inner tie rod nut.
Booya.
I then lined up the old and new assemblies together with one end against a wall of the garage and a straightedge (an old shelf bracket) against the other end. I measured the distance from the straightedge to the wall, and adjusted the new pieces to have the same length as the old ones so the car’s alignment would at least be in the ball park once they’re installed.
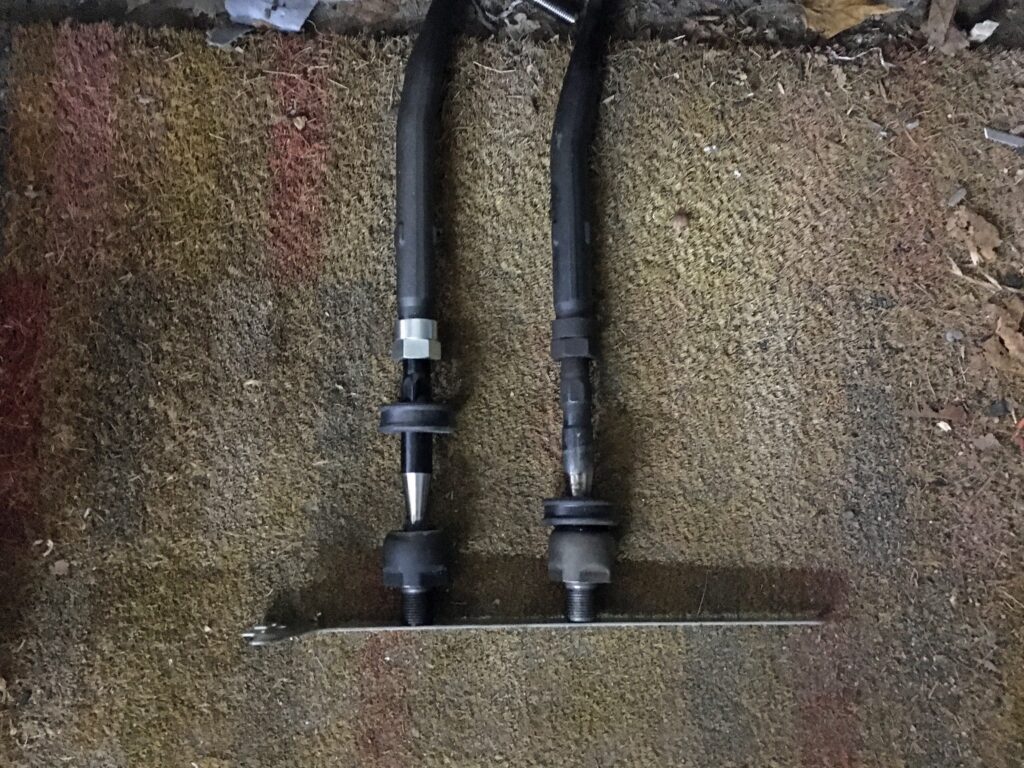
This appeared to be surprisingly effective.
With the old tie rod assemblies out, I thought I’d get both new ones installed even quicker. That’s how these things usually work, right? The old rusted-on pressed-in parts are a bear to remove, but the new ones just slide into place, right?
This was one of those times when this wasn’t the case. It was surprisingly challenging to install the new tie rod assemblies. Here’s why.
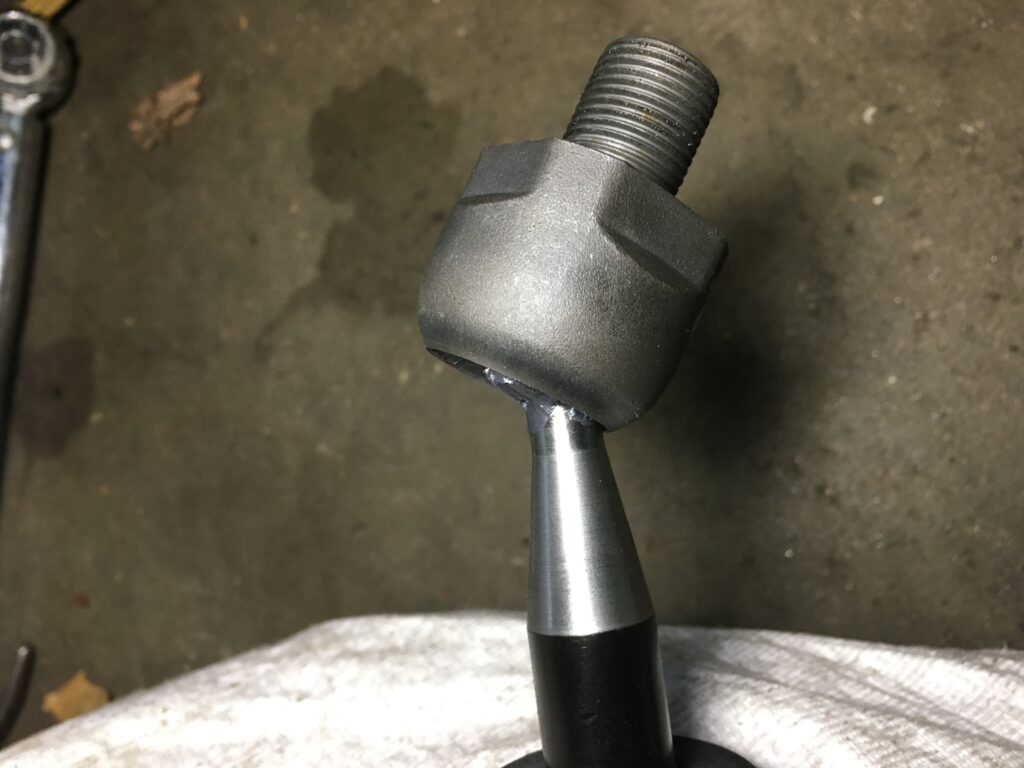
The difficulty was with the inner tie rod, the part that you don’t see because it’s inside the rubber boot. As I said, the outer tie rod looks just like the ones on my 50-year-old cars with a tapered rod drawn into the steering knuckle, but the inner one has a single piece which is the socket for the tie rod ball and the threaded post that needs to screw into the end of the steering rack and the nut used to tighten it. The one on the original tie rod assembly, due to its age and use, swivels freely on the inner ball, which is why, once the nut is cracked, it can be easily unscrewed with your hand.
On a new tie rod assembly, however, this piece is very stiff on the inner ball. It’s challenging to get it to move at all. The geometry is such that you can’t orient it straight on the tie rod assembly and then spin the whole assembly like it’s a screwdriver because the outer tie rod end hits the strut assembly. You need to cock the inner end at an angle as shown in the photo, and either rotate the whole assembly a quarter of a turn to try to start the threads, or hold the assembly still and put a 32mm wrench on the inner threaded end, which isn’t easy because when you turn the wrench, the angle of the threaded end changes (that is, unlike when spinning the nut off, where the tie rod assembly acts like a ratchet wrench with a universal joint in it, when spinning it on, the “universal joint” is essentially stuck in one position). Plus, while you’re doing this, you need to pull the rubber boot back and hold it there to keep the piece exposed.
You were a pain.
Threading these pieces together was not easy.
I don’t know if pros have a trick they use, but I found that putting the 32mm wrench on the inner tie rod before installation and working it side to side and around and around helped to free things up enough that I stood a chance of being able to keep the threads parallel with their female counterparts on the steering rack. This worked for installing the passenger-side assembly, possibly because I was using my left hand to hold the thing up and pull the boot back (as pictured), and my stronger right hand and arm to turn the wrench on the nut. But on the driver’s side, I couldn’t do it; I had to use the other method of cocking the tie rod end at an angle, using the entire assembly to turn it like a ratchet handle 1/4 of a turn, and hoping the threads would catch. It took forever. But I got it installed.
Hard-fought success!
For a number of years, I’ve done my own alignments. I’ll try that on the E39, as it’ll probably take about the same amount of time that bringing it in and waiting for an alignment would. I’ll see how well it’ll work, as my experience is that newer BMWs like the E39 are much more sensitive to alignment and wheel-balancing issues than older ones.
But if there’s still thunking and clunking, at least I won’t be thinking that it’s the last thing I’ll hear before the car veers into a tree.
And, if nothing else, I have those awful winter wheels off the car.
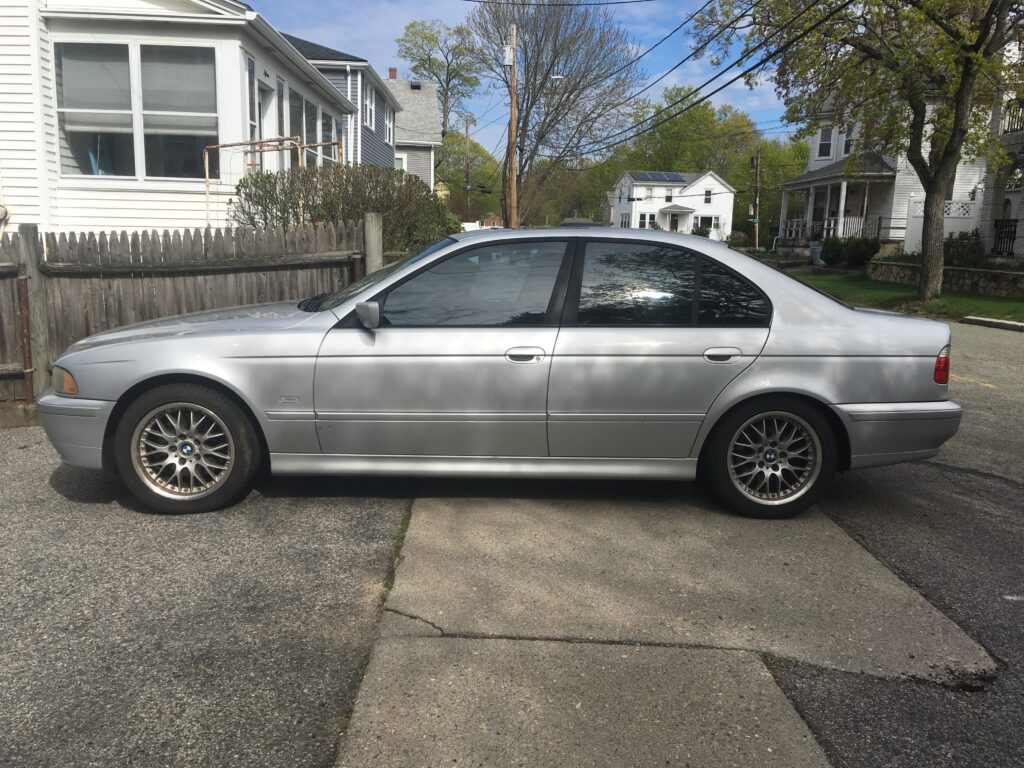
Ah, that’s much better.
—Rob Siegel
____________________________________
Rob’s newest book, The Best of The Hack Mechanic, is available here on Amazon, as are his seven other books. Signed copies can be ordered directly from Rob here.
Tags: diy e39 tie rod