In April of 2021, I was intrigued and inspired by Kyle van Hoften’s BimmerLife article “Capturing the Perfect Rolling Shot.” I’ve always enjoyed photographing cars, but up until this point my skills were limited to photos of stationary vehicles, and if I’m being honest, I hadn’t explored many of my camera’s modes, settings, or features because I didn’t understand them. The prospect of infusing the elements of action and speed into photos excited me, and was the spark that ignited an active pursuit of photography knowledge, which I’m still pursuing today.

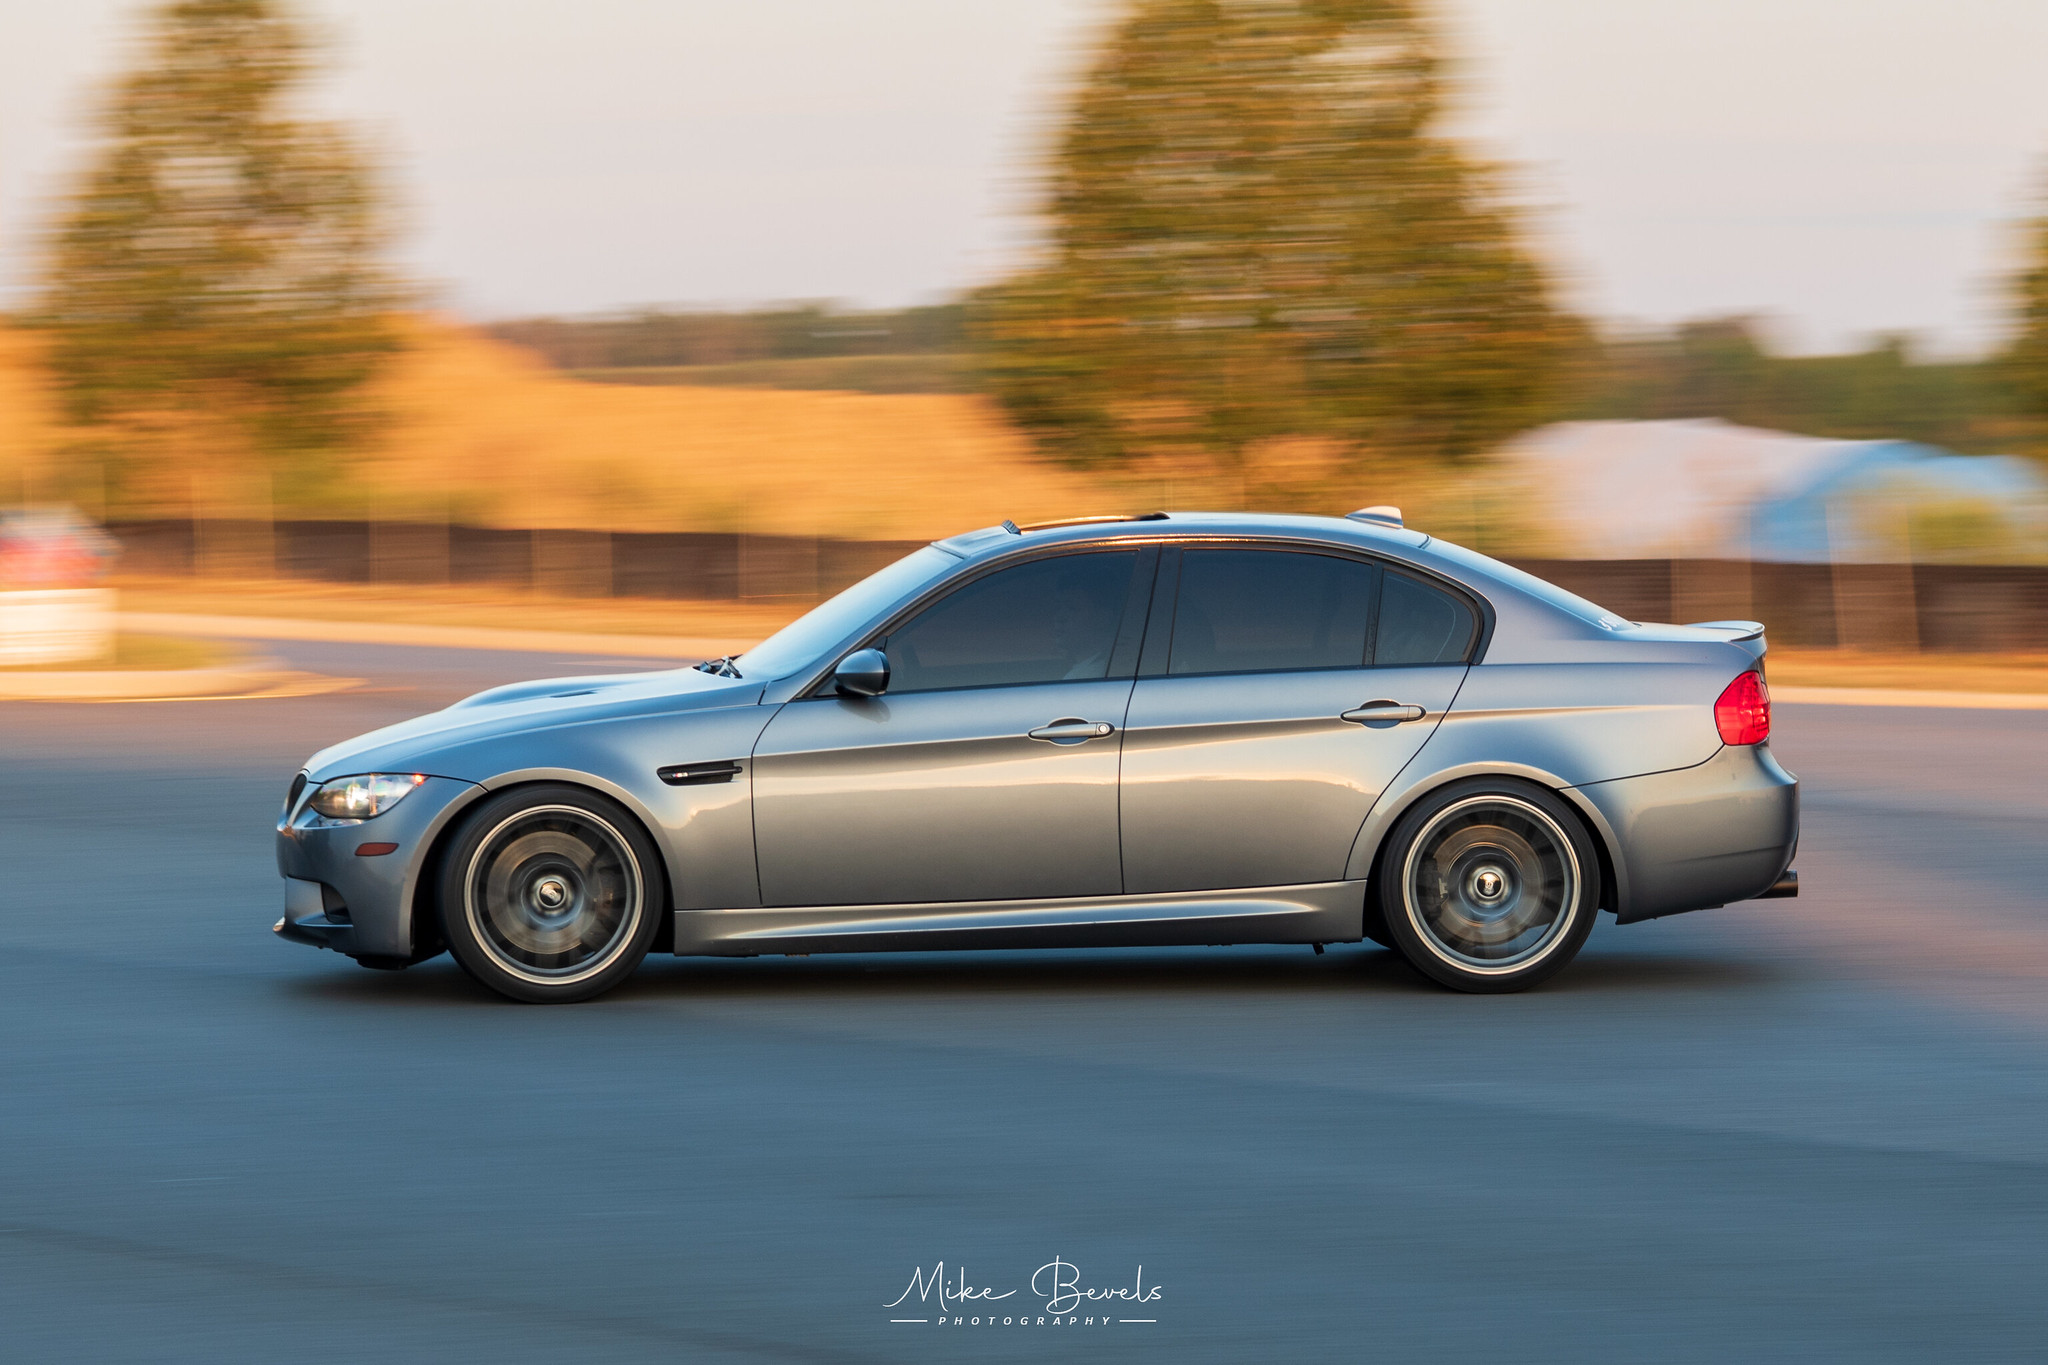
While van Hoften’s piece mostly pertained to rolling shots, which are taken of a moving vehicle from a moving vehicle, he did also write about panning shots, which are taken from fixed position while tracking the subject with the camera. In both cases, the desired result is typically a tack-sharp subject with the foreground and background blurred, drawing your focus to the subject and giving the sense of movement and depth in an otherwise still and two-dimensional image.
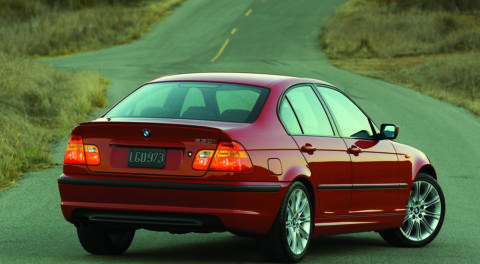
I’m always happy when I can read an Instagram tag clearly.
Given my frequent weekend routine of attending Cars & Coffee events, practicing panning shots seemed like a great place to start (and it’s easier in the sense that it involves less coordination of multiple cars and multiple drivers required for a rolling shot). I’ve been using an entry-level Nikon D5600 for the past five years, but the principles behind panning shots are the same for other camera brands and models.

A well-used D5600, 24-70mm f/2.8 and 70-200mm f/2.8 lenses.
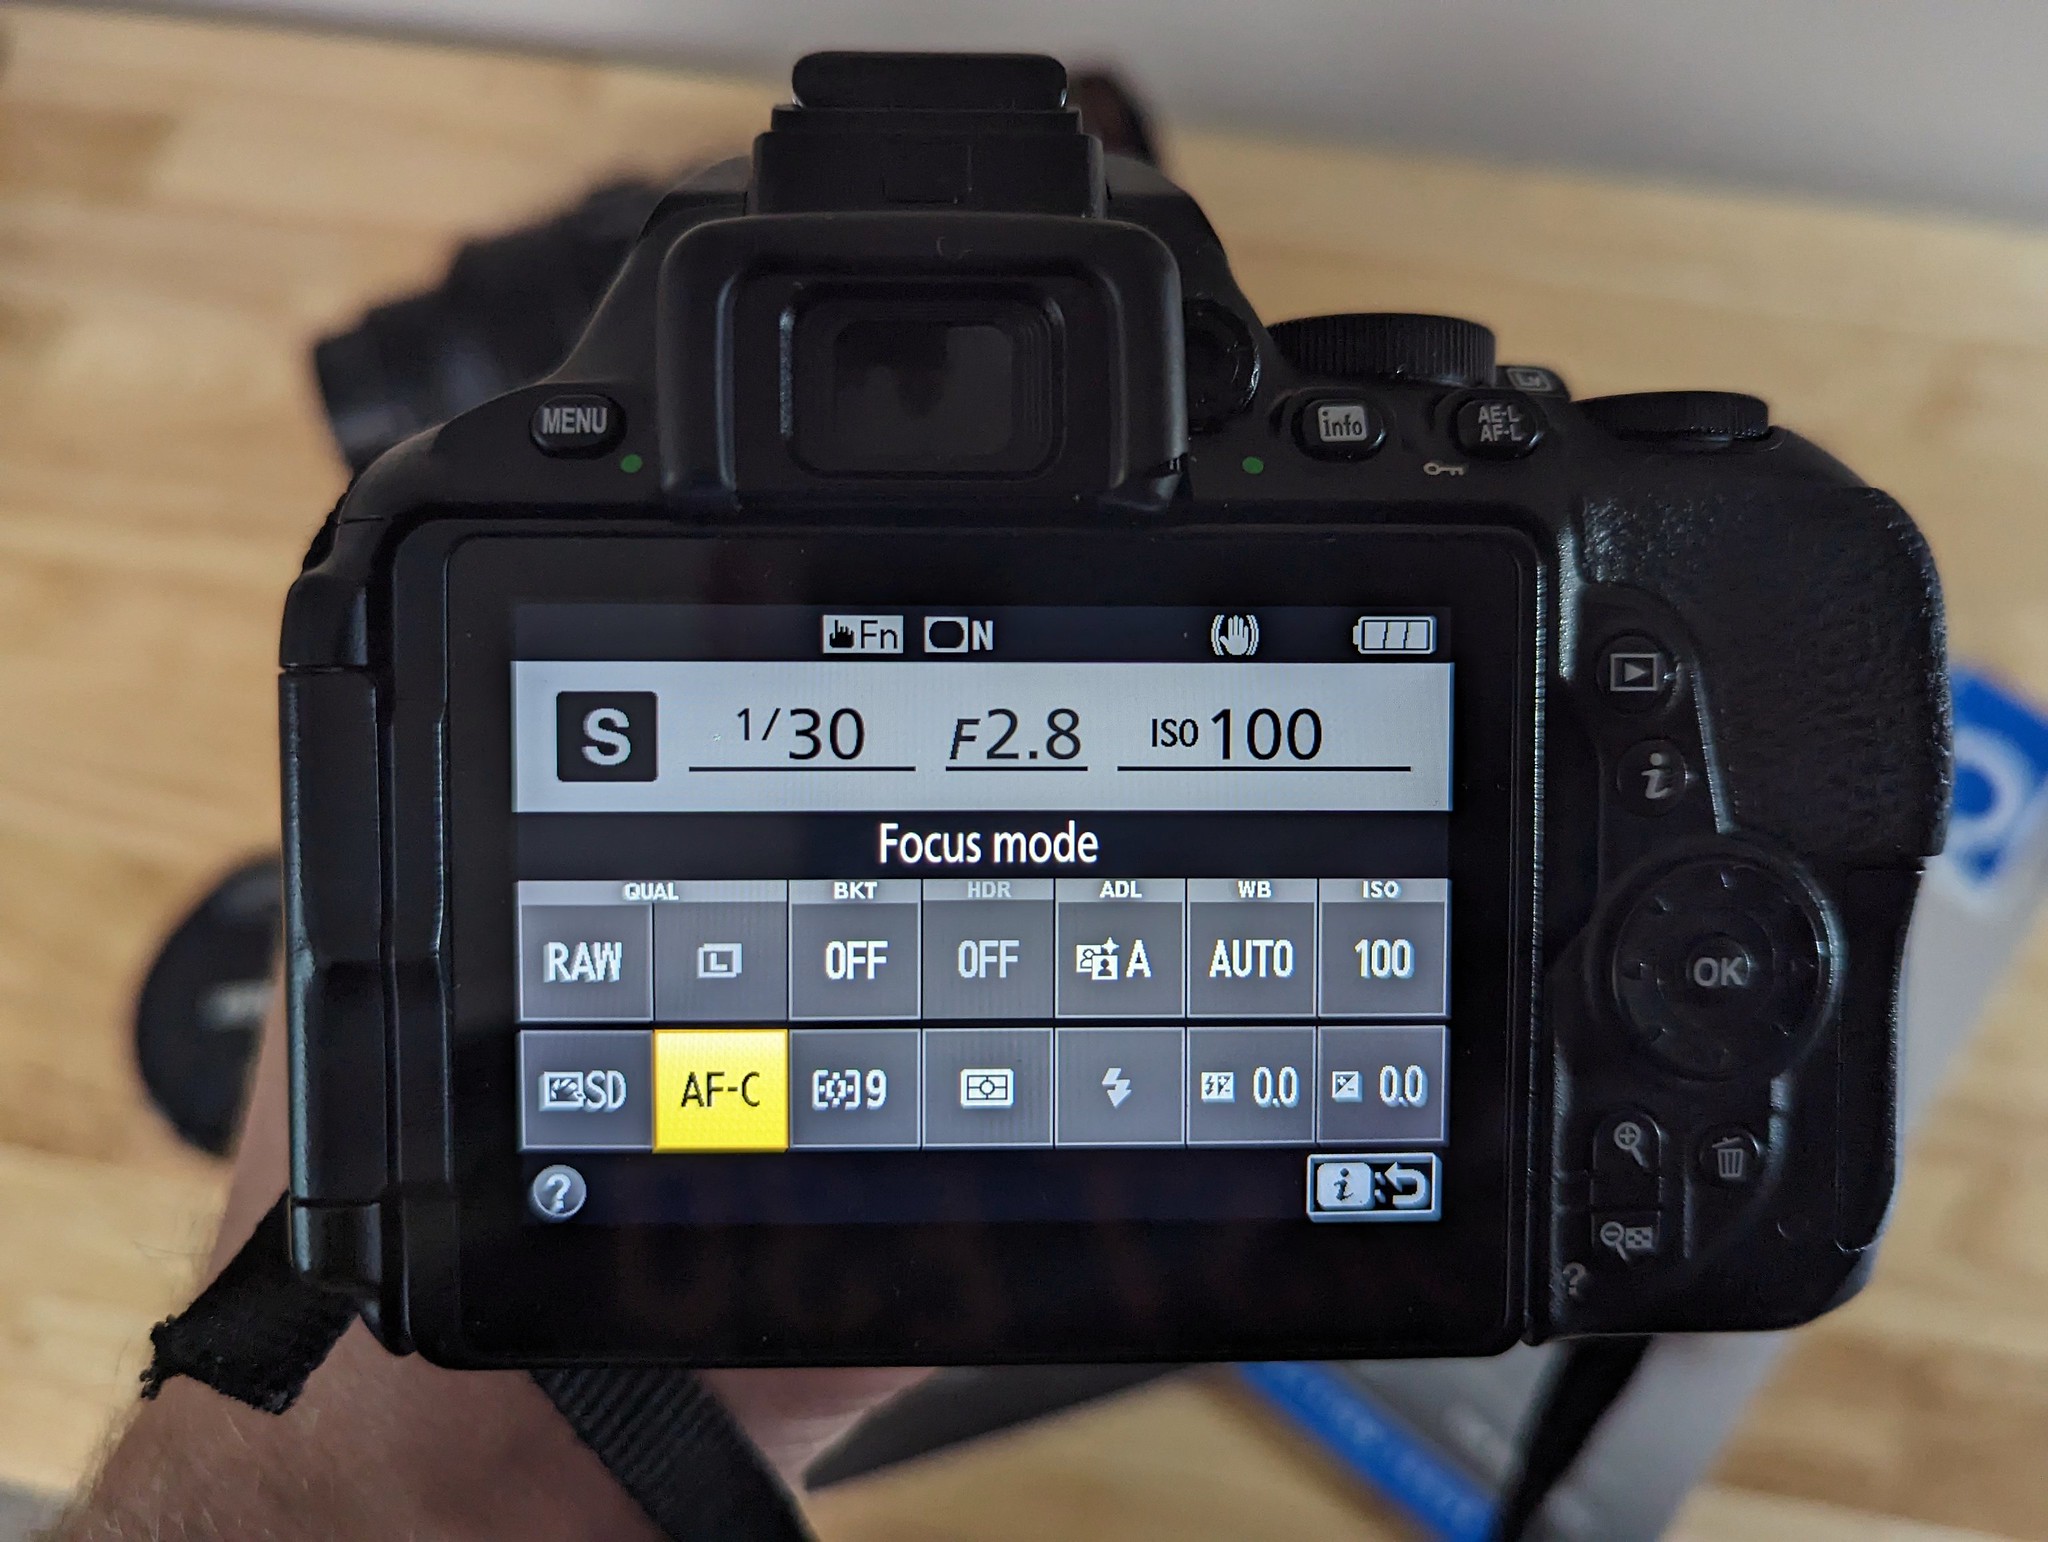
The first thing I adjust for taking a panning shot is the camera’s shutter speed—the length of time the camera shutter is open, with a slower shutter speed creating a longer exposure. Many cameras have a “shutter priority” mode, which allows you to manually control the shutter speed while the camera handles the rest of the exposure triangle—aperture and ISO settings. I like to think of the exposure triangle (aperture, shutter speed, ISO) as similar to the question “Do you want it cheap, fast, or good? Pick two.” These can be adjusted independently (or in a “priority” mode in tandem with ISO), but they all need to strike a balance.
Just a few settings to keep in mind!
Panning shots present an interesting challenge: How low can you go? The lower the shutter speed, the more blurred the background. But a lower shutter speed also makes it more difficult to keep the moving vehicle sharp in the image. A good starting point is to set shutter speed relative to a vehicle’s speed—if a car is traveling at 30 mph, set your shutter to 1/30th of a second. If it’s traveling 60 mph, set your shutter to 1/60th of a second.
The golden hour is the best hour.
In addition to setting shutter speed, I like to set my camera’s focus mode (continuous servo or AF-C), release mode (Continuous H), and auto-focus area mode (nine points). Continuous focus allows for the focus to change as you’re holding down the shutter button while panning—not something you’d need to consider while taking a photo of a stationary object. The “Continuous H” release mode allows for photos to be taken at a high rate, while holding the shutter button down. This is helpful as pressing the shutter for each individual shot will potentially disrupt a smooth and fluid panning motion. I usually get three to five photos of a car as it passes by, with a subset of those worthy of editing and saving. Having a center-grouped auto-focus area allows for tracking a specific part of the vehicle as you follow it with your lens, resulting in a sharp subject. I tend to keep the the tight focus-group pointed at a vehicle’s driver’s door handle throughout the steady panning motion.

A vehicle doesn’t need to be moving fast to look fast in a photo, just lower the shutter speed!
Depending on your equipment, there may be additional (and better) options. For example, two of my lenses have built-in vibration reduction (VR), which have modes of their own: Off, Normal, and Active. You might make the same mistake that I did and think “Active” would be the best for everything, but that’s not the case. Per the lens’ manuals, “Active” is best for taking photos from a moving vehicle (rolling shots), while “Normal” mode is specially for panning shots. Or you could simply rely on the precision of your panning shooting stance and motion, which in some cases works better than relying on lens (or camera body) VR.
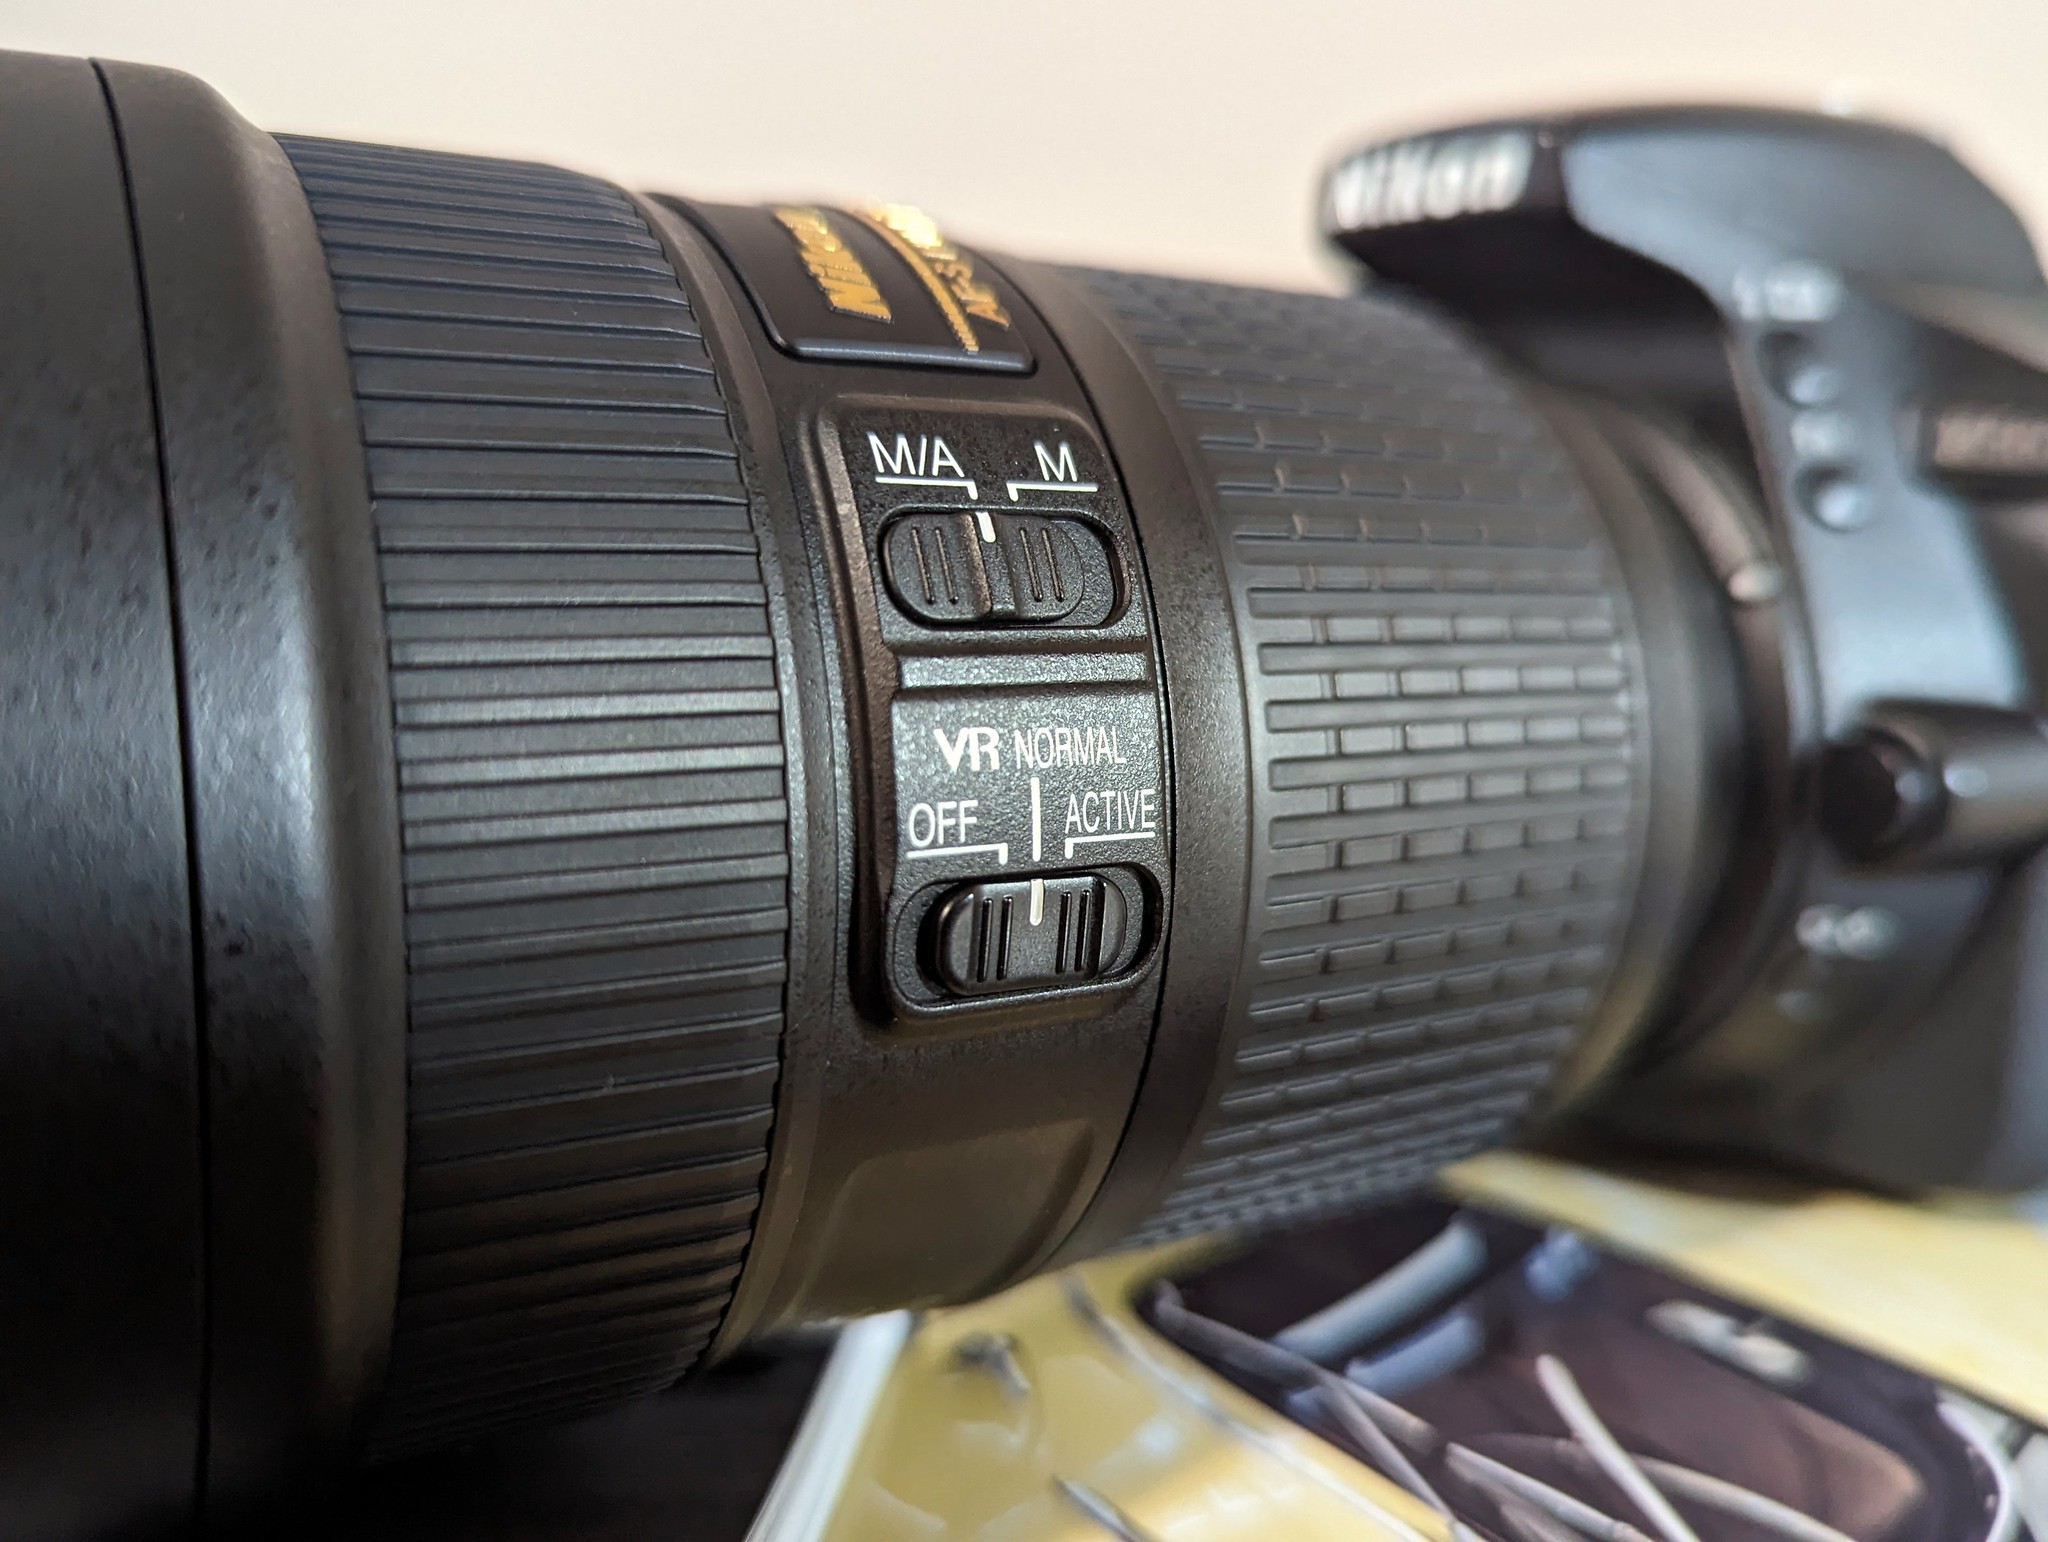
Some lenses have built-in vibration reduction. Some camera bodies also have this feature.
After taking a few photos, check your work on your camera’s preview screen. If the subject is still sharp, lower the shutter speed further to achieve more background blur. If the subject is not sharp, raise the shutter speed. Also, check your stance! Stance is important to achieve a smooth and fluid motion while tracking the subject.

An E36 M3 sedan arrives at Dulles Landing Cars & Coffee.
As with most things, practice makes perfect. And with not having to buy and process film, there’s no excuse for not practicing! I’d be remiss if I didn’t thank the friends and photographers giving me pointers, constructive criticism, and reference materials so that I can keep learning and improving. With that, this weekend I’ll be out practicing at a local automotive event or the race track, panning for that golden ultra-low-shutter-speed shot. —Mike Bevels