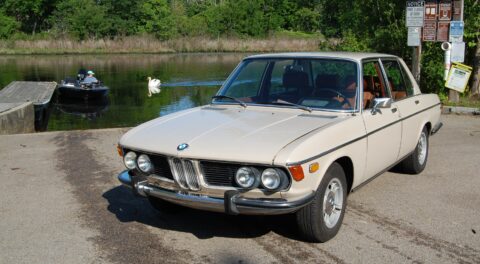
Last week I sussed out the path forward for fixing the a/c in Zelda, my 1999 Z3 2.3i whose previous owner’s son had run into a median strip surrounded by a curb. The accident had destroyed or damaged low-hanging a/c components in the front of the car, shattering the compressor bracket and fan housing and bending the condenser. Since the bottom of the fan housing attaches to a bracket on the bottom of the condenser, the fact that the bottom of the condenser was bent backward meant that if I bought a new fan, the housing no longer would have a ready-made attachment point, so it made sense for me to either replace both the condenser and fan or replace neither of them. Since, as I described last week, I found that the system still had pressurized refrigerant in it, this meant that even though the condenser was bent, the tubes running through it hadn’t been punctured, so I decided to re-use both it and the fan. Thus, the a/c rejuvenation work centered on replacing the shattered compressor bracket.
The damage to the bracket was actually worse than I first thought: Not only did the bottom of the bracket itself get sheared off, the hydraulic tensioner for the pulley, and the sub-bracket it mounts on, were gone as as well. Fortunately, since the bracket is shared by six-cylinder E36 3 Series cars, and since it’s not really a part that wears out, they’re plentiful on eBay. I found one complete with the sub-bracket, tensioner, and pulley, for $31. When it arrived, I checked the functionality of the tensioner and pulley, because those do wear out, then dived into the repair.
Since the system still had refrigerant in it, I wanted to swap the bracket without disconnecting the refrigerant hoses from the compressor. I’ve done this on 2002s, but as with many things on the Z3, the fact that the car is modern and small, and has a big engine in it, means there is much less room around the engine than on a vintage car like a 2002. The three six-millimeter Allen-head bolts that tighten into threaded bosses (instead of requiring a nut on the back) let me use only one wrench on each bolt instead of two, but some of the Allen-head bolts had clearance issues that prevented me from using a hex bit in a ratchet socket, instead having to rely on a hex key. When Allen-head bolts are very tight, the fact that you don’t have a ratchet handle to hold onto, press inward, and keep square to the bolt makes it much easier to strip the Allen head. Fortunately, the three bolts came out without too much of a fight.
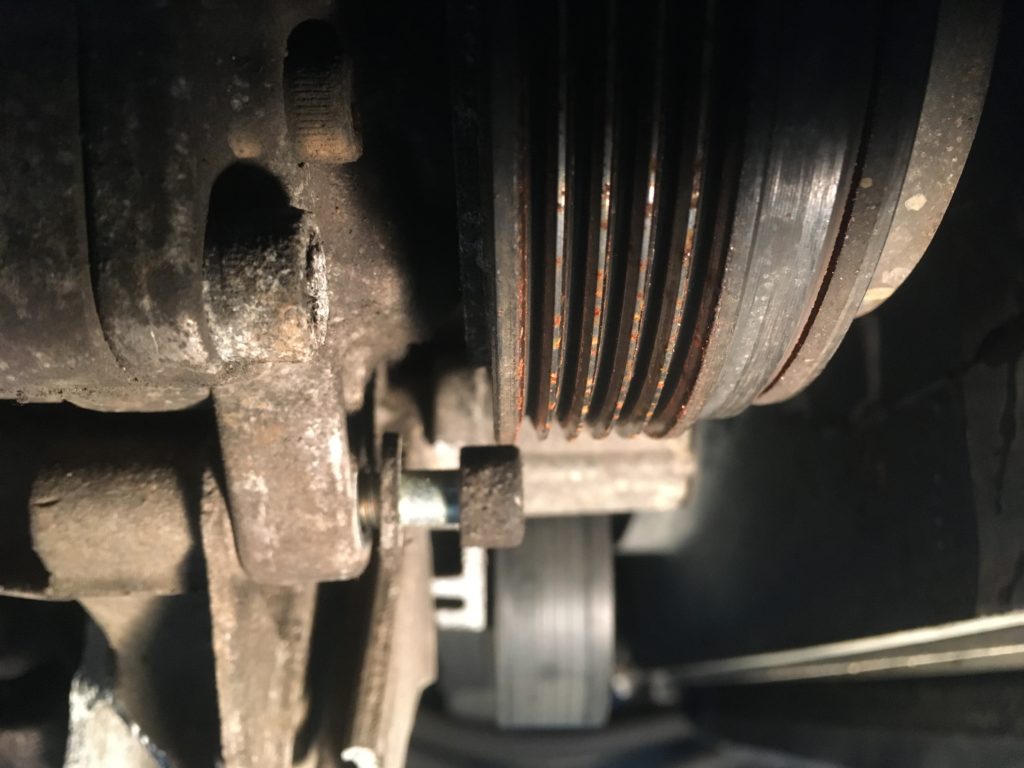
There was no way to get a hex bit on a ratchet socket on that without hitting the pulley. The bolt head alone just barely clears it.
The upper bolt holding the compressor to the bracket not only needed a hex key, but the long end of the hex key, leaving the short end for me to try to get leverage on. I slid a ratchet extension over the end and prayed for it not to strip. It didn’t.
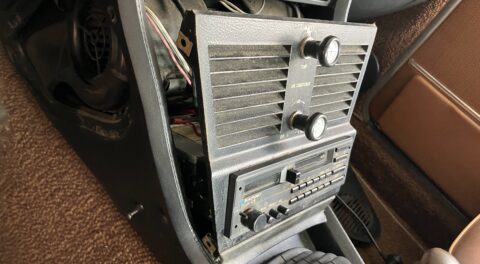
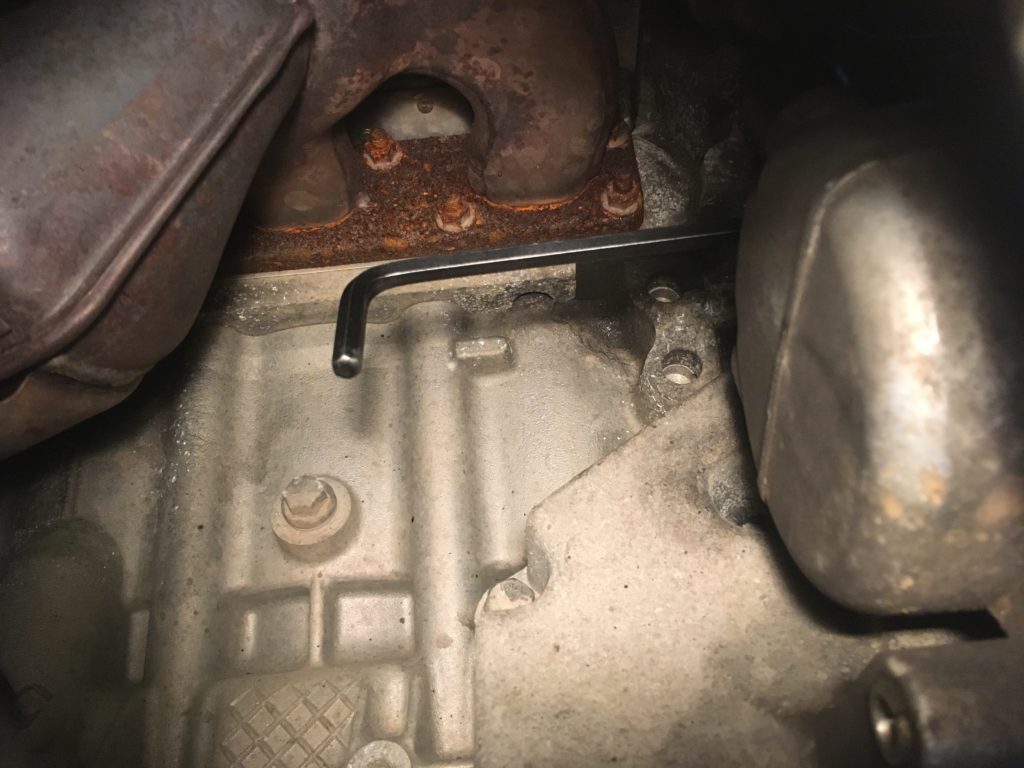
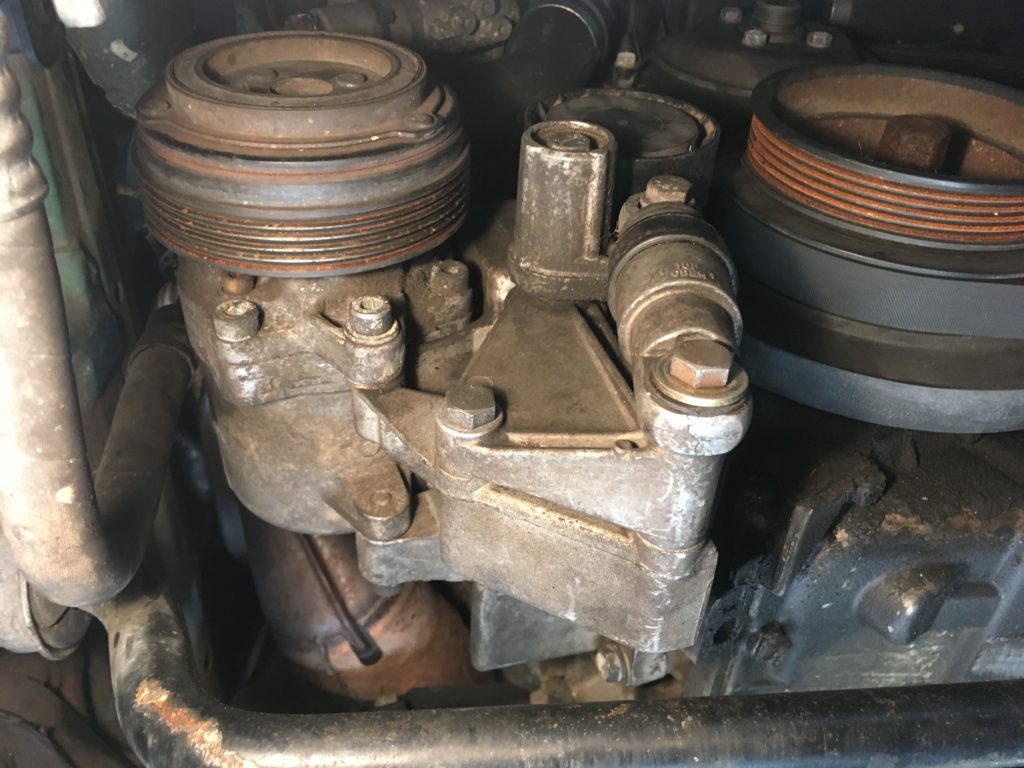
I then needed to remove the six thirteen-millimeter bolts—two in the front and four on the side—holding the bracket to the block. One of the bolts on the side was pretty well blocked by the compressor itself, and there wasn’t a lot of room to swing the compressor away, owing to the small size of the engine compartment and the attached hoses, but using the right length extension, and with the compressor practically leaning against the ratchet wrench, I was able to remove it and inch the broken bracket out from behind the compressor.
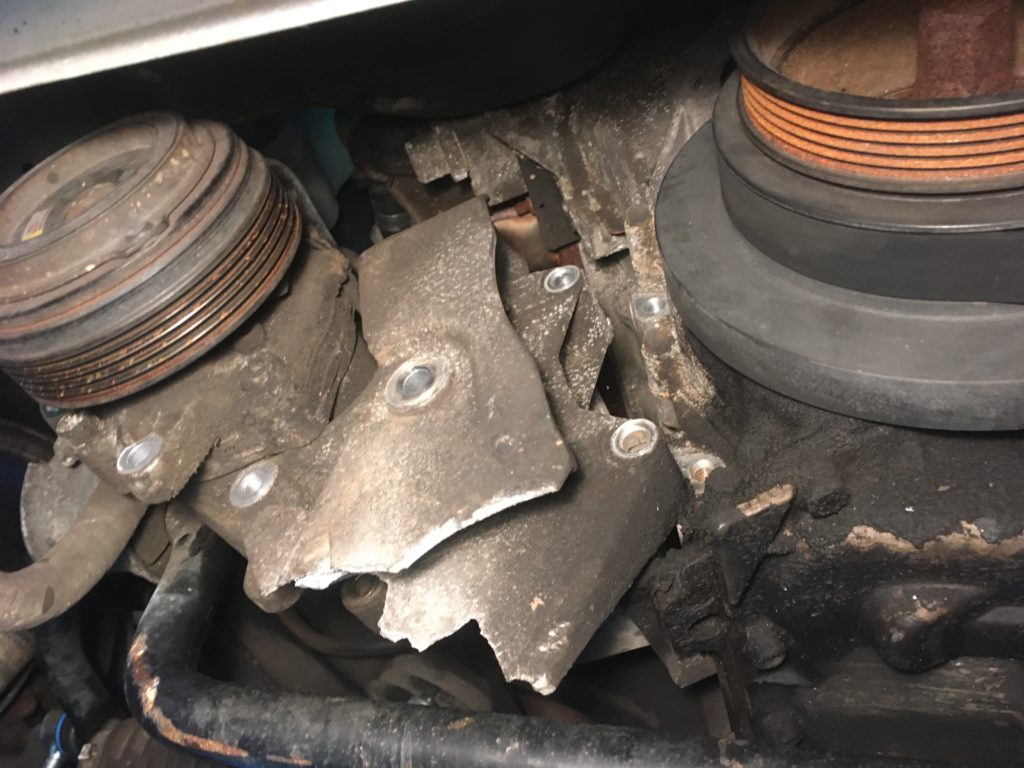
The compressor bracket freed to come out…
The bracket removed.
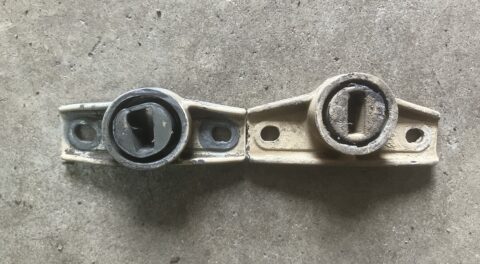
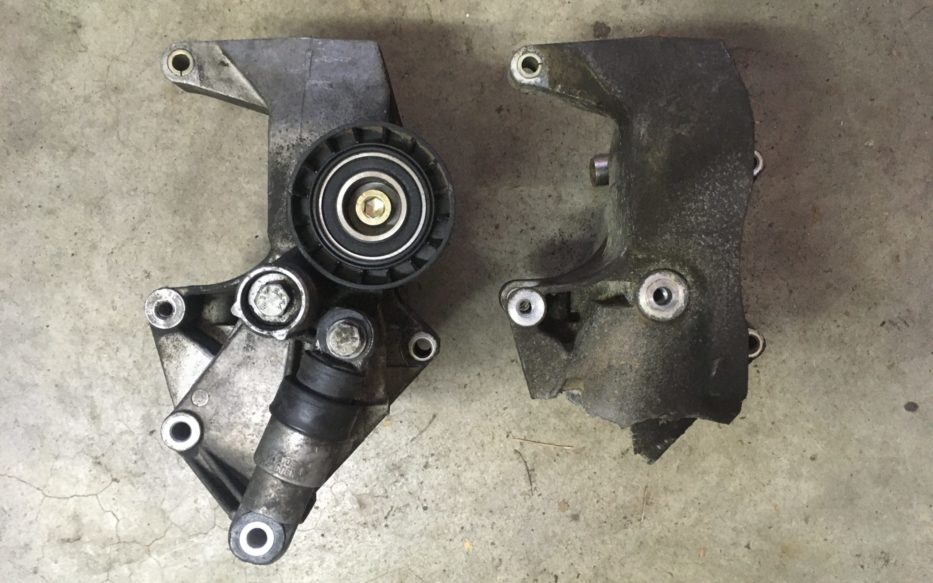
Comparing the broken bracket with with the replacement, you can see how the curb strike not only broke the bracket itself, but also carried away all of the tensioning components.
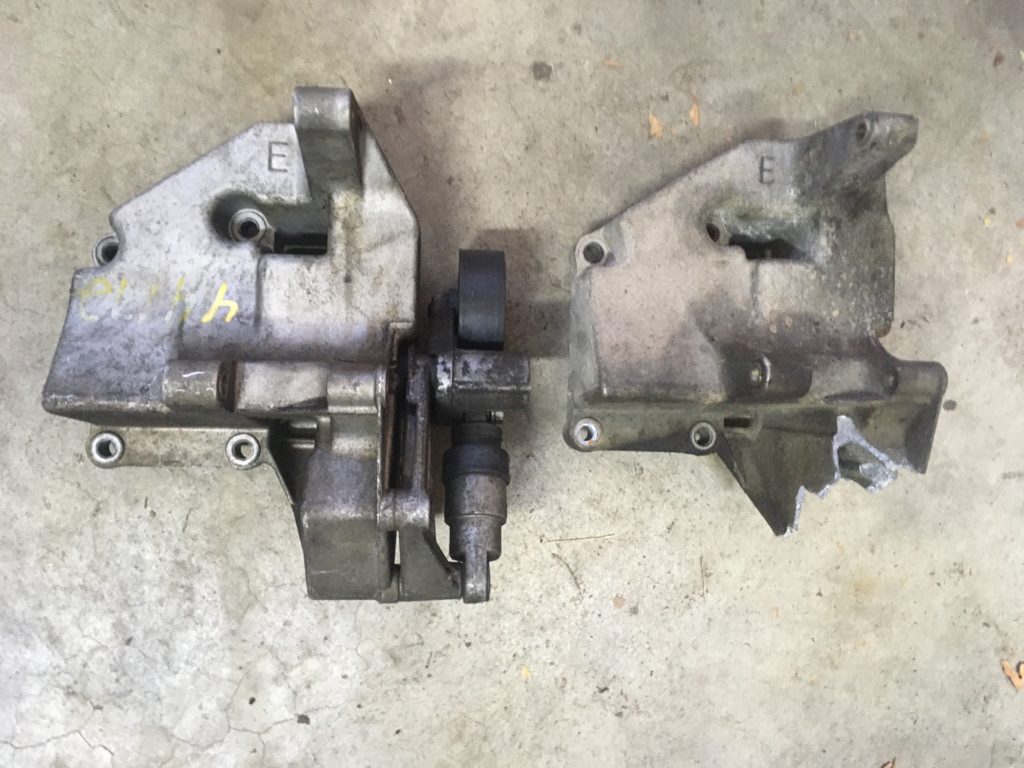

Kind of gives a whole new meaning to “low-hanging fruit.”
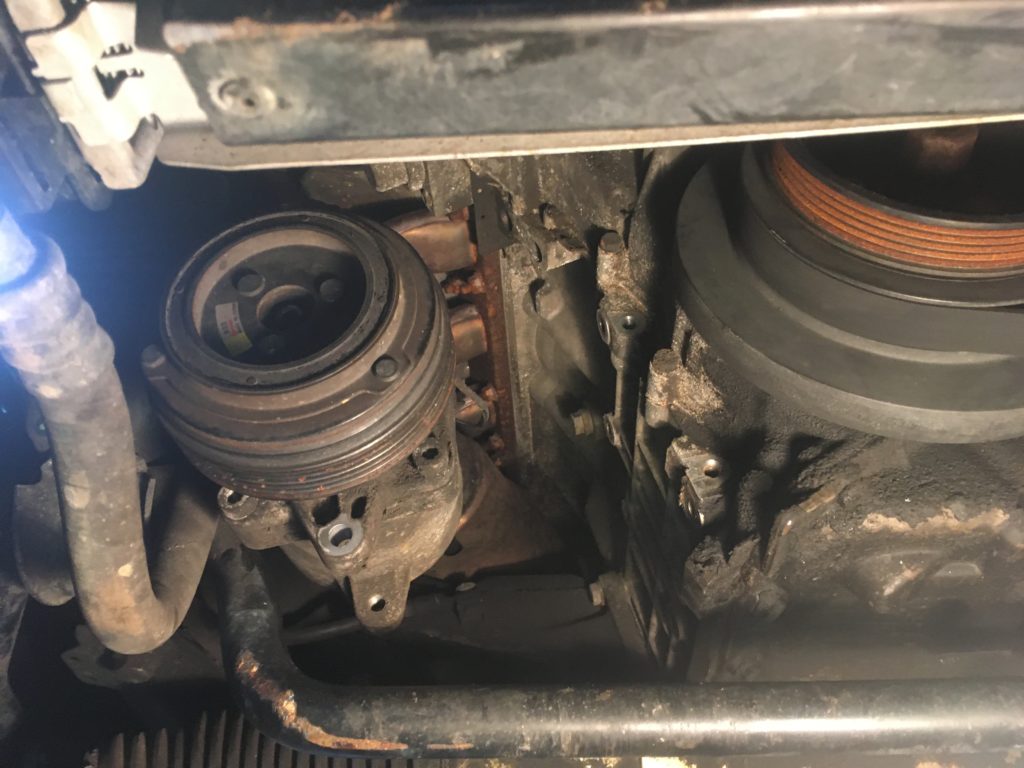
I was concerned that the replacement bracket, with its additional bulk and size from the tensioner assembly, might be like one of those rope-and-hoop puzzles where once you get the thing off, you have no idea how to get it back on, but fortunately it slid into position fairly easily. I tightened all the fasteners, ordered a belt, and called it done.
Much better.
After Zelda’s marathon clutch replacement that took nearly a month and left my body feeling like a piñata, the bracket replacement was one of those quick repairs that I’ve come to treasure. It was accomplished in one session, nothing broke, it cost the price of a couple of pizzas, I came back into the house without an immediate desire to pop an Advil, and other than needing to stick a belt on it, it won’t need to be revisited. I need more quick successes like this.—Rob Siegel
Rob’s latest book, The Lotus Chronicles: One man’s sordid tale of passion and madness resurrecting a 40-year-dead Lotus Europa Twin Cam Special, is now available here on Amazon. Signed copies of this and his other books can be ordered directly from Rob here.