In my column for the May issue of Roundel Magazine, I talked about the different options for parts (OE, OEM, new old stock, aftermarket, etc), and how, even when you pony up and pay the dealer for “genuine” OE parts, there’s no guarantee you’re getting what was actually on the car when it was new. I used the example of the pipe for #1 injector on my tii. The other pipes looked original, made from that white plastic tubing that, with age, turns to amber, but inexplicably the new #1 injector pipe injector pipe was thick and black, as per the photo below. (I believe that the outcry over this particular transgression was great enough that BMW redid the part, making it match the other three injection lines.)
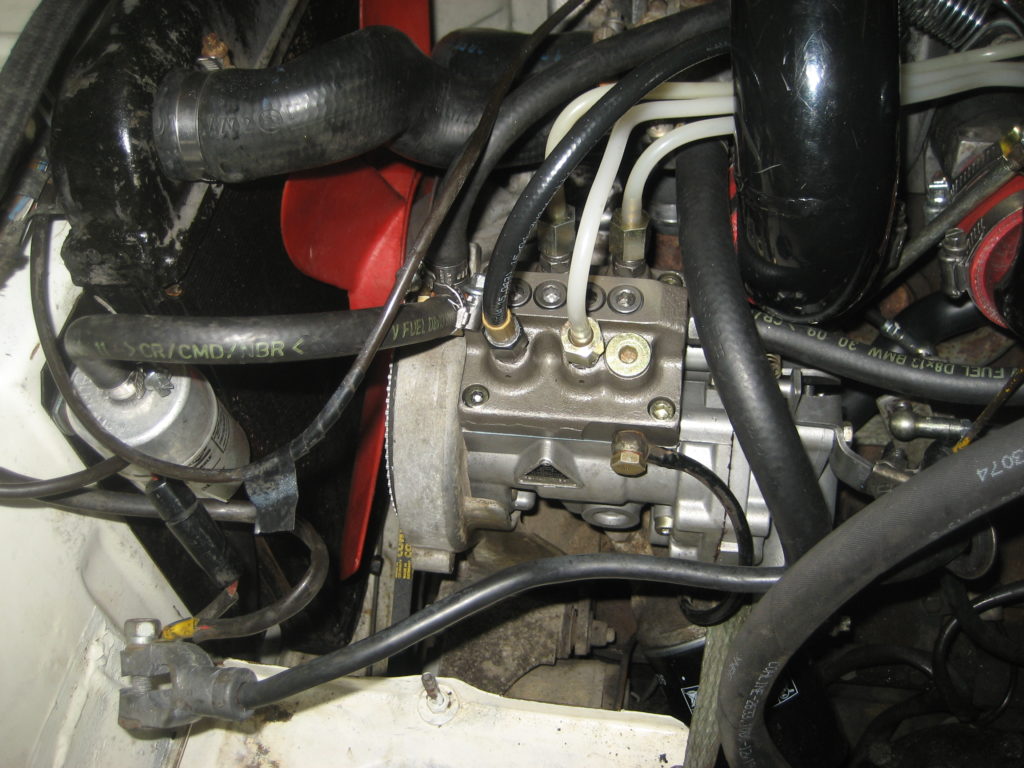
That black pipe was BMW’s OE #1 injector pipe for a while.
I mention this because I’ve been faced with it more and more often in the resurrection of Hampton, the 48,000-mile ’73 2002 I bought last fall. Due to the low mileage and the car’s survivor status, I feel honor-bound to keep it as original as possible, but I don’t want to be a sap about it in terms of the cost of parts, and sometimes you get into the #1 injector pipe situation where the new part in a BMW box and wrapper simply doesn’t look the same as the old one.
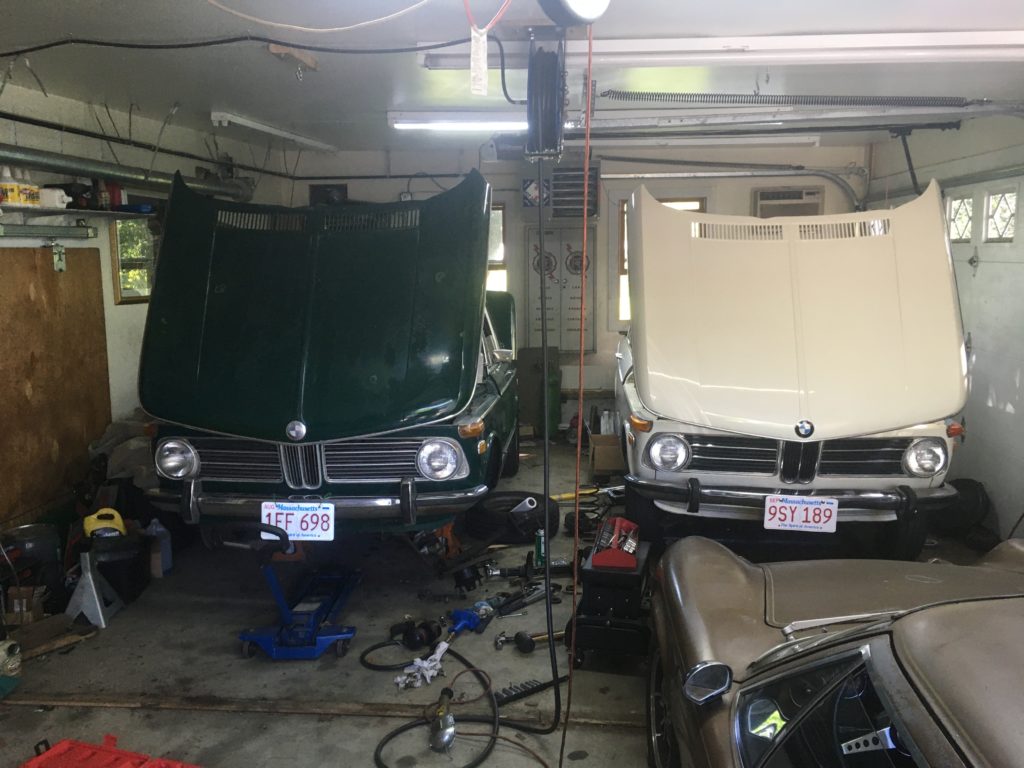
As I said last week, I’ve had Hampton up on the mid-rise lift all spring, trying to address anything that requires it to be up in the air. The flywheel cover plate was inexplicably missing, so I bought one on eBay and installed it. While I was in the neighborhood, I did some light cleaning of the undercarriage, wire-brushing off the worst of the grime while making no attempt to approach concours levels (the Q-Tips were all safely locked away).
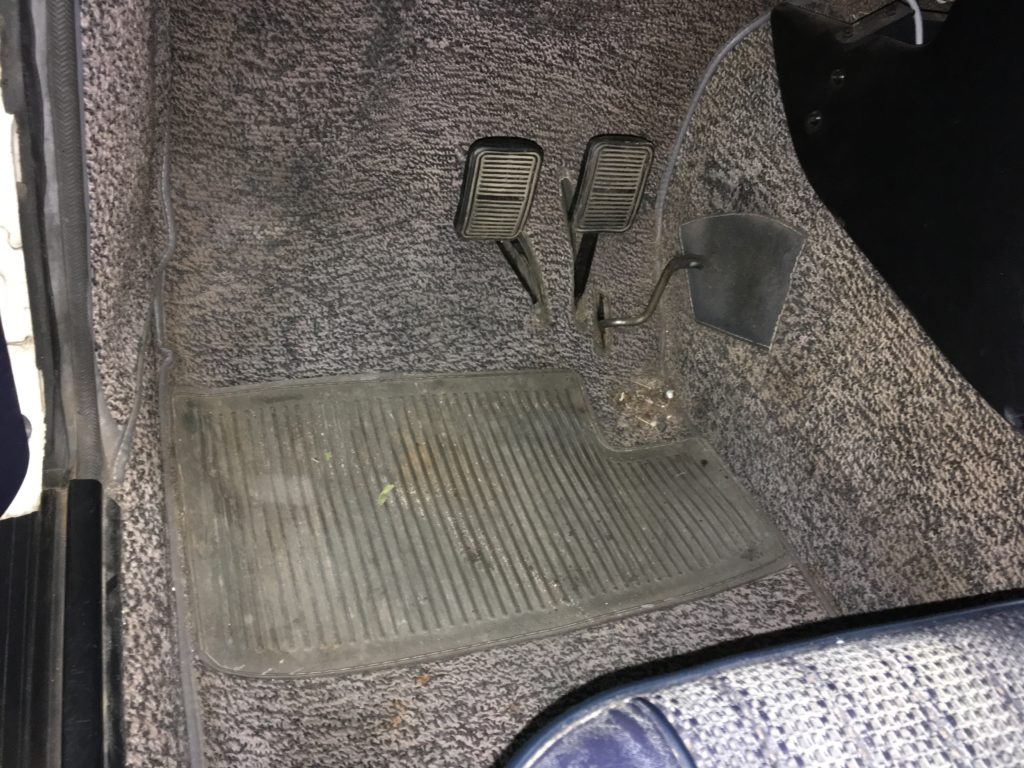
But while I was under there, I was reminded that the foam pedal box cover was missing. This is extremely common, as age, weather, and heat cause the foam to deteriorate, and as it’s only held on by adhesive and some light pressure from the speedometer cable. The foam being missing was a bit of a problem, as it would be completely obvious in any under-car photographs, and because without it, light can pass through the pedal slots. (It is a truly ridiculous design.)
So I looked online at the cost of the pedal box foam. $65 plus shipping. For a foam cover. Sheesh. I rolled my eyes and ordered it from Paul Wegweister at Maximilian when I put the order in for the three-dot spacers I needed to do the suspension refresh in Louie the ’72 tii.
When the foam arrived, I was disappointed, as I believe the original foam was grey, and this was black.
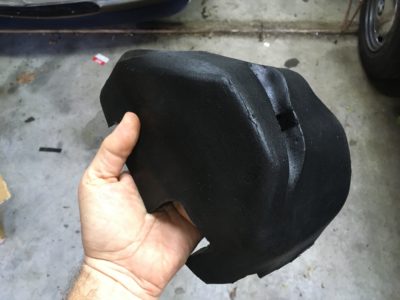
It looked so… new.

Perhaps more appropriate for this than as a pedal box cover.
I hit on what I thought was a good solution: I still had Louie’s nose in the air for the suspension refresh, so I skooched under and plucked off his teetering old gray pedal box foam. It’d look perfectly in place on Hampton, and I didn’t care what the new foam piece looked like on Louie as that car wouldn’t be for sale.
Preparing for… the foam transplant!
Unfortunately, as soon as I looked closely at Hampton’s pedal box, I could see two problems. The first was that it had a good coating of surface rust, which I really should scrub and apply a coating of rust converter/reformer before covering it with foam. But the second and more serious issue was that I noticed that the outside of the pedal box was wet.
Crap.
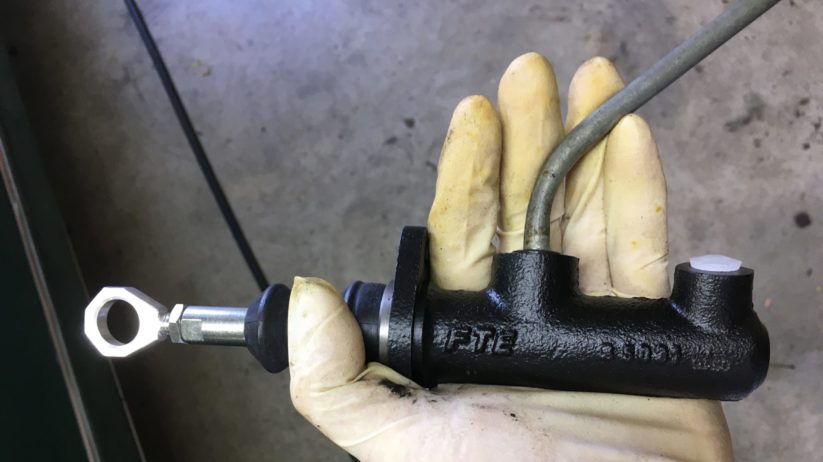
When I’d bought the car last fall in a barn in Bridgehampton where it’d sat for a decade, the brake/clutch fluid reservoir was empty. I’d filled it, didn’t see fluid streaming out anywhere, and did a quickie clutch bleed. Once it was home, I found the source of the leak (a porous hose on the reservoir), and once I replaced it, the clutch and brakes had worked fine, but it’s not unusual for 47-year-old cars, especially ones that have sat for a decade, to need clutch hydraulics, as the seals harden and crack from lack of use. In fact, it’s unusual if they don’t need to be replaced. I reached up inside the rectangular opening in the pedal box that the foam is supposed to cover, and wiped with a paper towel. Sure enough, it came back wet. The fluid was coming from the inside. The clutch master cylinder needed to be replaced. And I’d be a fool not to do the slave at the same time.
The price of the genuine BMW master cylinder and slave cylinder is $135 and $170 respectively, while aftermarket FTE parts are about $90 and $80. I poked and prodded on eBay and found a less-expensive new-in-box FTE master from an abandoned project, and a new-old-stock ATE slave for $35.
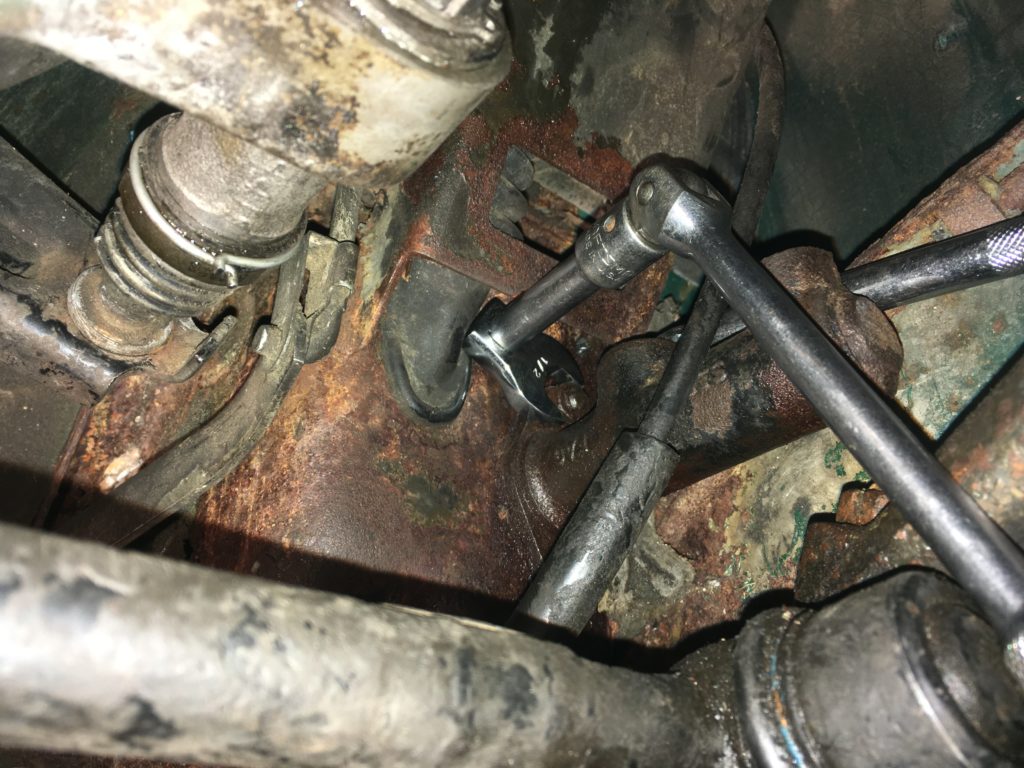
This is now the 4th 2002 in the past few years I’ve done the master-slave pair on. They’re each a bit of a pain in their own way. The slave is more accessible, hanging off the side of the bell housing, but the corrosion of dissimilar metals between the steel slave housing and the aluminum transmission case can corrode-weld the thing in place. Penetrating oil, heat, and a pipe wrench or Vise Grip help to break it free. And those old circlips (snap rings) can be a bear if their holes are worn and they’re stuck in their slots. Fortunately, this one came out without a lot of drama.
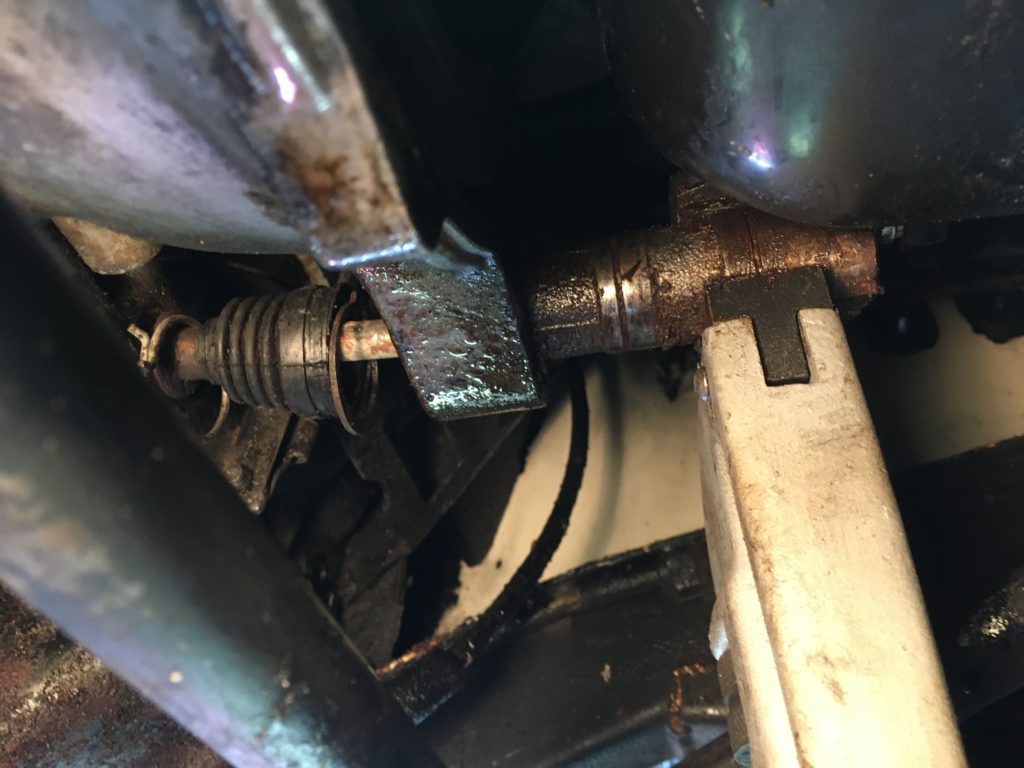
Freeing up the clutch slave with a pipe wrench.
There are a few challenges to replacing the clutch master cylinder. First, on Hampton, being such a low-mileage original car, I didn’t want to screw anything up, so I took a good deal of care pulling up the rug for what was probably the first time in its existence, and exposing the inside of the pedal box.
It’s likely that this rug had never been pulled up before.
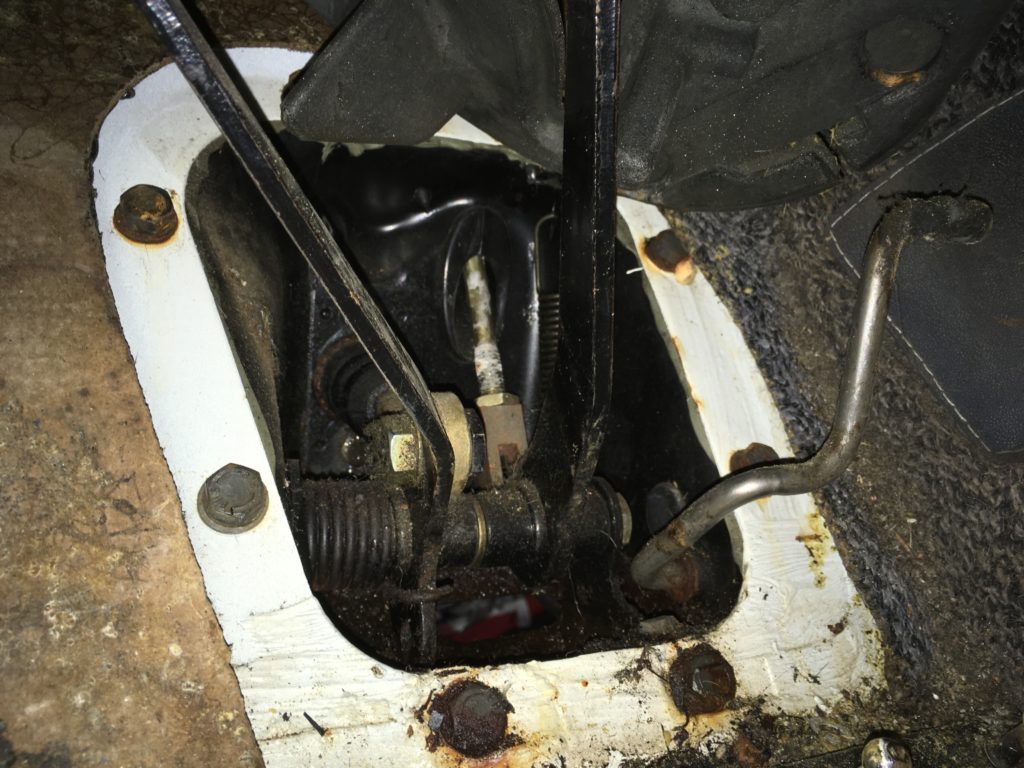
Virgin territory. The 19mm bolt and 17mm nut holding the clutch pedal to the master cylinder pushrod probably had never been removed.
The second challenge is that the master attaches to the outside of the pedal box, but the bolts go through from the inside, with nuts secured on the outside, so unless you have a helper, you need to balance wrenches so they catch on something and stop rotating. Additionally, the top outside nut is maddeningly difficult to get at. This is the one repair for which I routinely pull out a crow-foot wrench.
The crow foot wrench used on Louie’s upper clutch master cylinder nut years ago.
Once you have the clutch master undone, you pop the rubber hose off where it attaches to the reservoir at the top, then withdraw the master from underneath, with the long metal pipe still attached. The metal pipe then needs to be transferred over to the new master cylinder before installation. You might think that you can leave the pipe in place in the car and pop it into the master, but it’s extremely difficult. It’s much easier holding both parts in your hand. Lubricate the flared end of the metal pipe with a little brake fluid, work it into the rubber grommet at an angle, then straighten it out and push it in as far as it’ll go.
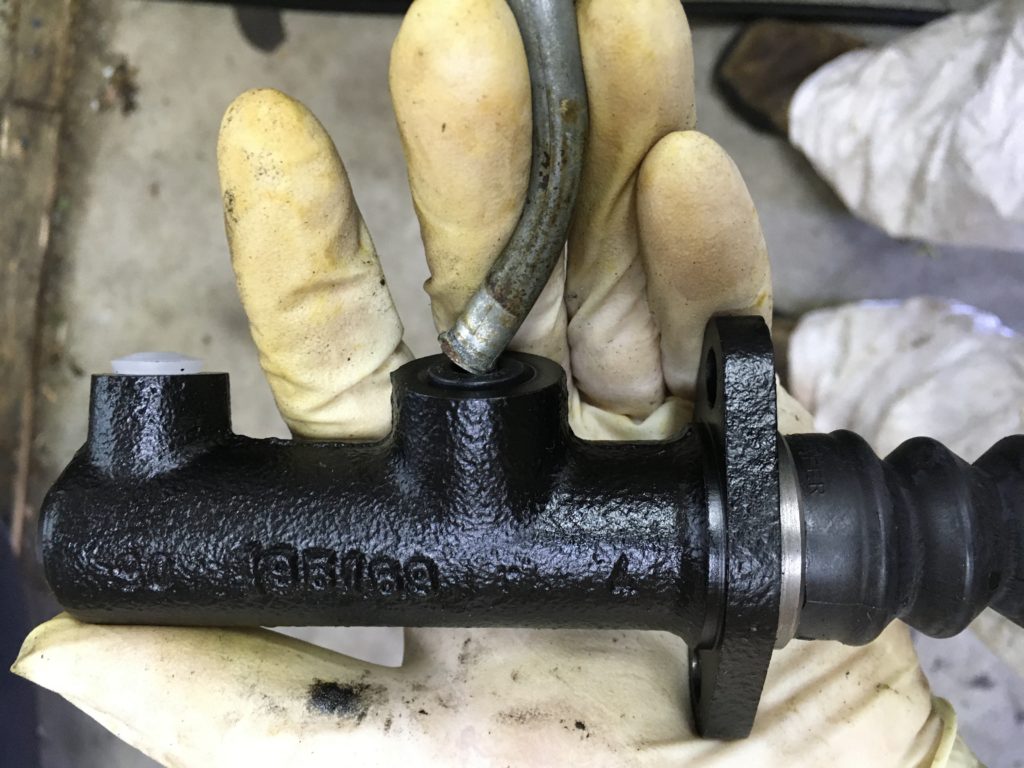
Working the metal clutch pipe into the new master cylinder.
Once it’s in, take the master and metal pipe underneath the car and snake the pipe upward. You can also work from the top and drop the clutch master down (as Paul Wegweiser says, “Like feeding chicken to snapping turtles”), but find that bottoms-up is easier.
The slave cylinder reassembly is a little tricky. You need to:
- Take the rubber boot, pushrod, and clip off the end.
- Snap the snap ring into place on the forward-facing part of the slave (the part with the fittings).
- Begin to slide it into the hole in the front of the bell housing while you simultaneously position the boot, pushrod, clip, and snap ring between it and the clutch release lever (consult the photo above and it’ll make sense).
- Get the snap ring on the rearward-facing part of the slave.
- With the snap-ring pliers in the holes of the snap ring, and while holding the pliers in one hand, push the front-facing part of the slave rearward into the hole in the bell housing, pushing the pushrod against the internal spring in the slave, and maneuver the snap ring into its groove.
As I said, a little tricky.
So, with it all done, I reinstalled the original hose connecting the master and slave, pressurized the system with my Motive Power Bleeder, bled it, buttoned up the carpeting inside the car, then went back under to clean up my tools.
And I saw fluid dripping off the bottom of the brand new clutch master.
What the?
I wiped everything down and sat and watched it, and it turned out that fluid was weeping through the rubber hose connecting the slave and master. I released the pressure on the Motive power bleeder, and the leaking stopped, but… would you leave a hydraulic hose in place under those conditions when you’d just replaced everything else?
Idiot! I should’ve ordered this hose when I bought the other new parts. In my defense, I’ve rarely seen them leak like this; they usually either plug and swell shut, or the fittings seize and strip.
I went back online and searched for part number 21 52 1 115 955. The hose that was on my car was rubber with crimped-on ends, but when I looked on eBay, my memory was jarred into recalling that the original part had a white plastic tube that, with age, discolored to amber (like the injection hoses described at the beginning of this piece). There was one used one on eBay for about $50 shipped, but the idea of paying money, particularly that much, for a used clutch hydraulic hose gave me pause.
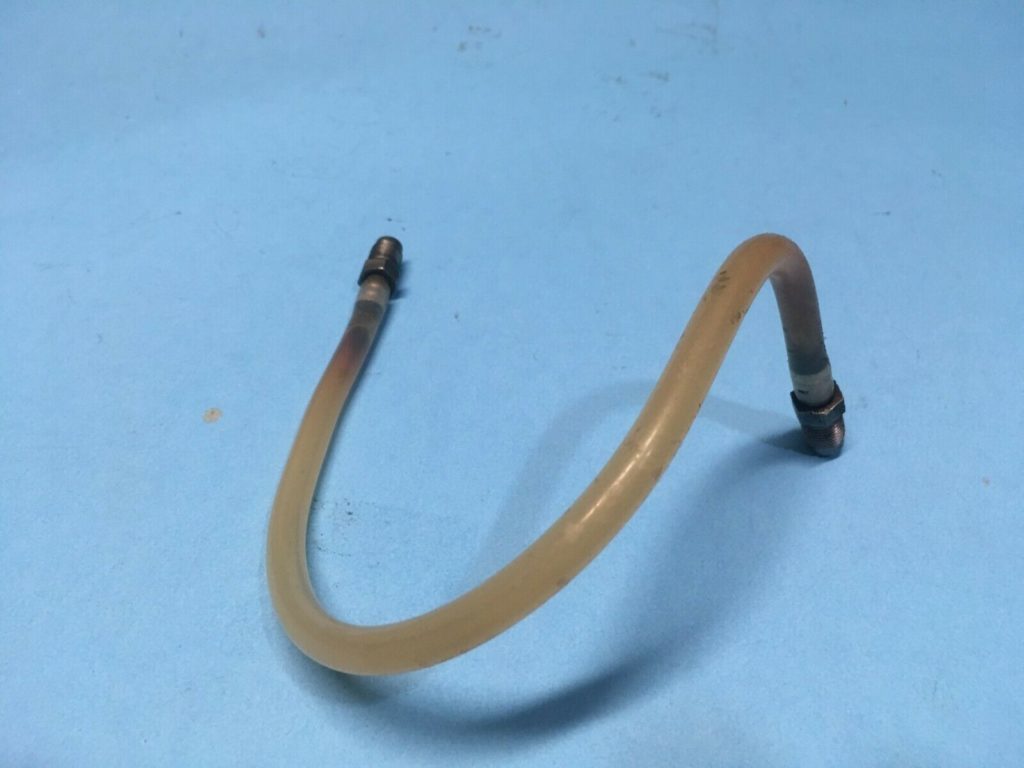
An original used clutch hose on eBay.
Also on eBay were two new old stock clutch hoses using white tubing, but they were pricey, with one $125, the other $140. And the current genuine OE part available from BMW? Black plastic hose, list price $148.93. As I said above, I want to be original and “correct” with Hampton, but I don’t want to be a sap about it.
So I looked at aftermarket part. There appeared to be only one rubber hose available like the one that was on the car. The brand was EPC, $27.95 on eBay. There’s also braided stainless hose available from a few sources. I generally use the braided stuff when I replace the flexibile rubber sections of brake lines, but here, for such an original car, I thought stainless would look out of place. The EPC hose arrived. It’s not the same design as the one that was in it, but my eye isn’t drawn to it as teleporting in from the wrong century either.
The EPC clutch hose. Not great, but it doesn’t look terribly out of place to me.
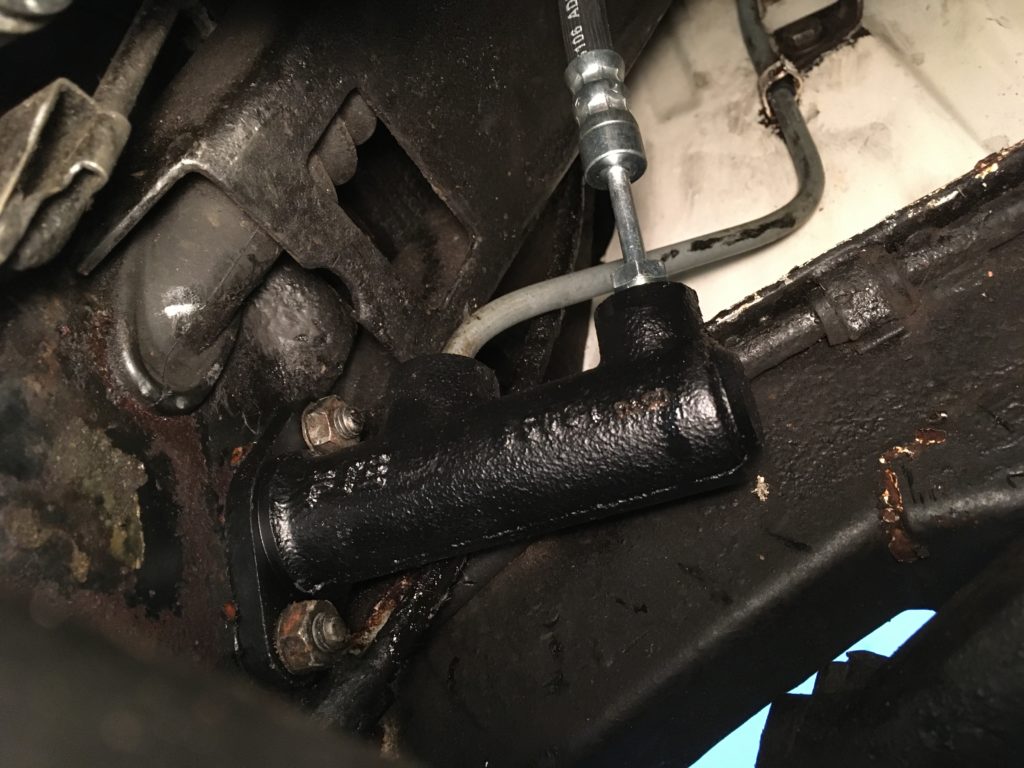
So, with all the clutch hydraulics now new, bled, and certified leak-free, I went to test-fit Louie’s foam pedal box cover—the thing that started the entire clutch replacement—and realized that, when I installed the clutch master, I put the speedometer cable on the right side. You can see it in the photo above. It’s supposed to be on the left, and it needs to be on the left for the foam cover to fit.
Rats. As Texas singer-songwriter Robert Earl Keene sang, “The road goes on forever, and the party never ends.”
I didn’t think that I could disconnect the speedo cable from the transmission and snake it around the other side of the master cylinder and its plumbing owing to the cable’s stiffness, but I thought I’d try. However, I couldn’t get the cable detached from the transmission. As is often the case, the resistance to removing something you’d just installed is worse than the work itself. In about 20 minutes I had the master cylinder unscrewed and moved forward far enough that I could flip the speedo cable on the other side of it.
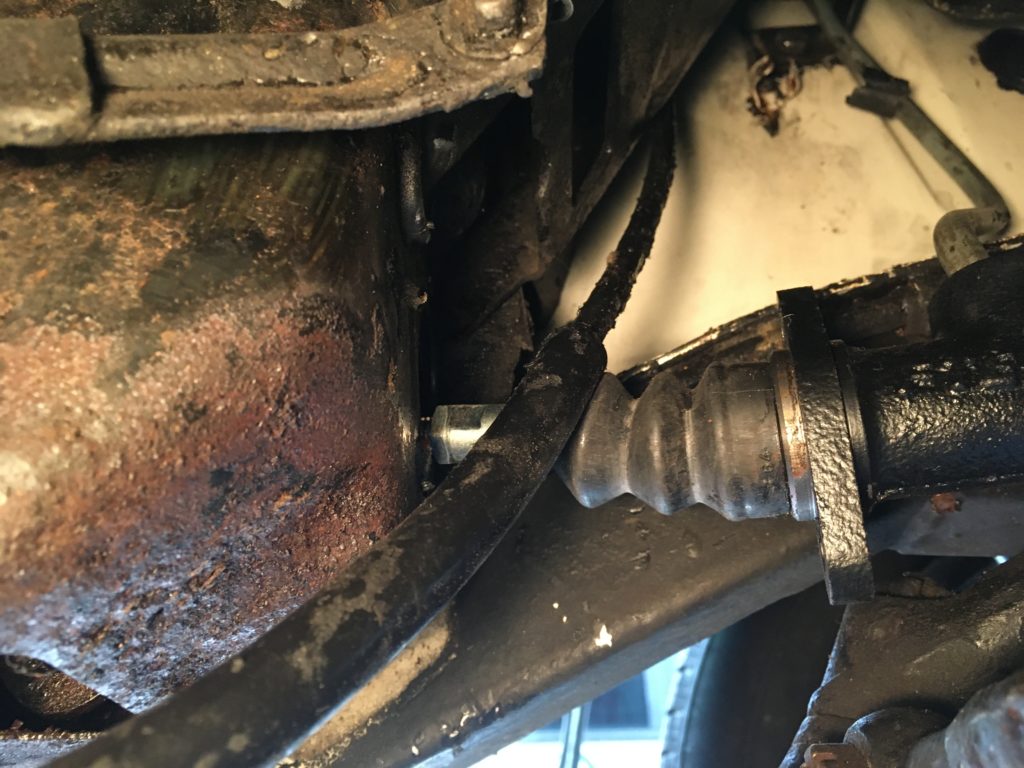
Caught in mid-flip.
I then reattached the master to the box and test-fit the foam. It worked perfectly, with the speedo cable sitting in the the grooved foam as it’s supposed to.

The test-fit foam.
I still need to do the rust converter thing on the pedal box before I put adhesive on the foam, but this all feels right to me as a way to present the car as complete, running, and driveable without sliding down the slippery slope toward the expectation that things should look like new.—Rob Siegel
________________
Rob’s most recent book, Resurrecting Bertha: Buying Back Our Wedding Car After 26 Years In Storage, is available on Amazon here. His other books, including Just Needs a Recharge: The Hack MechanicTM Guide to Vintage Air Conditioning, are available here on Amazon. Or you can order personally-inscribed copies of all of his books through Rob’s website: www.robsiegel.com. His new book, The Lotus Chronicles, will be available in the fall.