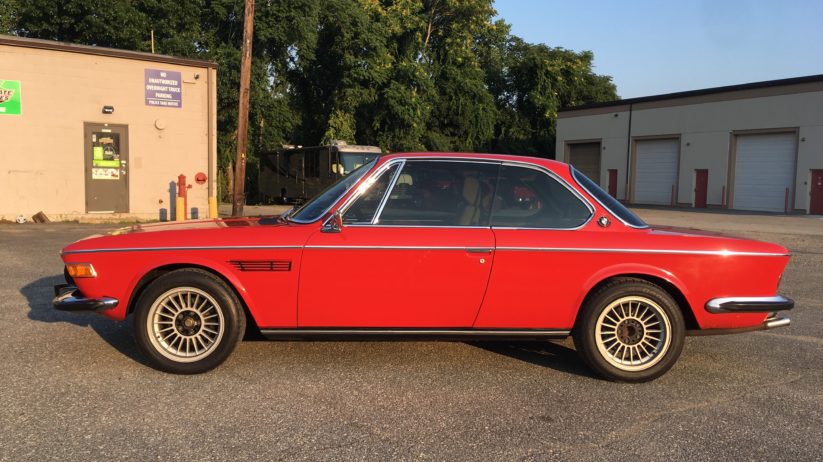
For a number of reasons, the a/c repair in my E9 coupe is stalled, but while I have the car at home and on the lift, I thought I’d do something I’ve wanted to do for a while and walk through an explanation of where to look for rust on E9 coupes (which, in case you’ve been living under a vintage-BMW-repelling rock, means the 2800 CS and 3.0CS/CSi/CSL built from 1968 through 1976).
Let me first caution that I’m not a professional: I don’t weld or do body work on anything, much less on E9s. So if the pros at shops like VSR1, Coupe King, and La Jolla Independent BMW say anything that contradicts me, believe them, not me. However, counting parts cars, I’ve owned seven E9s, including the ’73 3.0CSi I bought in 1986 and suffered through an outer-body restoration on in 1988, so I do have some valid insights.
It’s absolutely true that E9s are legendary rust buckets that start oxidizing if you even think a moist thought within 20 feet of them. I believe that, just a few weeks ago I said that if you learn one automotive joke, it should be that Karmann invented rust, then licensed the process to the Italians, but it’s a good line, so I’m using at again. The other must-know joke is from Scott Sislane, cofounder of the Nor’East 02’ers, who once rhetorically asked, “Aren’t the E9’s inner fenders are made from confectioner’s sugar?” Yes, Scott, they are.
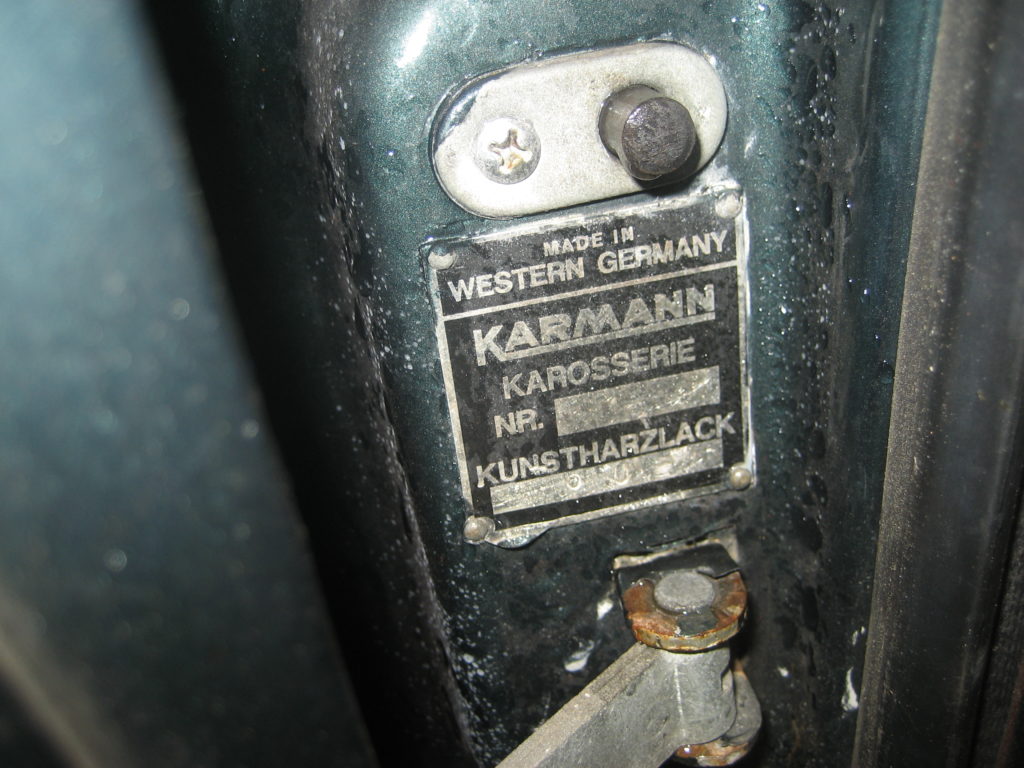
The E9’s Karmann badge—sort of like a bumper sticker that says “I have leprosy.”
But more than simply being rust factories, E9s hide some of their rust in places that are not easy to inspect. That’s in contrast with a car like a 2002, which, for the most part, wears its rust on its sleeve. You walk around a 2002 and look for outer-body rust, pop the hood and the trunk and check the front and rear shock towers, then skootch down next to the car and examine the rocker panels, and finally, jack up the car, set it on jack stands, crawl under, and look at the frame rails and the floorboards, and you’ve basically got the rust inspection covered.
Unfortunately, that’s just not good enough on an E9. I’ll walk through some of the hidden rust-prone areas using photos of my essentially rust-free red 3.0CSi, and a rusty but usable 3.0CS I had for a short period of time about seven years ago.
Front Fenders
Let’s start at the front. If you look at the front fenders of a 2002, Bavaria, or nearly any other BMW, you can see the gap near the corner of the windshield where the fender panel is abutted against the body.
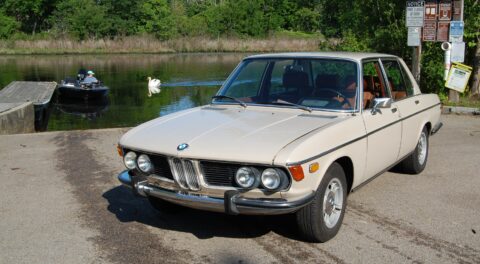
The front fender gap on my Bavaria.
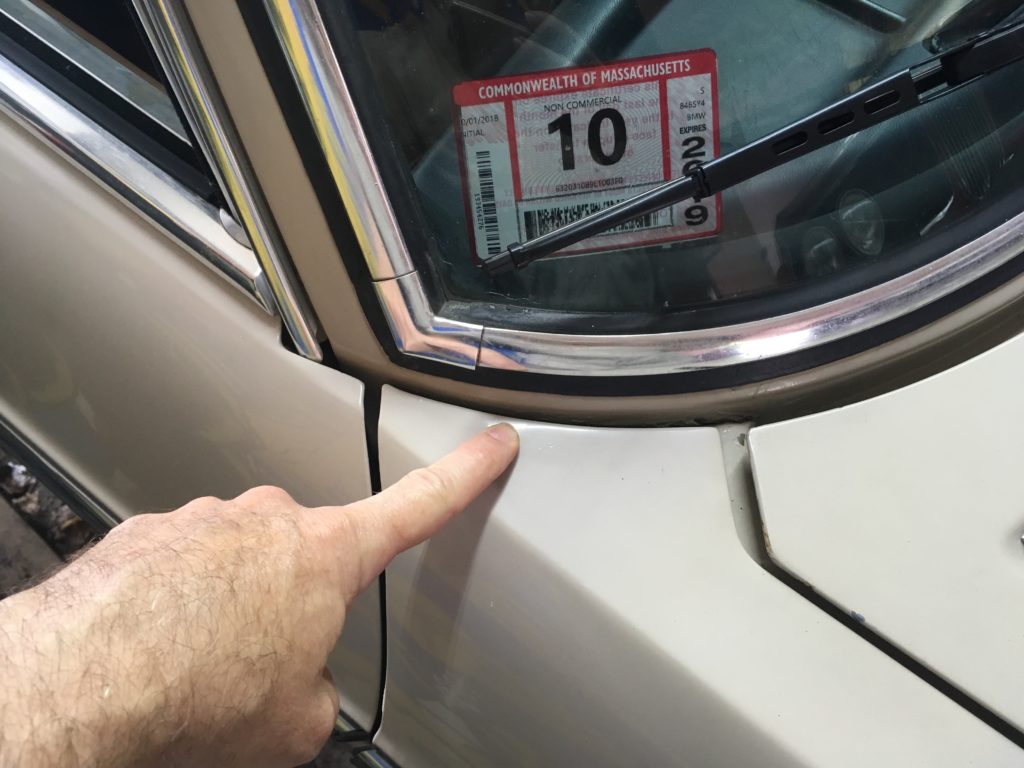
However, if you look for this on an E9, you won’t see it, because there is no gap. This is because the fender is lap-seamed to the body at the corner of the windshield. Thus, to remove the fender, it’s not just a matter of unbolting it. Instead, the windshield has to be removed and the fender has to be cut out.
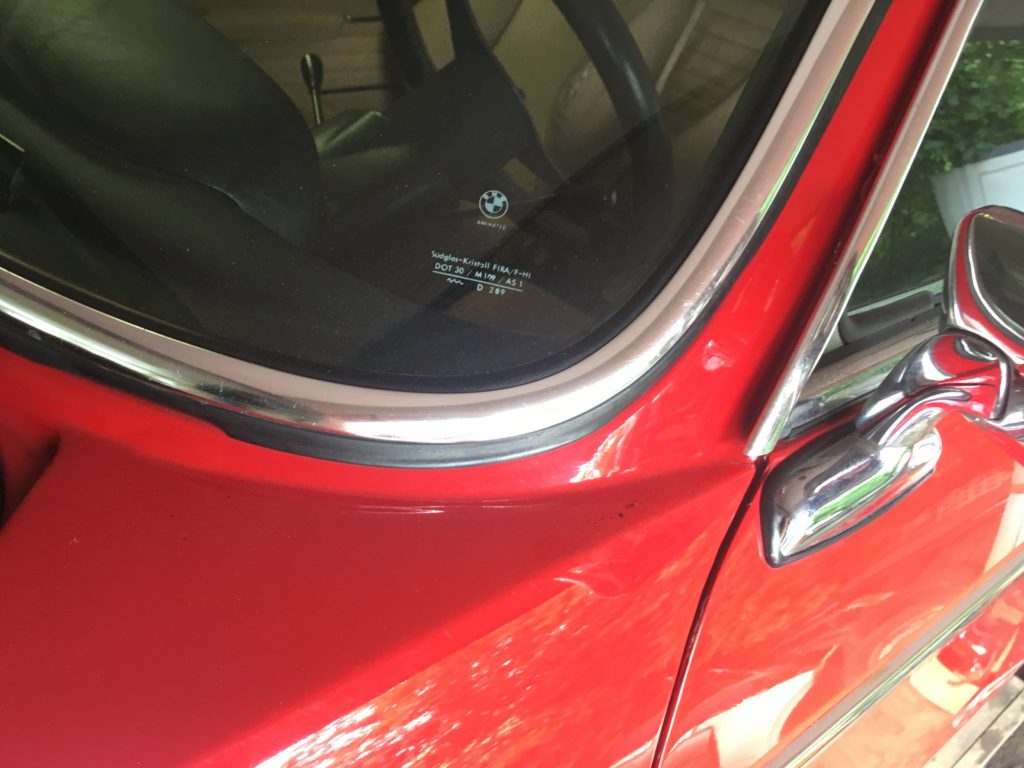
Where’s the fender seam on an E9? There isn’t one. It’s welded to the corner of the windshield frame.
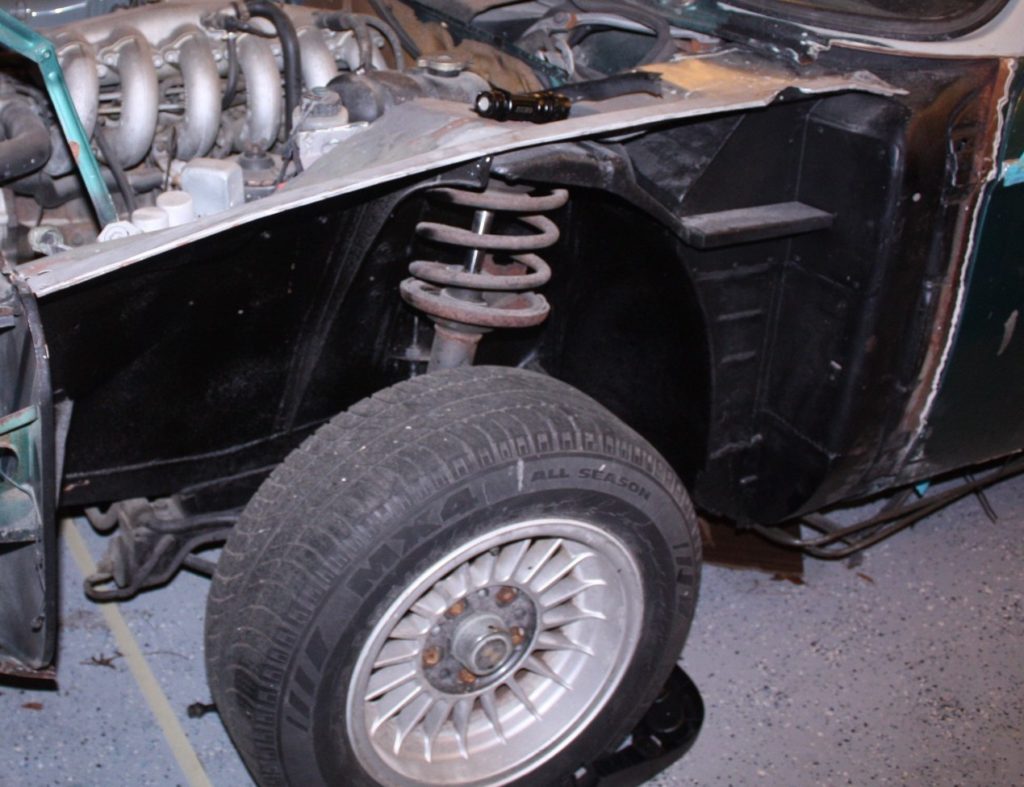
Unfortunately, there is often a need to remove the fenders, because the fenders themselves, the front shock towers, and the area under them are all very common rust points on the E9. The bottom of the fenders rust out, as they do on many older BMWs. The fact that the sunroof drain dumps water onto them is a contributing factor.
Rust at the bottom of an E9’s front fenders is very common, and not trivial to deal with.
Front Shock Towers and Firewall
A very common problem area on E9s is the front shock towers that rust out both from the top down and the underside up. The cars originally had a layer of tar-based sound-deadening material around the mounting point of the front struts; over the years, the tar hardens and cracks, and rather than preventing rust, it becomes an environment for moisture to get into and fester. Really, you don’t know what’s under it until you remove it, and no seller in his right mind would allow you to chisel it up to remove it to check. I’ve had cars where, if I pushed down on the tar, it’d crack and start to peel up, and you could see the rust forming underneath, ranging from near-surface scale to actual perforation.
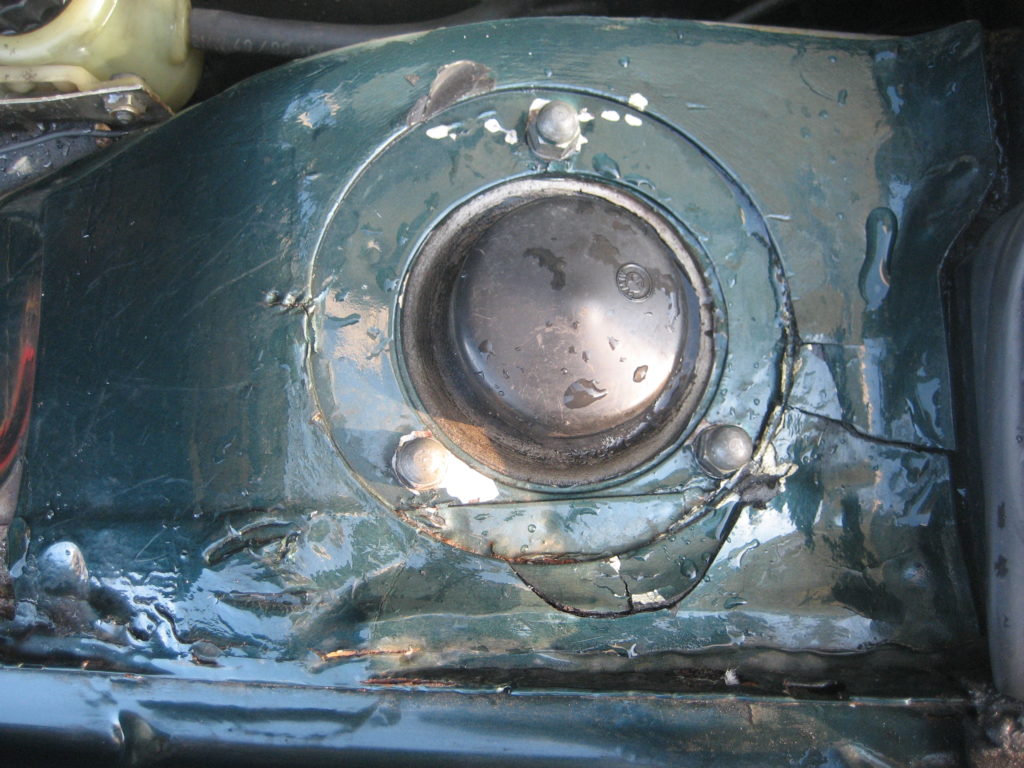
You can see the crack at the bottom of the circular tar coating around the shock-tower mount. There were small rust holes underneath.
Rust was visible beneath a strip of tar coating that had already separated.
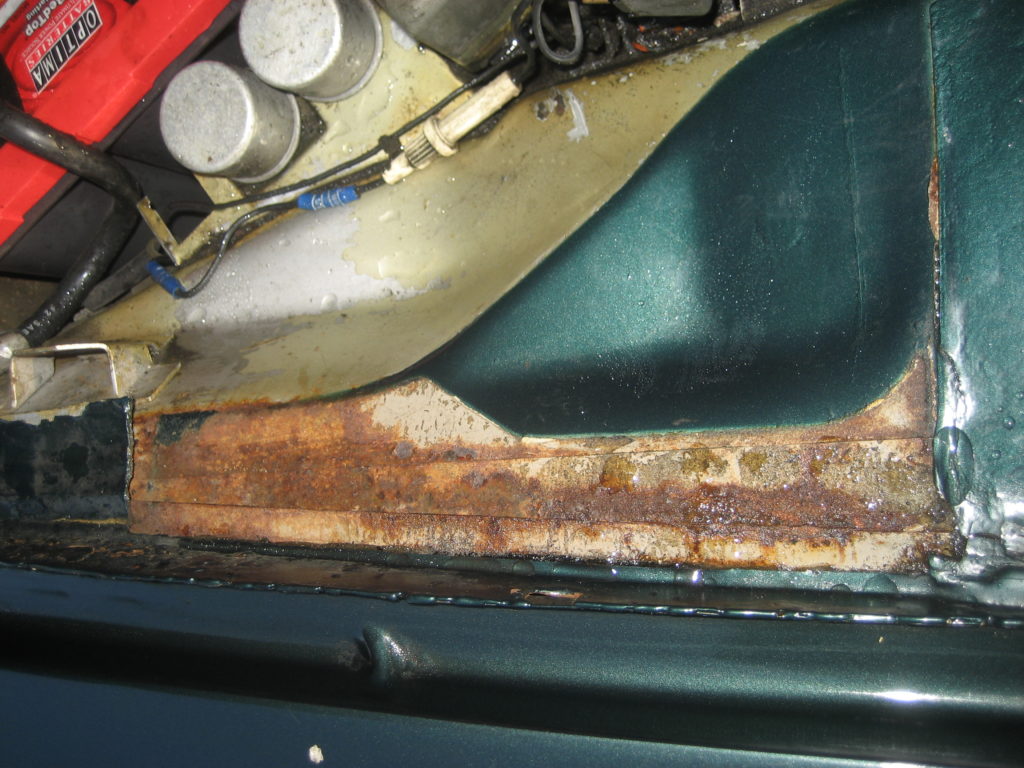
The next issue is that in the structural area underneath the front fender, there is a “rust trap” where sand and dirt can get kicked up, sit, absorb moisture, and rust out the metal. Nowadays, with inexpensive iPhone-based inspection cameras, it’s pretty easy to snake something up there and have a look, but back in the day, you had no idea what the condition was without removing the fender.
E9 coupe with the fender and intermediate pieces off, showing the “trap” where moist dirt can kick up and sit. [Photo courtesy Kai Xing.]
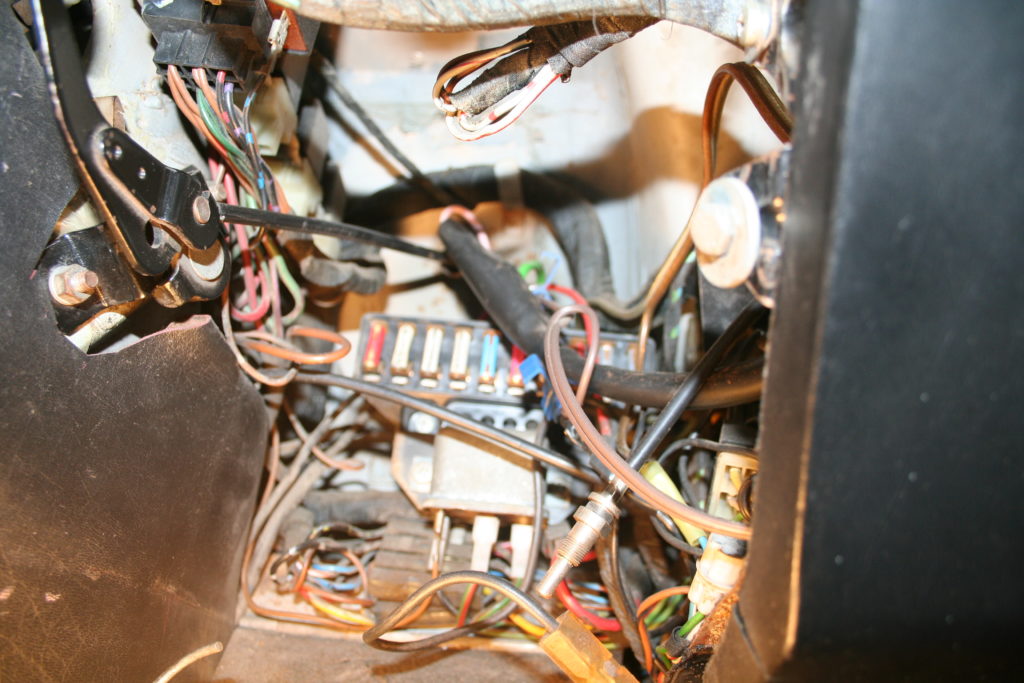
Looking up above the fuse box at the firewall. On this car, it was okay.
The above-glove-box area in one car, with some of the soundproofing still in the way.
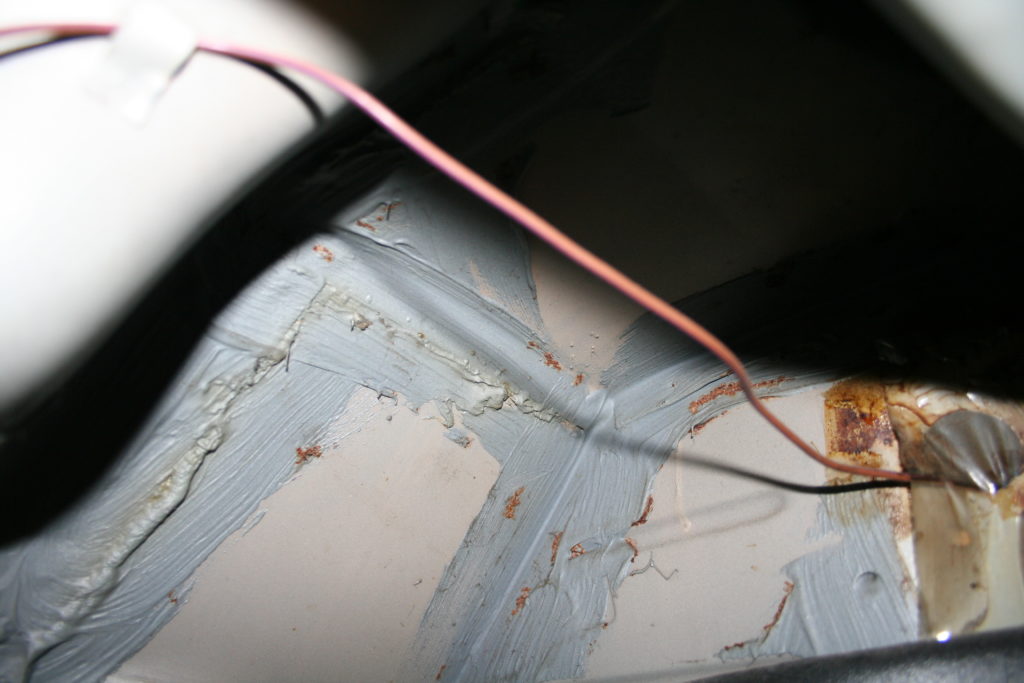
The above-glove-box area in a different car with the soundproofing pulled away, showing just a little corrosion on the right. On other cars, I’ve seen obvious visible rust holes above both the fuse box and the glove box.
For the reasons stated above, any rust found on the fenders, shock towers, or firewall is serious, and will be expensive to repair.
Back in the day, when these cars were purchased to be driven daily and weren’t worth what they are now, a prophylactic measure to keep moisture out of the sugar-like inner fenders and away from the “trap” was to use fender liners from a 140-series Volvo. I’ve had them fitted on my E9 for 30 years, and when I’m traveling to an event like the Vintage and hit some rain, I’m still glad they’re there, but as with any vintage car, the far better solution is to keep the car out of moisture as much as possible.
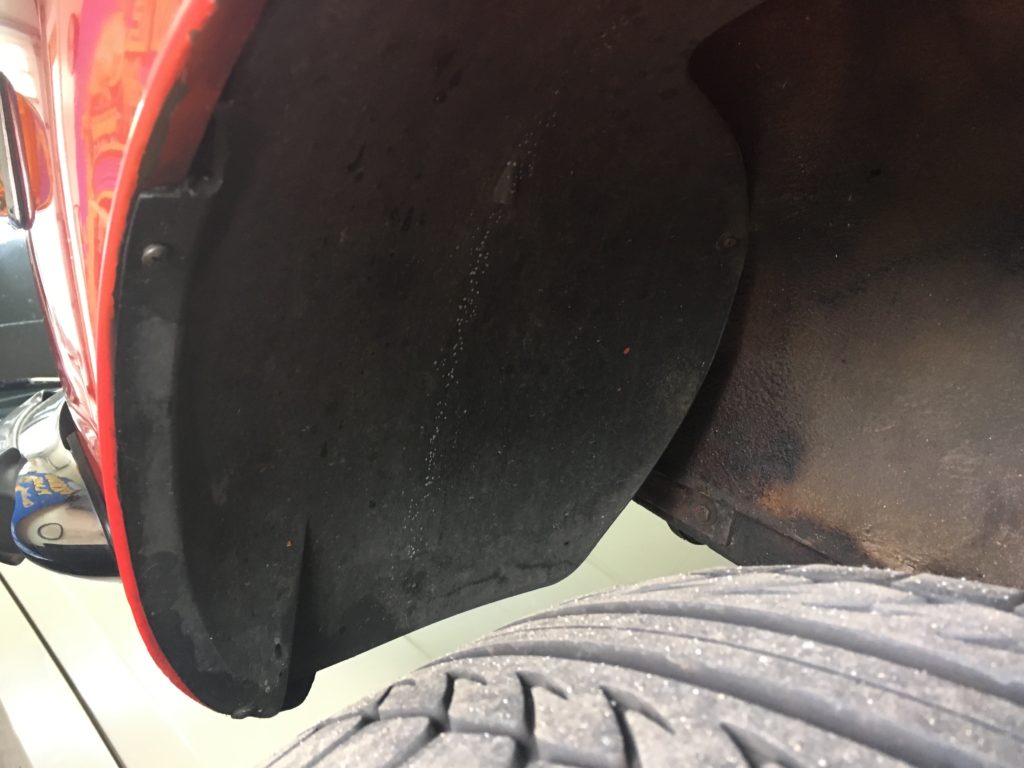
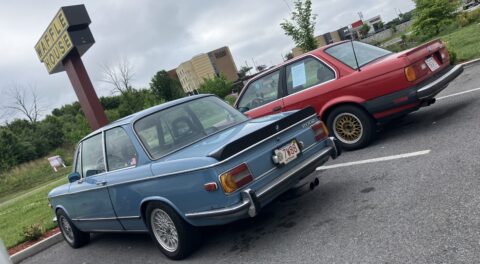
The Volvo front fender liner fitted to my E9 at the front.
Rocker Panels
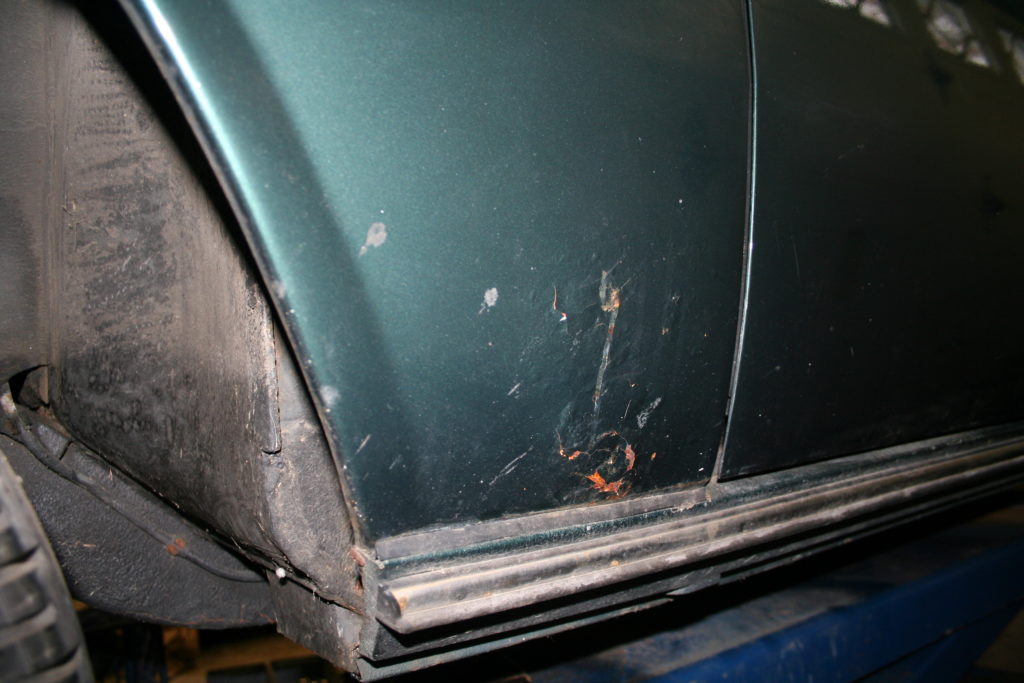
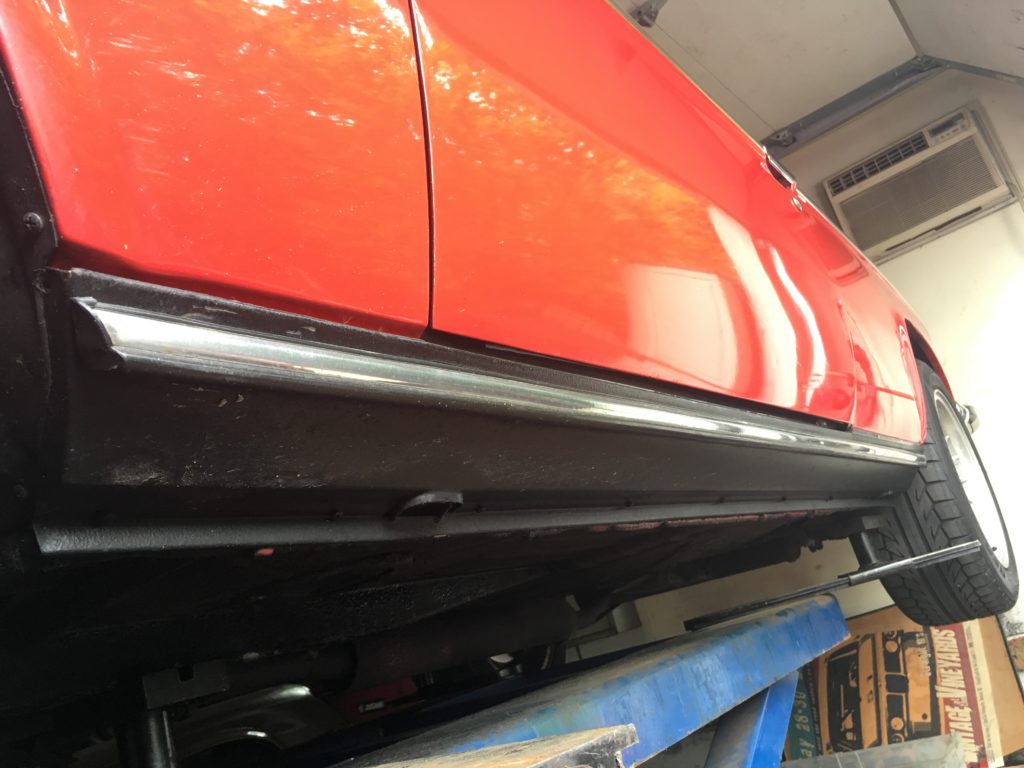
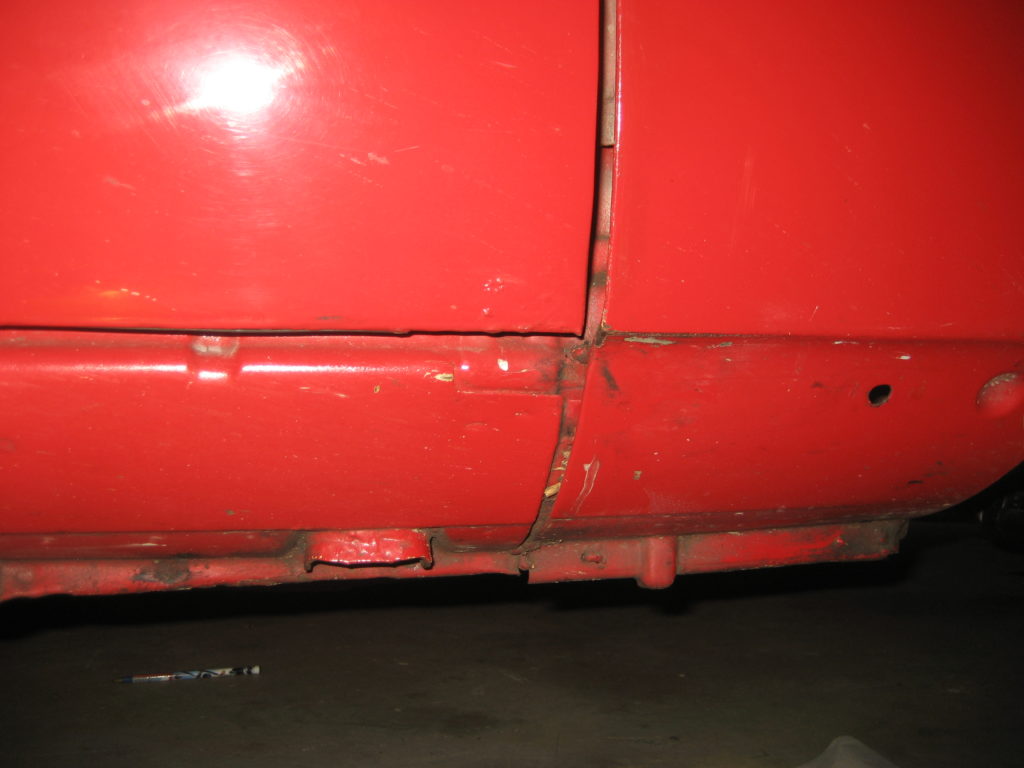
The next issue with inspecting an E9 for rust is that the rocker panels are very deceiving. In the photo below, you’d think that the silver piece with a rubber strip on it is the trim, and the long black piece is integral to the body of the car, but the long black piece is actually the rocker cover—a wide piece of removable trim that completely obscures the condition of the actual rocker panel underneath. It’s very misleading, because the rocker includes a cut-out for the jacking point (the one you should never use), so looking at it, you’d swear it’s integral with the body of the car.
The rocker cover is held on by numerous small Phillips-head screws. If it hasn’t been removed in decades, the odds are strong that the screws will be rusted into their holes and won’t come out without a fight. Thus, it’s not something that you can easily unscrew to examine the true rocker sheet metal beneath. It’s a big plus if a seller takes the covers off and photographs underneath them, or if they were off for a recent repaint or restoration and photos were taken at that time, but it’s not realistic to expect a seller to take them off and snap pics just because you ask.
A section of the driver’s side door and rear quarter panel showing the rocker cover.
The rocker panel with the cover removed. You can now see how the jack point is integral with the body.
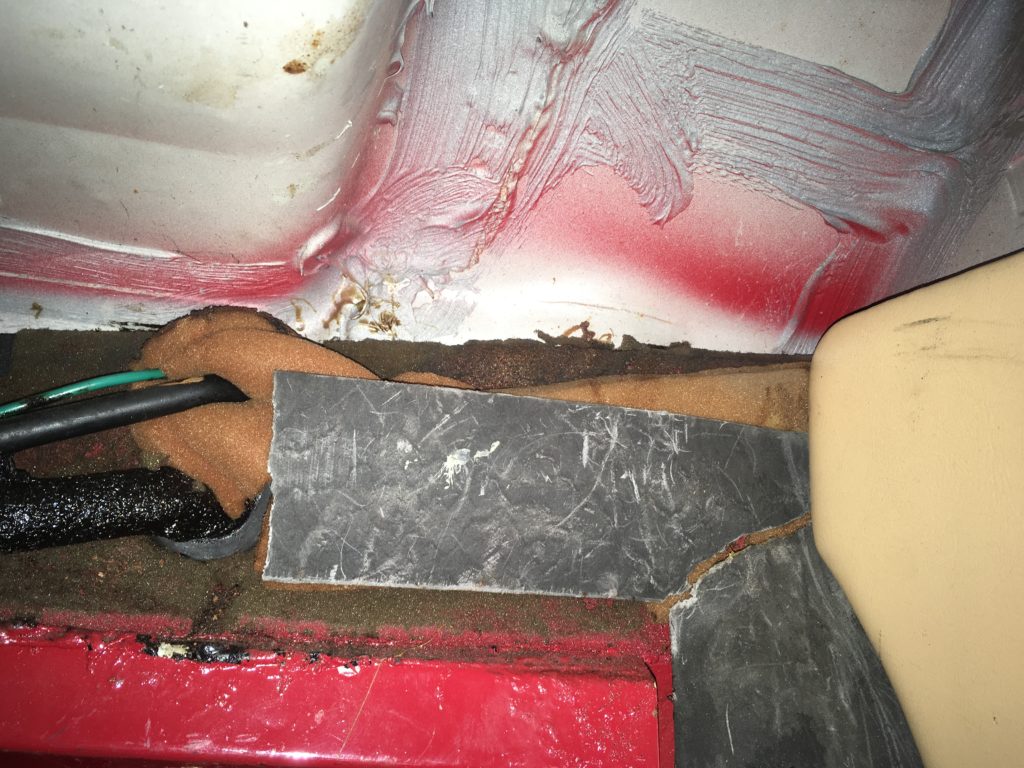
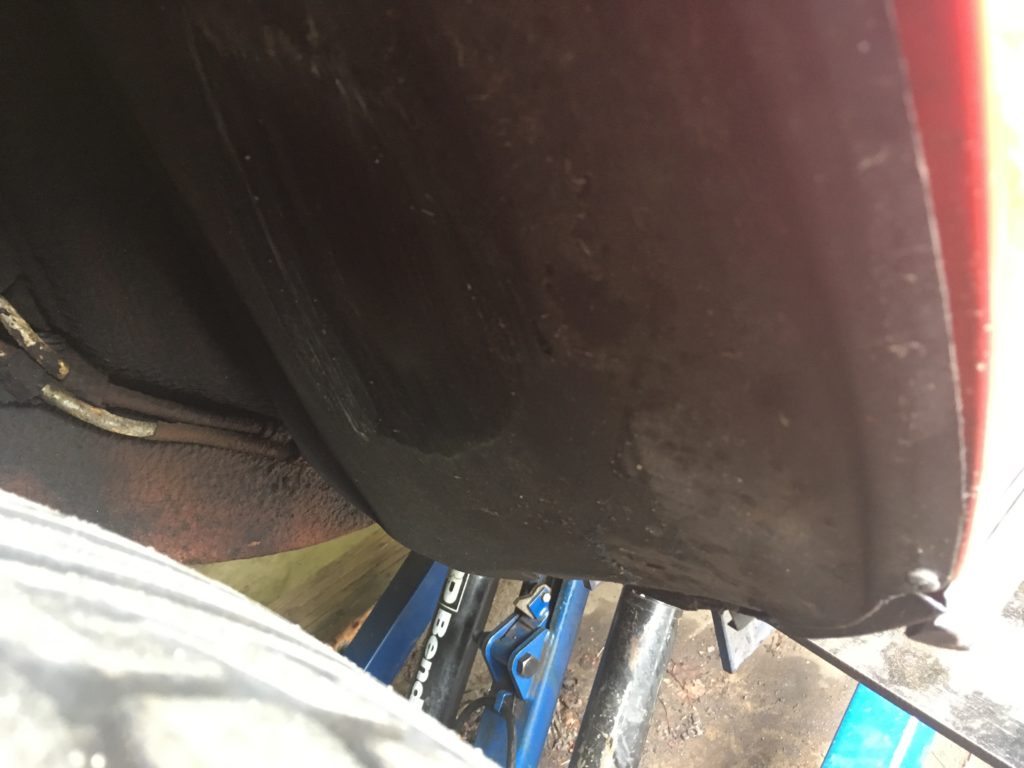
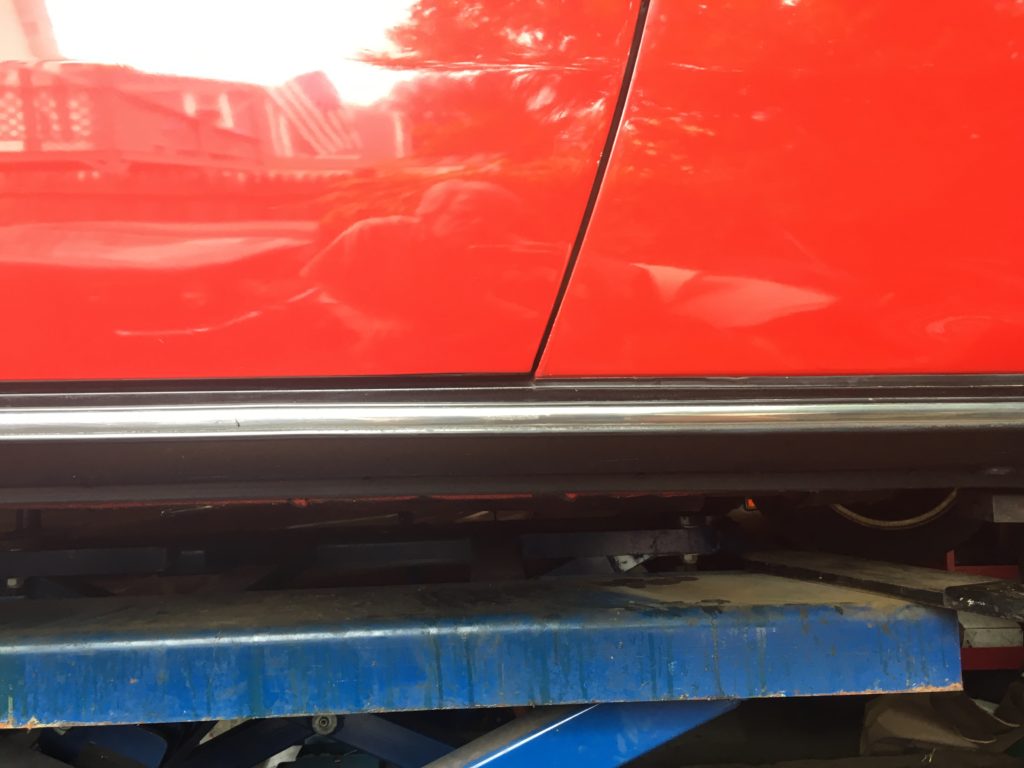
Sometimes the best you can do is to look at where the jacking points protrude through the cut-outs in the covers. You can also try to infer the rocker’s condition from that of the adjacent metal on the floor and at the corners of the fenders. If those areas are clean and solid, maybe what’s underneath the rocker covers is, too—but if they’re rusty, you should assume the same about the rockers. In the photo below, you can see the straight edge of the rocker cover, and below it, the somewhat more beat-up edge of the actual rocker panel. Here, neither the edge of the rocker nor the floor behind it shows obvious rust-through, which makes it look promising. As I said, infer.
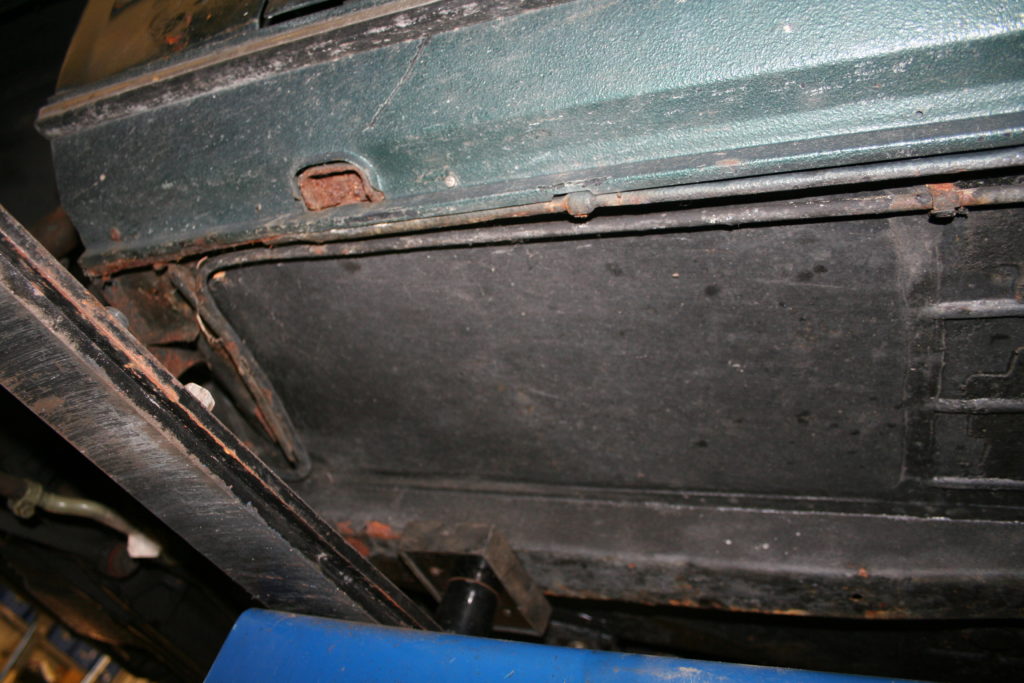
Looking upward at the floor pan and the edge of the rocker to infer the rocker’s condition. The upper straight edge is that of the rocker cover; the inner one is the edge of the actual rocker panel. Here, an entire section of the floor has obviously been replaced. Note that you can clearly see the jacking point (which is part of the rocker panel) through the cut-out in the cover.
Rear Shock Towers
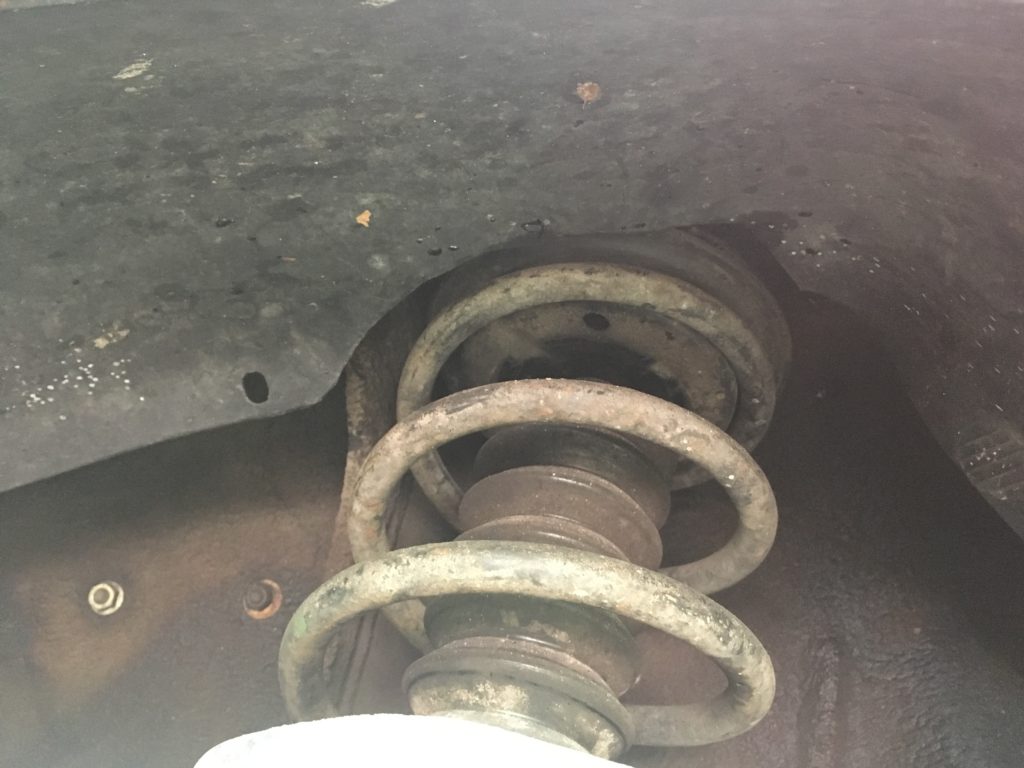
The E9’s rear shock towers don’t necessarily rust any worse than in other vintage BMWs, but the problem is that they’re covered with plastic liners sometimes called “elephant skin.” To see the sheet metal underneath, you need to remove the liners. To do this, you need to pull out the vinyl-covered particle-board trunk floor pieces and unscrew the securing brackets for the trunk lid. This isn’t as difficult as removing the rocker covers, but the problem is that the plastic liners are now 45 years old, and they’ll shatter, or at least crack, if you even look at them the wrong way. Because of this, it’s not a slam dunk that a seller will comply with a request to remove them and photograph the rear shock-tower metal simply because you ask.
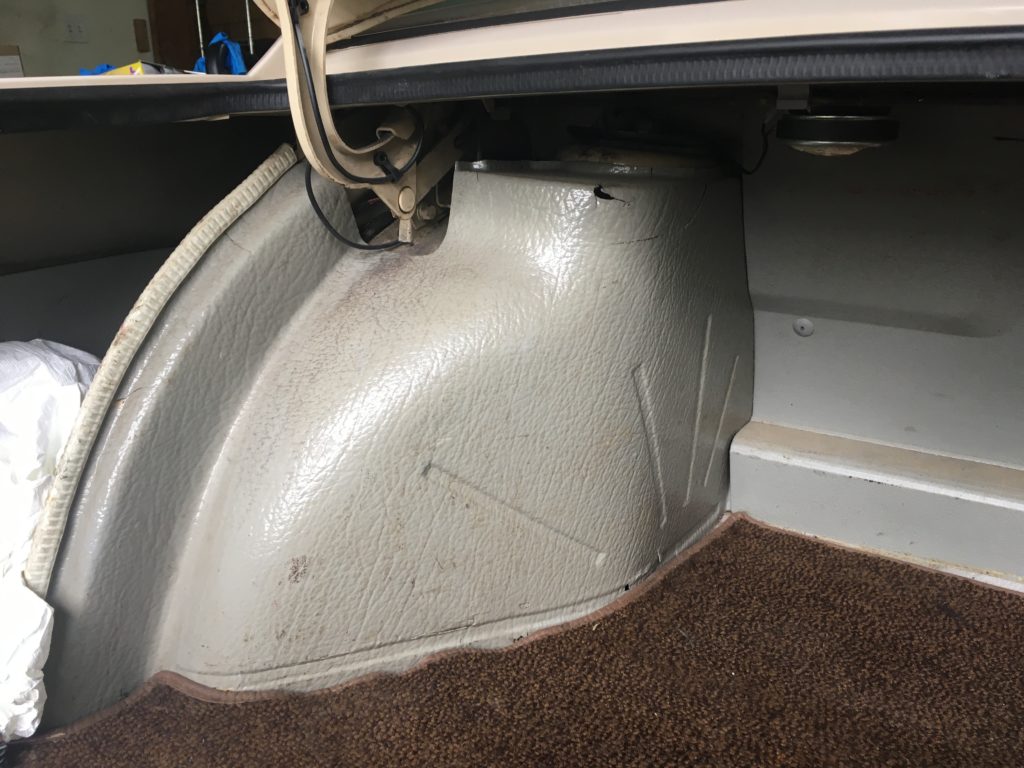
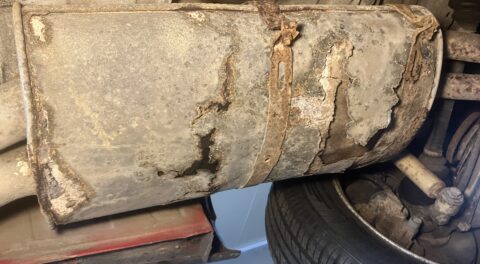
“Elephant skin” covering of the rear shock tower. This is actually in my Bavaria, but it’s very similar in the E9.
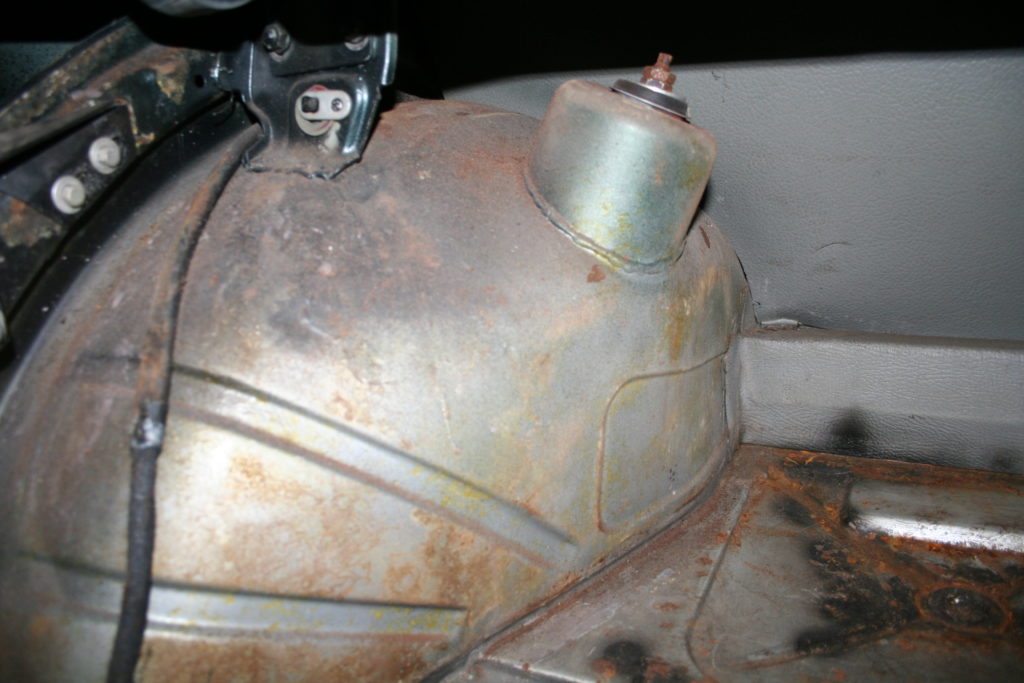
An E9’s rear inner wheel well and shock tower with the plastic liner removed. This one looks fine. Rust can occur anywhere on the wheel well or the cylindrical tower mounting point. The tower can also break off from the well, or bust through at the top.
Everything Else
Obviously, as with any car, you need to inspect the outer body, floor pans, frame rails, door bottoms, spare tire well, and everything else. But I would specifically add one more thing.
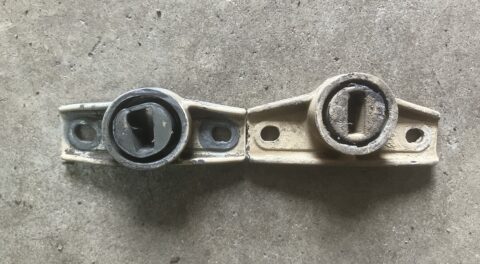
People know to look for front and rear shock-tower rust on a vintage BMW, but not many people know to check for rust near the rear subframe attachment point. The rear subframe bushings are cylindrical, not quite the size of a soda can, and are visible at the corners of the rear fenders. They bolt through the floor of the car and are attached under the back seats. If there’s rust on the inside front corner of the rear fenders, since that’s close to the bushings, I’d advise that you lift up the back seats and check the condition of the bushing attachment points. I’ve seen them broken clear through, which, in terms of “structural rust,” is far more serious than the rear shock-tower rust that everyone talks about. Checking these inner rear fender corners also gives you another view into the condition of the rocker panels.
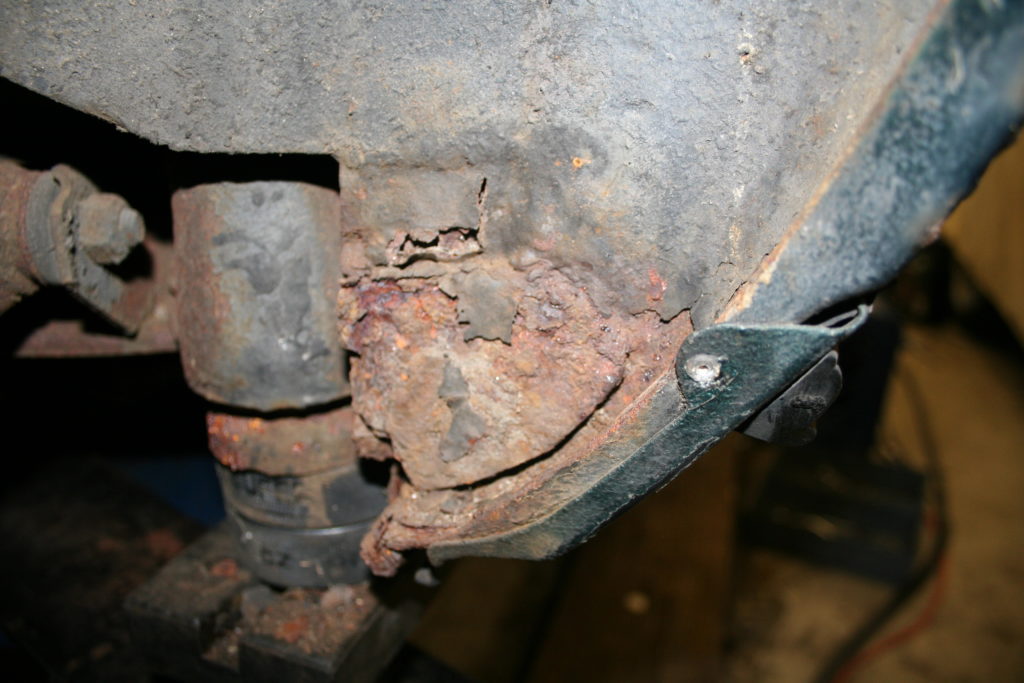
Rust at the inside front corners of the rear fenders could spell trouble for the rear subframe attachment points.
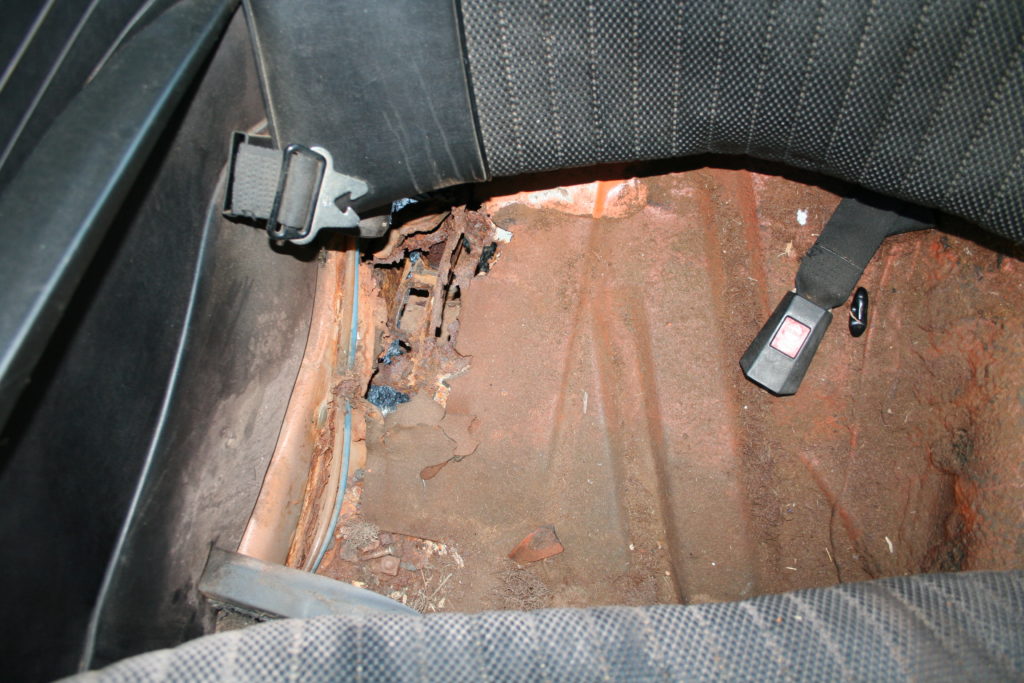
This is a 2002, not an E9, but it shows how pulling up the rear seat can reveal catastrophic rust at the rear subframe attachment points.
I’m not the first person to advocate that, if you will die of angst and longing if you don’t own an E9, and can’t afford $60,000 for a rust-free one, and all you have is $12,000, maybe you should buy one and try to extend its life with dry storage, rust chemotherapy (waxy oily coating products), and limited use. Instead, I’m just trying to show you how to judge the extent of the rust so you know what it is you’re buying.—Rob Siegel
Rob’s new book, Just Needs a Recharge: The Hack MechanicTM Guide to Vintage Air Conditioning, is available here on Amazon. His previous book Ran When Parked is available here. Or you can order personally inscribed copies of all of his books through Rob’s website: www.robsiegel.com.