Last week I told you about ripping apart the air-conditioning in my precious ’73 3.0CSi, including removing and dismantling the evaporator assembly, an operation I relish about as much as removing my own appendix. But the action seemed necessary, as the symptoms of the non-existent cooling implied a plugged expansion valve. Unfortunately, when I removed said expansion valve, the inlet screen was dirty, but by no means plugged. There was little to do but soldier on, replace the valve, and put the system back together.
Actually, that’s not quite true: There was quite a bit else to do. Even though I wrote an air-conditioning book, I am certainly not a professional. I’ve compensated for that by following the kind of “do it once, do it right” methodology; I usually eschew that methodology, but it makes sense with a/c work. My experience has been that if you follow procedures meticulously, and verify that the system is clean, pressure-test it, evacuate it, and then recharge it, the system usually comes up cold and stays that way for years. So in addition to replacing the expansion valve, I pulled the compressor, drained the old oil, flushed every component of the system, and ordered a new receiver-drier.
And then I realized that I was facing a new issue.
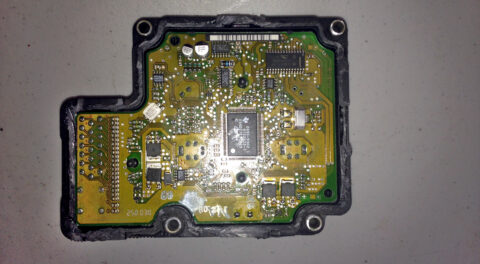
This was the first a/c system I’d ever opened up and serviced that already had a parallel-flow condenser in it; all the other systems I’ve worked on were either old and still had the original serpentine-flow condenser, or were systems where the rejuvenation I was performing included installing a new parallel-flow condenser. The issue is that you can’t really flush a parallel-flow condenser; there are too many tiny tubes that run through it. If there a blockage in the tubes, the flushing agent will simply go around it, leaving the blockage intact. So if contamination is suspected, it’s strongly advised that the condenser be replaced rather than flushed.
This raised a dilemma. On the one hand, the condenser isn’t expensive; $45 on Amazon would buy me another one. On the other hand, it was kind of a shoehorned fit into the nose, and removing the old one and installing a new one would be a bit of a pain—plus I’d need to pull the radiator to get it out. While that’s trivial, the amount of antifreeze I go through in my garage reaches ridiculous proportions, and I hate to do it if it isn’t necessary.
It came down to a question of how much contamination was present, and whether I thought it could’ve plugged the condenser. My knee-jerk reaction was that it probably wasn’t a problem. Generally, when you talk about contamination, it’s highly significant contamination, like a compressor seizing and throwing shards of metal into the system, or a receiver-drier’s desiccant bag breaking open. There was no evidence of any of that; the expansion valve, as I said, was dirty but wasn’t actually plugged.
With that settled, I began reassembling the evaporator. I ordered a new OEM (original equipment manufacturer) Egelhof expansion valve on eBay. It was advertised as genuine OEM, but when it arrived, although it said Egelhof, it also was stamped “Made In China”; the old ones quaintly say “Made In West Germany.” This is a perfect example of how even when you order an OEM part, it may not be exactly the same as what was originally in the car.
Still, it was new, my old one was both old and dirty; in it went.
These expansion valves, like the ones in every BMW before the E30 generation of cars, have flare fittings, so you need to crank down on the fittings good and tight to get them to seal, but not so tight that you crack the copper flares.
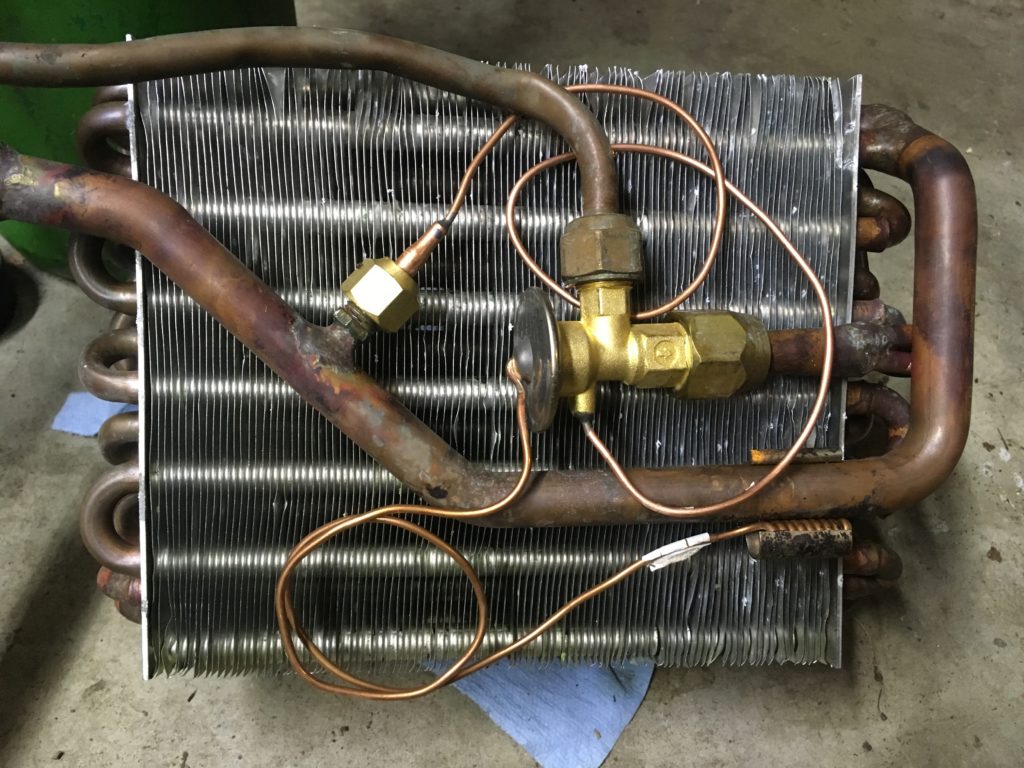
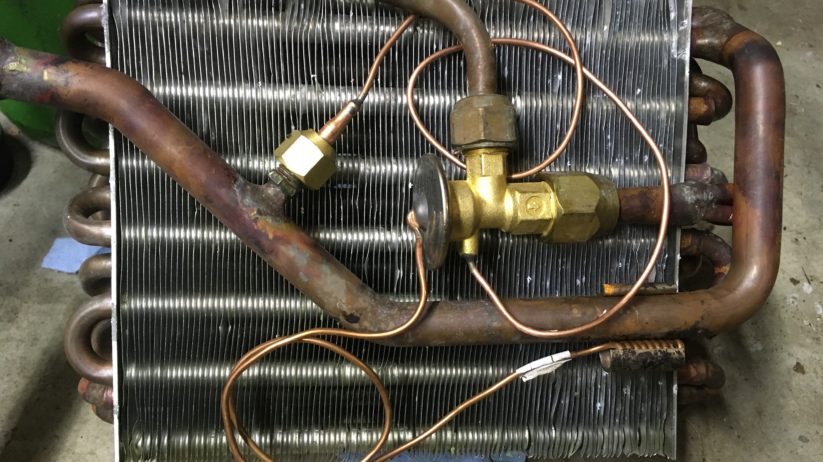
Here’s the evaporator core with the newly-installed Chinese-made Egelhof expansion valve.
The next step is to pressure-test the evaporator plumbing (meaning the core and the expansion valve) before you put it in the housing and button everything up. I have a somewhat ungainly pair of adapters that allows me to plug both the input and output flare fittings, while also letting me connect a manifold-gauge set through which I can introduce pressurized nitrogen and watch the pressure on the gauges. Although I also do that for the entire assembled a/c system, it makes sense to do it first for the evaporator plumbing, because if there’s a leak in what you’ve just installed, it makes you cry.
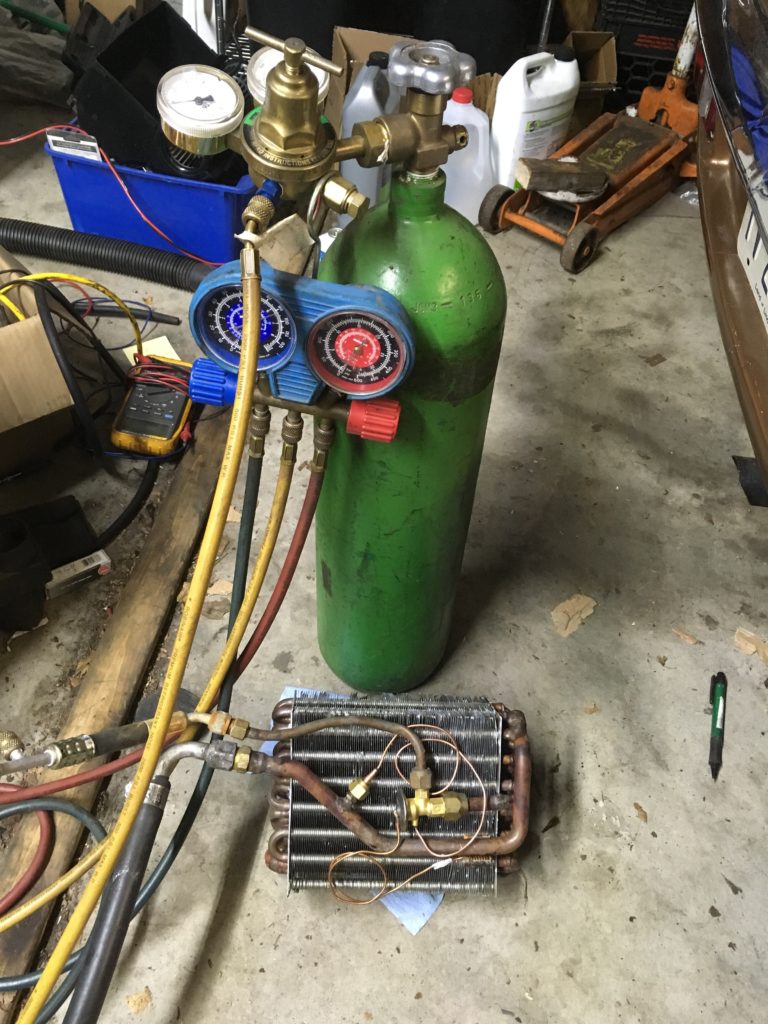
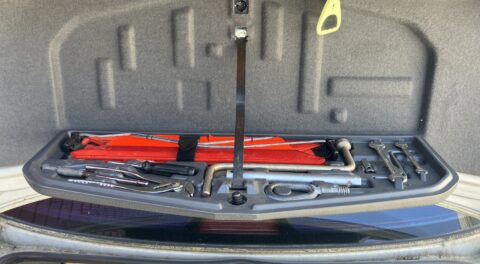
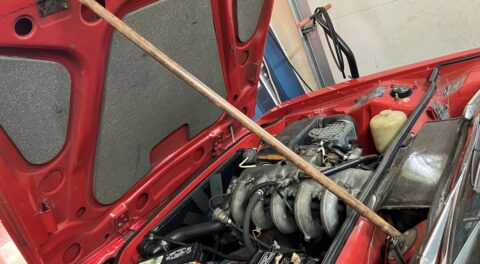
My pressure-test setup: Yes, I know that the nitrogen bottle should be chained up.
I pressurized the evaporator core to 120 psi, which is about 25% higher than the normal static pressure it had shown with the a/c switched off. I rechecked it several hours later, and found that the pressure had slipped by a few psi: damn. I tightened the fittings on the expansion valve and the plugs, retested, and the same thing happened. I left it for 24 hours, and the next day it was down to 92 psi. Double damn.
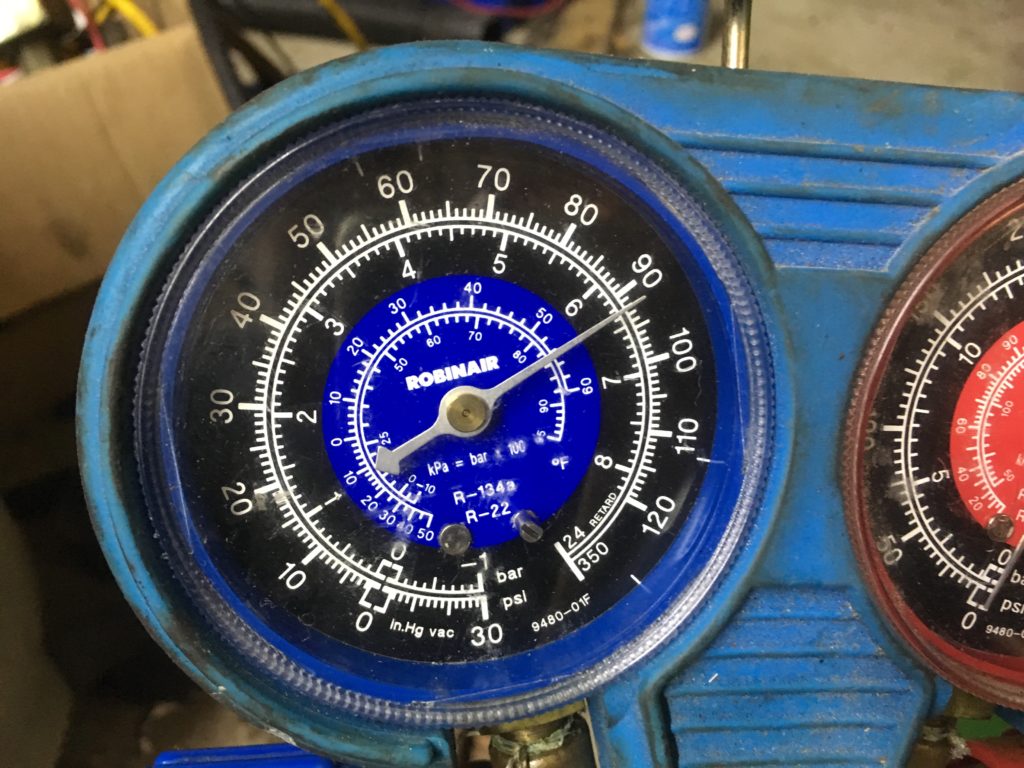
Since this read 120 psi last night, that’s bad.
So it was off into leak-detection land. The slower the psi loss, the smaller the leak, and the more difficult it is to find; I sprayed every connection with Big Blu soap solution, but saw no soap bubbles. That’s unusual, as Big Blu is not just soapy water; it’s designed to detect very small leaks and have the bubbles “cocoon” like an insect’s egg case.
I took the evaporator core, the expansion valve, and the plug hoses and submerged them in a container of water to see if air was escaping from somewhere in the middle of the core I couldn’t spray with soap, and still saw nothing.
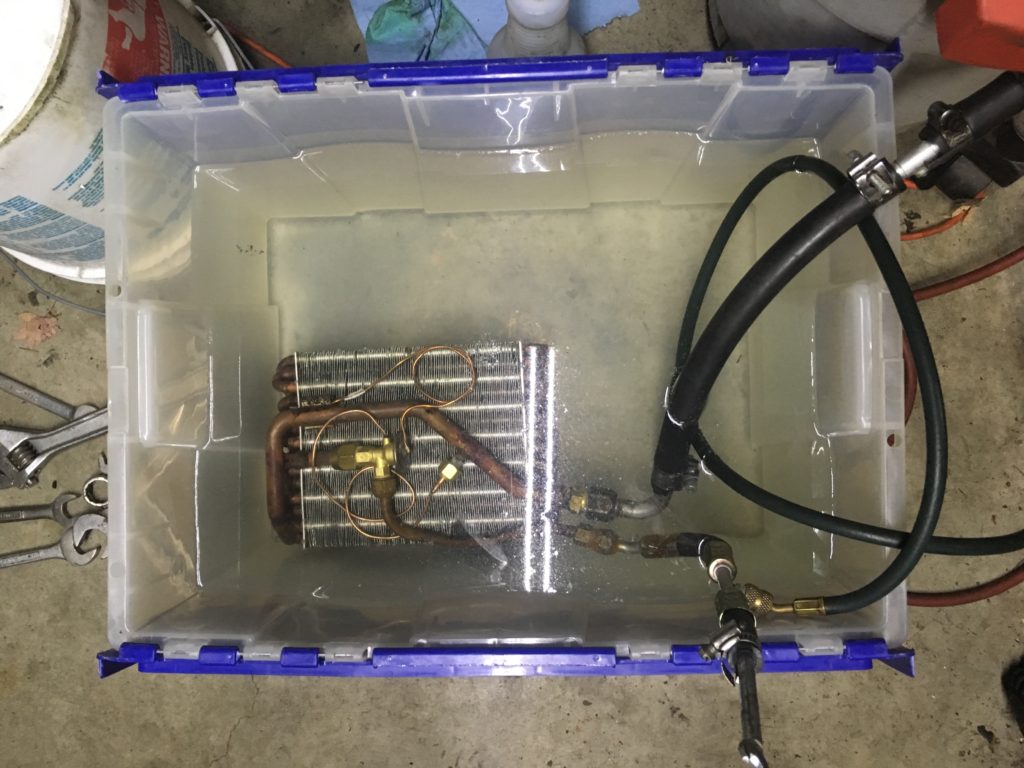
The drown-it-until-you-see-bubbles strategy didn’t work, either.
The next step was to try to use a refrigerant-leak detector—that is, to shoot in actual refrigerant and use a device that senses it. The problem is that the legality of that is questionable; if you’re going to shoot in the refrigerant R134a, you’re really supposed to have recovery equipment you can use to suck the refrigerant back out again. However, there are some so-called tracer chemicals you can use that the detectors also respond to. So I connected my vacuum pump, drew a vacuum on the evaporator assembly, and connected the manifold-gauge set to a can of keyboard duster. This contains difluorethane, which is also used as a refrigerant, and should set off the detector if it’s leaking out. The duster pressurized the evaporator to about 70 psi. Unfortunately, I ran the leak detector around every joint, and it did not go off.
I then reconnected the nitrogen bottle and pressurized the system to 120 psi, thinking that the extra pressure might help push the duster out and set off the detector. Again, the leak detector detected nothing—yet the pressure dropped by about 10 psi in a day.
At this point, everything’s still apart, and this mystery is still unresolved. Next, I’m going to try removing the expansion valve and reassembling using copper flare washers; if that doesn’t stop the leak, I may try working on the assumption that the leak isn’t coming from the core or expansion valve at all, and may be some odd artifact of the test setup with its ungainly plugs and ports. When I had this problem once on a 2002, I set the naked evaporator core and expansion valve on the transmission hump, connected everything, pressure-tested it there, and it didn’t leak, indicating that it was a testing artifact.
So much for this being a surgical-strike repair that would have the car back up and gobbling up summer in a few days.—Rob Siegel
Rob’s new book, Just Needs a Recharge: The Hack MechanicTM Guide to Vintage Air Conditioning, is available here on Amazon. His previous book Ran When Parked is available here. Or you can order personally inscribed copies of all of his books through Rob’s website: www.robsiegel.com.