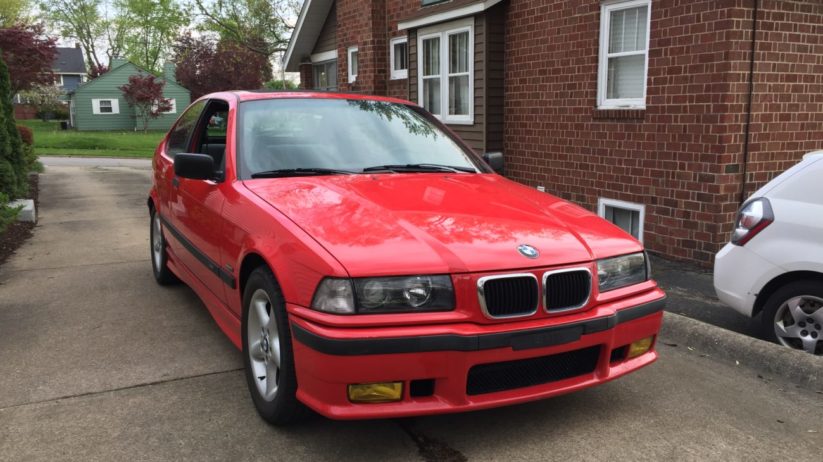
It’s pretty wild to think about how many different permutations there are of the beloved E36 3 Series. Worldwide, the car was sold in five body styles—six, if you count the funky Baur TC4 four-door cabriolet. While I have a well-earned reputation as a wagon-lover, my favorite E36 variant is actually the diminutive Compact, the 318ti.
It was for that reason that I agreed to take my boss’ new-to-him 318ti for a week to give it a general cleaning and fix a few minor issues. He recently welcomed a future CCA member to the family, and he hasn’t had much time to wrench as a result. Despite my experience with his last E36, I was more than happy to help—especially since it meant putting more than a few miles on the car while it was in my possession.
While well-loved and a bit tired, the 318ti was in pretty good shape overall when I got it, but it was filthy. He suspected that clogged California-top sunroof drains were at risk of damaging the M Sport interior, so I called my buddy Dan, who claimed to have a nifty trick for cleaning sunroof drains.
While I waited for him to arrive, the first order of business was to wash the car, to see if I could discover where the water was coming in. It quickly became apparent that the leak in question was not the result of clogged drains, but due entirely to the fact that the exterior sunroof seal had been replaced with electrical tape by the industrious but misguided previous owner. It certainly looked the part, but obviously didn’t provide the same weather resistance as an actual rubber seal. Digging through the pile of new parts provided for me in the trunk, I was disappointed to find no sunroof seal.
There were several other exciting parts, however, including glass ZKW Euro headlights, yellow fog lights, a new windshield cowl, and some replacement vacuum hoses that would (I hoped) shut off the check-engine light and allow the car to pass emissions.
First we cleaned the drains out, and I have to admit that Dan’s trick was indeed very clever: It seems that he found a plastic-coated steel wire at a home-improvement store that was rigid enough to hold its shape and be pushed easily, while flexible enough to bend where needed (when I figure out the exact specs, I’ll let you know). After we cleaned the drains out, I cleaned the old grease from the sunroof tracks and re-lubed it. We may not have solved the leaking-sunroof issue, but it now operated a whole lot more smoothly.
Next up, we decided to improve the car’s visuals by doing something about the chipped, sun-baked mirrors.
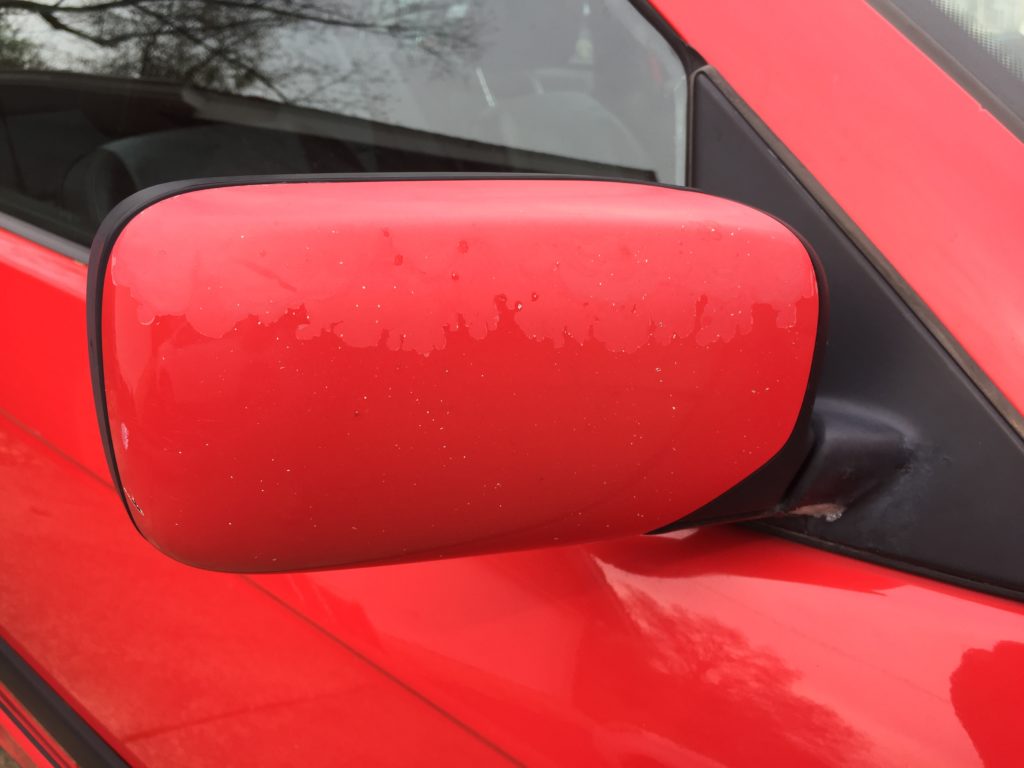
These chipped, sunbaked mirrors need attention.
Carefully, we masked off the mirror caps with painter’s tape and newspaper, using a trim tool to push the tape into gaps and follow contours. After that we taped the side of the car with more newspaper to protect from overspray. We used black Plasti-Dip, since it’s easy enough to pull off if you want to change the look later—assuming you apply enough coats.

Mask the area farther than you think necessary.
I sprayed six coats on each mirror, ten minutes apart, to achieve the desired result. When dry, it looked like satin-black trim. Plasti-Dip gets a bad reputation that’s mostly well-deserved, but as a trim-restoration tool for small jobs like this, it actually works really well, and it’s forgiving to first-time users because of its easy removal and self-leveling properties.
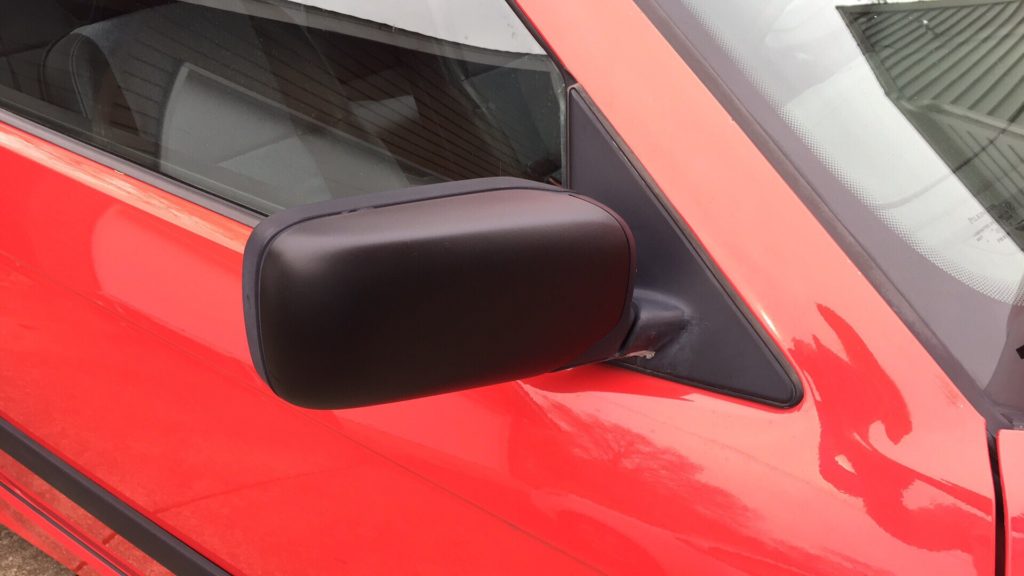
Presto—black satin-finish mirrors!
While we waited for the Plasti-Dip to dry, I started replacing the foggy stock headlights. The glass Euro lights are tough to find these days, and when these were new, one of the tabs holding in the left corner lens was broken off and missing. Once I aligned the headlights, I installed the corner lens, using a small bead of silicone adhesive up top to hold it in place. Unfortunately, I didn’t realize that the Euro headlights use different electrical connectors until after I had already installed them. I had my boss order up a pair of conversion harnesses.
Still, the headlights totally transformed the looks of the car, especially once we removed the masking tape and paper from the mirrors. The yellow fog lights completed the look, a perfect accent for the bright red paint. The car already looked better, and I was eager to see just how much life I could bring back to the weather-beaten, heavily oxidized paint.
Oxidized paint can often be brought back to life.
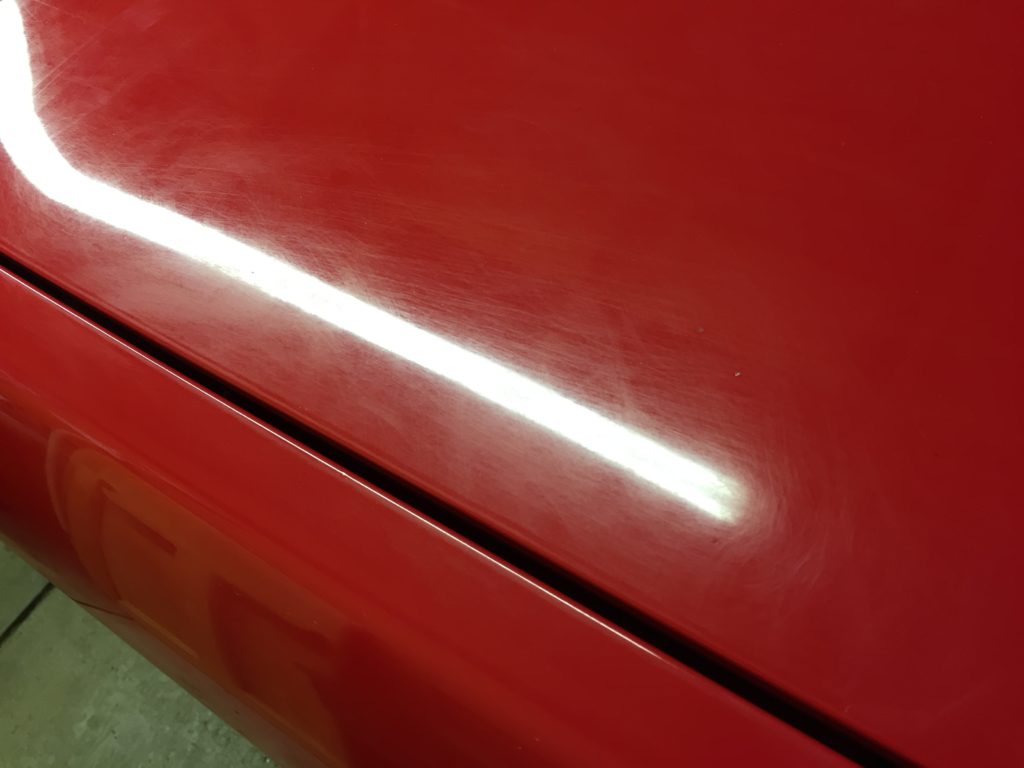
The first step was a clay-bar treatment to remove surface contaminants. It was a lengthy process, but well worth it; not only was the paint baby smooth, I also managed to pick up some light Plasti-Dip overspray I had somehow missed on the rear quarter panels. (When you mask parts to paint them, mask much further down the car than you think you’ll need to. It gets everywhere.) Next up was a polish and wax. While the paint will never look as good as new, it’s a definite improvement, and the little red 318ti looks far more presentable now.
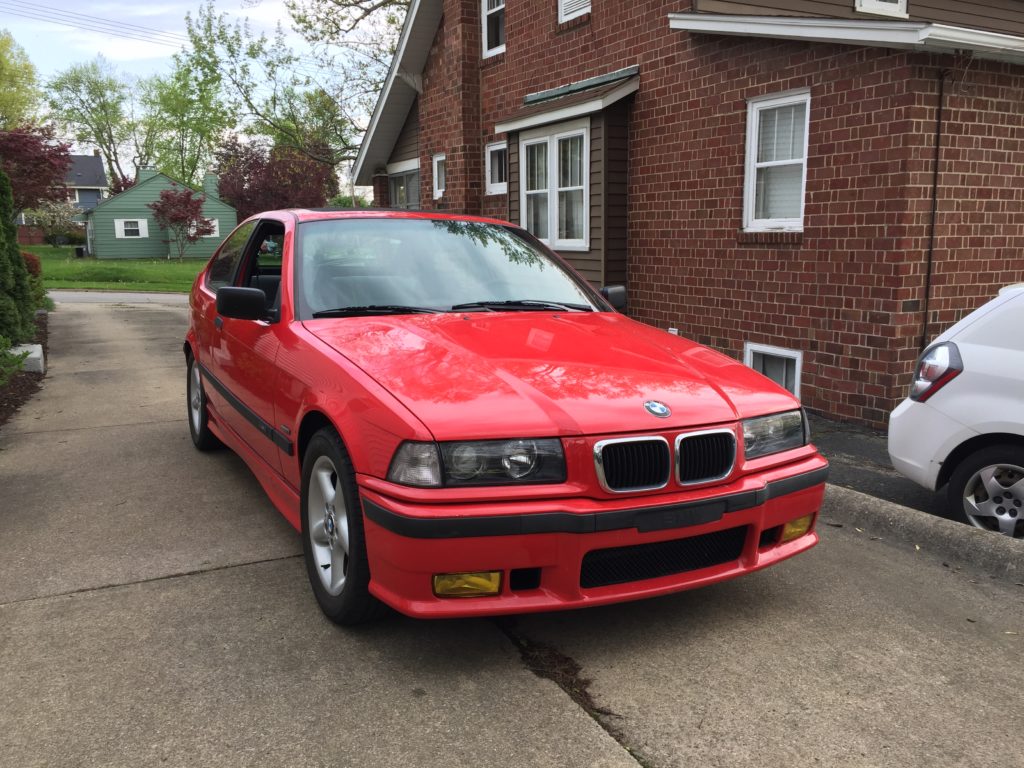
Cleaned and buffed, the 318i is quite sharp.
With that, it was time to turn my attention to the interior. The inside of the car hadn’t been cleaned in a very long time, and it showed. Still, it responded well to some carpet cleaning, and there were no stains, rips, or tears in any of the seat fabric, just a worn leather bolster on the driver’s side. I treated the seats with leather cleaner and conditioner to soften it up a bit and hopefully prevent further damage.
With the inside and outside now clean, I turned my attention to the Check Engine light. Thankfully, this issue had been correctly diagnosed, and replacement vacuum hoses were in the pile of parts. With the upper intake manifold removed, it was clear to see that the previous owner was fond of electrical tape, as it was employed here, too, as a band-aid for dry-rotted hose.
With the hoses replaced and the manifold back on, I cleared the code with my scan tool and set about replacing the windshield cowl. I’m proud to say that I didn’t lose a single clip or retainer.
This entire process took place over the course of several evenings, and by the time I was done, it was time to return the new and improved 318ti to my boss. Before I took the car, he had warned me of an intermittent cooling-system issue—which now revealed itself when the radiator exploded in traffic less than a mile from my house on my way to return the car!
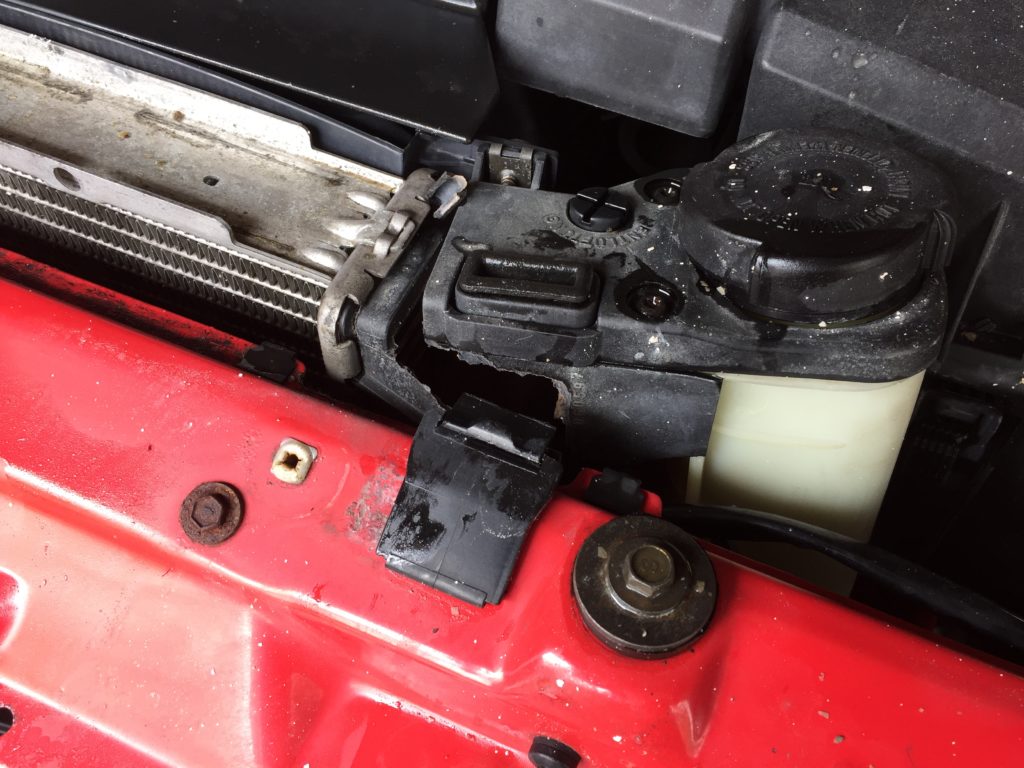
The radiator is no longer a one-piece item.
While the previous owner had indeed replaced some components in the cooling system, he had neglected to replace the radiator. I coaxed the car home, and within half an hour, I had it disassembled again, ready for a new radiator, which went in easily. It’s nice when the whole car comes apart with a 10-mm socket and a Phillips screwdriver, and the little M44 four-cylinder left me with plenty of space to work.
If it seems that I have bad luck with BMWs, you’d be right. However, just a few minutes behind the wheel of one reminds me of why I put up with it in the first place.—Cam VanDerHorst