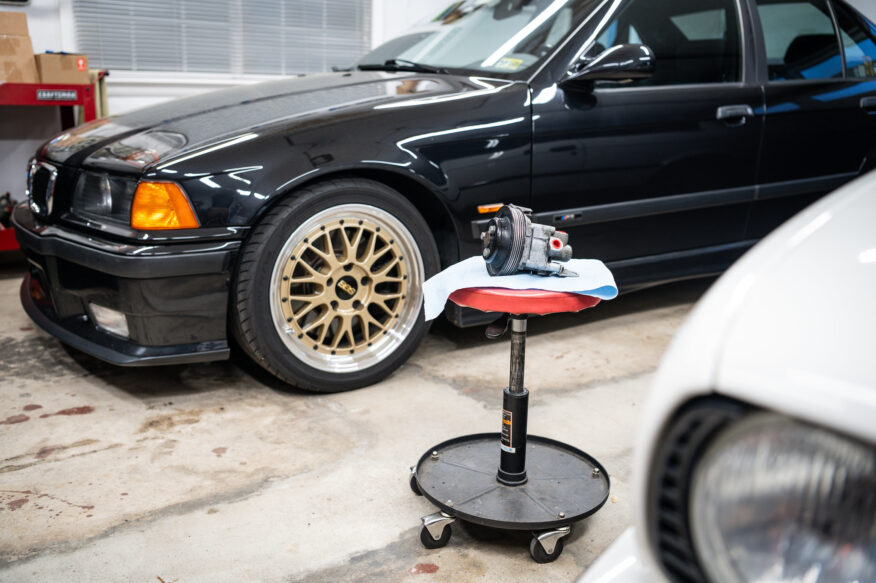
As part of preparing my 255,000-mile 1998 M3 for a 500-mile road trip to The Vintage in Asheville, North Carolina, I decided to replace the E36’s leaking power steering rack, reservoir, and hoses. I was originally planning on doing this work myself, but when I called to schedule an alignment and heard they’d only charge a couple hours of labor to install the rack, I was sold. Been there, done that, and have the power-steering-fluid-soaked t-shirt.
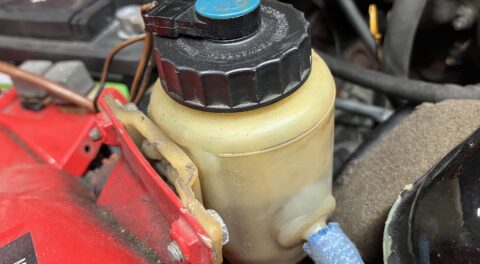
I opted for a new 2.7-turns-to-lock Z3 steering rack to replace the original 3.2-turn unit, and a hose/reservoir kit and Lemforder tie rod ends from FCP Euro. The only remaining original item in the system would be the power steering pump itself, which I planned to address at a later date. The new steering rack, hoses, reservoir, tie rods, and rack were installed, and an alignment performed. The spec sheet that shipped with the steering rack stated CHF11s fluid should be used, so the old ATF was flushed out of the power steering pump, making way for the new stuff.
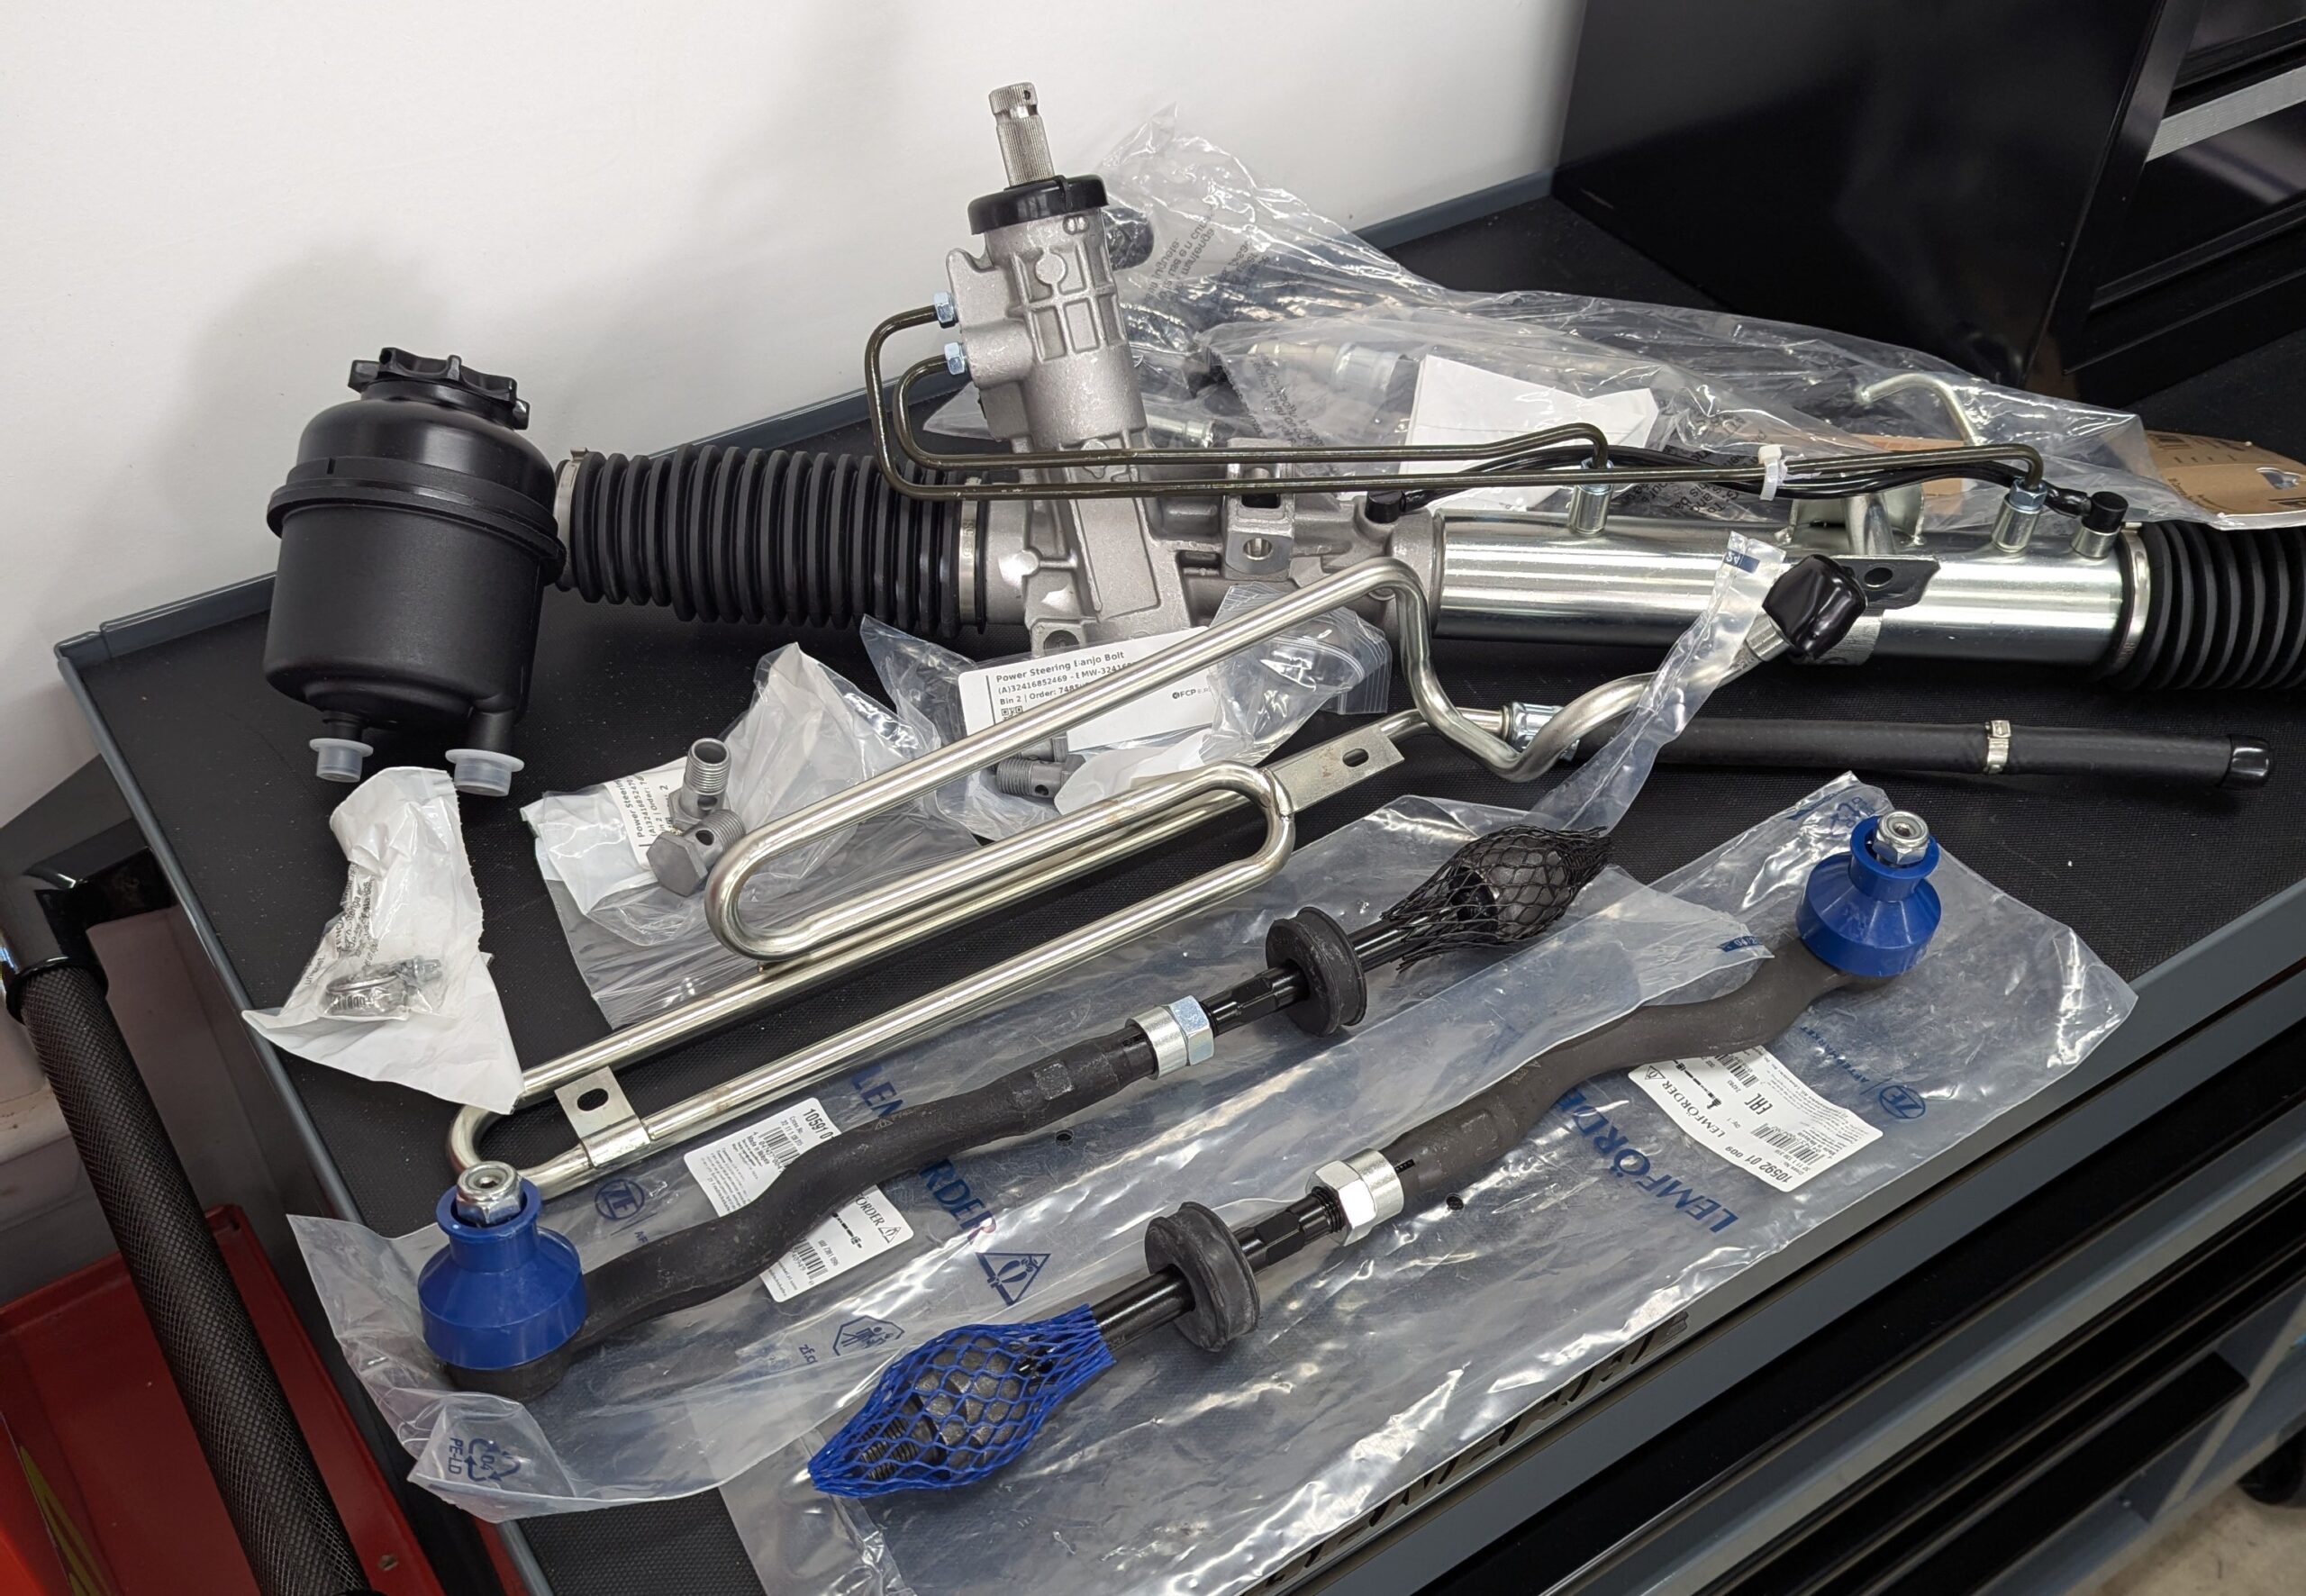
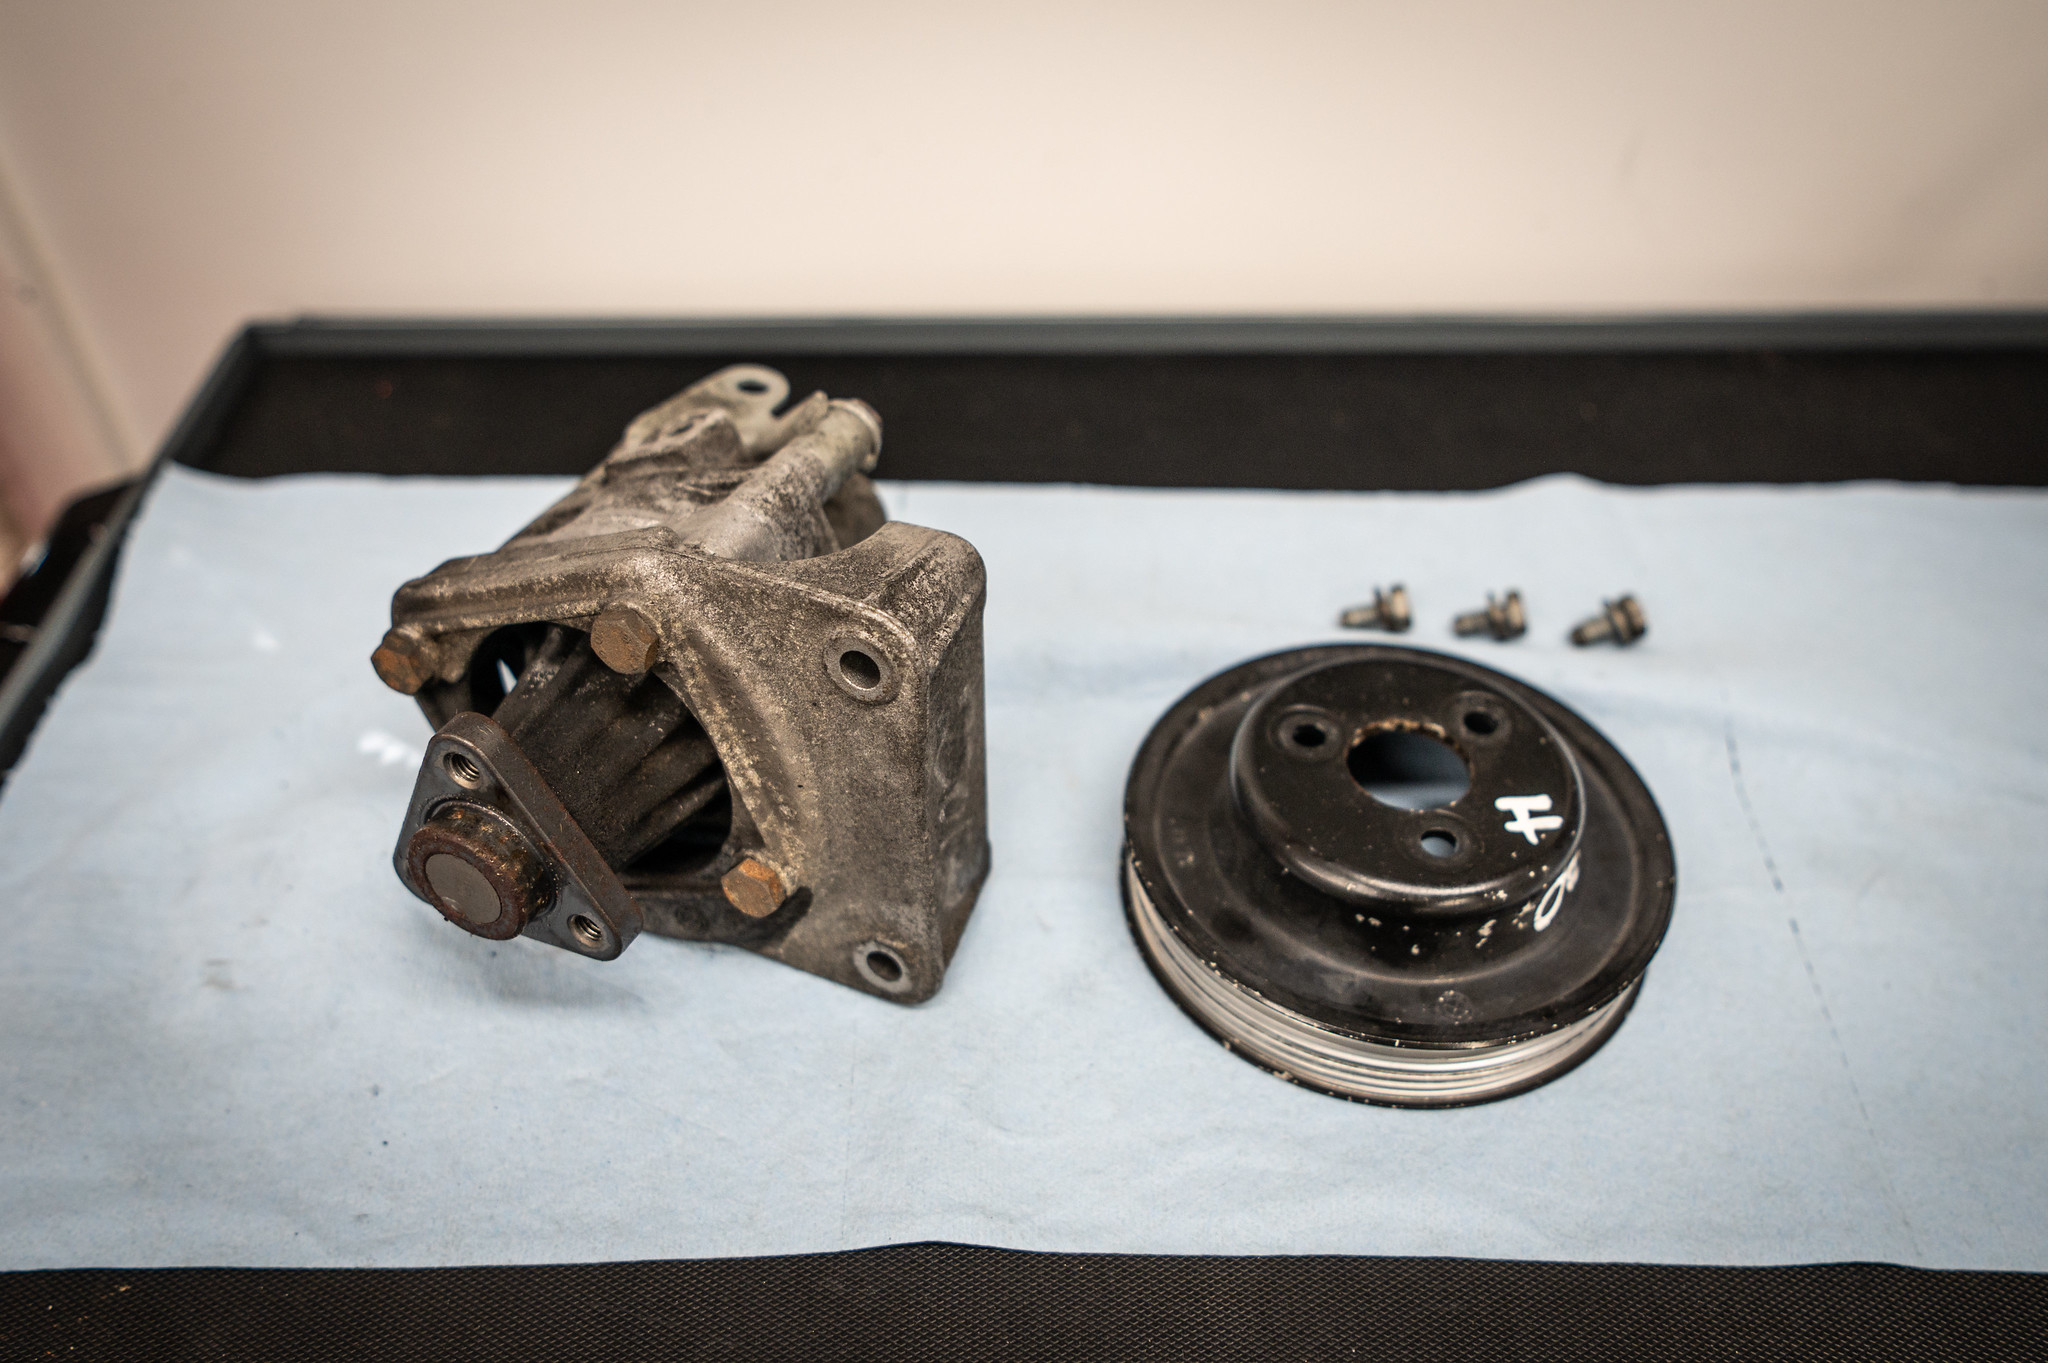
All the steering parts, minus the pump.
Why not replace the pump at the same time as the other components? As it turns out, original ZF power steering pumps specific to the E36 M3 (and S52-powered Z3 M Roadsters and Coupes) are NLA—No Longer Available. Only poorly-reviewed aftermarket alternatives or questionable-quality rebuilt pumps can be purchased. Assuming no internal pump damage—which you’ll only discover after splitting your pump apart—the best option is using BMW’s power steering pump rebuild kit to refresh the original ZF pump.
I was a little—OK, a lot—hesitant to split apart the original ZF pump on my car, fearing I’d run into an issue and not be able to source a spare pump in time to take my E36 M3 to The Vintage. Ebay had a handful of original ZF pumps available, but they were either high-mileage units or priced over $400 (or both), so I extended my search. Car-part.com, a site that allows you to search auto part recyclers across North America, also had a handful, and a low-mileage 2000 Z3 M Coupe adorned with numerous DINAN goodies caught my eye. I reached out to the parts supplier and asked if they’d ship the $150 pump. They sent over some photos and for an additional $20 it arrived on my doorstep a week later.
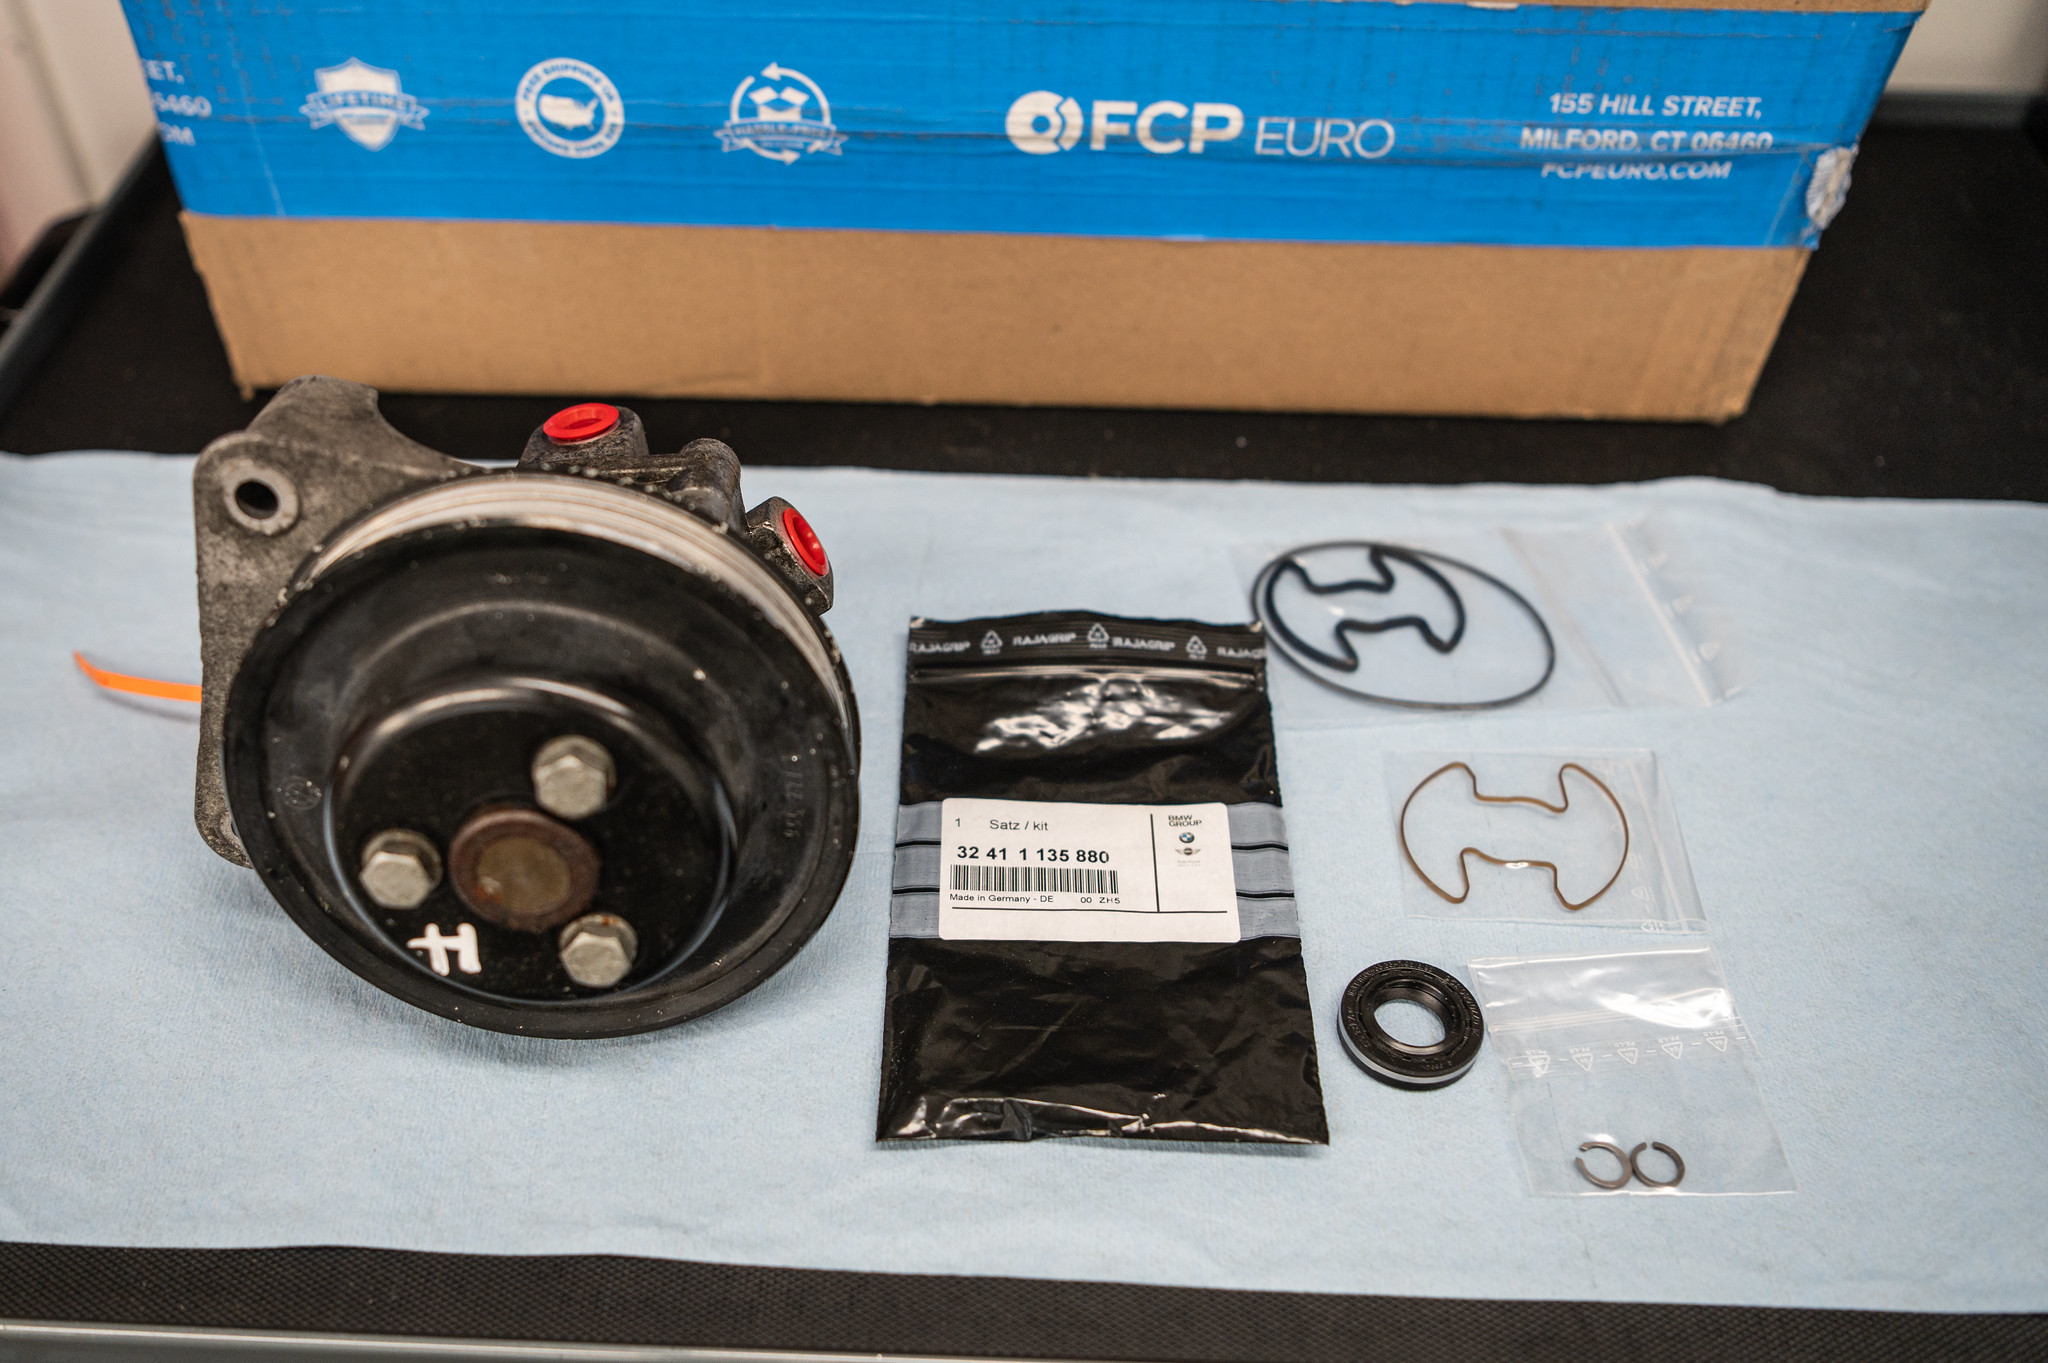
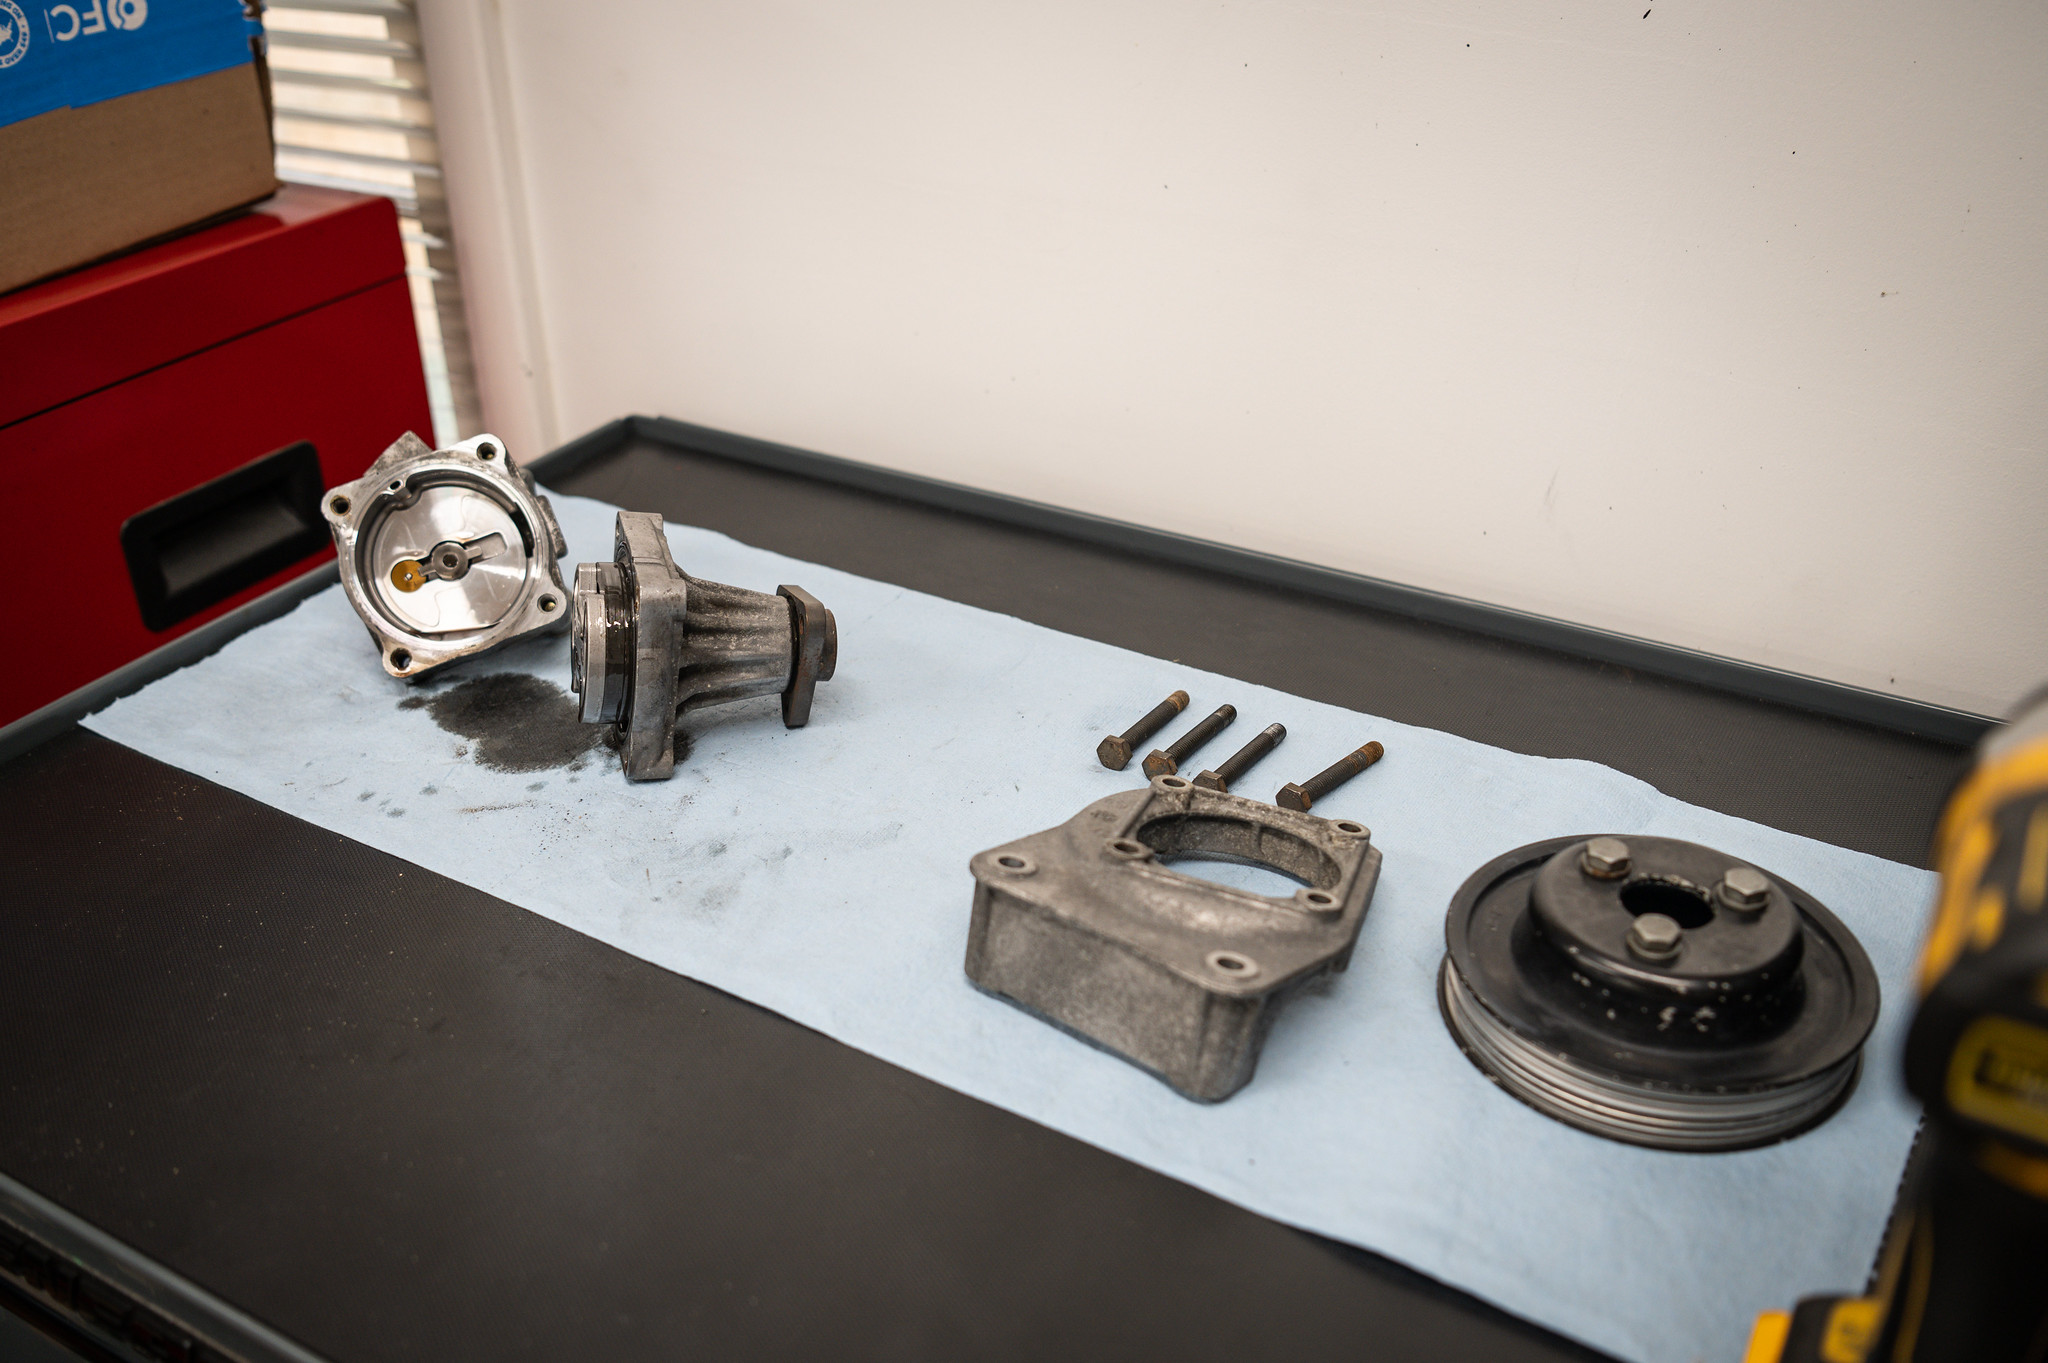
A used ZF power steering pump and BMW’s rebuild kit contents.
Armed with the rebuild kit from FCP Euro, I was ready to rebuild the low-mileage new-to-me power steering pump. It’s not a complicated repair, but it can take the better part of an afternoon if it’s your first time, like it was mine. As a hobbyist, these steps are in no way official, so please do your own research before tackling this project. You can see a YouTube “short” of the following steps here:
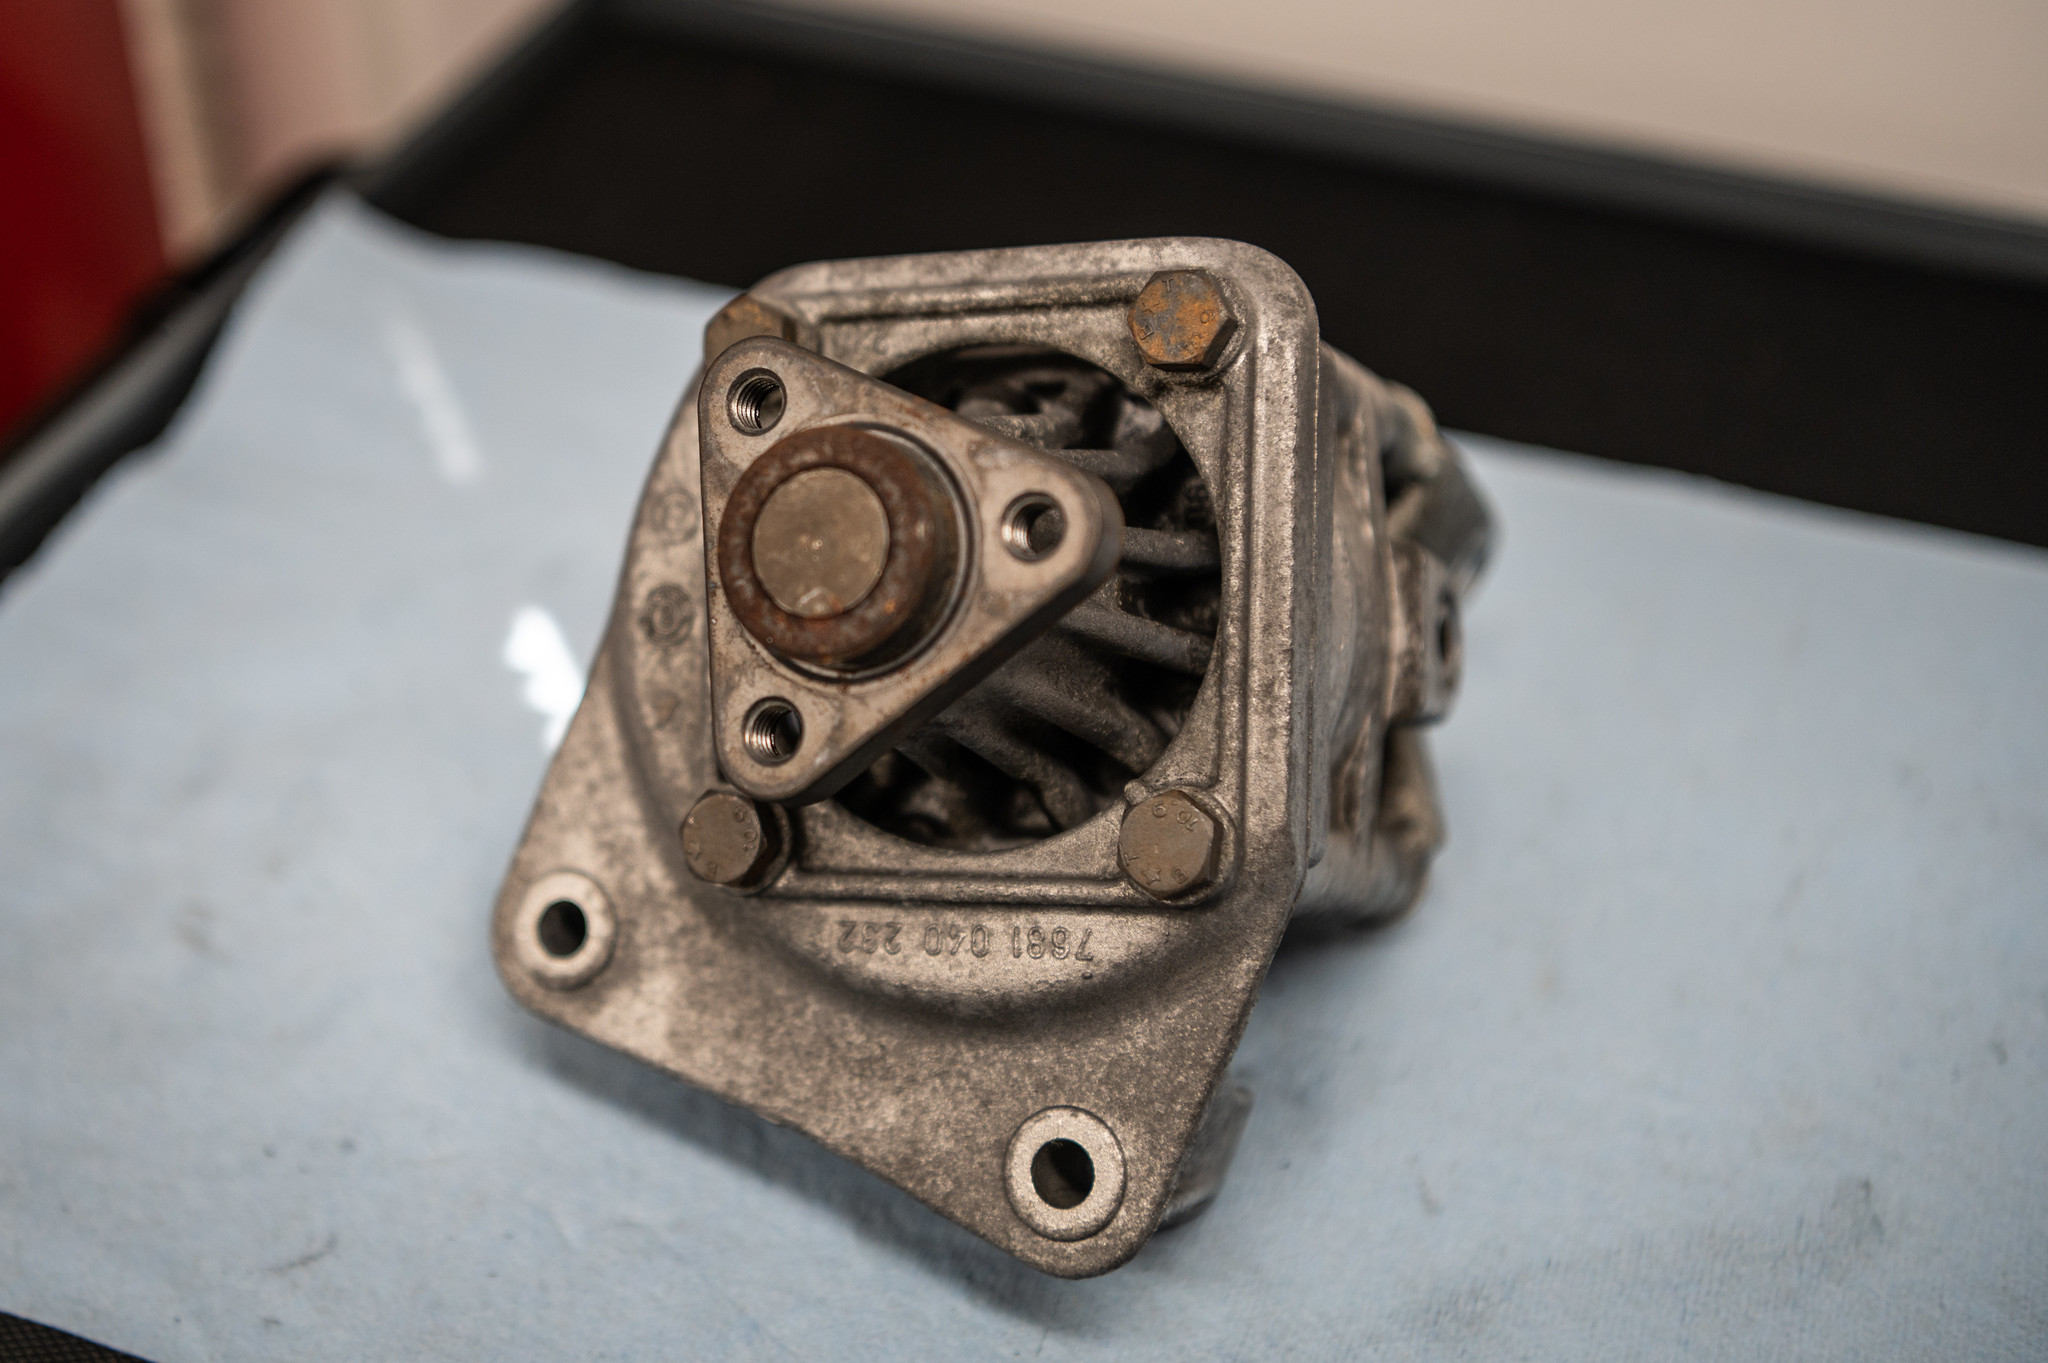
To kick things off, remove the three 13mm bolts holding the pulley to the shaft. This gives access to the four 13mm bolts on the snout, and allows for some light cleaning of the pump’s exterior. I used brake cleaner and brush to knock off the loose grime.
Pulley removed.
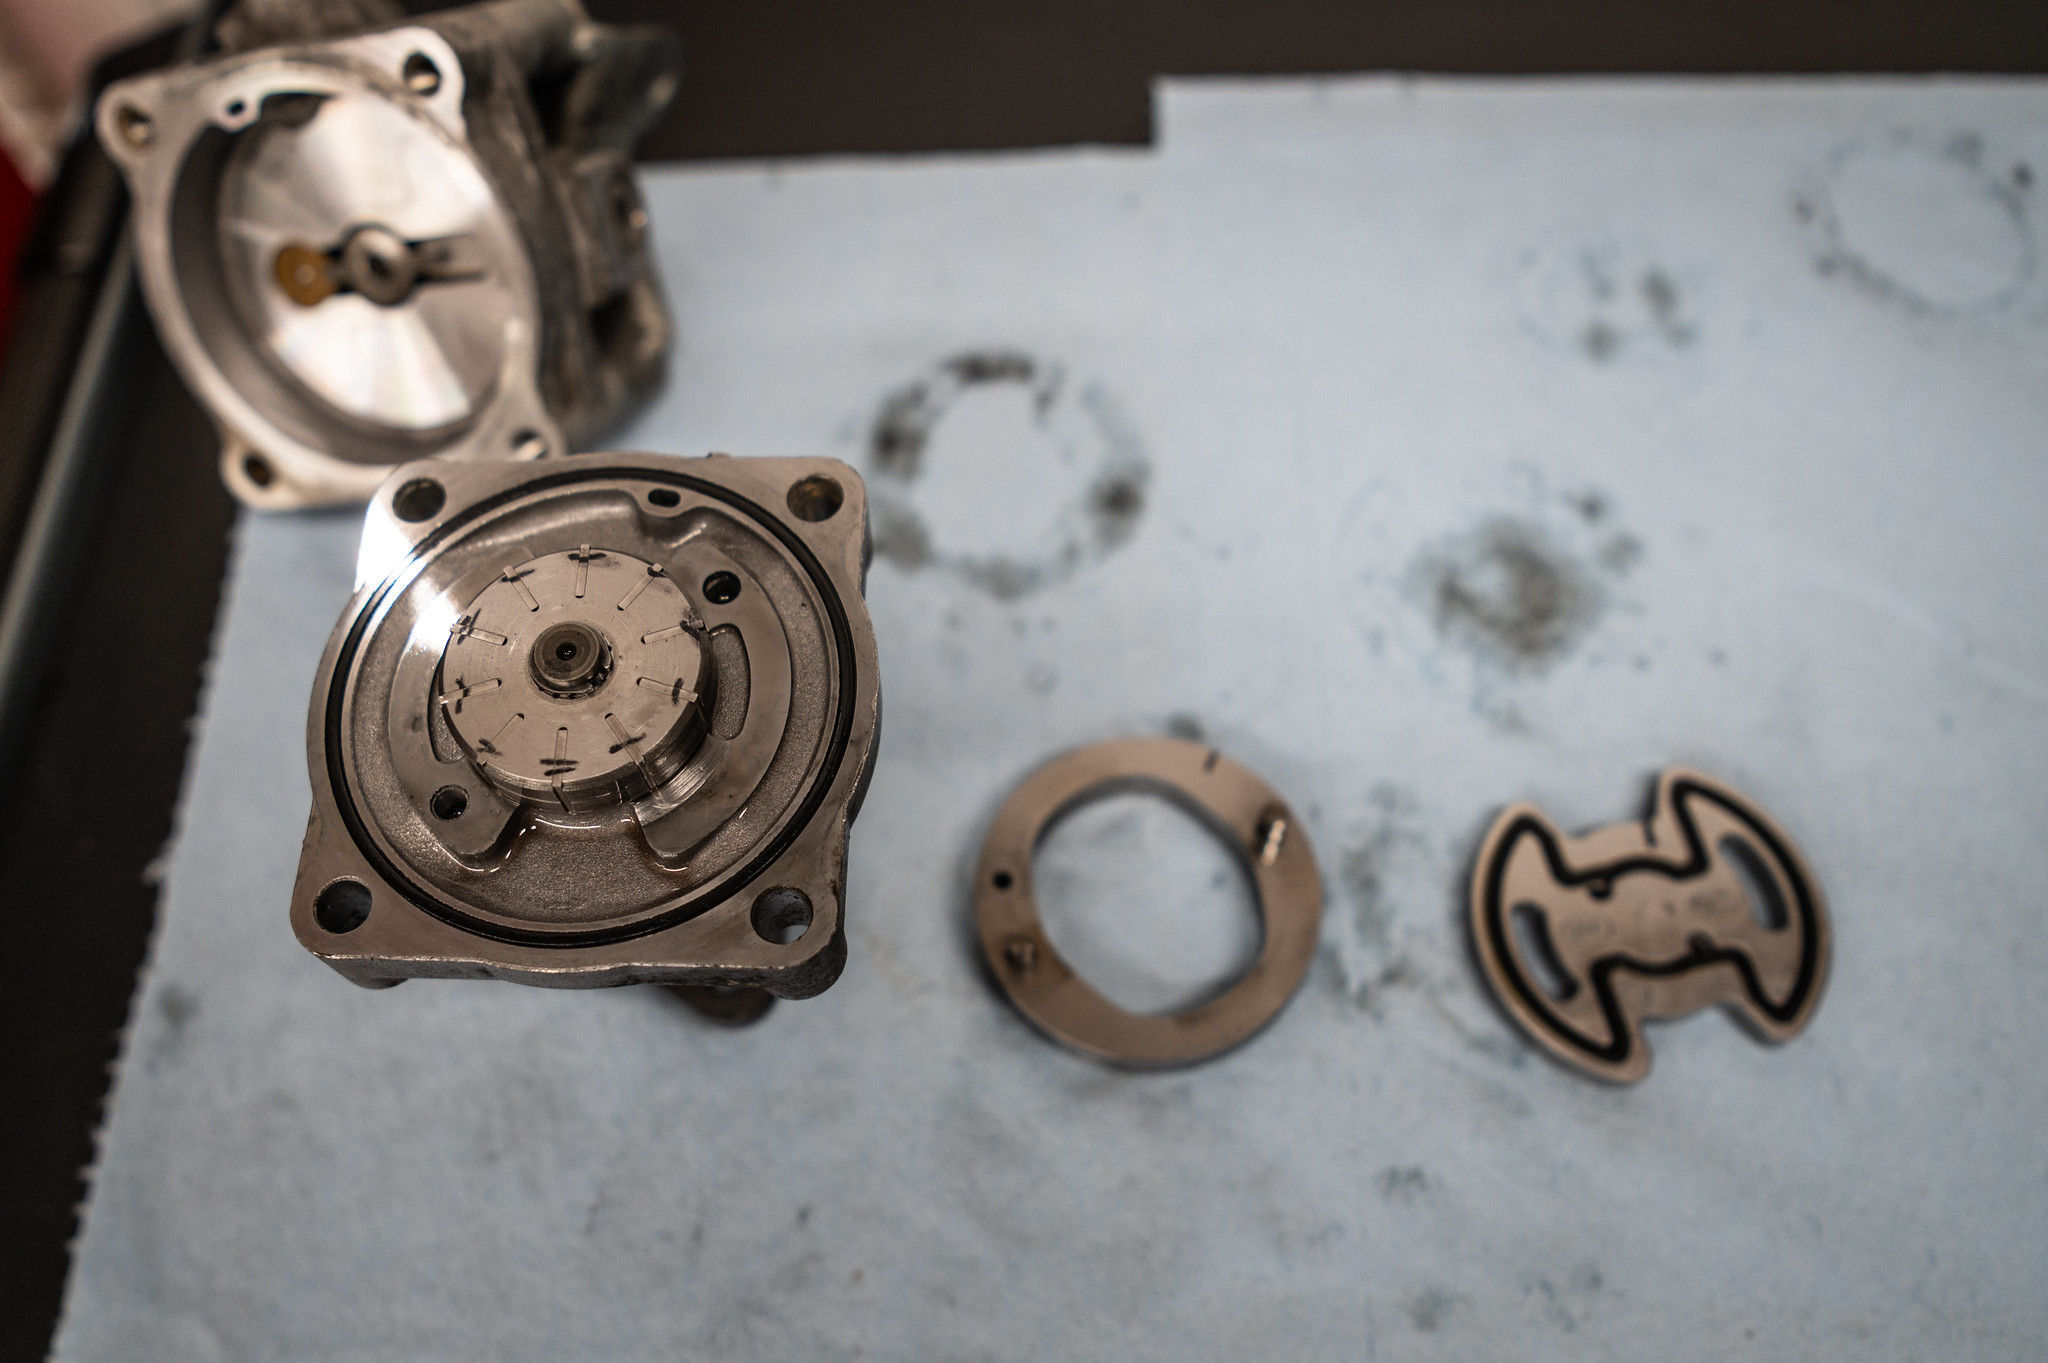
Next, mark the orientation of the bracket, snout, and base so that they’ll go back together the same way. I used a sharpie to draw a line across all three parts. Then, remove the four 13mm bolts holding the bracket, snout, and base together. Split the case apart.
Only four 13mm bolts hold the bracket and case together.
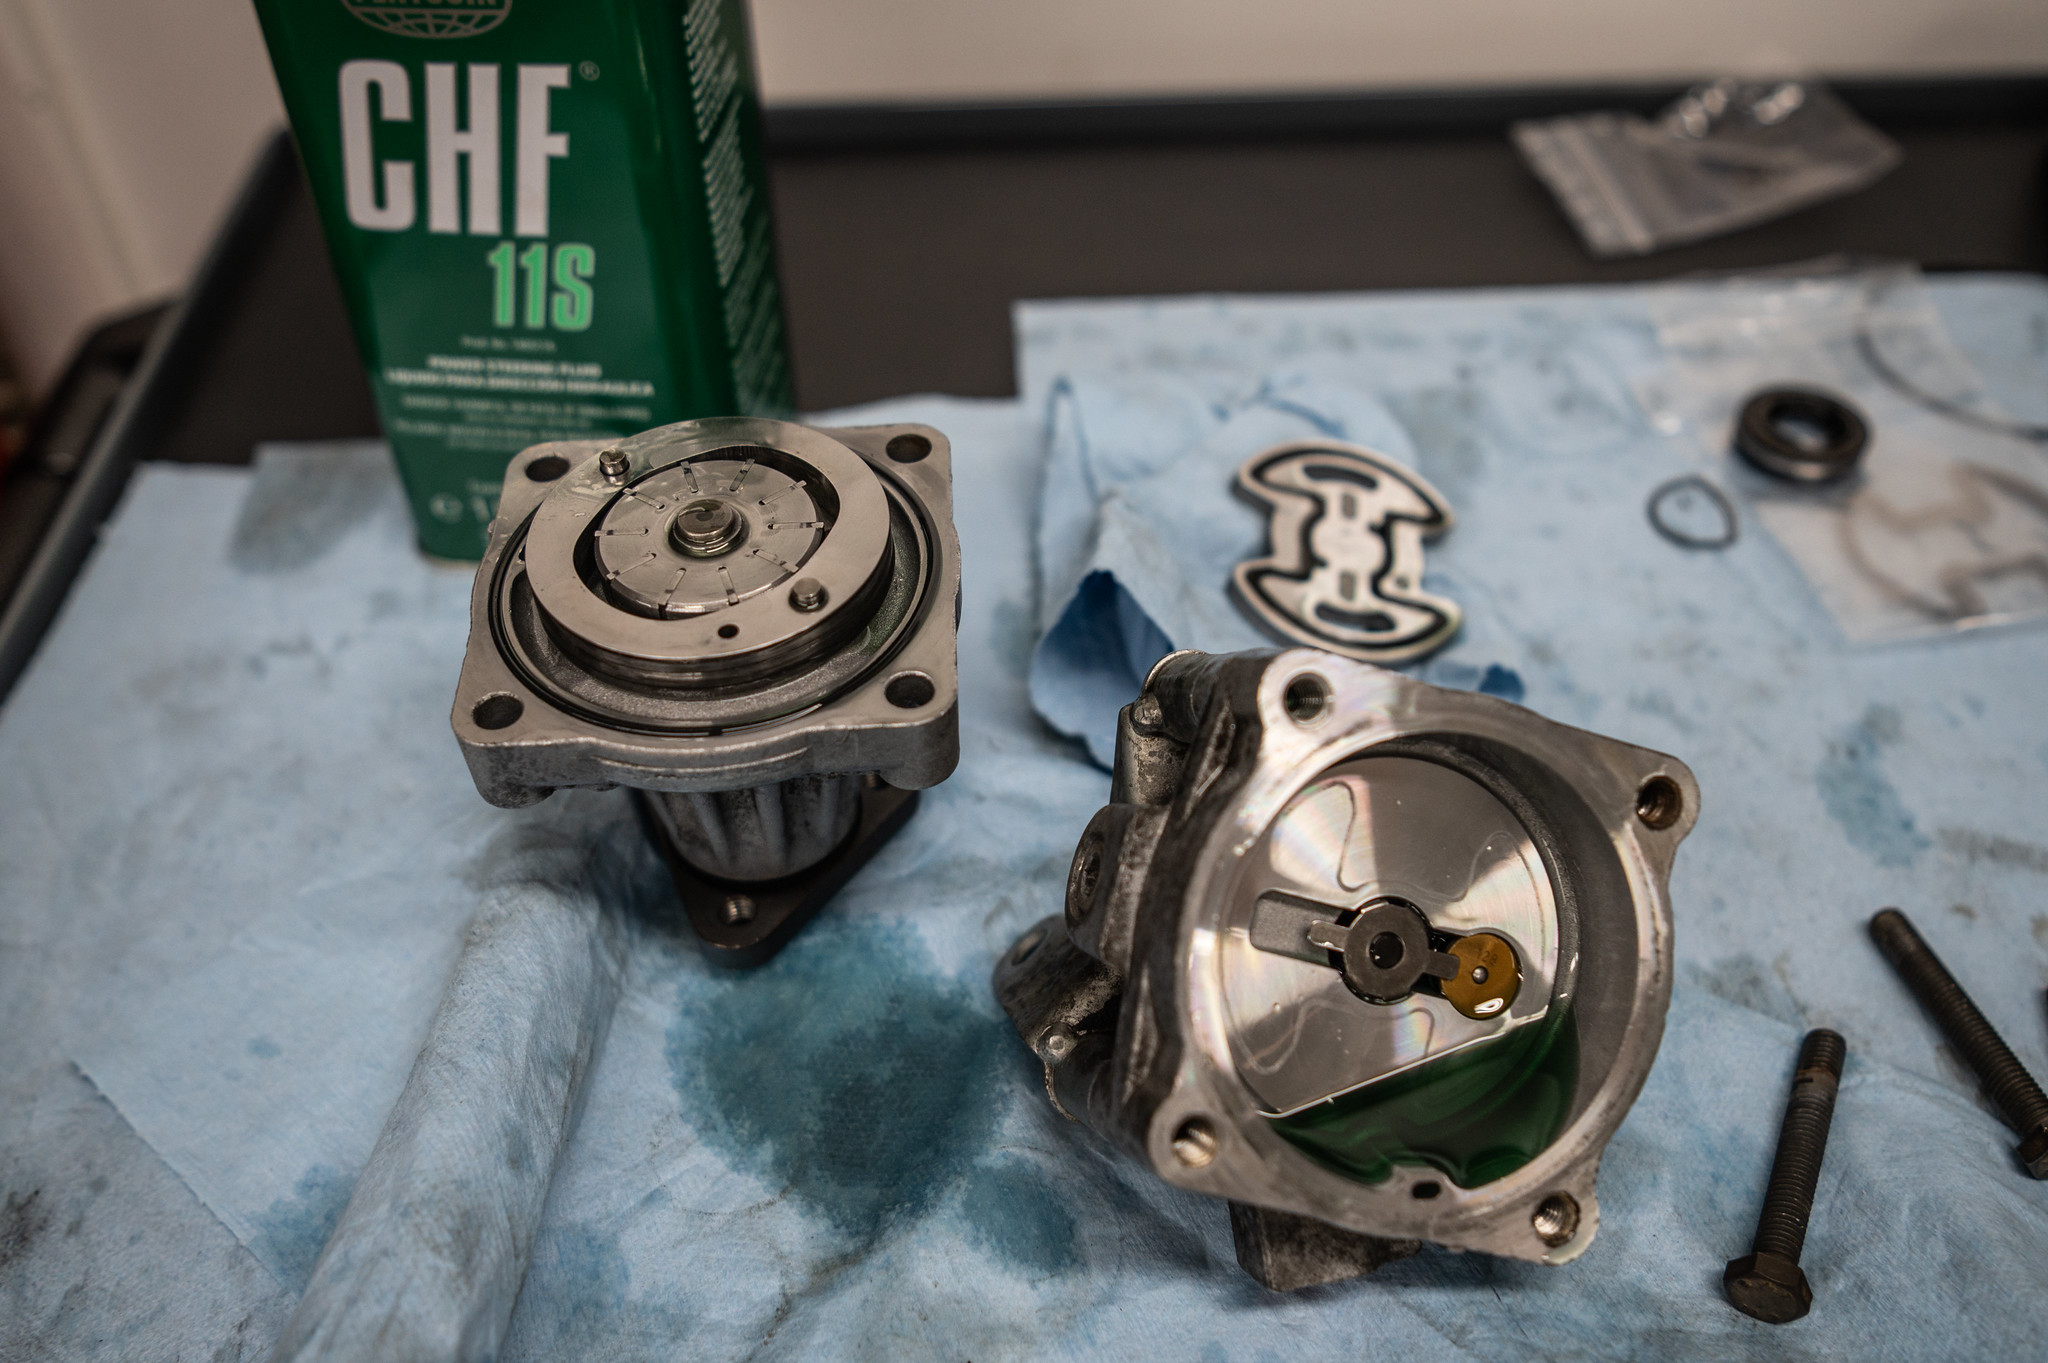
As it has been called on online forums, you’ll see the “tie fighter” in the snout. Using a plastic pry tool, pry this off and remove the two seals. The large o-ring seal can be removed from the base.
-
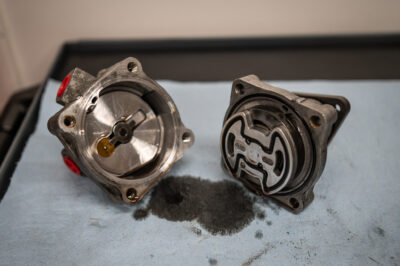
- Case split for the first time in 25 years.

-
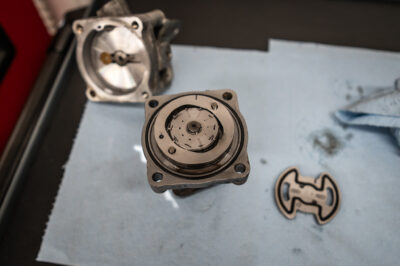
- Tie fighter removed.

The oval retainer surrounding the rotor and its small vanes can also be pried up with a plastic pry tool. Note its orientation so it can go back in the same way. The vanes will likely start falling out, so it may be helpful to clean the surface of the rotor and mark the orientation of the vanes with a sharpie (smooth/curved sides outward, sharp/squared sides inward).
I marked the orientation of the rotor vanes with a sharpie, so I wouldn’t put them back in incorrectly.
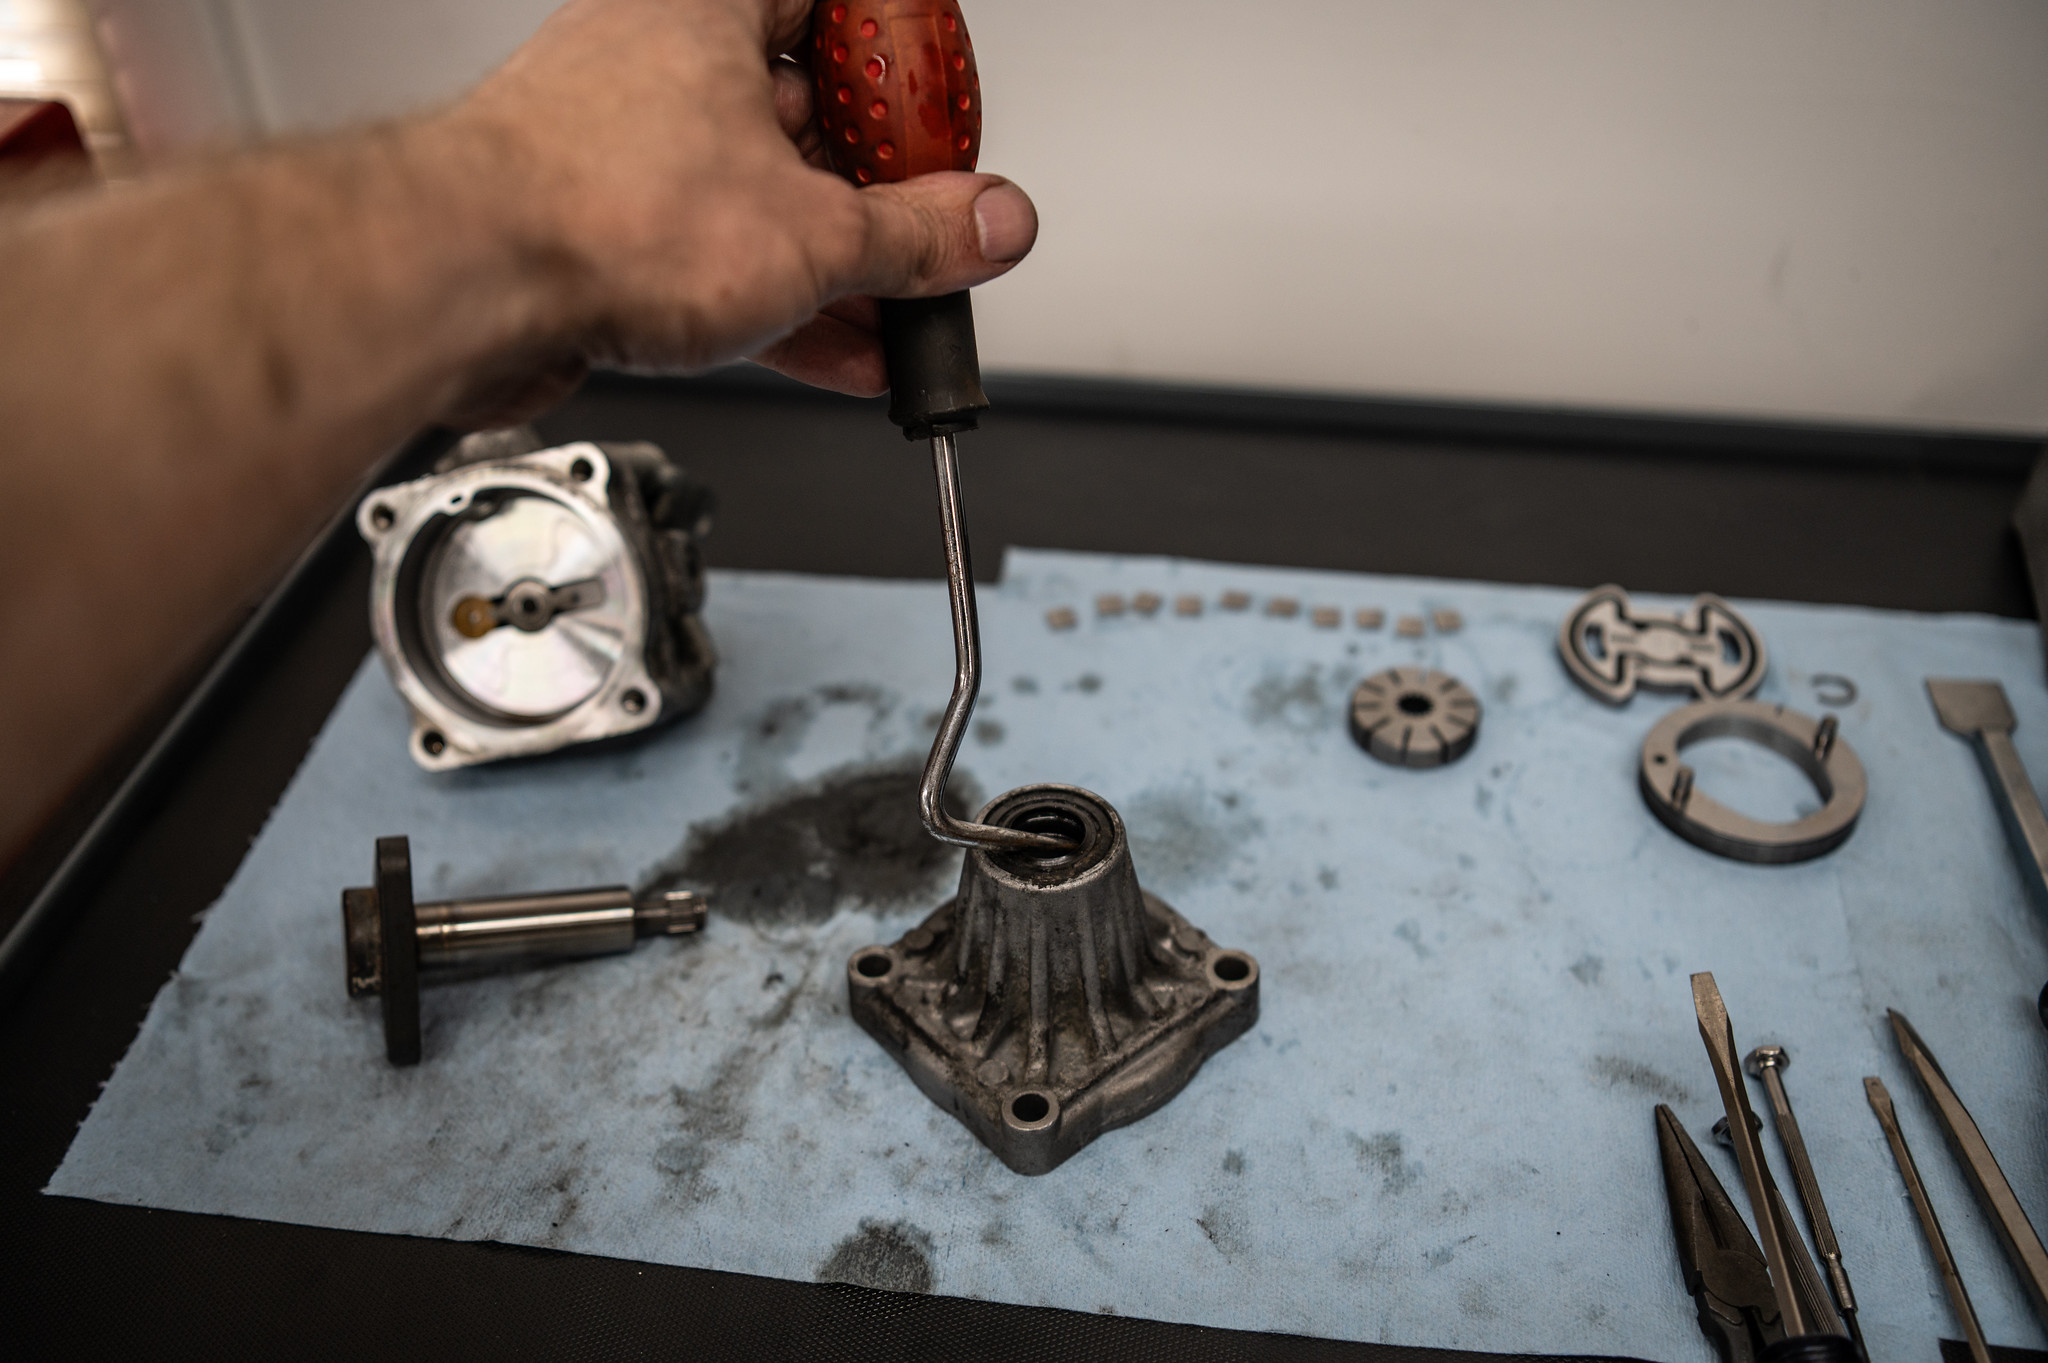
Now, the hard part—removing the snap/retaining ring that holds the rotor to the shaft. I used a series of small screwdrivers and a pair of vise grips to press/pry it out, being careful to not knick any pump components. Some have suggested doing this in a plastic bag as the snap ring will go flying and it will also ensure the rotor/vanes don’t drop to the floor.
Removing the snap ring is the hardest part.
With the shaft dropped out of the snout, the old seal can be pried out with a pick or pry bar, again being very careful to not knick or mar any metal surfaces.
Pry out the old snout seal.
A new seal can be hammered gently into the snout, using an appropriately sized socket to apply even pressure until it’s fully seated. I used a 21mm socket.
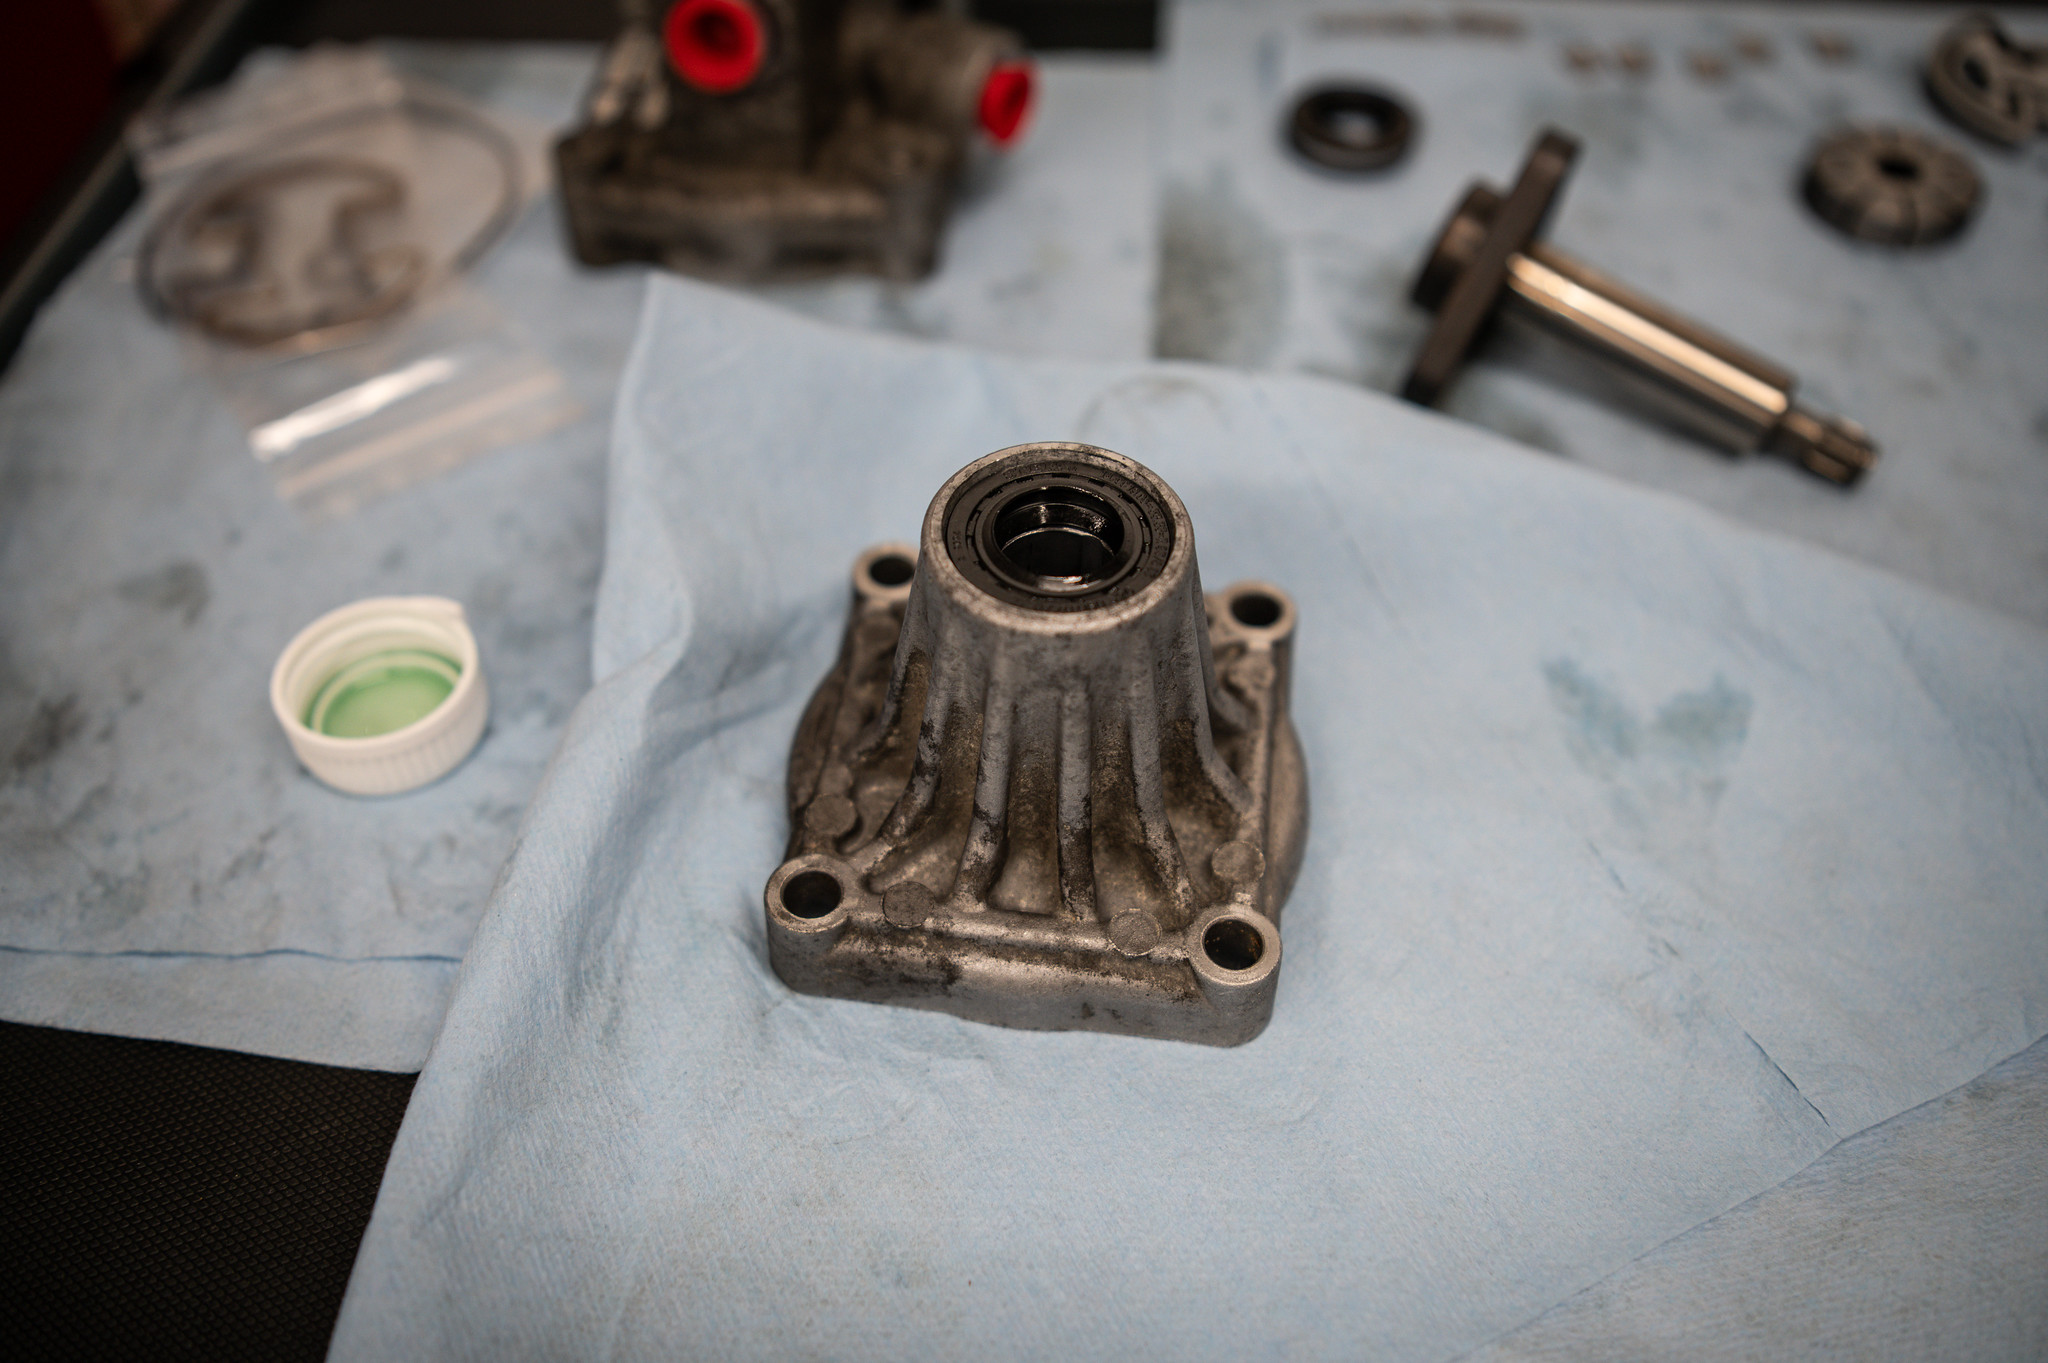
Tap in a new snout seal.
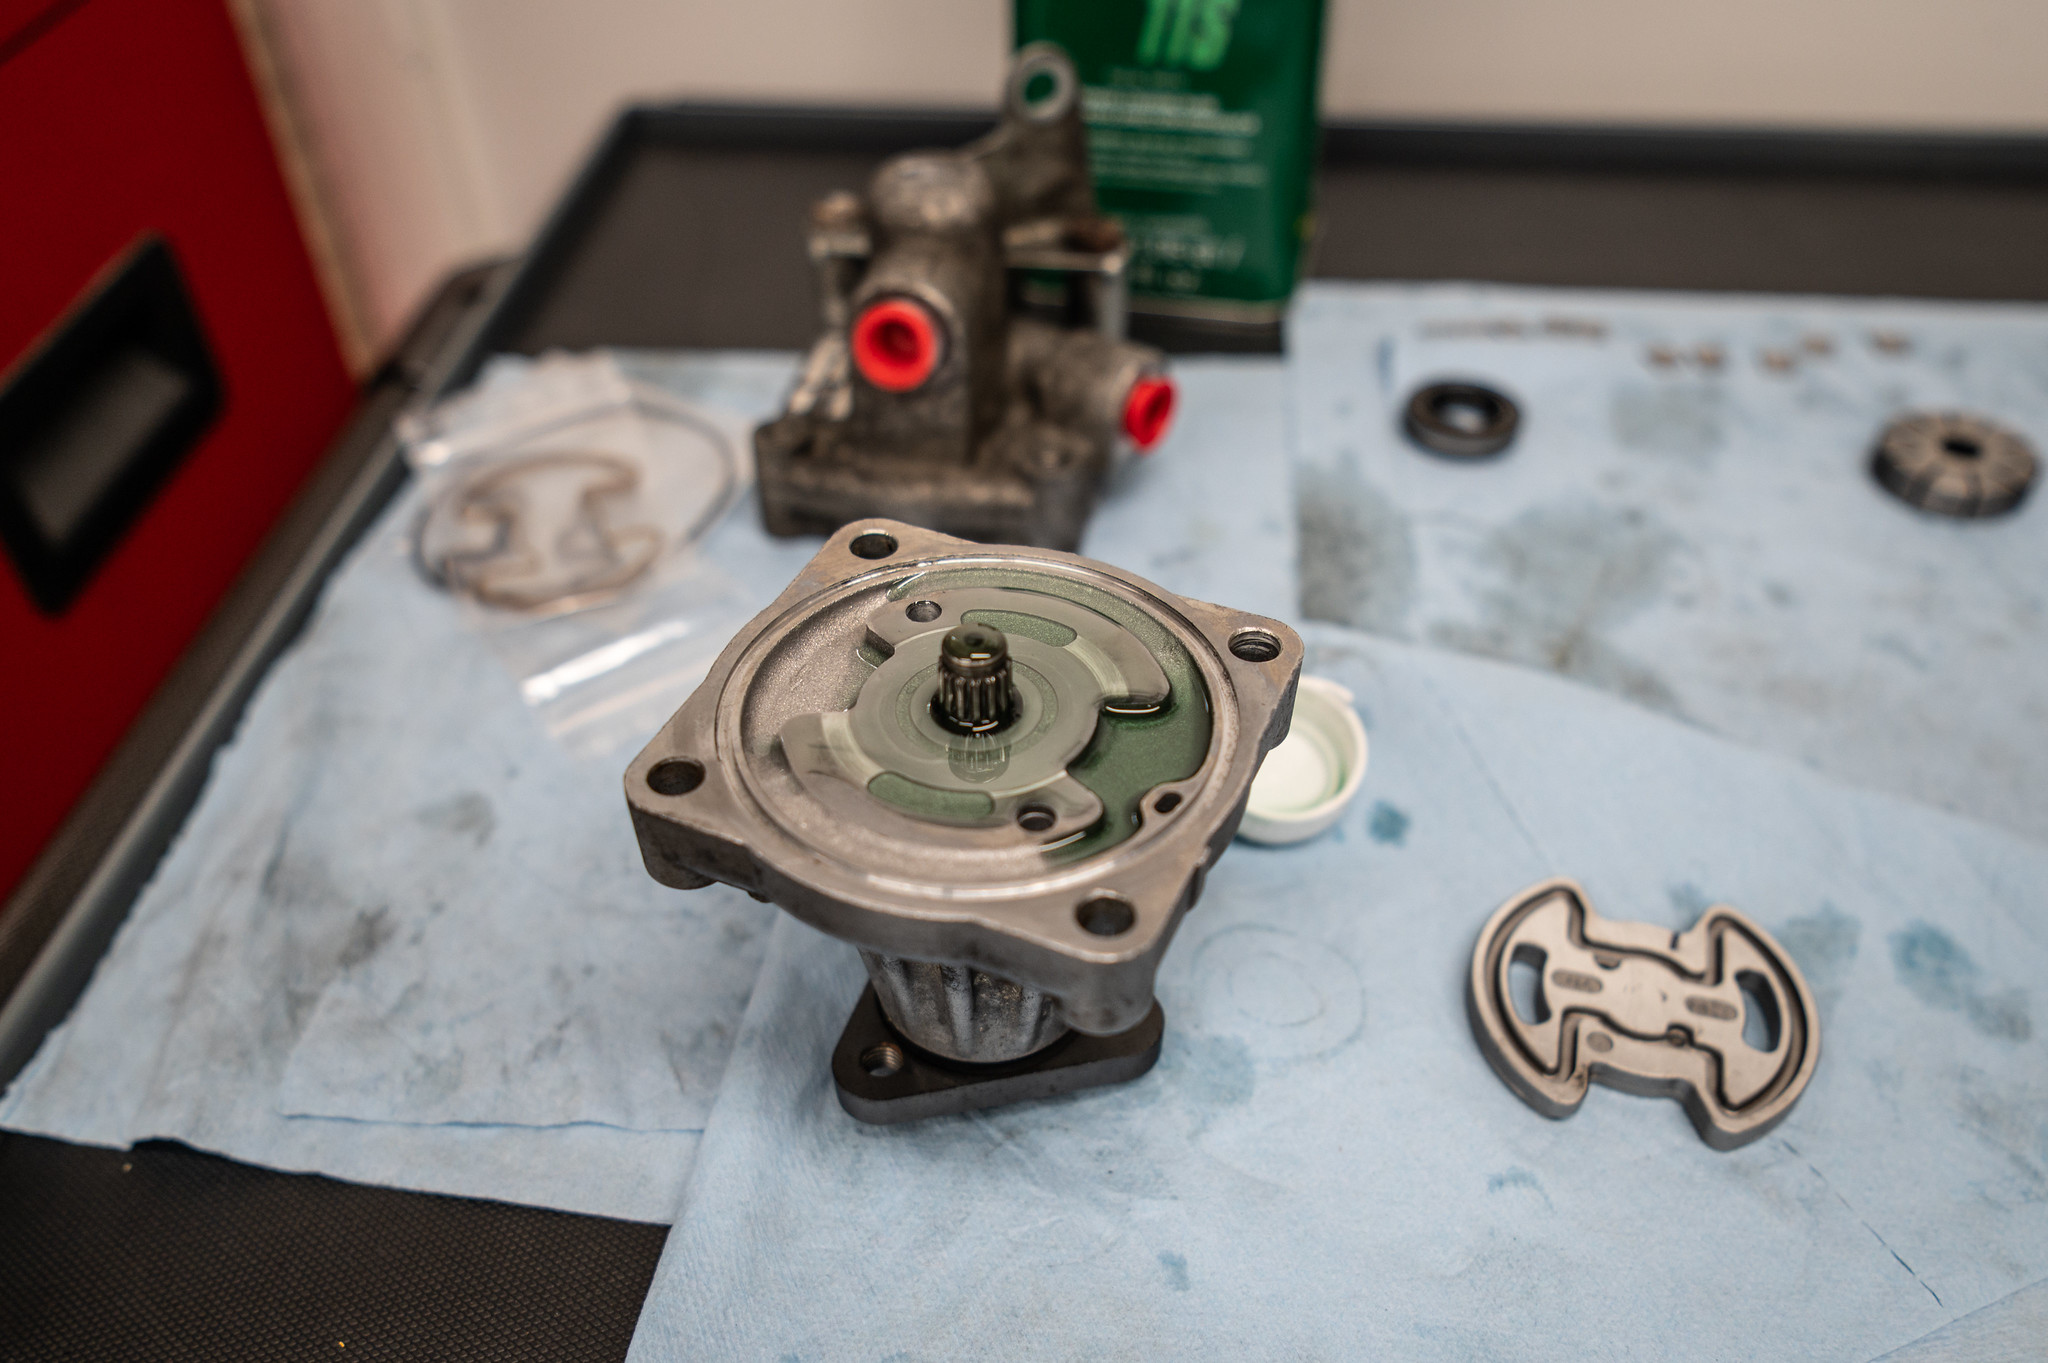
During reassembly, lightly coat the parts with the fluid you’ll be using in the power steering system. The shaft can go back through the snout and rotor, pressing in a new snap ring from the rebuild kit. The vanes can go back into the rotor, ensuring the correct orientation.

Shaft, rotor, and new snap ring installed, with all parts lightly coated in power steering fluid.
The oval piece that surrounds the rotor goes in next, ensuring proper orientation.
Parts are just falling into place now.
The tie fighter is next, with the thinner tie-fighter seal surrounding the thicker one. Note the flat side of the thicker seal points downward. Don’t forget the large rubber o-ring!

Now, mate the snout, base, and bracket using the four original bolts, lining up your sharpie marks. I couldn’t find the proper torque spec for the four 13mm bolts, so after lightly tightening the bolts with an impact driver, I torqued them to 20 foot-pounds in a criss-cross pattern.
Case and bracket back together again.
Reattach the pulley using the three original bolts.
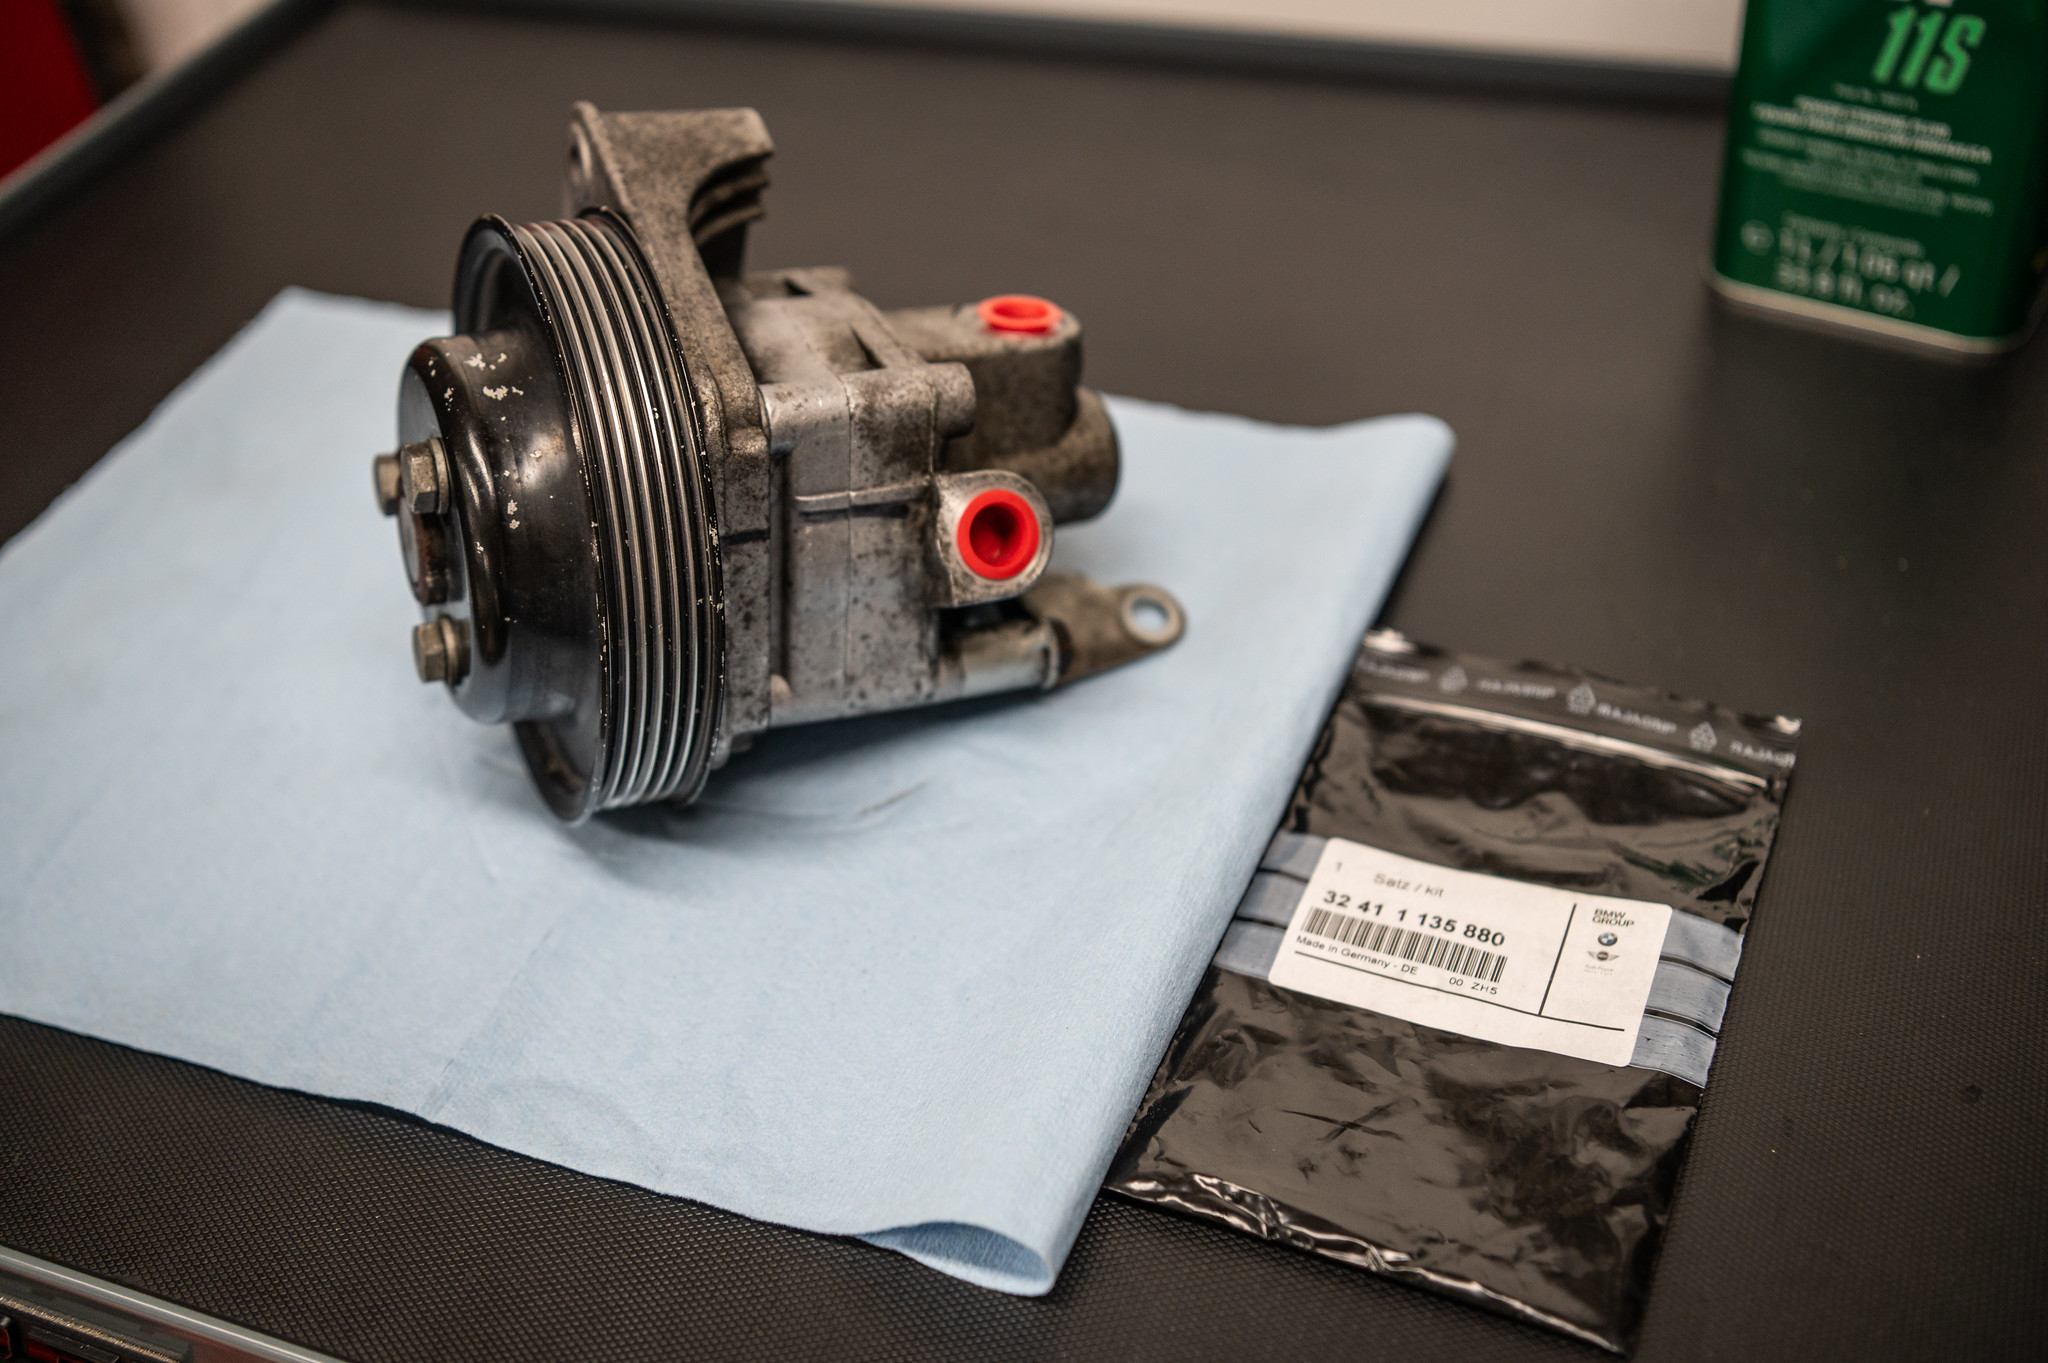
A rebuilt/resealed E36 M3 power steering pump.
And that’s it! Mission accomplished. Now the rebuilt pump just needs to be installed in the car for miles of trouble-free goodness. During installation, after the power steering lines have been connected and the reservoir refilled, make sure to “prime” the pump by rotating the pulley before starting the car. Rotate the pulley, check the fluid levels in the reservoir, turn the steering wheel from lock to lock a number of times, and check the fluid levels again. Once you’re sure that the pump is full of fluid, put the drive belt back on the power steering pump and start the car.
Given that I performed this pump rebuild only a week before my road trip to The Vintage, I have yet to take the final steps of installing it in my M3. Given my luck with automotive repairs, I don’t want to introduce unnecessary risk with such a short timeline to resolve any new issues. But, on second thought, maybe I’ll bring the rebuilt unit on the trip, along with fresh fluid and my roadside-repair toolset—you know, just in case. It wouldn’t be the first power steering pump replaced in the parking lot of Asheville’s Clarion Inn on a Vintage weekend, and it certainly wouldn’t be the last.
— Mike Bevels
Tags: E36 rebuild pump