Last week I wrote about un-seizing the bushing in the FrankenThirty’s passenger-side window motor so I could maximize the flow of this glorious New England fall air into the car. The next task was dealing with the other air-and-rain-related thing that wouldn’t slide—the sunroof.
When I bought the car, the left rear corner of the sunroof was sagging down. In addition, there was no seal on the sunroof whatsoever. I tried closing it with its electric motor, but unlike the door, I could hear the motor run but it didn’t move. It was clear from the water stains on the rug that it had been like this for quite some time, and it was likely that a lot of detritus had collected underneath.
Let me say that I have little love for sunroofs. That’s particularly true in vintage cars where they’ve gotten old enough that pieces actually break and the sunroof won’t close, but even in my 2008 Nissan Armada, I had to deal with a leaky drippy sunroof. People who advertise their car as a “slick top” when they sell it—that is, touting the absence of something as a positive—actually have the right idea, even though I hate the term. If I want sun in my face and wind in my hair, I drive the Z3. A sunroof doesn’t even come close to giving you that whole-body Xanax response. Even with New England’s never-overrated fall foliage beginning to put on its show, my goal was to get the FrankenThirty’s sunroof closed, make sure it wasn’t leaking, and do so at a low cost and without turning it into a big project.
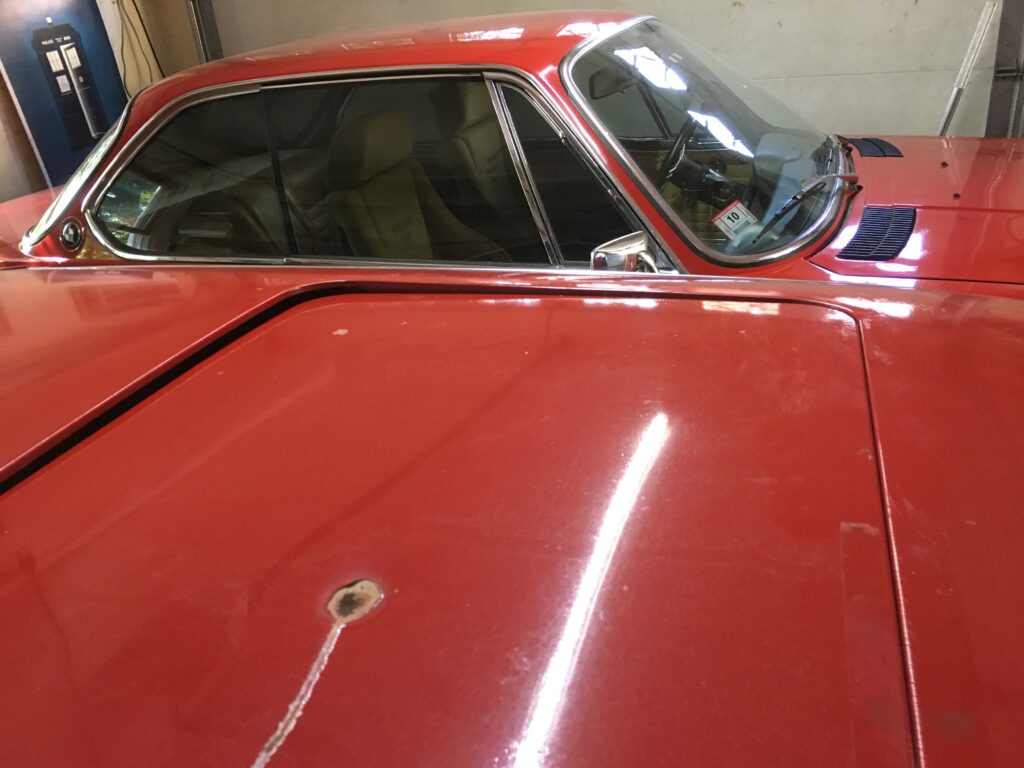
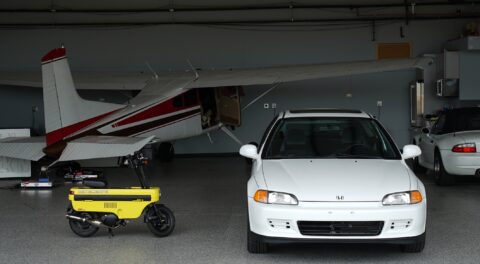
Apologies for the illusion caused by my red E9 in the background. The damage you’re seeing is a dent caused by a branch fall. The other bright line is the reflection of the garage lighting.
I should add that the “make sure it wasn’t leaking” part is a bit misleading. All sunroofs leak. Any sunroof in a car manufactured since disco was big (probably earlier) has a four-sided moat beneath it with a drain hole at each corner connected to a hose that runs down the A and C-pillars. The seal around the sunroof panel itself is really there to keep gross amounts of water from flooding in and wind noise down. As long as the sunroof closes and the drains aren’t clogged or the hoses haven’t fallen off (which was the problem on the Armada), you shouldn’t get water into the car, but the one on the FrankenThirty wasn’t clearing that hurdle.
My first pass at dealing with the sagging corner and the lack of any seal was to take a roll of packing tape and lay down four strips. Hey, I was about to leave on a week-long 40th anniversary vacation with Maire Anne, the car had to sit in the driveway, and it’s likely that it’ll continue to sit outside all winter, so I thought I might as well do the ugly deed now. It was only my friend Alex stopping by, seeing the packing tape, and shaming me for doing something so, um, hacky (and tacky!) that made me pull it up. In doing so, I found out what a bad decision it was. A previous experience for a related application used tape that was pretty easy to pull back up, but the stuff I used this time left most of the adhesive on the paint. I later spent hours with paper towels and isopropyl alcohol getting it off. Live and learn.
I didn’t know how long this repair would take but fully expected that I’d be pulling the sunroof panel out. With the weather uncertain, I swapped the E30 for the Lotus in the left rear garage space.
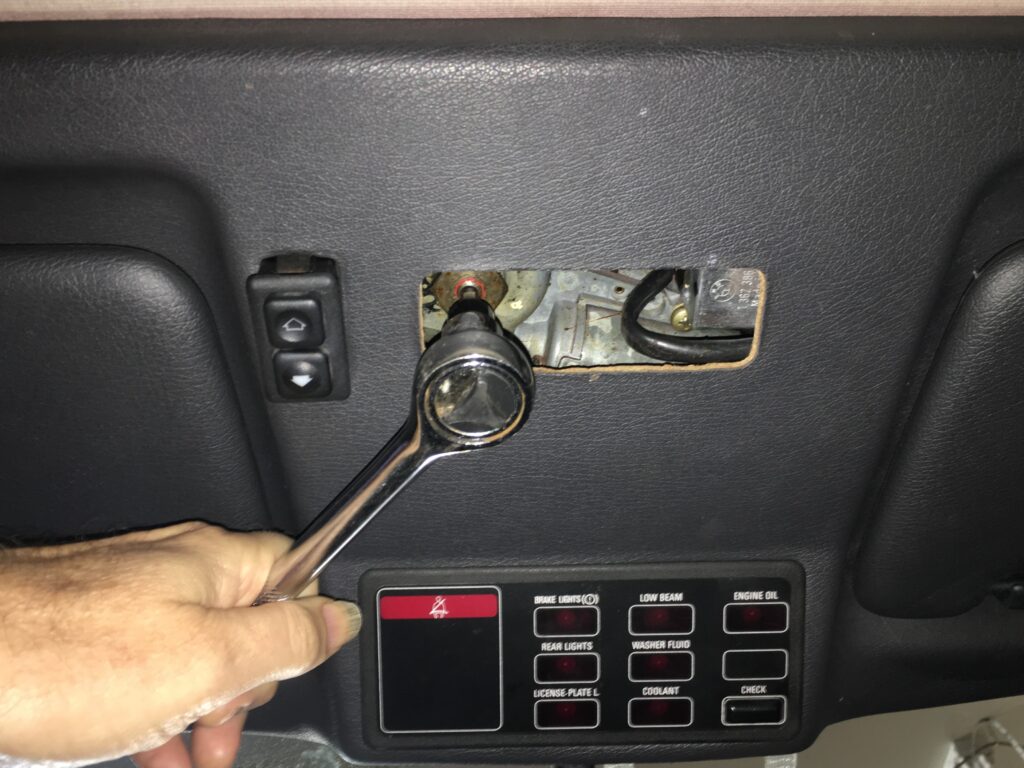
Although the motor wouldn’t move the sunroof, I found that manually cranking it by pulling the little access panel between the visors and using a hex bit on a ratchet handle inserted into the bottom of the gear would. Unfortunately, I still couldn’t get the left rear corner to go up. It seemed likely that the piece of the sunroof mechanism that raises the back of the sunroof after the front is slid all the way forward was broken.
It was great that I was able to do this. Unfortunately, it didn’t solve the problem.
Not really knowing what I was doing, I pushed up the back of the sunroof’s headliner panel and began fishing around in that corner with my hands. I was able to pull out a plastic piece about the length of my finger, as well as a short section of hose that someone had probably put back there in an attempt to prop up the left rear corner. I peered inside and could see one of the Torx bolts holding the sunroof panel to the retraction mechanism, as well as the rod that lifts the back of the sunroof up. I didn’t realize it at the time, but I was looking right at the broken section where the plastic piece came from.
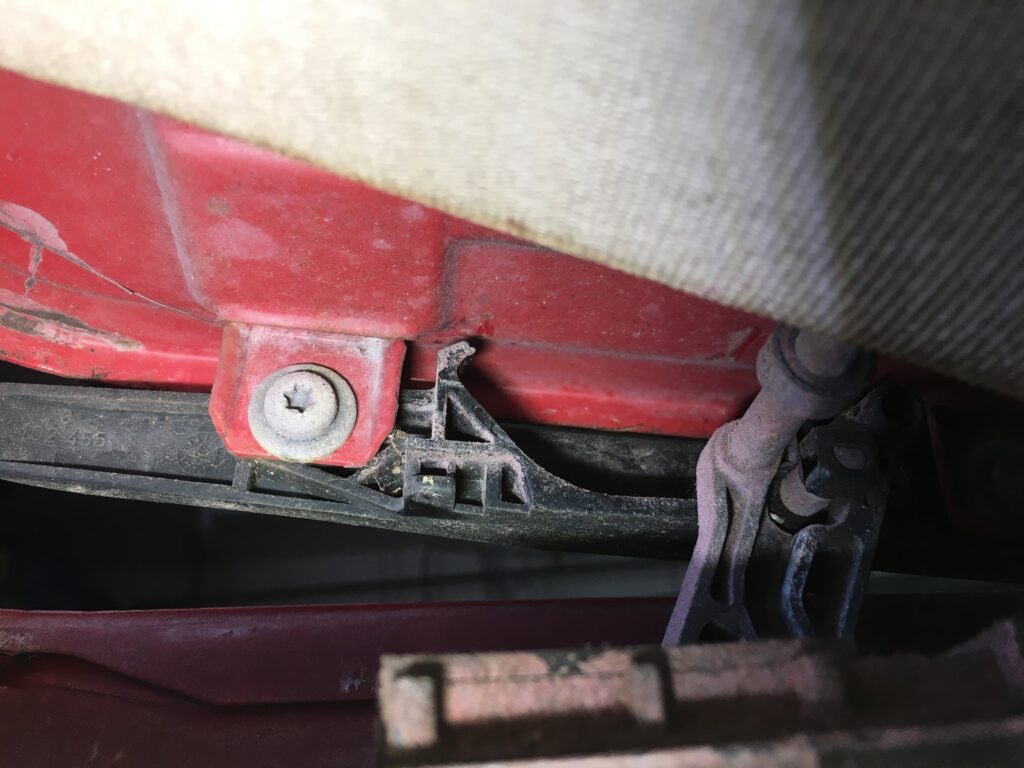
Taking this photo was dumb luck.
I stopped, went to the laptop, and did enough reading to learn that I needed to unsnap the six fasteners holding the front of the headliner panel to the sunroof, slide the headliner panel back, and undo the six Torx bolts to pull the sunroof panel out. This let me see where the broken piece went.
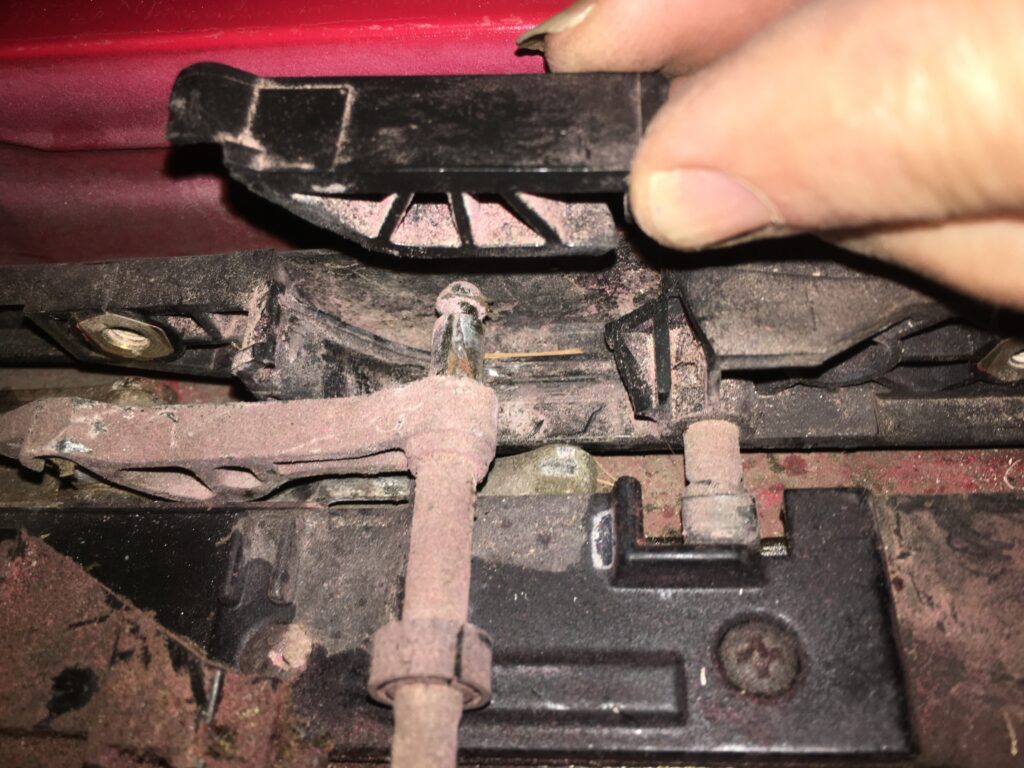
It was obvious that this belonged here to provide something for the rod to push up against.
I looked online, but it was confusing figuring out what the plastic part was. RealOEM labeled the piece as “left gate,” part number 54121941321, and that one piece appeared to be available new (though, at $250, it was very pricey), but most of the hundred-dollar-ish listings on eBay for used parts with that part number also included the cable and the lifting mechanism with the metal rod. While I was gratified that there were click-and-buy options, and while the FrankenThirty and I are on good terms right now, I’m still very careful about spending money on a car whose value is so obviously capped by the way it was resurrected from salvage status. If I could spend little or no money and get the sunroof closed and sealed, that was the path I wanted to take.
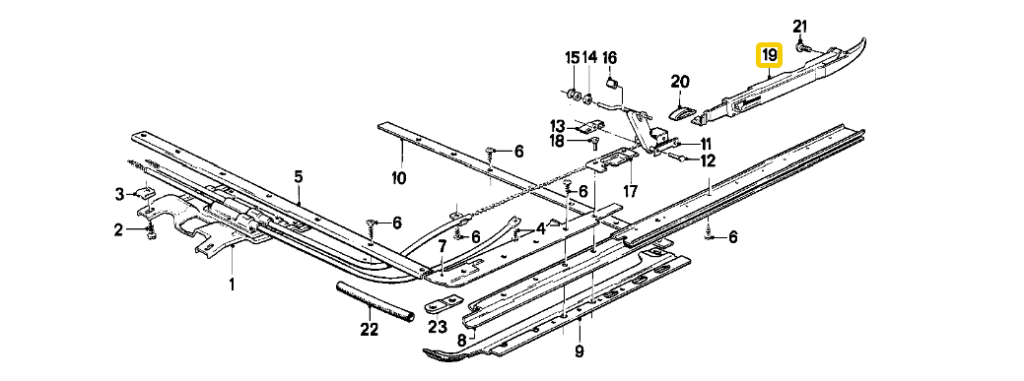
The RealOEM diagram.
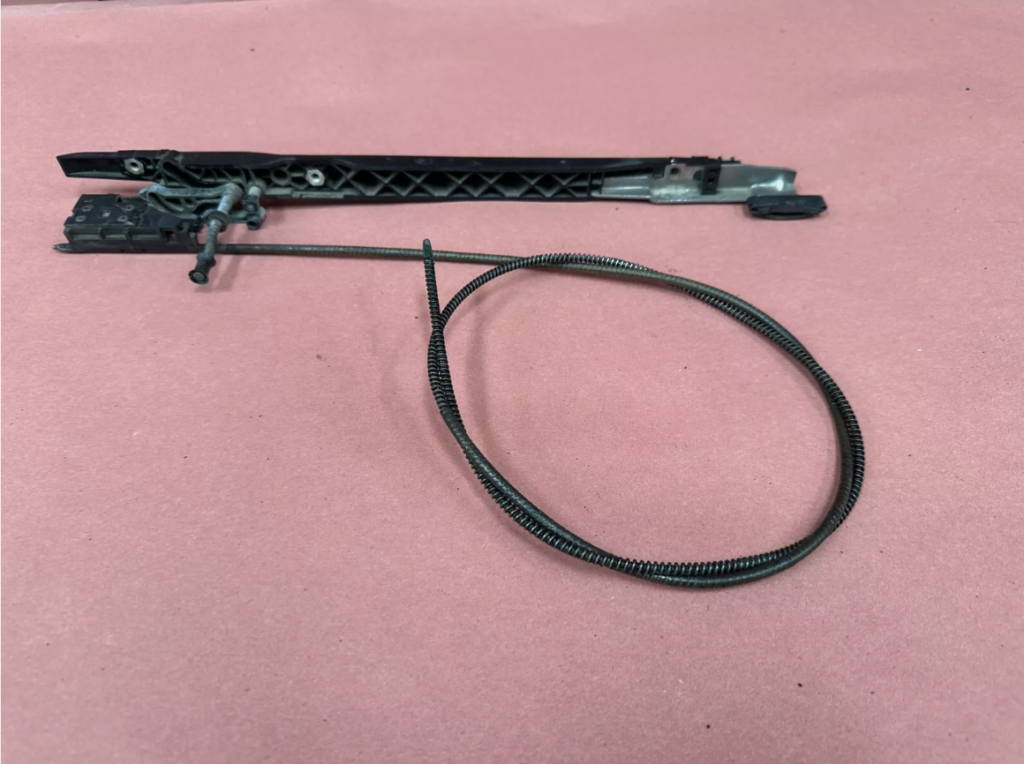
An eBay photo of that plastic piece along with the cable and the assembly it connects to from vendor “Only German.”
I first searched for any more missing pieces, then vacuumed out the pine needles, acorns, and mouse dung. Then, figuring that I had nothing to lose, I decided to try to epoxy the broken plastic piece using J-B Weld PlasticWeld. Because there is an upward force against it from the lifting rod, I reinforced the plastic with a metal piece made from a section of the kind of hardware-store slotted hose clamp I wouldn’t normally use on a BMW.
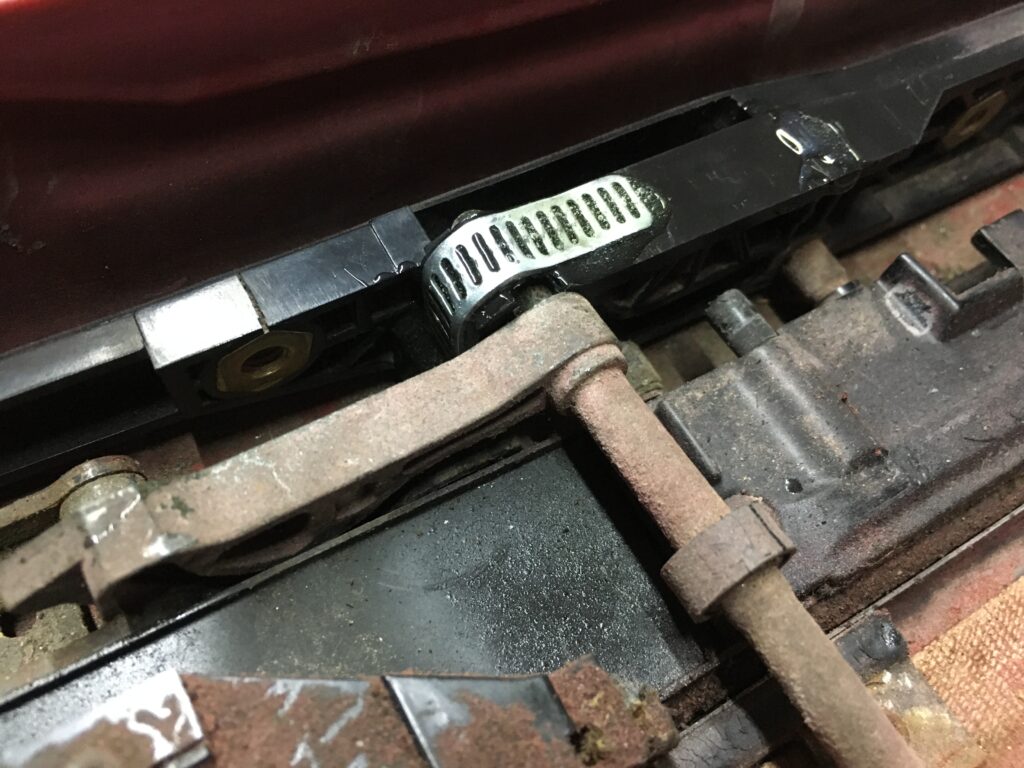
Now THAT’s a hack. Or is it a kluge? It’s getting harder to tell in my Geritol years.
Next, I looked into the seal. I found that there were two-piece and one-piece versions. Both seemed to cost about $125, which felt like a lot for what’s basically a piece of rubber weatherstripping. Over the years I’ve bought a variety of adhesive-backed closed-cell foam from McMaster-Carr for relining the flaps of 2002 heater boxes. The 1/8-inch-thick stuff seemed to be about the right size. I cleaned the edge of the sunroof off, cut a long piece to fit, and laid it on.
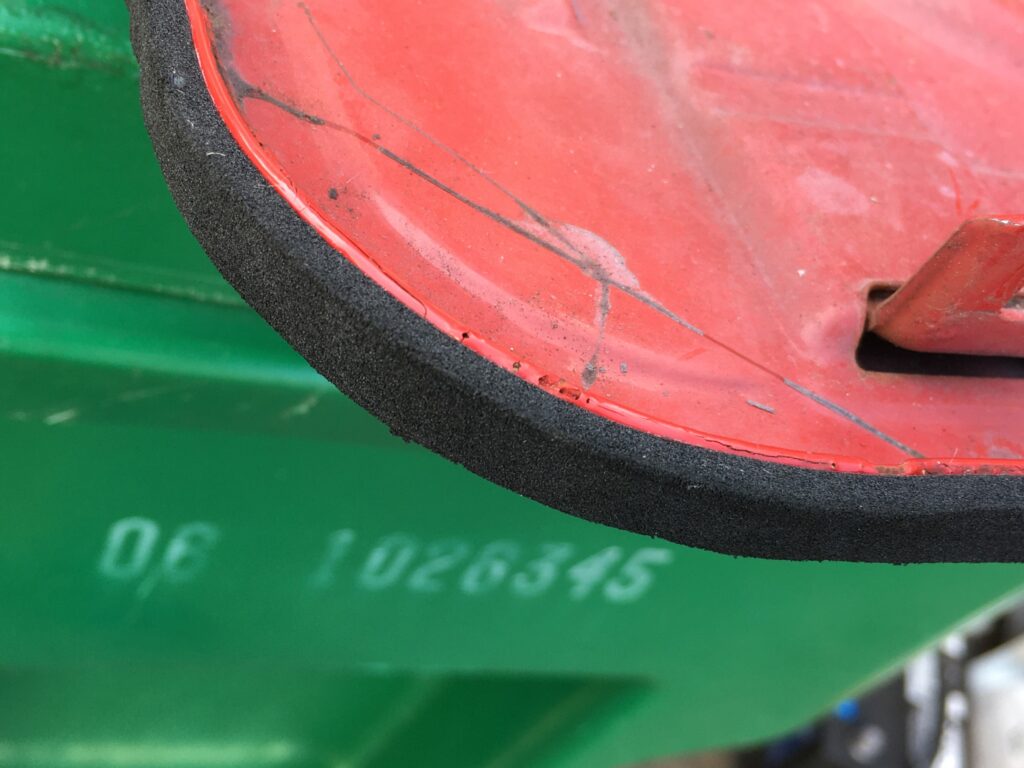
Not bad, right?
Before I reinstalled the sunroof panel, I ran a long wire down the front drains to make sure they were clear, then blew them out with compressed air for good measure. The drains in the back are essentially unreachable. I then lubricated the track with a spray of white lithium grease, carefully put the sunroof panel back in place, carefully tightened the Torx-head bolts while leaving room for adjustment, and very carefully hand-cranked the sunroof shut to the point where the lifting mechanism in the back raised the rear edge. To my delight, it held in place. I snugged down the bolts.
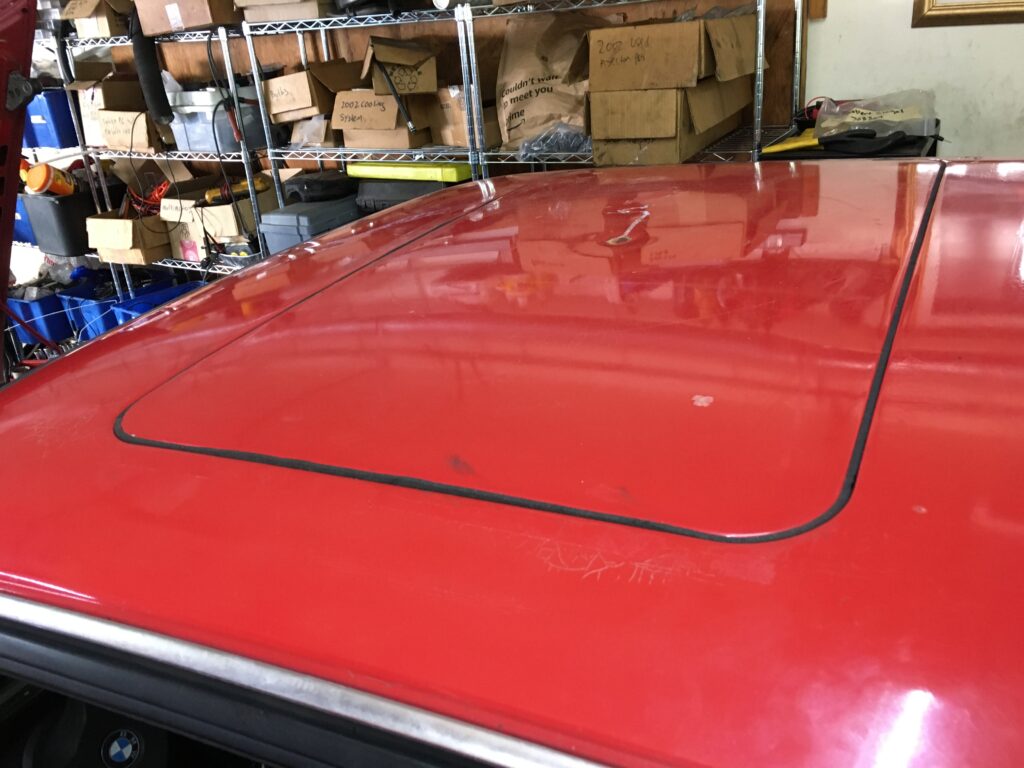
Oh yeah. Give me a BOOYA!
I disconnected the switch to the sunroof motor so I wouldn’t be tempted to use it, and pulled the car out of the garage. That night, it rained. I didn’t care, because I knew that I had gotten the sunroof closed, and closed with a seal should be good enough.
So I’d fixed it. At zero cost. I was insufferably pleased with myself.
The following morning, I found water dripping from the headliner, and puddles of water on the seat and floor.

Well, crap.
Remind me again why I say I enjoy working on cars?
—Rob Siegel
____________________________________
Rob’s newest book, The Best of The Hack Mechanic, is available here on Amazon, as are his seven other books. Signed copies can be ordered directly from Rob here.