When last we saw the FrankenThirty’s a/c rejuvenation project, I’d bought a rebuilt compressor, blown out the lines, found more rust on the discharge side than I was comfortable with, temporarily installed the compressor anyway so I could pressure-test the system, and found and replaced several leaky o-rings. Regarding the rust, I said that if anyone came to me with this problem, I’d tell them they were fooling themselves if they didn’t think they needed to replace the condenser. Trying to take my own advice, A quick search showed that the Nissens 94172 parallel-flow condenser could be purchased for as low as $105 shipped.
The fact that this thing even exists is amazing to me.
That is, whenever I resurrect an a/c system in a vintage car, I yank out its old serpentine-flow condenser, measure carefully to figure out the biggest parallel-flow condenser that’ll fit in the nose (as that’s what you need to do to get a system that initially used R12 to blow cold with R134a), buy it, fabricate brackets to mount the thing to the nose, then fabricate more brackets to fit a proper new Spal fan to the condenser. Instead, the Nissens 94172 is supposed to be a drop-in replacement for the original serpentine-flow unit. I can see how, in the early 1990s, when R12 was phased out, a lot of R134a conversions were being done, and with a hundred thousand E30s on the road, demand for this part would be high. Surprisingly, there’s still a high enough demand for these to be manufactured. I guess the parallel-flow model became the standard replacement part, and that’s fabulous. Still, I’m not aware that this is the case for any other BMW that originally had a serpentine-flow condenser. Maybe because I’ve never had to check, I’m dead wrong. Okay, I just checked—Google “E28 parallel flow condenser,” the hits are for a $260 part from CSF Cooling. It’s great that it exists, but add shipping, and it’s three times the cost of a mass-market part like the Nissens E30 part. E30 folks are just lucky, I guess.
Anyway, if you recall, when I was rebuilding my old compressor, I was talking about recharging the system with good old-fashioned R12 precisely so I wouldn’t have to go through a condenser upgrade to get a cold car. When I found that, on RockAuto, I could get the 94172 for under a hundred bucks shipped (helpful hint: Google “Rockauto discount code” and enter it in the “How did you hear about us?” box, and you’ll get 5% off), it crossed the “I’m an idiot if I don’t do this” threshold, and I clicked and bought. As a bonus, since I’ll be charging with R134a, I can leave the PAG oil that came in the rebuilt compressor instead of draining and refilling it with R12-compatible oil like mineral or ester oil. Everybody wins!
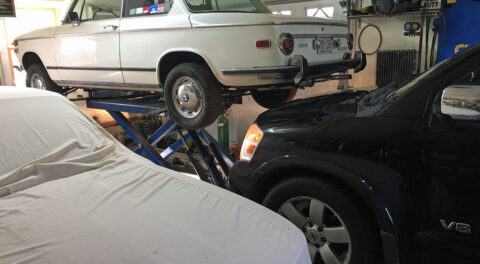
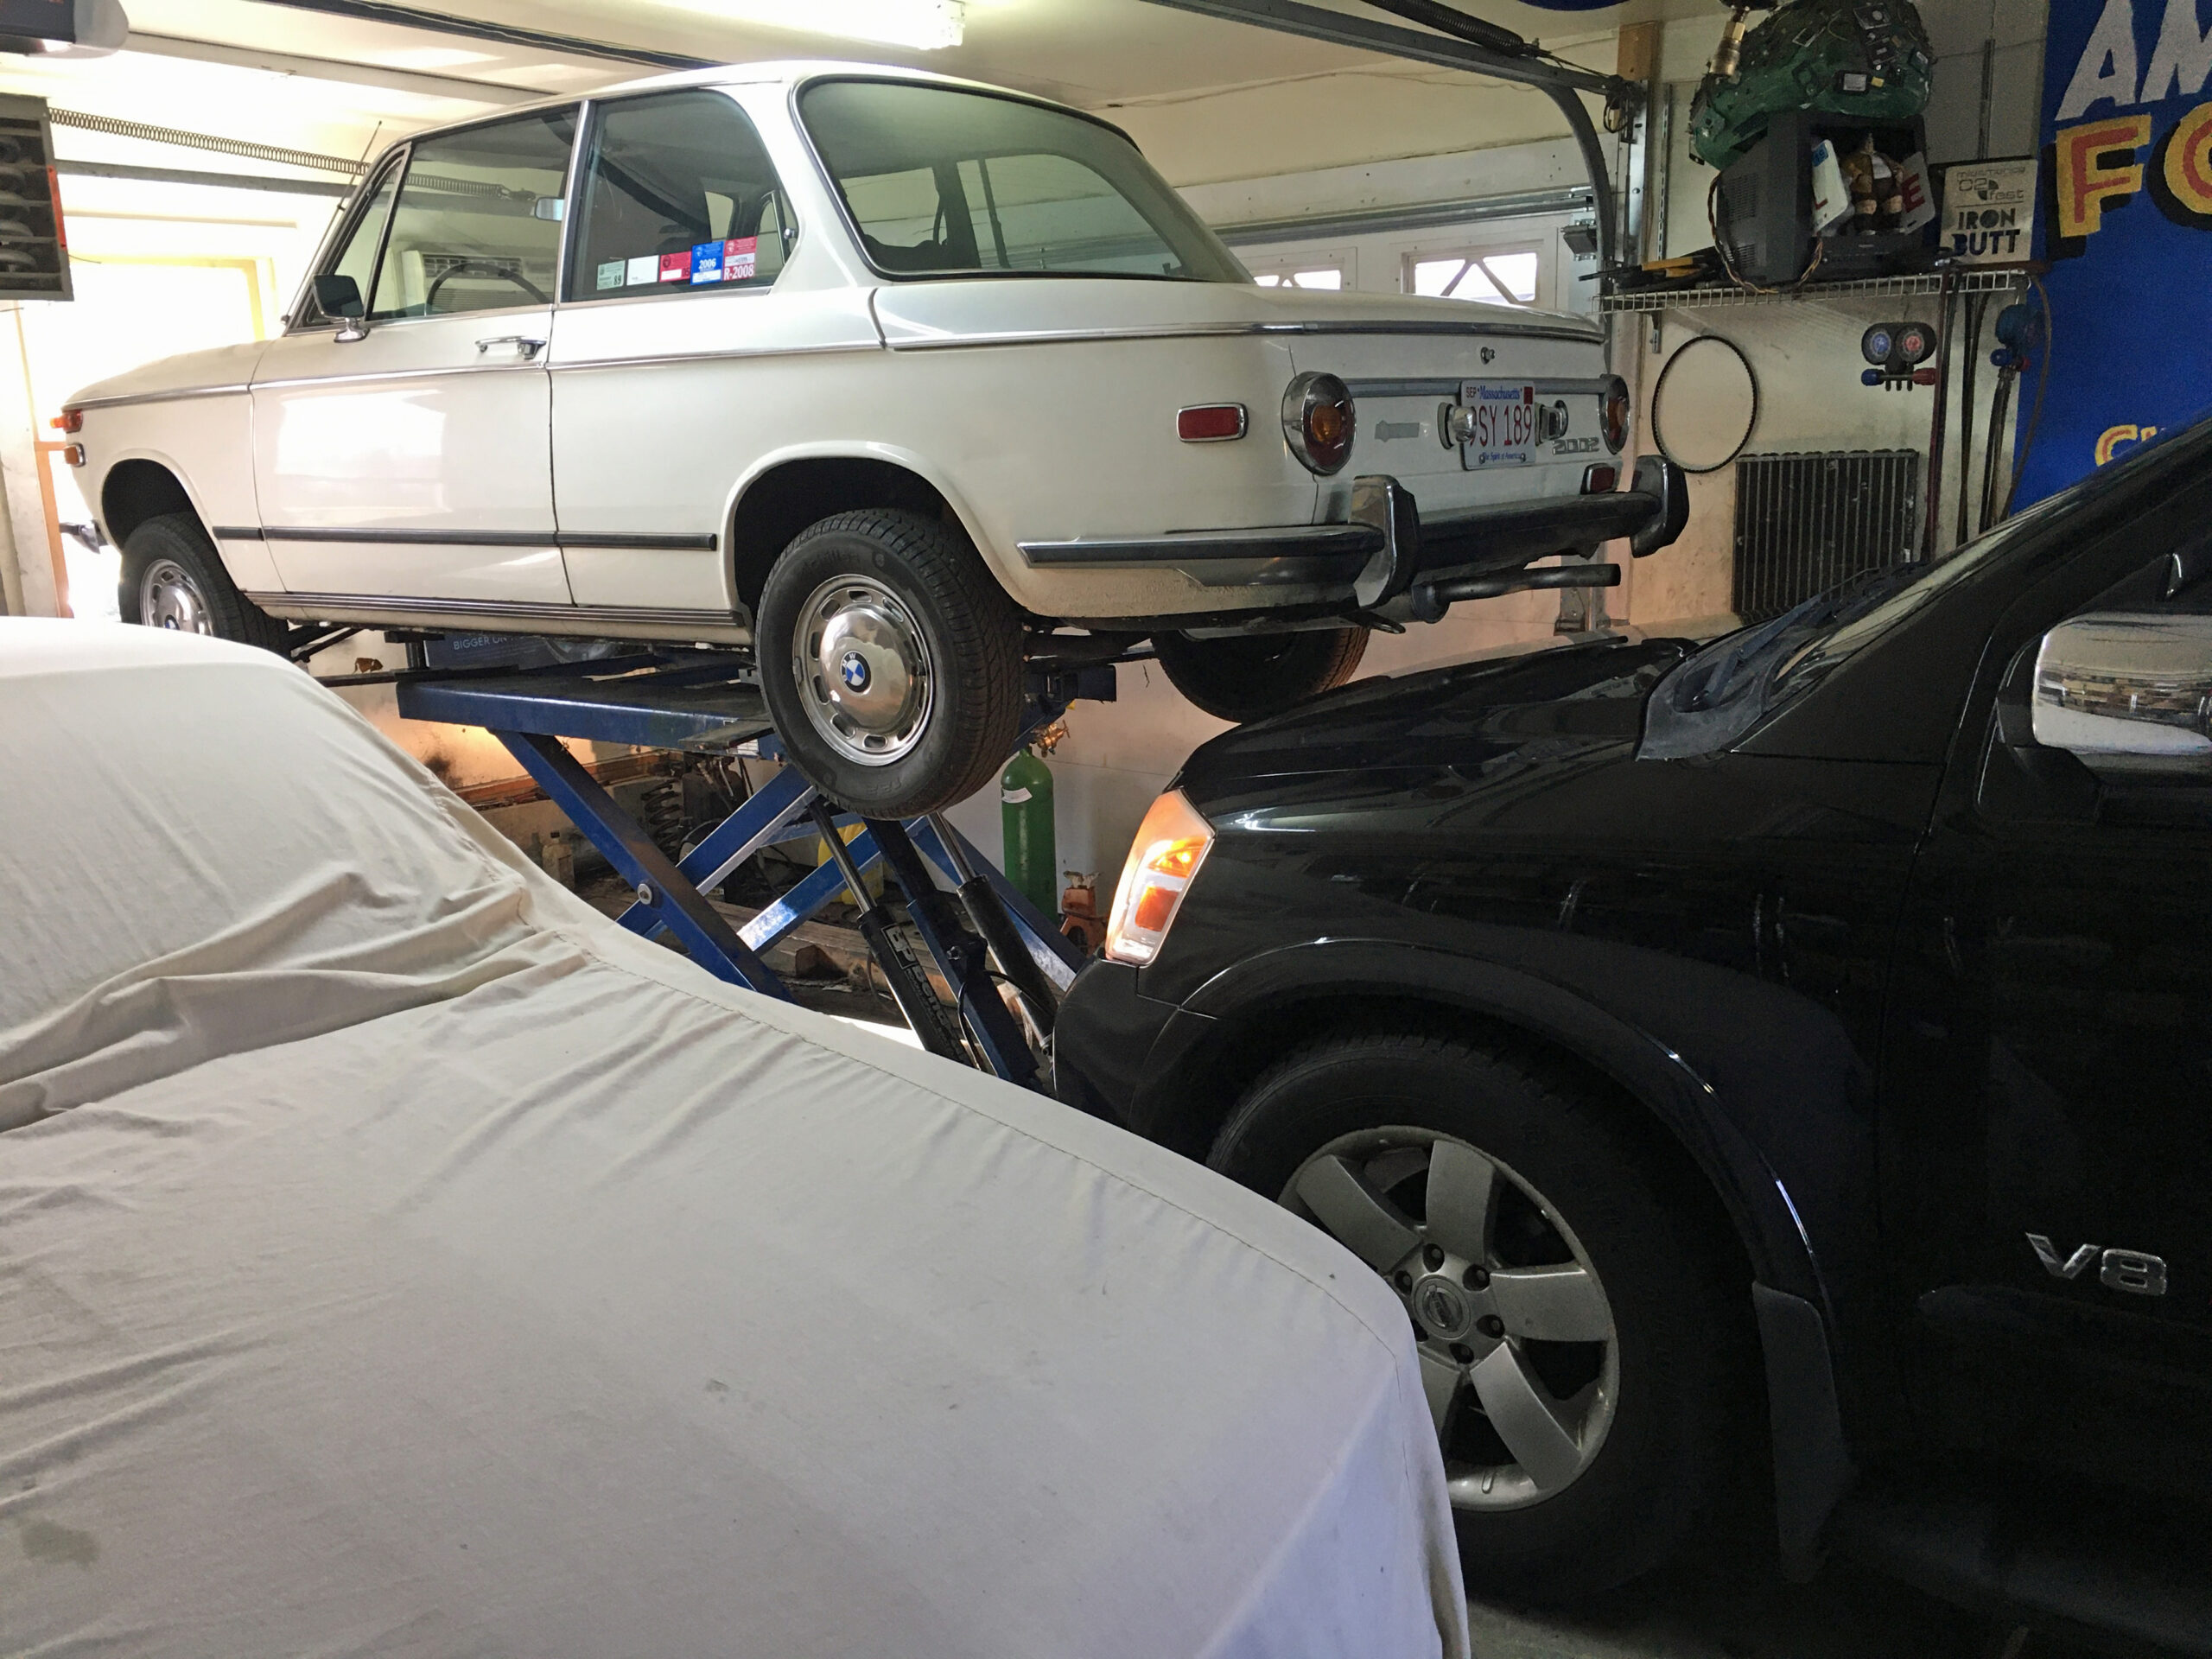
In my previous pieces, I whined about pulling the Lotus Europa out of the garage to do A/C work on the E30. With warming weather, I instead committed to doing it in the driveway. I jacked up the car, set the stands on metal plates so they wouldn’t sink into the asphalt, and had at it.
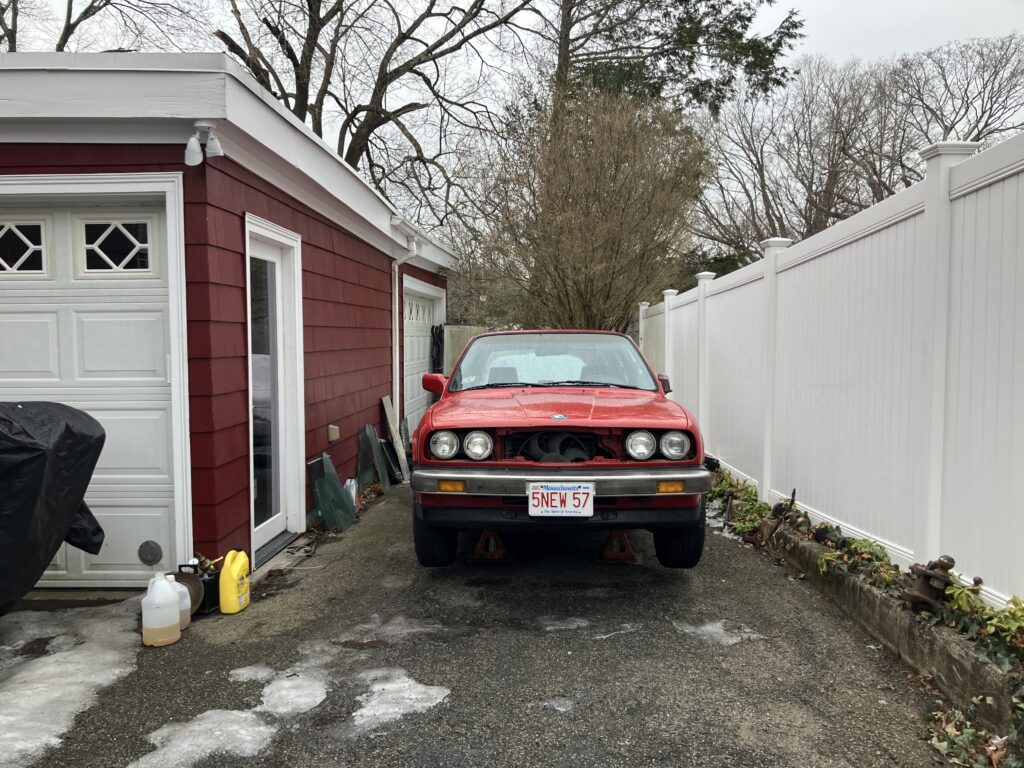
Snow mostly gone? Let’s go.
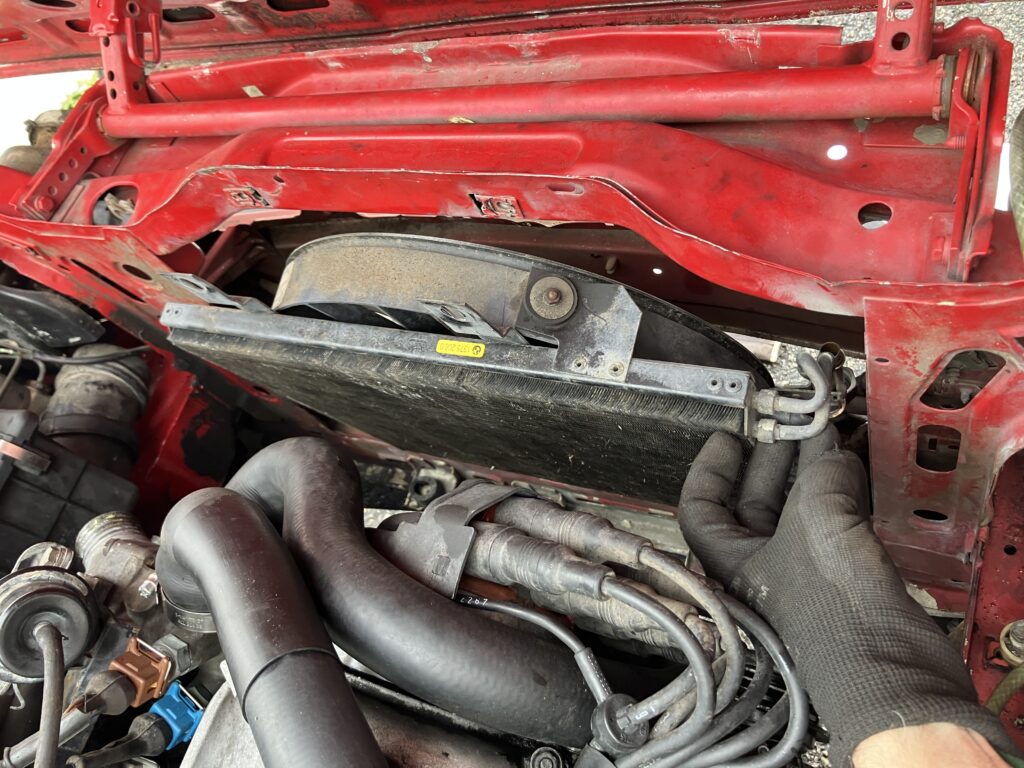
Obviously, getting the condenser out requires pulling the radiator. So, find the big spanner for the nut on the viscous clutch and the companion tool to hold the water pump nuts, remember that it’s a left-handed thread, and out with the fan, clutch, and shroud.
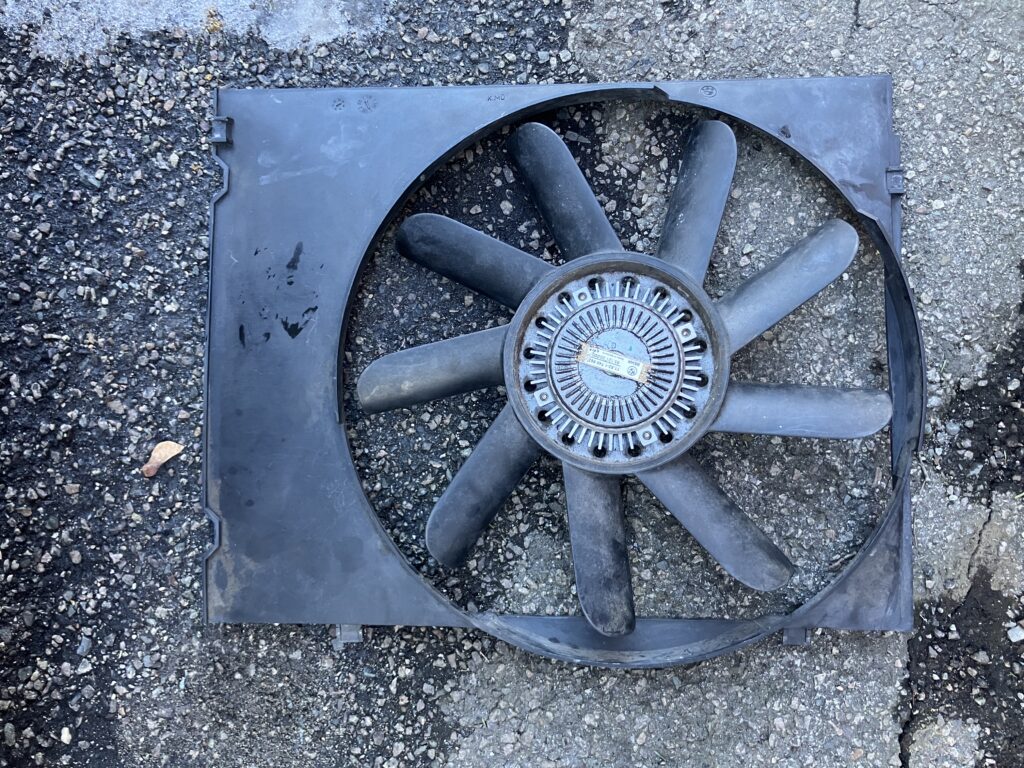
The first layer of the onion.
That exposed the radiator and its big ugly smush marks from where the fan—likely not this one—had been driven into it in its salvage-titled past. When I bought the car last August and replaced the 24-year-old timing belt, I threw the damaged radiator back in, as it wasn’t leaking and I had a lot else to deal with. In the meantime, I’d sourced a used radiator in much better condition, so I welcomed the opportunity to swap it in for this one.
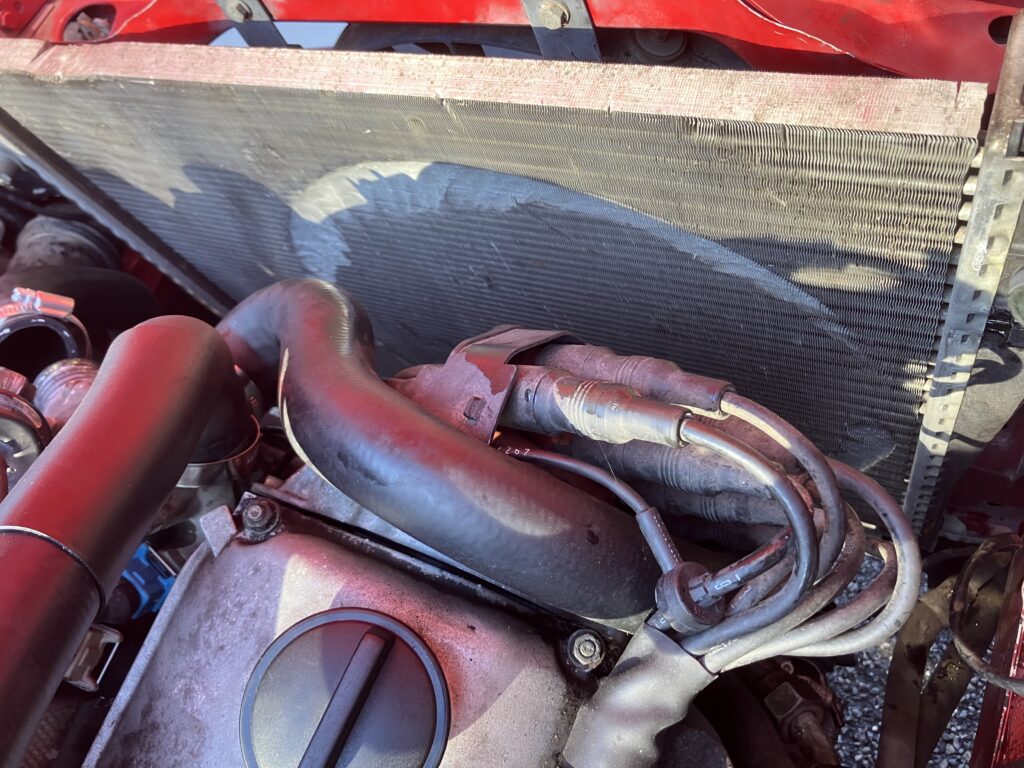
Yeah, that’s pretty bad.
Before I undid the hose fittings to pull the condenser out, I wanted to check if the system still held the nitrogen I’d shot into it when I pressure-tested it a month ago. Sadly, it wasn’t, so as this rejuvenation moves forward, I still have leak-detection work ahead of me.
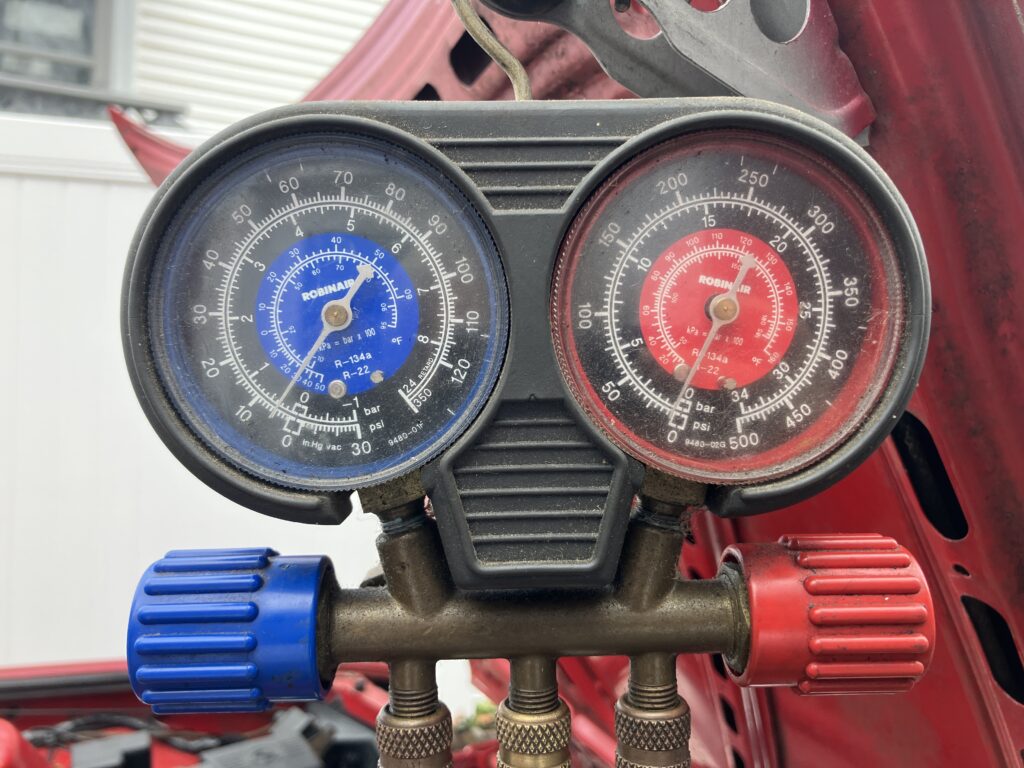
Sigh. It’s never easy.
But on with the condenser removal. Out with the grilles. The inlet hose fitting at the top is easy to reach, and the outlet fitting at the bottom is less so. But using the two-wrench technique (one wrench on the fixed condenser hex fitting, the other on the swiveling hose fitting, oriented so you can squeeze the wrenches together and loosen the swiveling one), they both came off.
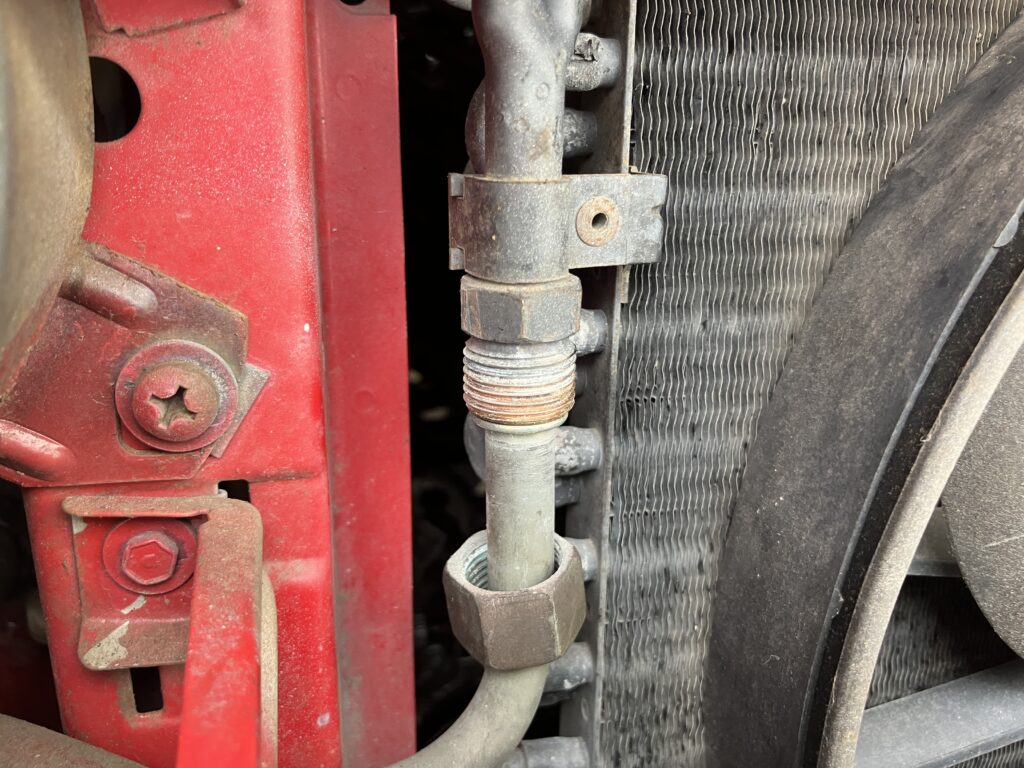
One of the two condenser fittings.
Remove the two bolts holding the brackets at the top, undo the three-pronged fan connector to the wiring harness, and out she comes.
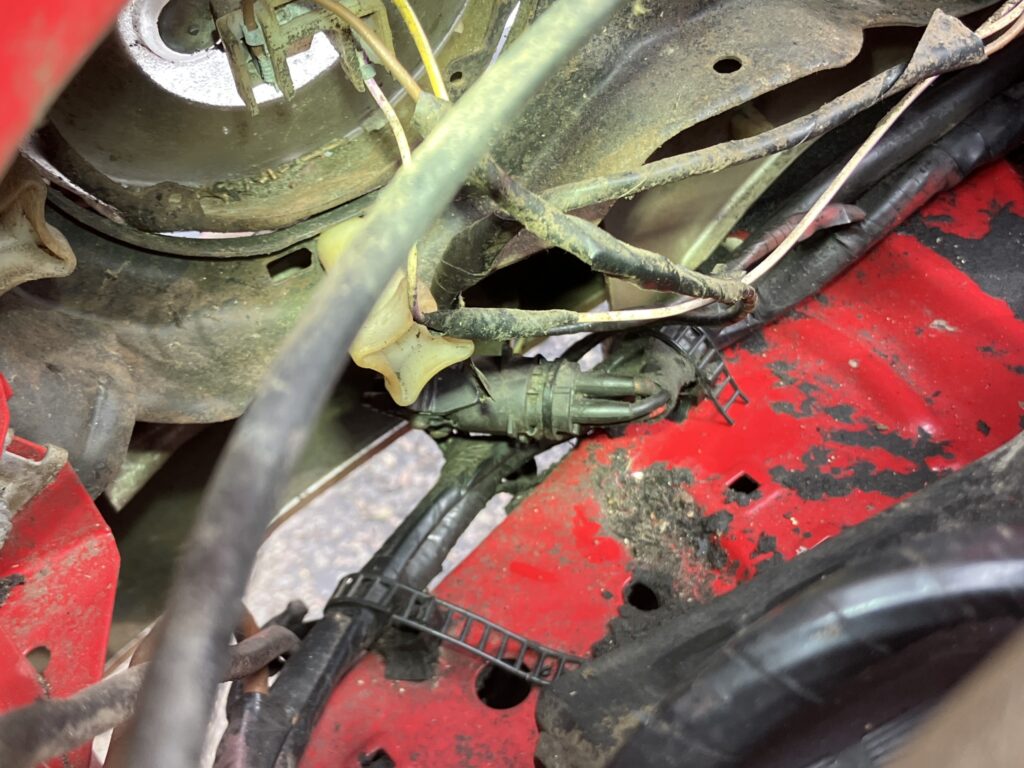
Same connector I wrote about last week, just at the other end of the cable.
Tilt ‘er back…
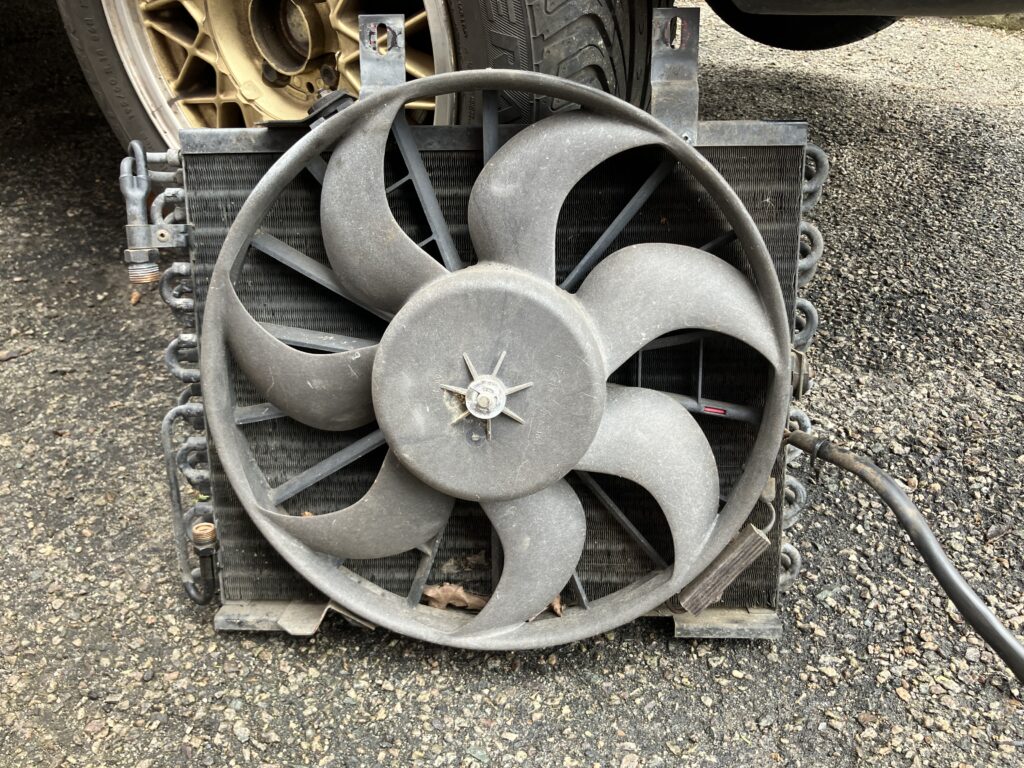
…and out she comes.
With the condenser and fan out, I could remove the fan and directly compare the old and new condensers to evaluate whether the Nissens really was a drop-in replacement. In this picture, you can plainly see the original condenser’s serpentine-flow design with one piece of tubing that snakes through it and the new condenser’s parallel-flow construction. The brackets and hose fittings look like they’re in the right place.
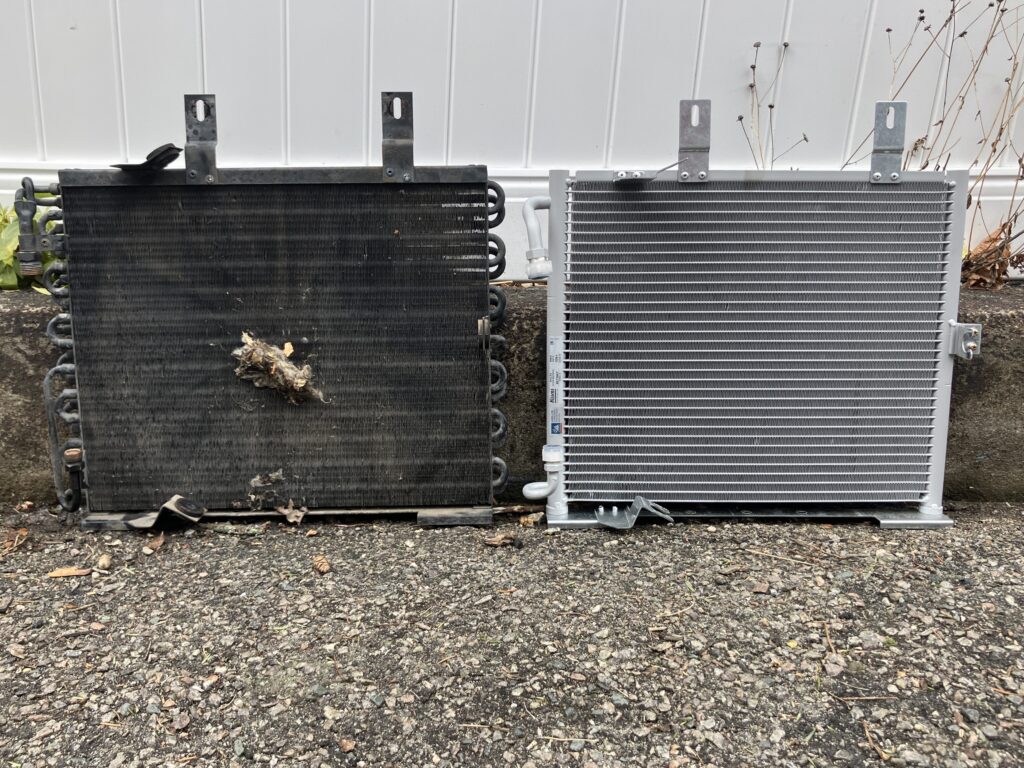
What looks like a dead mouse clinging to the condenser was just some fluffy detritus behind the. I left it there for dramatic effect.
Here’s another view. Again, the drop-in replacement claim looked pretty convincing. If I could complain about one thing, it would be that the riveted-on brackets had some play in them. I removed it by squeezing the rivets down with Vise-Grips.
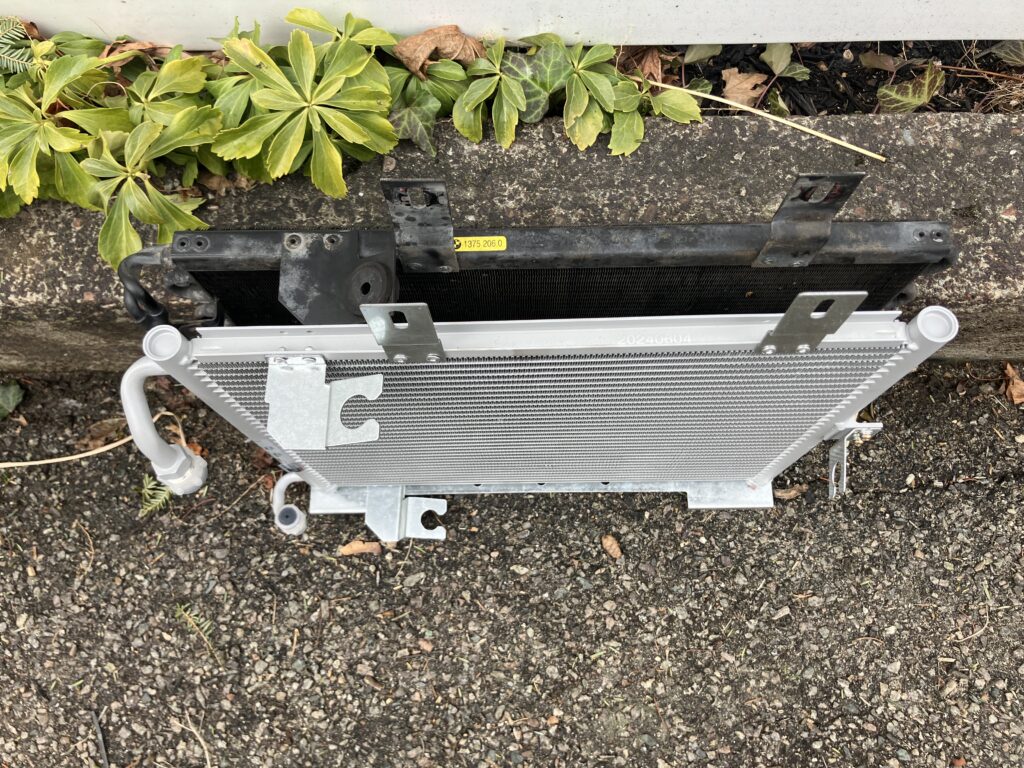
Looks good to me.
I know that many folks doing this take this opportunity to ditch the 37-year-old condenser fan in favor of a modern Spal, but as long as my fan worked, that seemed to contradict the utility of drop-in replacement.
I’d tested the fan a month ago, but I did it again. It again seemed to blow hard and quiet. I wasn’t certain if the low-speed setting was actually low-speed, but if anything, folks bypass the fan resistor, so it always blows at the high speed. There was a minor challenge in reusing the still-good rubber bushings. On the new condenser, they slide into notches in the brackets, but on the old one, there are no notches; they were popped in through holes in the brackets when they were new and much more pliant. It took some work to get them out, but they gave it up without self-destruction. On went the fan. Very satisfying.
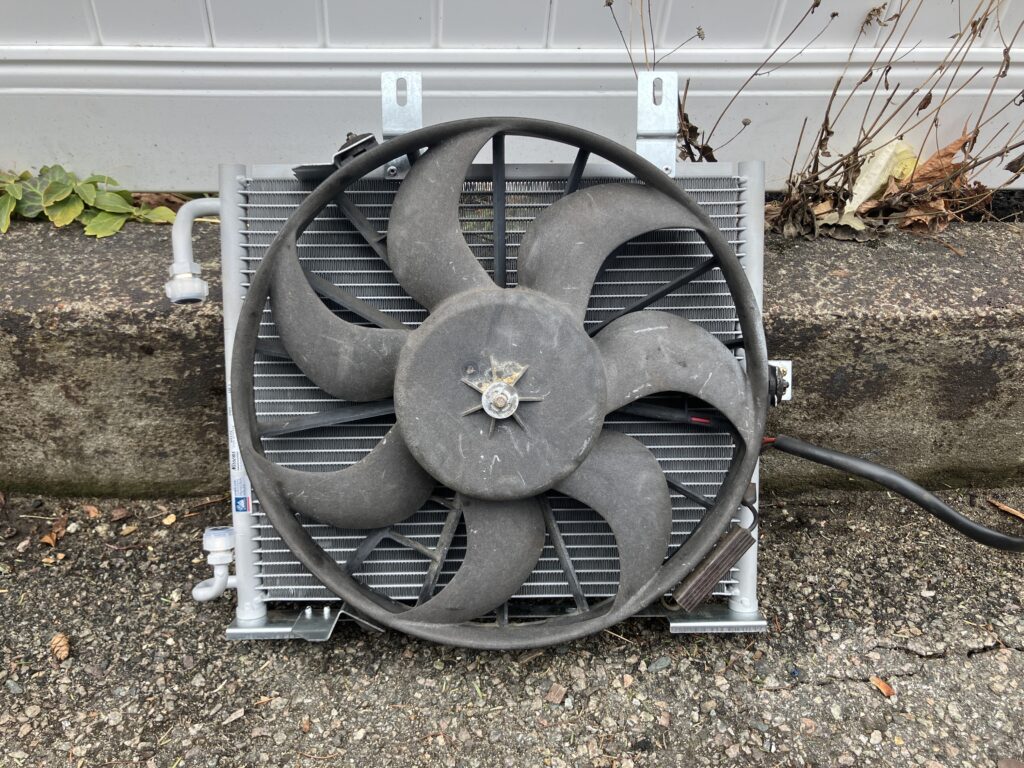
Old fan, new tricks.
I was about to slide the new condenser and fan through the nose of the car and into position when I looked through the space where the kidneys had been and remembered something. When I replaced the timing belt last August, I found that one of the bolts holding the upper timing cover to the head had been snapped off.
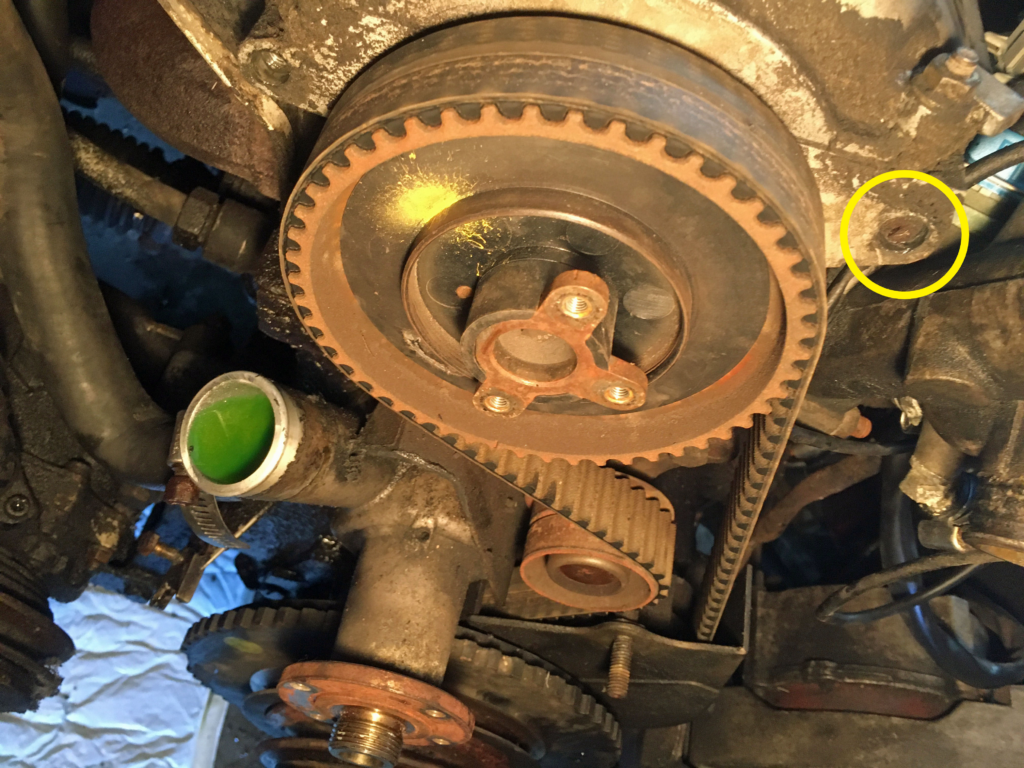
Snapped off and recessed. The worst kind of snapped off.
This left the timing cover not completely secured. Since the distributor cap bolts to the timing cover, this resulted in a slight misalignment of the distributor cap with the rotor, which wore a groove on the inside of the cap.
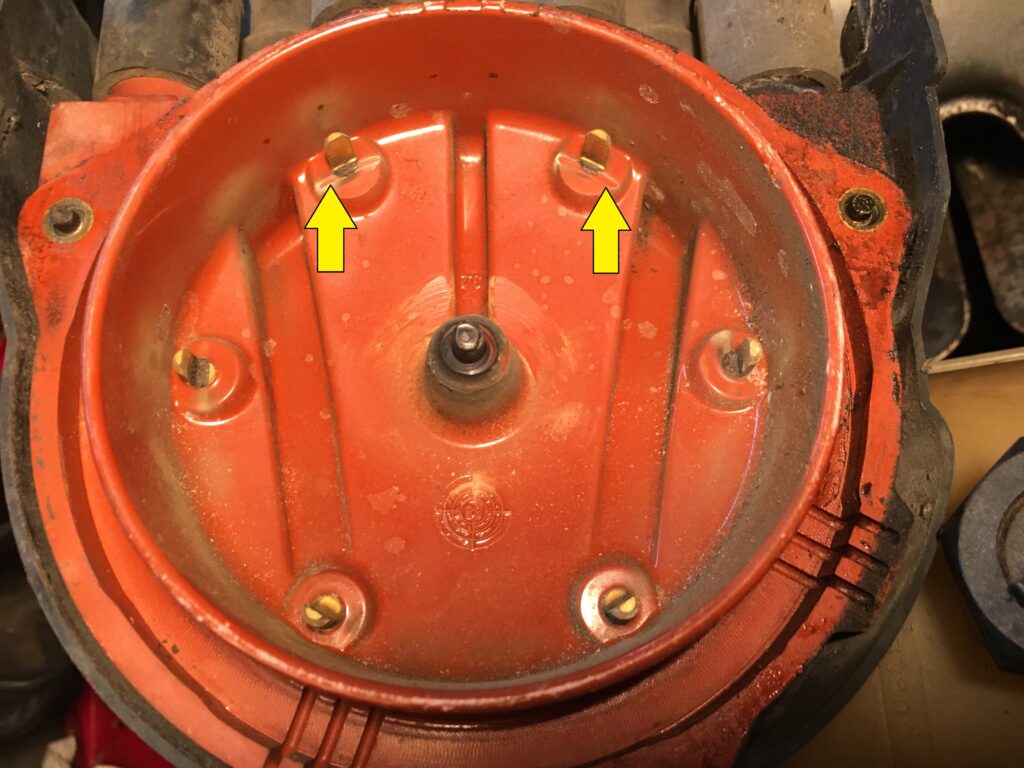
“Groovin… on a winter afternoon…”
At the time, I’d just discovered the whole salvage-FrankenThirty-has-the-ETA-engine-instead-of-the-“i”-motor thing and thought, “Well, it was running before I have a hundred other things to deal with on this car, I don’t even know if I want to keep it, I’ll just put it back together,” and so I did. But looking through the nose of the car and seeing the cap, I realized that it’d never be easier to address the snapped-off bolt than right now.
And so that’s where we are. Me staring into the abyss left by a snapped-off bolt.
Get some popcorn. Come for the cursing. Stay for the emergency room visit.
—Rob Siegel
____________________________________
All eight of Rob’s books are available on Amazon. Signed, personally inscribed copies can be ordered directly from Rob here.