

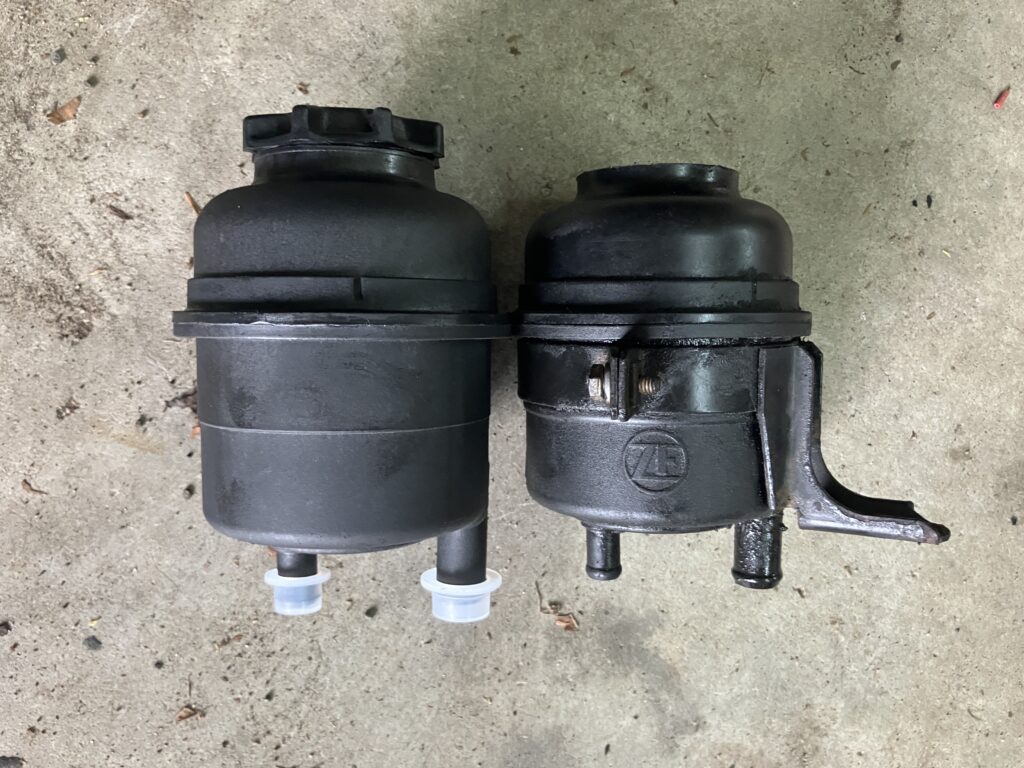
A few weeks ago, I mentioned wanting to address a long-standing and worsening issue with my 2003 530i’s steering feeling heavy. Initially the problem would only occur on cold winter mornings and would go away after a few turns of the wheel, but it was now manifesting itself in warm weather, and had gotten bad enough that I didn’t want my wife to drive the car. I’d looked at both new and rebuilt power steering pumps, saw the iffy reviews on both, and decided to buy a used OE Luk pump from a reputable eBay vendor. But as I was readying to install it, I read that the problem could be due instead to a clogged filter in the power steering fluid reservoir. The filter is a permanently-attached part of the reservoir, but the unit is inexpensive enough that I was willing to throw $45 at the problem to buy the Uro Parts reservoir and a gallon of high-quality synthetic power steering fluid. Unfortunately, it didn’t fix the problem. Then, a hot spell in August and other work going on in the garage delayed things. Last week, I finally drove the car up onto my plastic ramps and had at it.
Nice try, but no.
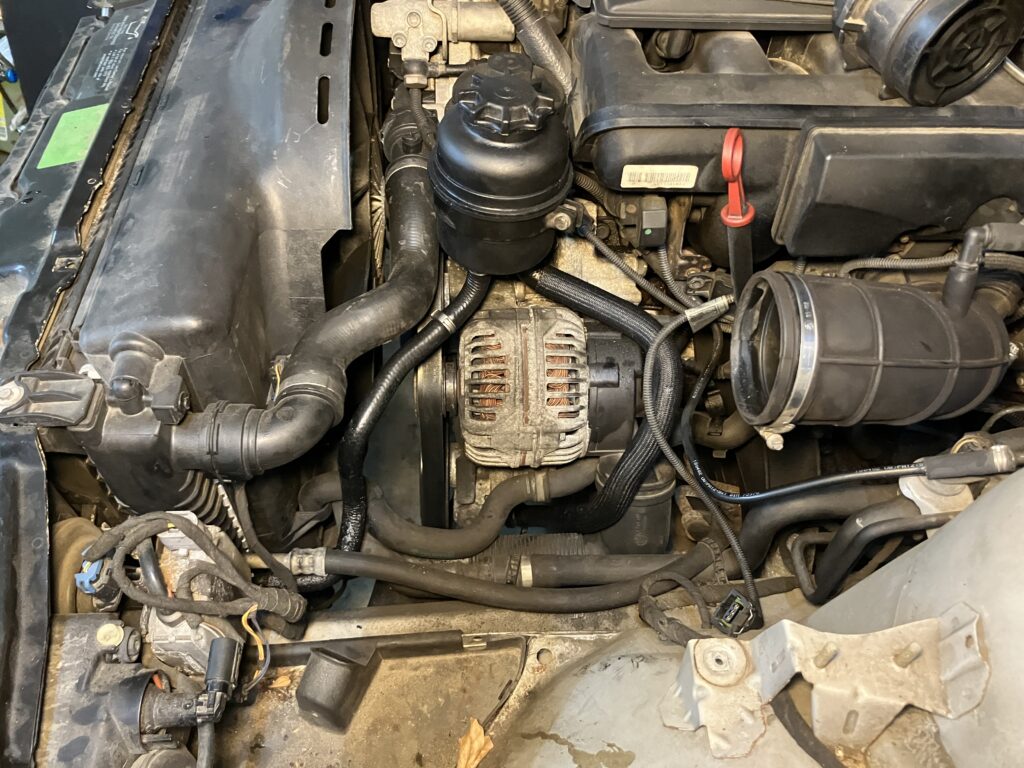
Unlike the front wheel bearing replacement I recently wrote about, I’m glad to say that replacing the power steering pump was an easier repair than I expected.
There are three main steps—disconnecting the hoses, relaxing the serpentine belt, and unbolting the pump. If the replacement pump comes without a pulley, then removing it from the old pump is a forth step, which may be easier with the pump still installed, as the tension on serpentine belt holds it still while you undo the three 13mm bolts holding it to the pump flange. I did find that having the pulley off increased access to the 17mm nut on the hard hose fitting.
I remembered that I’d discovered the technique for relaxing the serpentine belt when I serviced the alternator a few years back. Obviously the air filter box needs to come out first. A number of different belt tensioners were used on the E39 during its production run. On my car, it uses an 8mm Allen key. Snapping one into a 3/8″ breaker bar and pushing down on it from the left side of the car allows for enough clearance to easily relax the belt and slide it off the alternator pulley and tensioner, at which point it drops off the bottom of the power steering pulley.
Air box out for access…
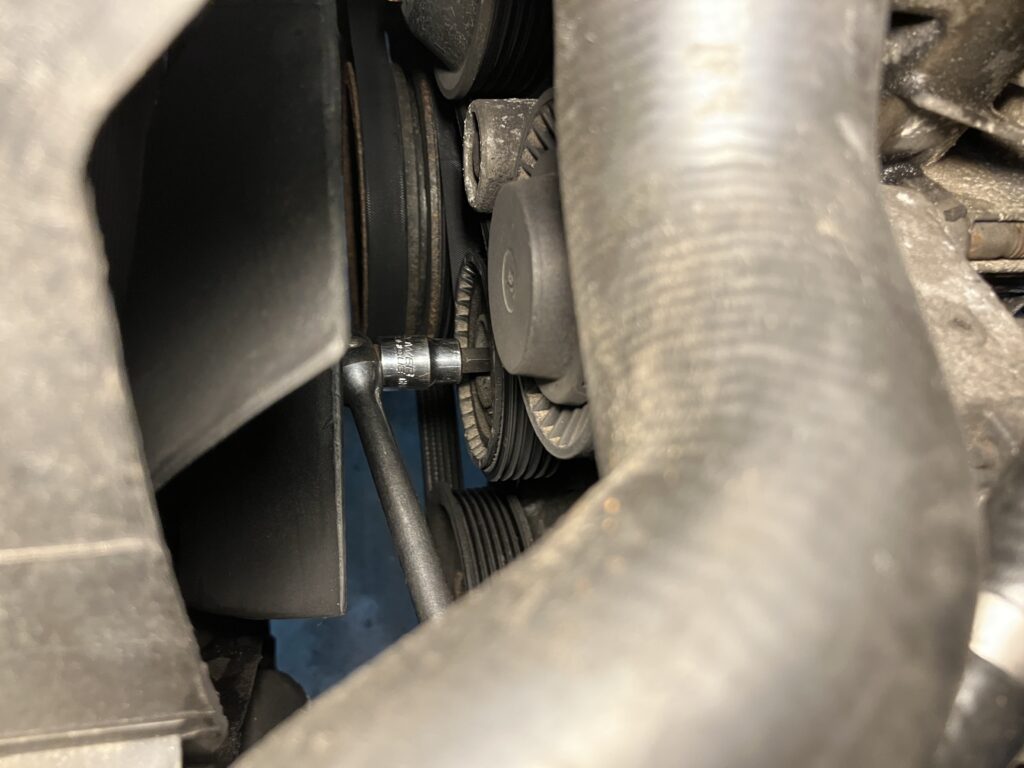
…and 8mm Allen-key bit on breaker bar to move the tensioner and relax the belt.
While I had the belt slackened, I spun and wiggled both the idler pulley and the alternator to check their health. The idler pulley felt fine, but the alternator had a surprising amount of resistance to it. You may recall that, three years ago, the car quit charging, I had it towed home, pulled out the voltage regulator, and found that the brushes were badly worn. Unfortunately, I also found that the two copper slip rings in the alternator were visibly grooved. At the time, I elected to leave the alternator in situ and replace the regulator. With the car having 210,000 miles on it and the alternator feeling less than silky smooth, it’s probably time to replace it, but I decided not to drag the power steering pump replacement to a halt. I’ll save the alternator replacement for another day.
The power steering pump’s bracket is held on by two 13mm bolts. A 10mm screw affixes a collar holding a hose in place, so that has to come off as well. They can be reached from topside or from beneath the car, and the pulley does not have to come off first to get at them.
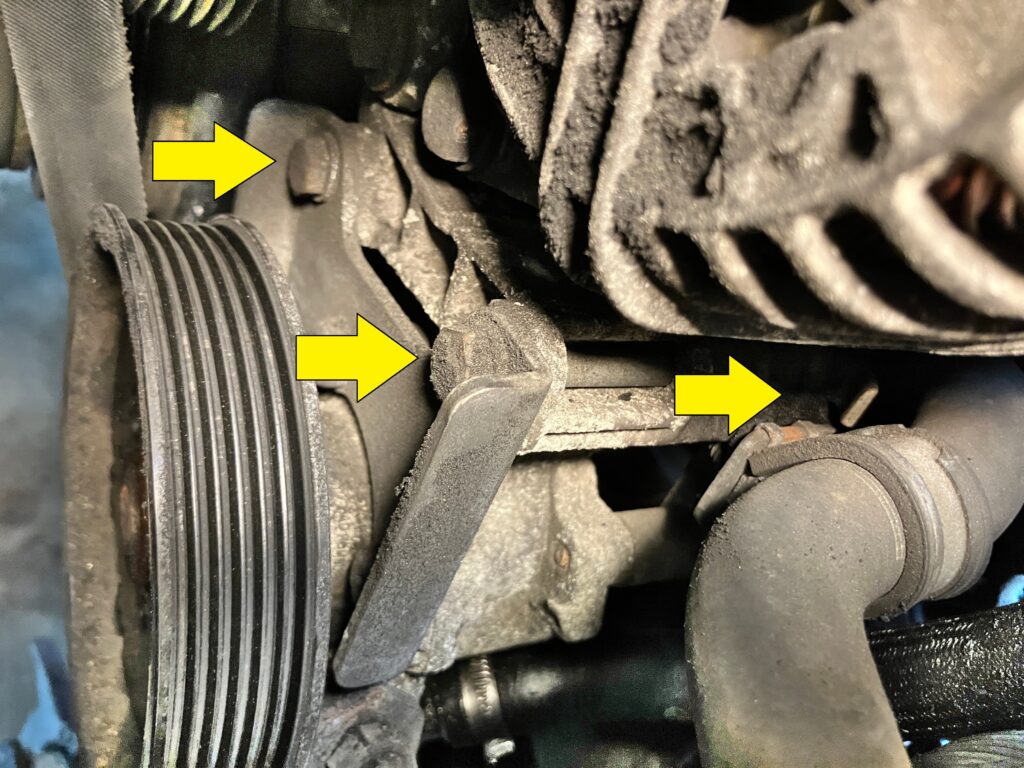
The 13mm bolts are plainly visible in this pic, but the 10mm screw isn’t from this angle.
The one difficulty I had was that the 17mm fitting didn’t rotate freely on the metal pipe it seals, requiring me to gingerly clamp the pipe in a pair of Vise Grips while I soaked the fitting in SiliKroil and worked it back and forth until it was free to rotate. I was also surprised to find a rubber o-ring at the end of the fitting. It appeared to be the same size as an o-ring #6 air conditioning fitting, which, fortunately, I had.
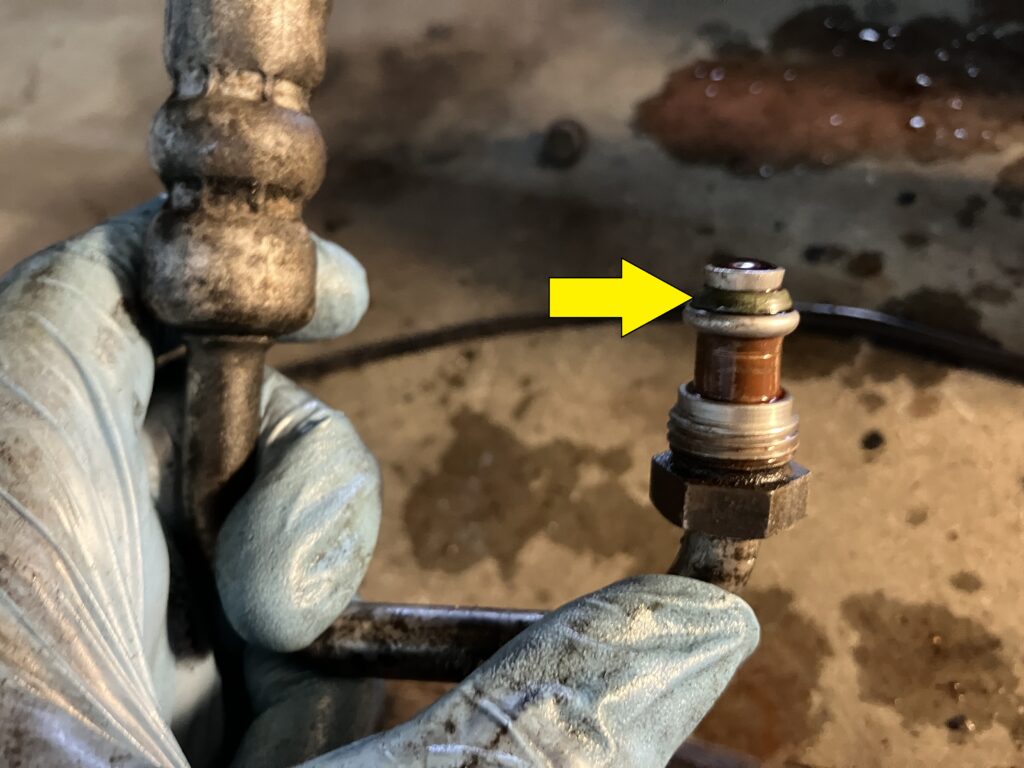
The surprise o-ring.
And with that, out with the old pump, clean the spindle on the replacement and the hole in the pulley to make sure it slides on easily, bolt the new pump in place, attach the hoses and fittings, attach the pulley (again, my choice because the 17mm fitting is easier to get at with the pulley off), fill the reservoir with ATF, back the car off the ramps, jack up the nose, six turns left-lock to right-lock to work the air out of the lines, re-check the level in the reservoir, check for leaks, test-drive, and… the problem appears to be gone. Done. More of this kind of repair, please!
This was the fourth repair on the E39 since July—I had the cracked and badly-pitted windshield replaced, did the front sway bar links to knock the banging over bumps, muscled my way through the left front wheel bearing replacement to cure wheel shimmy on braking, and now this. None of these are signs that the car is falling apart. Rather, they were deferred-maintenance issues. I’ve long described this car as the best daily-driver BMW I’ve ever owned. It’s still that. It felt good to give it the attention it deserves.
—Rob Siegel
____________________________________
Rob’s latest book, The Best of The Hack Mechanic, is available here on Amazon, as are his seven other books, including Just Needs a Recharge: The Hack Mechanic Guide to Vintage Air Conditioning. Signed copies can be ordered directly from Rob here.
Tags: BMW e39 easy repair pump replacement