
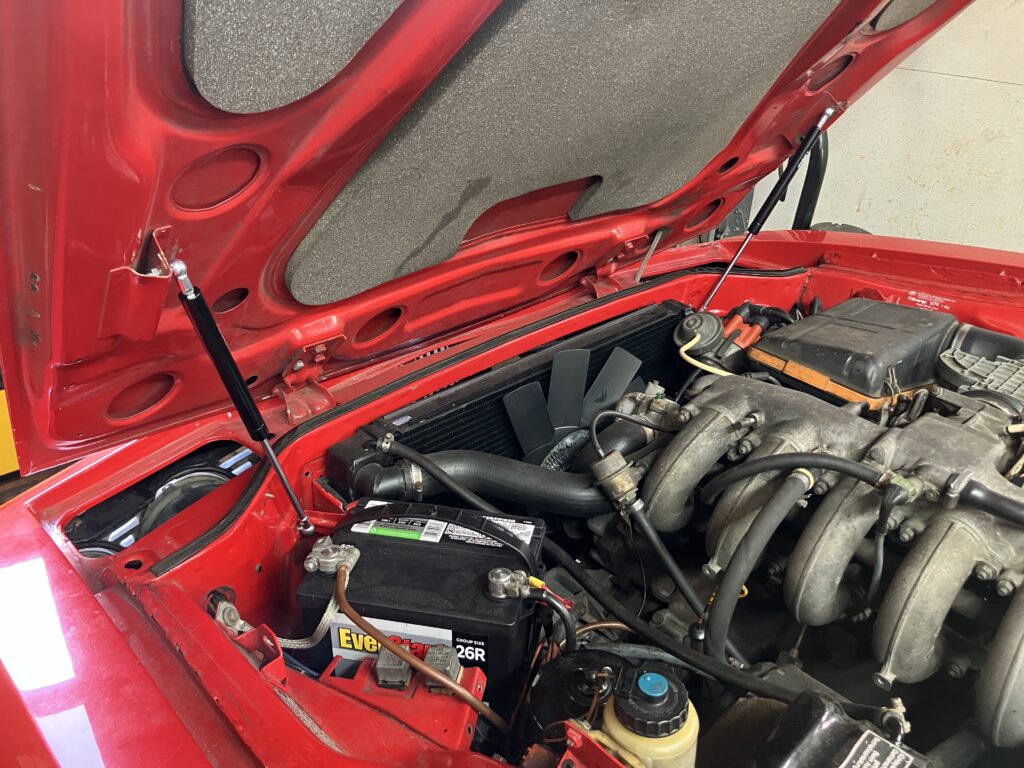
You wouldn’t think that replacing the hood support mechanism in my 1973 E9 3.0CSi would necessitate a three-part series. I certainly didn’t expect it. But hey, sometimes these little projects that we expect to be trivial turn out to be anything but.
When last we left this a few weeks ago, I was adamantly against drilling any holes in, or welding anything to, the inner fender, and decided to try the approach that member nosmonkey on e9coupe.com posted where he installed the mounting studs for the bottom of the struts on the nose panel. The poster did caution that this “wouldn’t work for anyone with stock battery tray as when shut the strut would interfere,” but if all that was necessary was a smaller battery, I was all in.
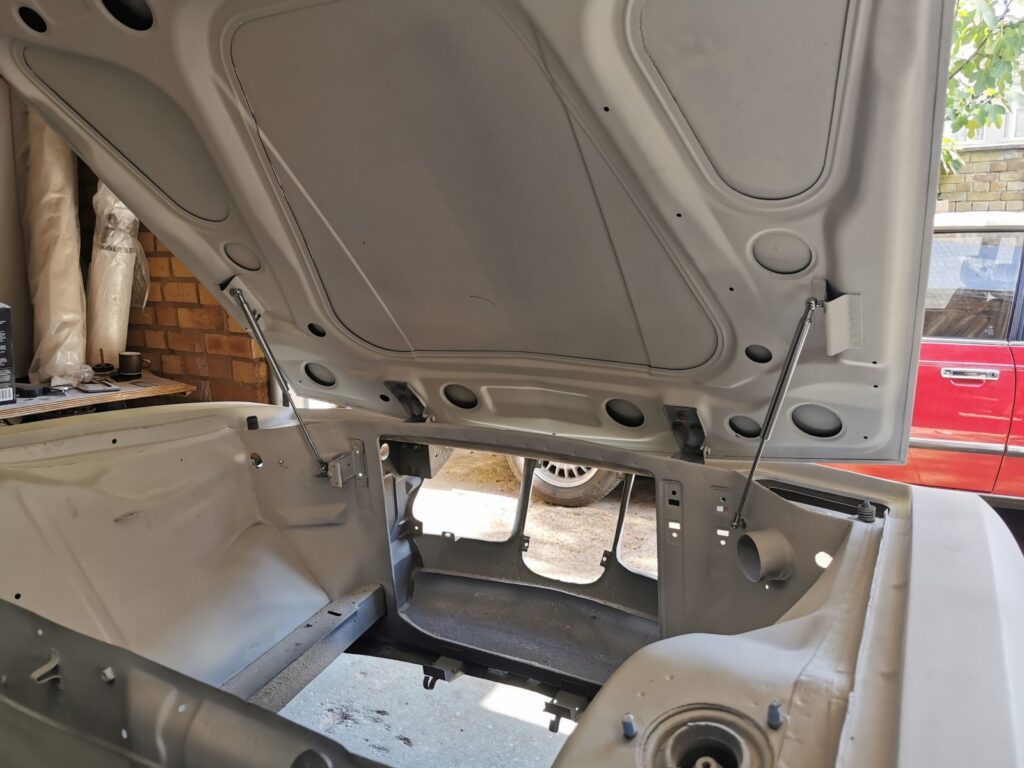
This looked way promising except for the missing battery tray on the left. (photo by member nonsmokey on e9coupe.com)
So I tried it. I ordered a set of inexpensive 15-inch 20-pound struts on Amazon and tried to eyeball the bottom stud mounting locations from the photo. I figured I’d do the right strut first, and if I got that working, I’d cross the bridge of dealing with the issue that my car has the original battery tray and a full-sized battery on the left. I also, for $18, ordered a telescoping hood prop with rubber ends, as this provided me adjustability that the broomstick I’d been using for 38 years didn’t, and I figured it would be useful during installation (it was).
While I wasn’t against drilling holes in the nose, I first tried using the existing holes for the radiator bracket. My first attempt failed because, despite what I thought the photo above showed, the strut hit the breather “snorkel” in the nose.
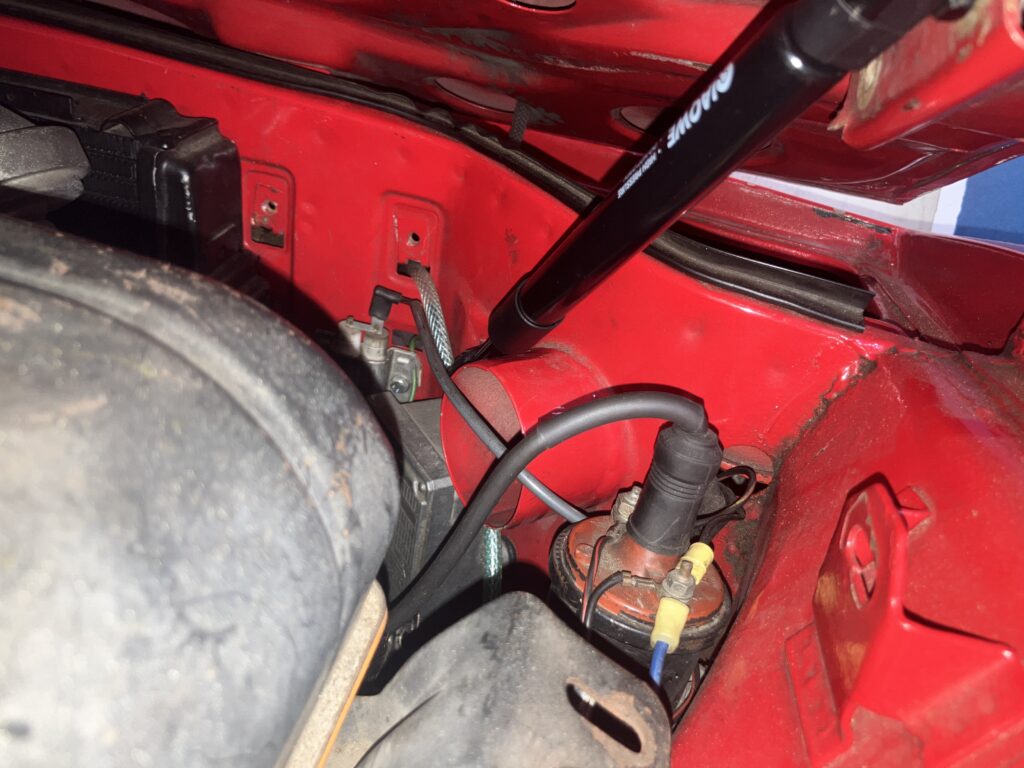
No dice.
I relocated the mounting point to the one above and to the left of the one in the photo above, and it almost worked—a new problem was that the end of the strut into which the ball post snaps was at the edge of its freedom of movement, and was causing the strut to pop off the ball.
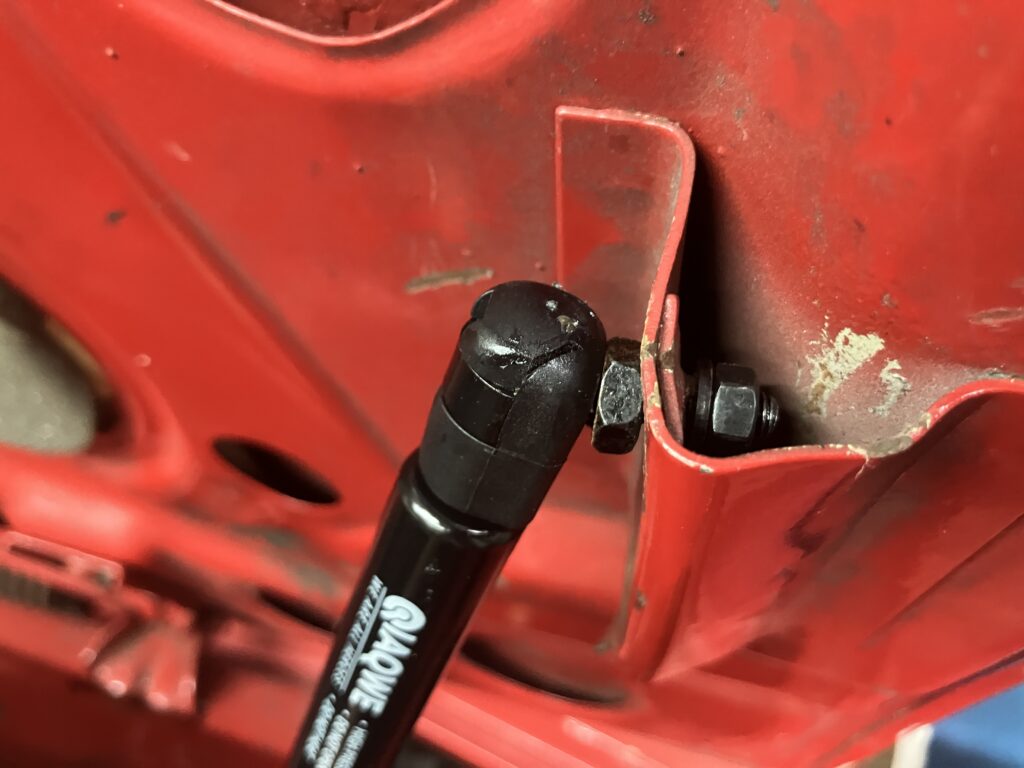
You can see what’s going on.
This dragged me down the rabbit hole of some of the subtle differences between these gas-pressurized hood struts. The ones shown have plastic ends with clips that snap in place over the ball. Another design has metal ends that use a removable wire clip that holds the ball in place. If you try to press it onto the ball-post, you bend the clip and ruin it, so instead you need to either install the ball-post in the car first, then put the strut end over it, and insert the clip (harder than it sounds), or assemble everything together with the strut off the car and then insert both posts into their mounting holes and put their nuts on the back. Another ordering choice is whether the ends of the strut can be threaded on and off, or are permanent parts of the strut.
All of this gets into the pros and cons of using Amazon for sourcing these things versus the venerable McMaster-Carr (who still has the best website of any vendor in the known universe). On the one hand, Amazon is convenient, and with Prime, I can return stuff easily if it’s not what I want, but the detail on and quality of their parts can be spotty. McMaster is typically more expensive, but they don’t sell junk, every strut has an engineering drawing with accurate dimensions, and the options of what type of ends are clearly listed. So my plan was use Amazon to figure out what I needed, return stuff if I didn’t damage it or lose any parts (and I was buying already-returned struts for as low as $15 a pair, so if I had to eat them, I didn’t really care), and then switch to McMaster when I knew exactly what to order.
Thread-on metal strut ends with the wire clips were available cheaply through Amazon, so I tried a set of those on my existing struts. They gave me just enough clearance that, for the first time, the right-side strut worked.
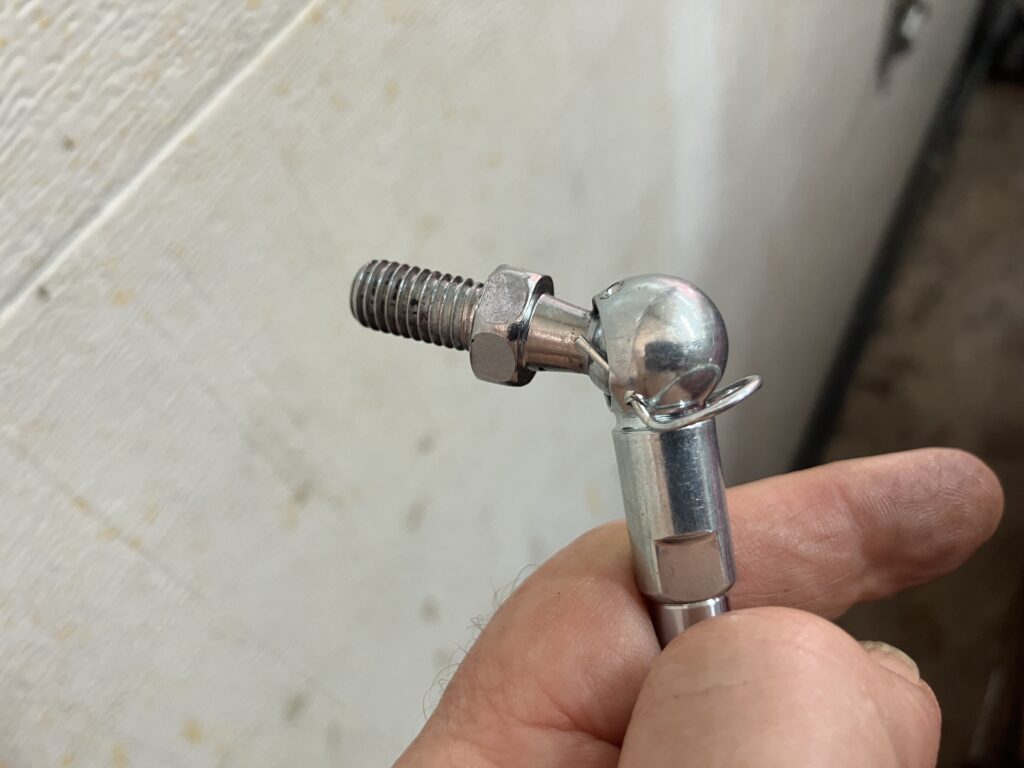
My having mis-aligned the wire clip during installation.
Moving over to the left side, I removed the battery (well, my son Ethan removed it for me), unbolted the horn relay, then tried a few mounting locations before I had success, the last two of which required drilling holes (better there than in the inner fenders). Eventually I got the hood to go up and down without either strut popping off its ball-post. The 20-pound pass pressure was woefully inadequate, but that was easily addressable by ordering stiffer struts.
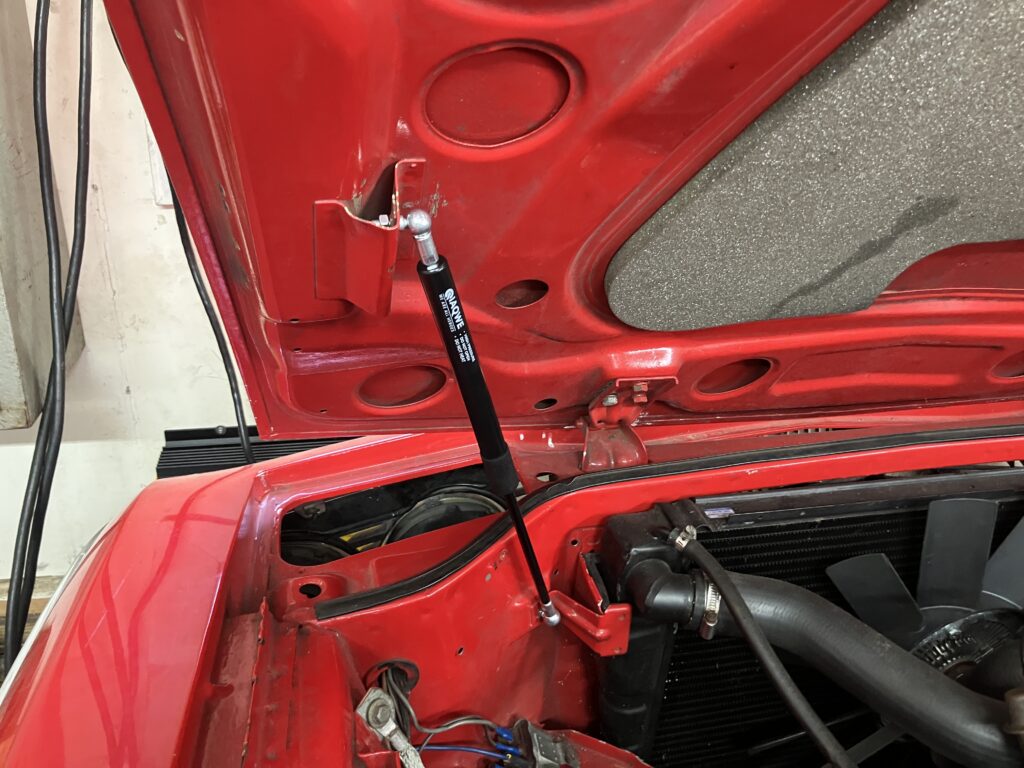
Success on the left side. You can see the disconnected horn relay lying on its side, as it was previously mounted up high, right where the strut needed to tilt downward as the hood closed.
Now I had to deal with the battery. My hope was that I could create enough clearance by simply using something smaller. My initial thought was to look at lithium batteries, but in terms of both available sizes and cost, this was nowhere near the slam-dunk that I expected it to be.
Then I remembered that my 2002tii uses a small Group 26R battery. Due to the utility of standardizing battery sizes in multiple cars, I also use a 26R in the ’73 2002 and my Lotus Europa. Unfortunately, all three of these cars are currently in storage in Monson, so I didn’t have a 26R that I could test-fit. I downloaded a battery size chart, verified that there weren’t too many choices for something less wide that wasn’t also tall (well, other than a tractor battery), made a mock-up of the 26R with a cardboard box, test-fit it in the E9, and carefully closed the hood. I couldn’t tell if the strut just cleared the box or was hitting it and bending the cardboard, but for $79 at Walmart, I was willing to take the chance, as the worst case if I was wrong was that I could use the battery in three other cars.
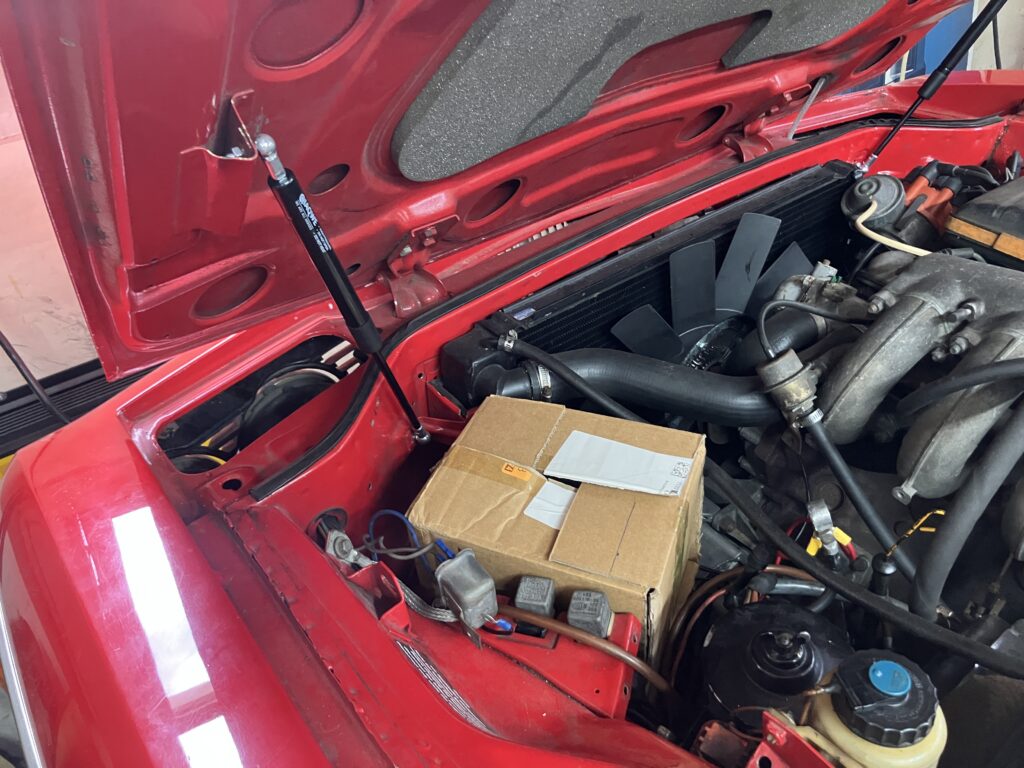
This new experimental battery is even lighter than lithium, but its reserve capacity is horrible :^)
Ethan and I ran down to Walmart and grabbed the Group 26R battery. He dropped it in for me. We carefully lowered the hood, and… everything fit. I then mounted the horn relay inside of the nose so it wasn’t in the way of the strut.
With success all but assured, I ordered a third set of struts from Amazon, these with 35-pound pressure. They’re still not stiff enough to hold the hood up, but they solve the problem that I set out to solve—allowing me to lift up the hood by myself without hurting my back. Once it’s up, I can put the telescoping hood prop to hold it in place.
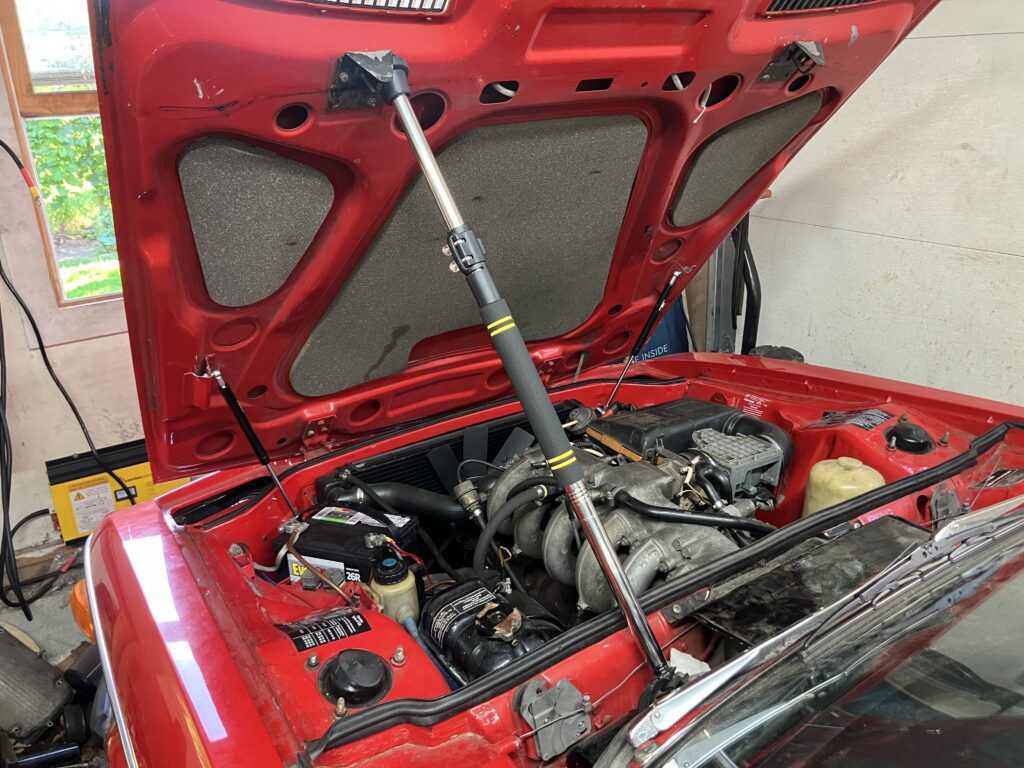
It’s good!
I wasn’t necessarily looking for an opportunity to bring the E9 out and pop the hood for the public, but a few days after I finished this project, it was BMW Day at nearby Larz Anderson Auto Museum, so the car went on its first drive since late last fall. I had an unrelated early errand to run, and when it was completed, I headed for Larz. I didn’t expect to get there so early that I was the first one on the field. This let me take the obligatory photo of the car all alone with the castle in the background before I parked it on the edge so the sun would hit it and light up its still-gorgeous 38-year-old base-coat / clear-coat Signal Red paint.


From the “my life isn’t hell” file.
As other cars came onto the field, a gorgeous Polaris E9 parked right next to me.
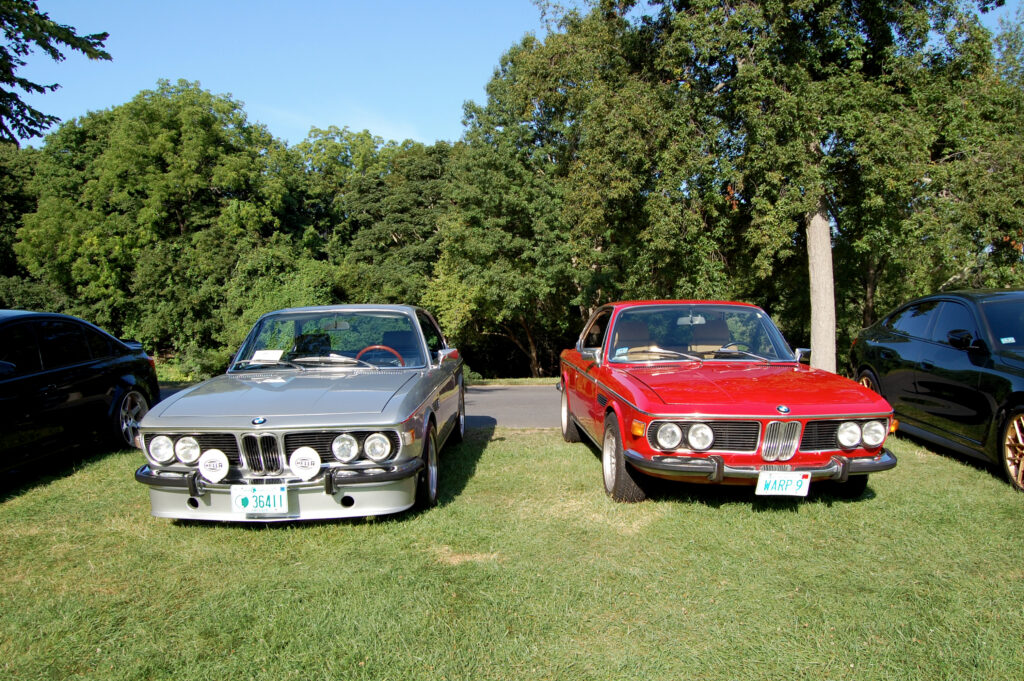
It’s an exclusive club.
I chatted with the owner and learned that the car had an S38 engine in it. Naturally I wanted to see. He opened up the hood, and the first thing that grabbed my attention wasn’t the engine but… the hood struts.
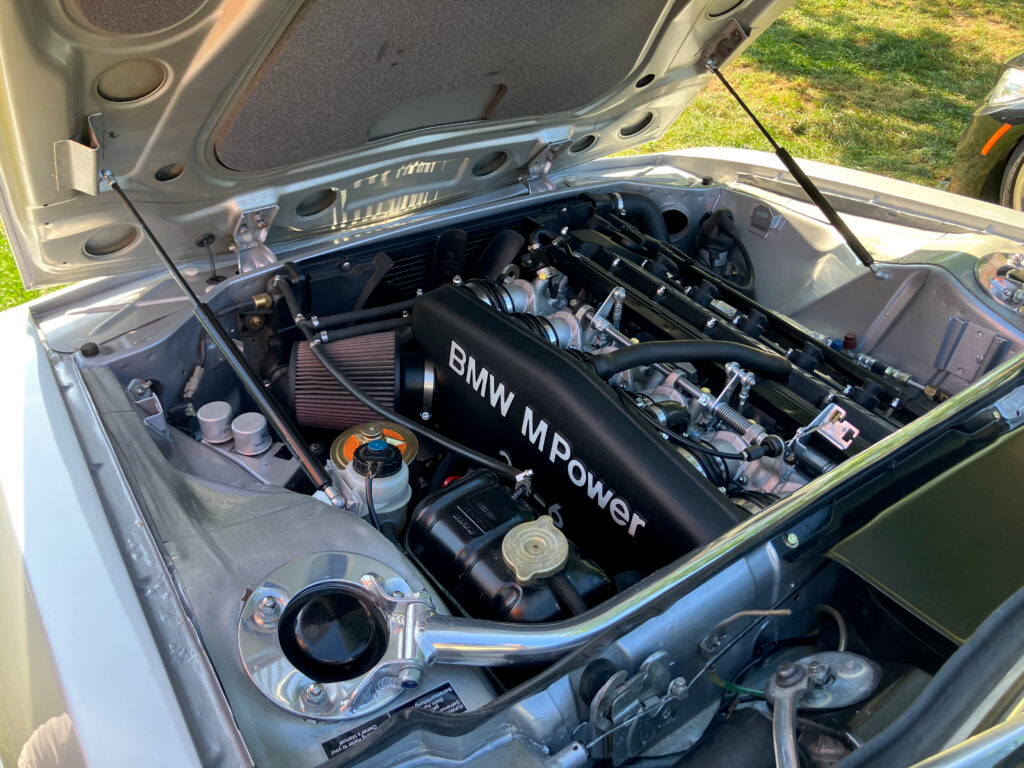
Wasn’t expecting that.
I immediately focused on how they were mounted, and noticed that, unlike all the pics I saw on the e9coupe forum of hood struts mounted to the inner fenders, these didn’t have welded-on mounting tabs. Instead, holes for the ball-studs were simply drilled. To be clear, I’m making no value judgement on this. If a shop has done this before and knows where to drill one set of holes that will work, more power to them. I was just unwilling to take the risk of being wrong.
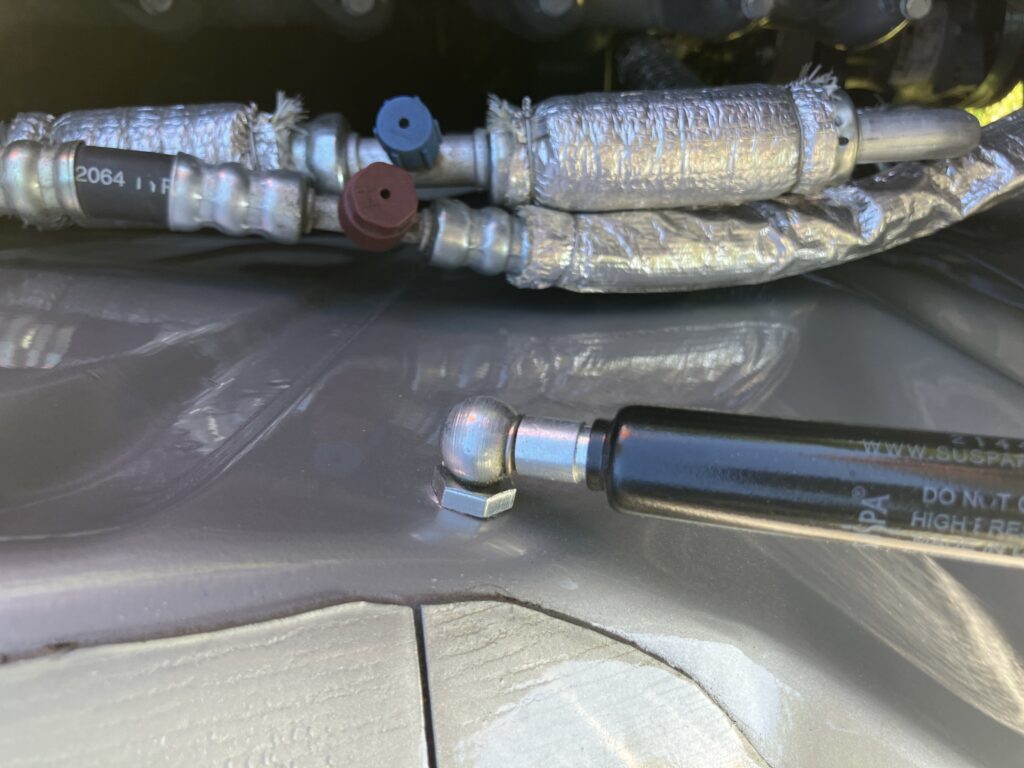
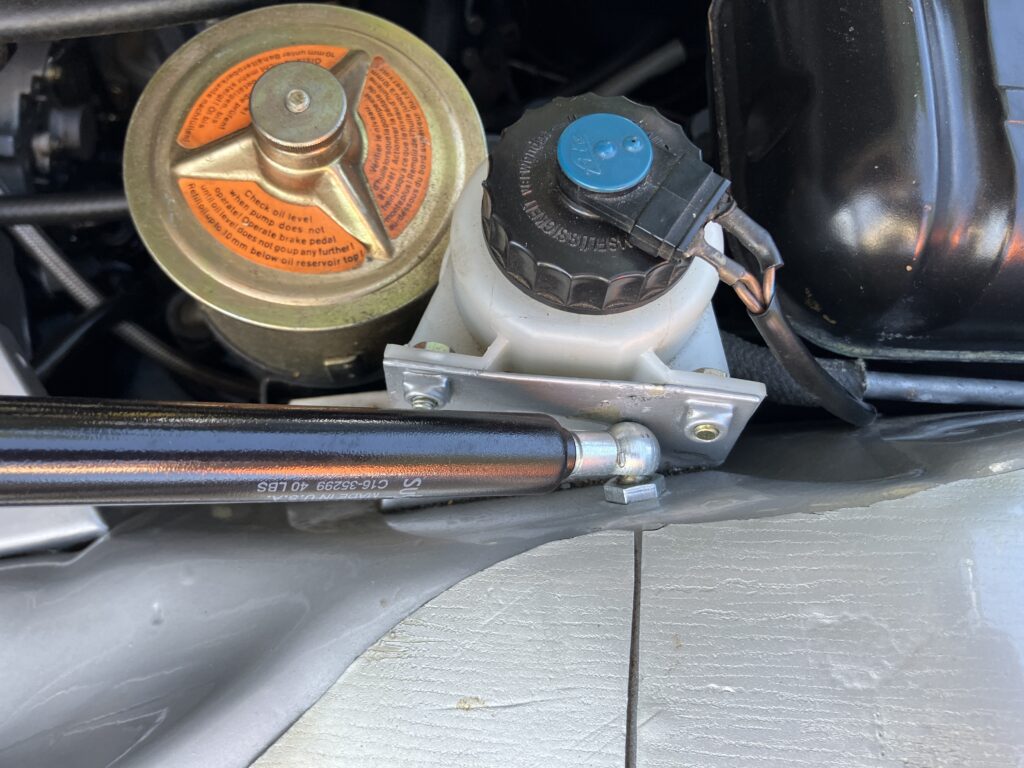
I think I’ll live with my $23 35-pound Amazon hood struts for a bit, see how they behave with repeated opening and closing, and watch the ball-studs and their mounting points for metal deformation. I’m currently using ball-studs with skinny M6 threads, as those required drilling smaller holes than beefier M8 studs. If I have to pull it apart, I’ll probably reinforce all the locations with fender washers on both sides to spread the load, and then try ordering struts with 40 or 45-pound pressure.
But for now, I’m just happy that, for less than a hundred dollars in assorted parts, I’m able to open and close the E9’s hood without risking injury.
—Rob Siegel
____________________________________
Rob’s newly-expanded book The Best Of The Hack Mechanic™: 40 years of hacks, kluges, and assorted automotive mayhem, is available on Amazon here. His other seven books are available here on Amazon, or you can order personally-inscribed copies (including the new Best Of) from Rob’s website, www.robsiegel.com/books.