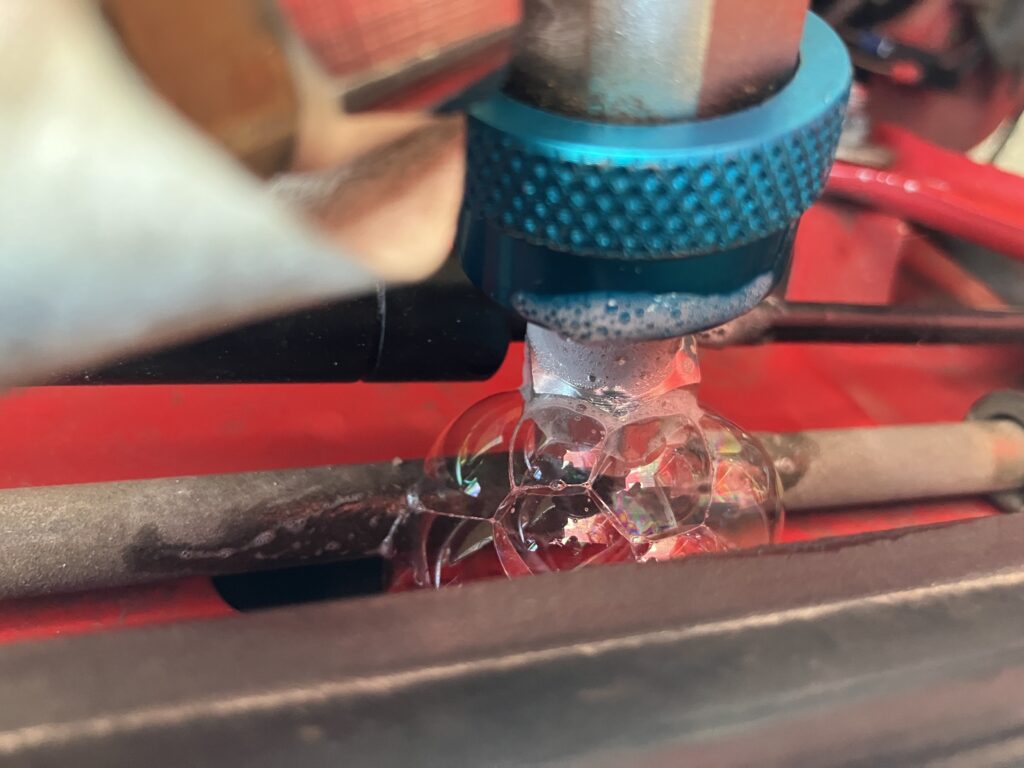
Last week, I explained how I was ready to charge up the resurrected a/c in the FrankenThirty, but found that the system wasn’t holding pressure due to a leak at the big #12 suction fitting on the compressor. As I’d explained way back in February, this fitting had been troublesome. O-ring fittings are designed so that the depth of the female fitting and the length of the male one conspire so that when the male fitting bottoms out—when there’s metal-on-metal contact—the o-ring is squeezed about right. You shouldn’t need to have to judge how much torque to put on the fitting and how much to squeeze the o-ring. And yet that’s exactly what I had to do. Too loose and it’d leak. Too tight and it’d cut the o-ring. The female fitting is part of the compressor (and a bolt-on part at that, but I’d already replaced it, as the one originally installed on the rebuilt compressor was damaged in shipping). I didn’t see anything wrong with the male one, but there are three rubber a/c hoses in the engine compartment, and this was the last that I hadn’t replaced. I wasn’t certain that a new one would fix the leak, but for $61 shipped on Rockauto, I gambled. And it paid off—I replaced the hose, pressure-tested the system overnight, and this time it held and produced no bubbles when I slathered it in Big Blu leak-detection fluid.

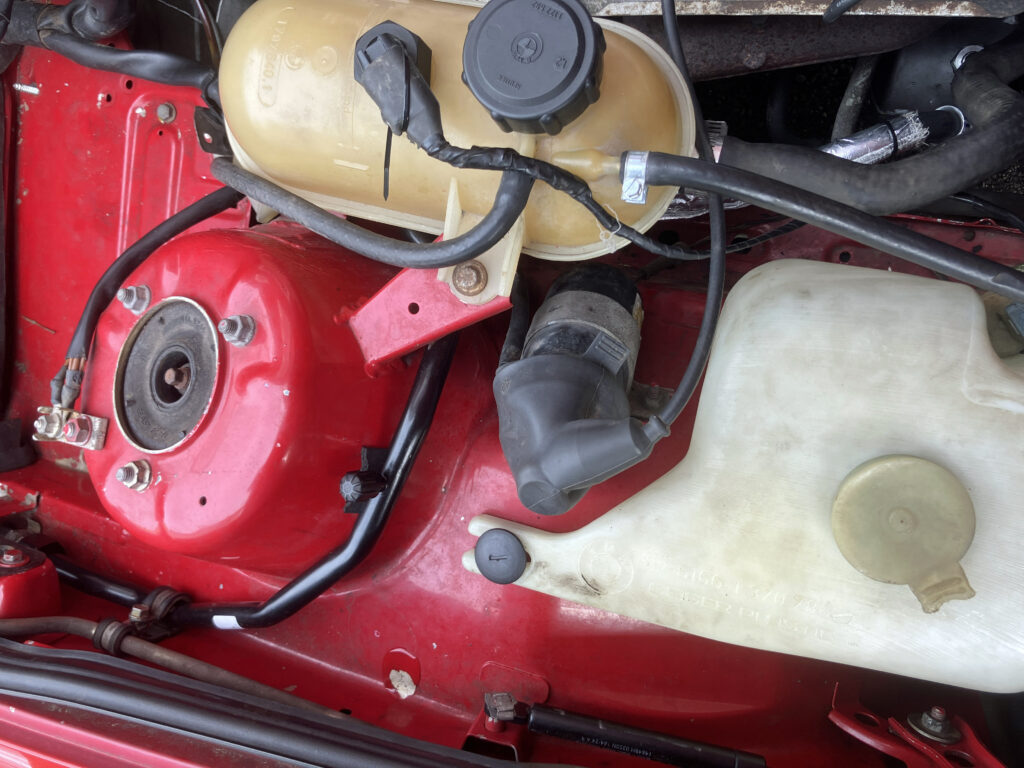
The just-replaced hose (the one with the black metal line) stretches from corner to corner in this picture—from the metal attachment point to the hard line that runs into the cabin all the way to the heat-shield-covered rubber section going to the compressor.
Before I hooked up the vacuum pump and evacuated and charged the system, I wanted to do one more thing. Systems that originally had R12 in them like the E30 have service ports with threaded screw-on valves that are basically like Schrader tire valves. The low-side fitting is 1/4″ 7/16-20. The high-side fitting on most cars is a smaller 3/16″ 3/8-24 fitting, but on some cars it’s the same size as the low side. Cars built after 1994 with R134a have non-threaded quick-connect fittings. When you convert from R12 to R134a, you’re supposed to use adapters for the new fittings, and doing so is a good idea. In addition to the different fittings preventing cross-contamination of refrigerants, the new fittings are inherently superior in that, when you use the old thread-on fittings, after you’re done charging and you unthread the hoses from them, they dump a fair amount of refrigerant, whereas the new ones don’t spray a drop.
However, I found three problems using the adapters. The first was that some of them are designed to have you unscrew the valve stem from the original R12 fitting and thread the adapter on top of it and rely on its valve stem. I tried the ones I had at the house, and one of them leaked.
That’s a big “no.”
The second is that, on an E30, the high-side fitting sticks out to the side and is incredibly close to the hood mechanism, and there didn’t seem to be enough room to close the hood with an adapter installed.
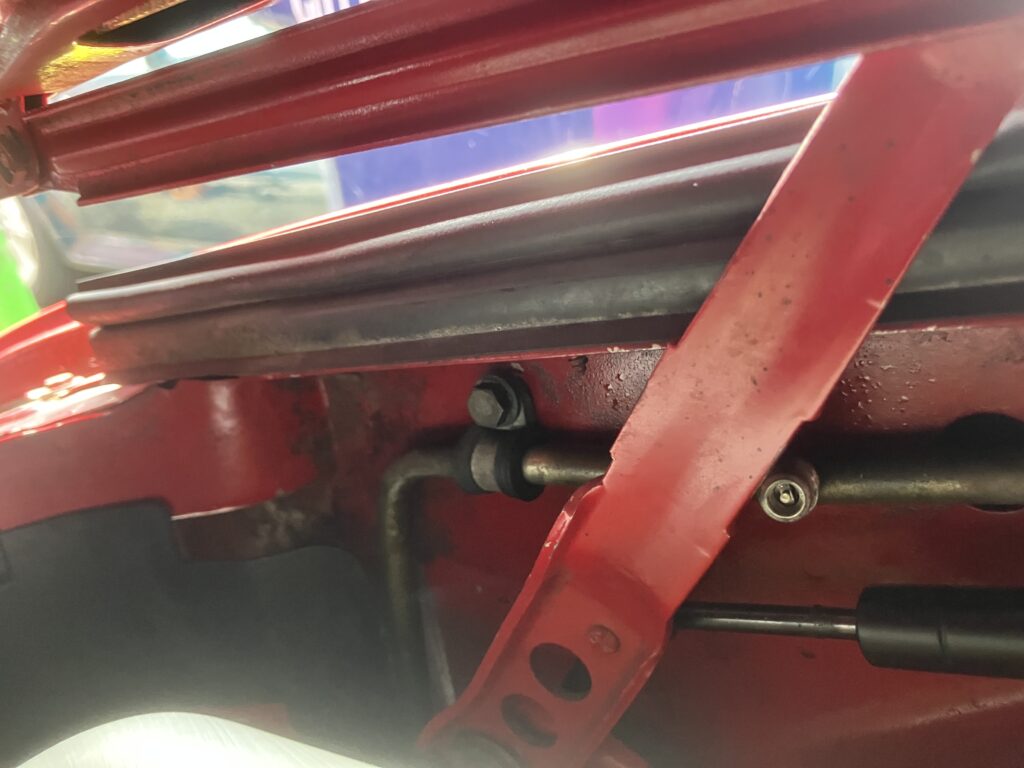
It’s a very close shave even without the adapter.
The third is that most R12-to-R134a adapters for the high side are the smaller 3/16″ fitting, but on vintage BMWs, the two R12 charging fittings are both the larger 7/16″ size, and I couldn’t find any high-side adapter on Amazon that was 7/16. As it happened, when I went into O’Reilly’s to buy a second can of R134a, they had an “A/C Pro VA-LH11” kit that had both thread sizes for the high-side fitting, including the larger 7/16 one. I bought the kit just to keep it around, but because of the hood-mechanism clearance problem, resigned myself to charging up the system using the old R12 fittings, even if it sneezed out a goodly amount of refrigerant when the manifold gauge set was disconnected.
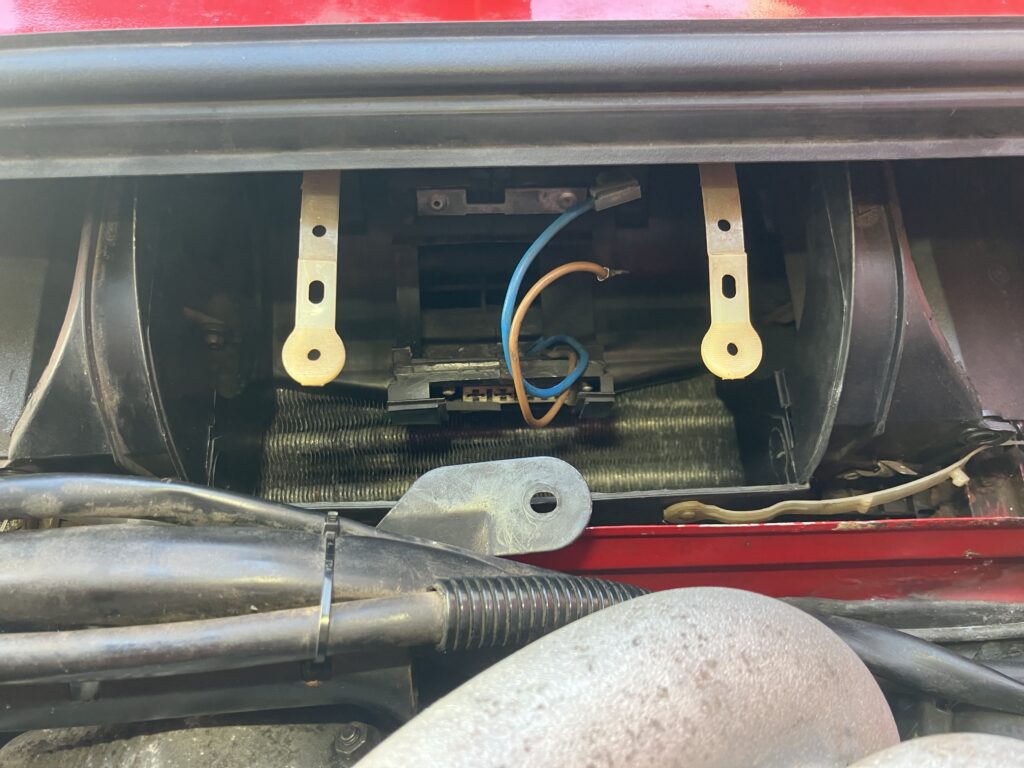
A quasi-related issue which turned out to be a supreme time-waster was that, while I waited the 90 minutes for the vacuum pump to draw the system down, I thought I’d swap out the squeaky blower fan. I’d bought some $40 off-brand one on Amazon to replace it, figuring that all it had to do was not squeak on the drive down to The Vintage and back and I’d be happy. I knew how to expose and remove the fan as I did it last fall when I addressed the mouse-contamination of the heater box, so there was no learning curve to walk up. I had the original fan exposed and removed in short order.
Easy peasy.
Unfortunately, when I installed the new fan, secured it, verified it turned free, and turned it on, I heard the sound of plastic hitting plastic. The fan blades had basically self-destructed. So much for the low-cost option. I sprayed a healthy amount of SiliKroil on the bearings of the original fan and put it back in.
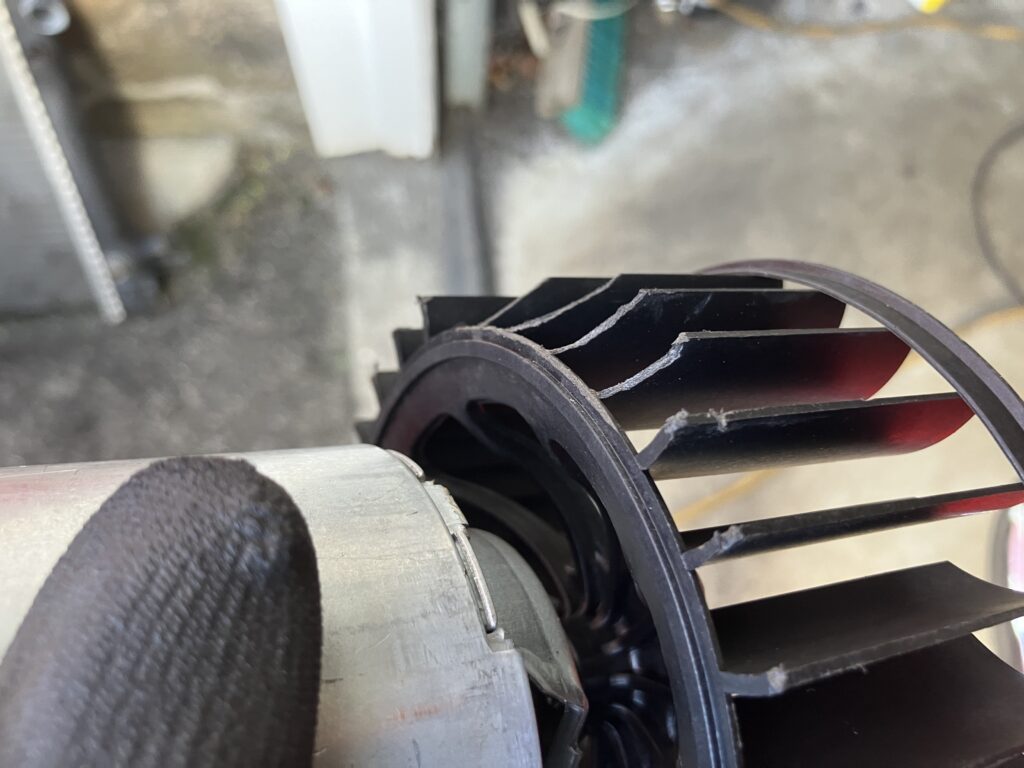
Live and learn.
But once the new fan was reinstalled, for some reason, when I tested it, it only worked on high, which indicates a failure of the resistor pack that slides in beneath the fan. This was odd, as the fan worked before on all four speeds. Fortunately, sliding some sandpaper between the contact points in the resistor pack fixed the problem.
So, with all systems go, I finally charged up the FrankenThirty’s a/c system. Online sources said that an R134a-converted E30 should take about 28 to 32 ounces of refrigerant. In a perfect world, that would be two 16-oz cans, but for some reason, R134a these days only comes in 12-oz cans. I shot in the first can while watching the gauges carefully and verifying that the low side was going low and the high side was going high but not high enough to indicate an obstruction. I then shot in the second can, undid the hoses to the gauge set (during which, yes, the old service fittings did the Mentos-in-the-Coke thing), and went for a drive.
And?
37-degree vent temps, baby! Of course, it was only 65 degrees out so that number isn’t as impressive as it would be in Yuma in August. But still ,wahoo! I had resurrected the a/c in the FrankenThirty. It wasn’t quite accomplished on a shoestring budget the way I’d hoped, but if the goal is a cold car and you find things that need to be replaced to achieve that, it’s hard to shut off the spending tap.
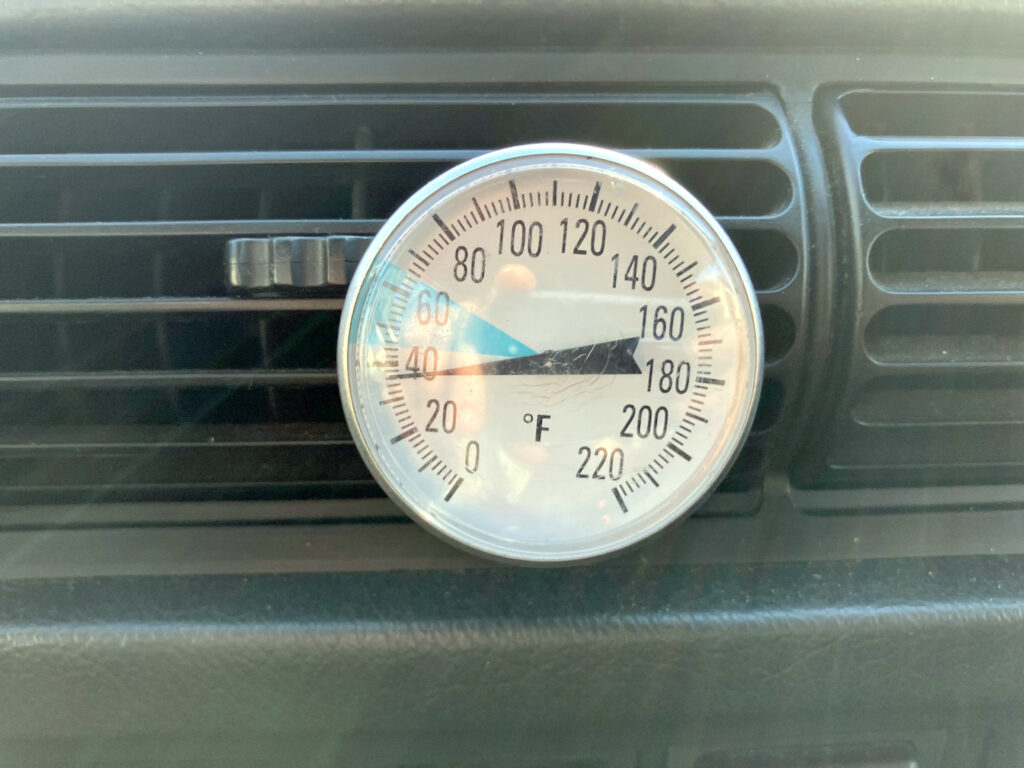
Totally not kidding about 37 degrees.
If you’re curious, here’s the cost breakdown. What began as “I’m just going to find any leaks, then charge it up with R12 because that way it’ll get cold without my having to modify anything,” then migrated into “What’s all this black stuff in my compressor? I’ll just take it apart and clean it,” which became “Hell, I’ll just rebuild it,” which morphed into “Okay, I need to buy a rebuilt compressor,” then slippery-sloped into “Whoa that’s a lot of rust coming out when I blow out the hoses; I’d be an idiot not to replace the condenser oh hey a new Nissens parallel-flow unit is only a hundred bucks but I am not replacing a single hose unless there’s documented evidence that it’s leaking,” then reality-checked into “okay, they’re all leaking.” In the end, I replaced every a/c component except the condenser fan and the hard metal lines. The $50 used evaporator core wasn’t necessary because the original one was leaking, but because I couldn’t get the mouse stink out of its dense fins no matter how many times I soaked it in enzyme-based cleaner. There’s probably some odds and ends I’m forgetting, but still, this ain’t bad. And obviously, if you had to pay someone to do all this, it would be so cost-prohibitive that you’d never do it in a ratty car like the FrankenThirty.
| compressor seal kit | $17 | |
| ester oil, o-rings | $23 | |
| drier | $19 | |
| expansion valve | $14 | |
| rebuilt compressor | $100 | |
| condenser | $99 | |
| #6 fitting | $10 | |
| o-rings | $15 | |
| plug housing | $23 | |
| discharge hose | $45 | |
| evaporator core | $50 | |
| suction hose | $61 | |
| R134a | $25 | |
| total | $502 | |
The goal was to get the a/c working in time for the trip to The Vintage, and I made it with three weeks to spare. And yes, the fact that I’ve been prioritizing that is a sign that the car itself doesn’t appear to have acute needs that would prevent the drive. I have a mini-trip to take down to Connecticut to pick up some parts that’ll be a good dry run for the real thing, but this is looking good.
—Rob Siegel
____________________________________
Rob’s newest book, The Best of The Hack Mechanic, is available here on Amazon, as are his seven other books. Signed copies can be ordered directly from Rob here.