
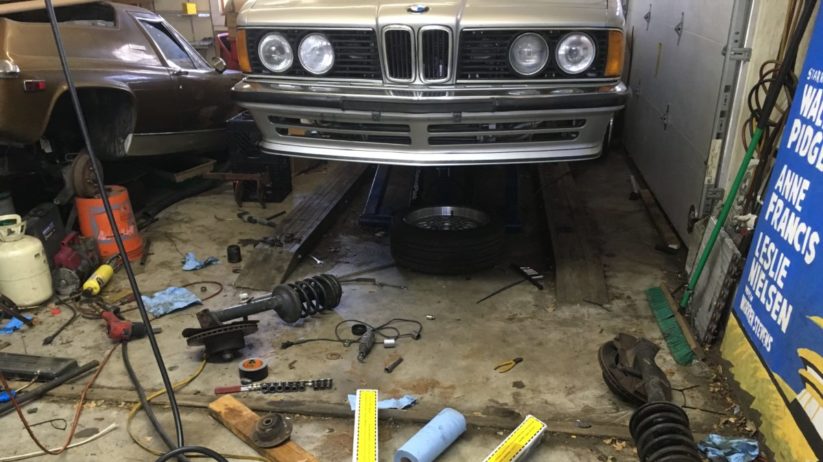
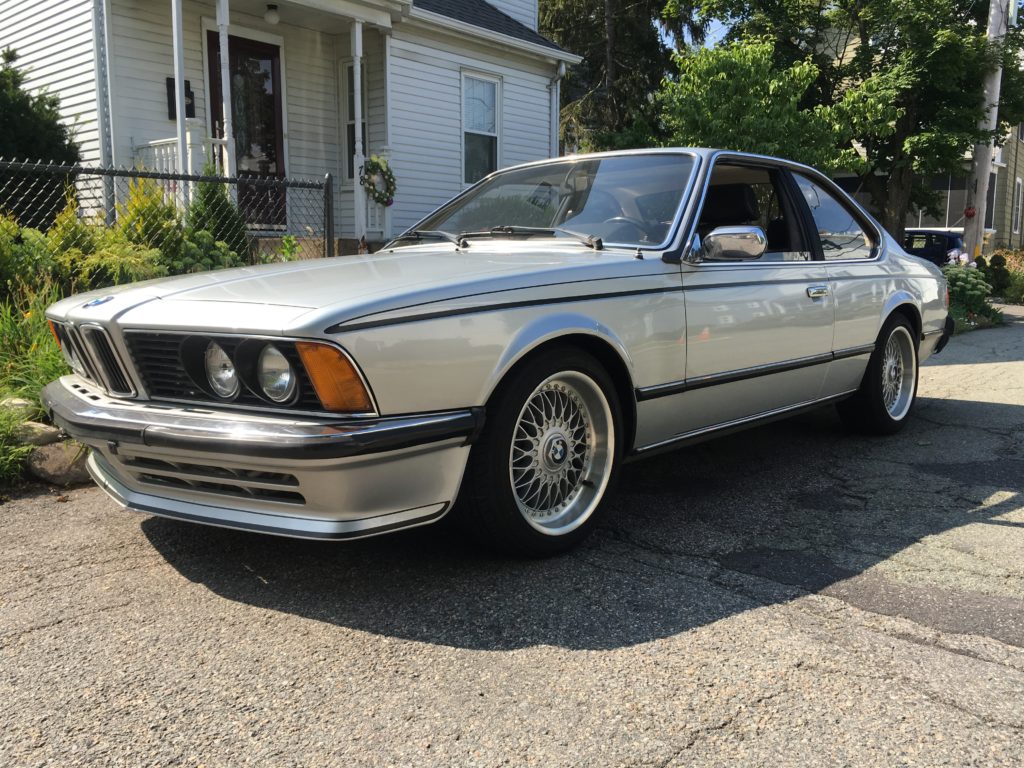
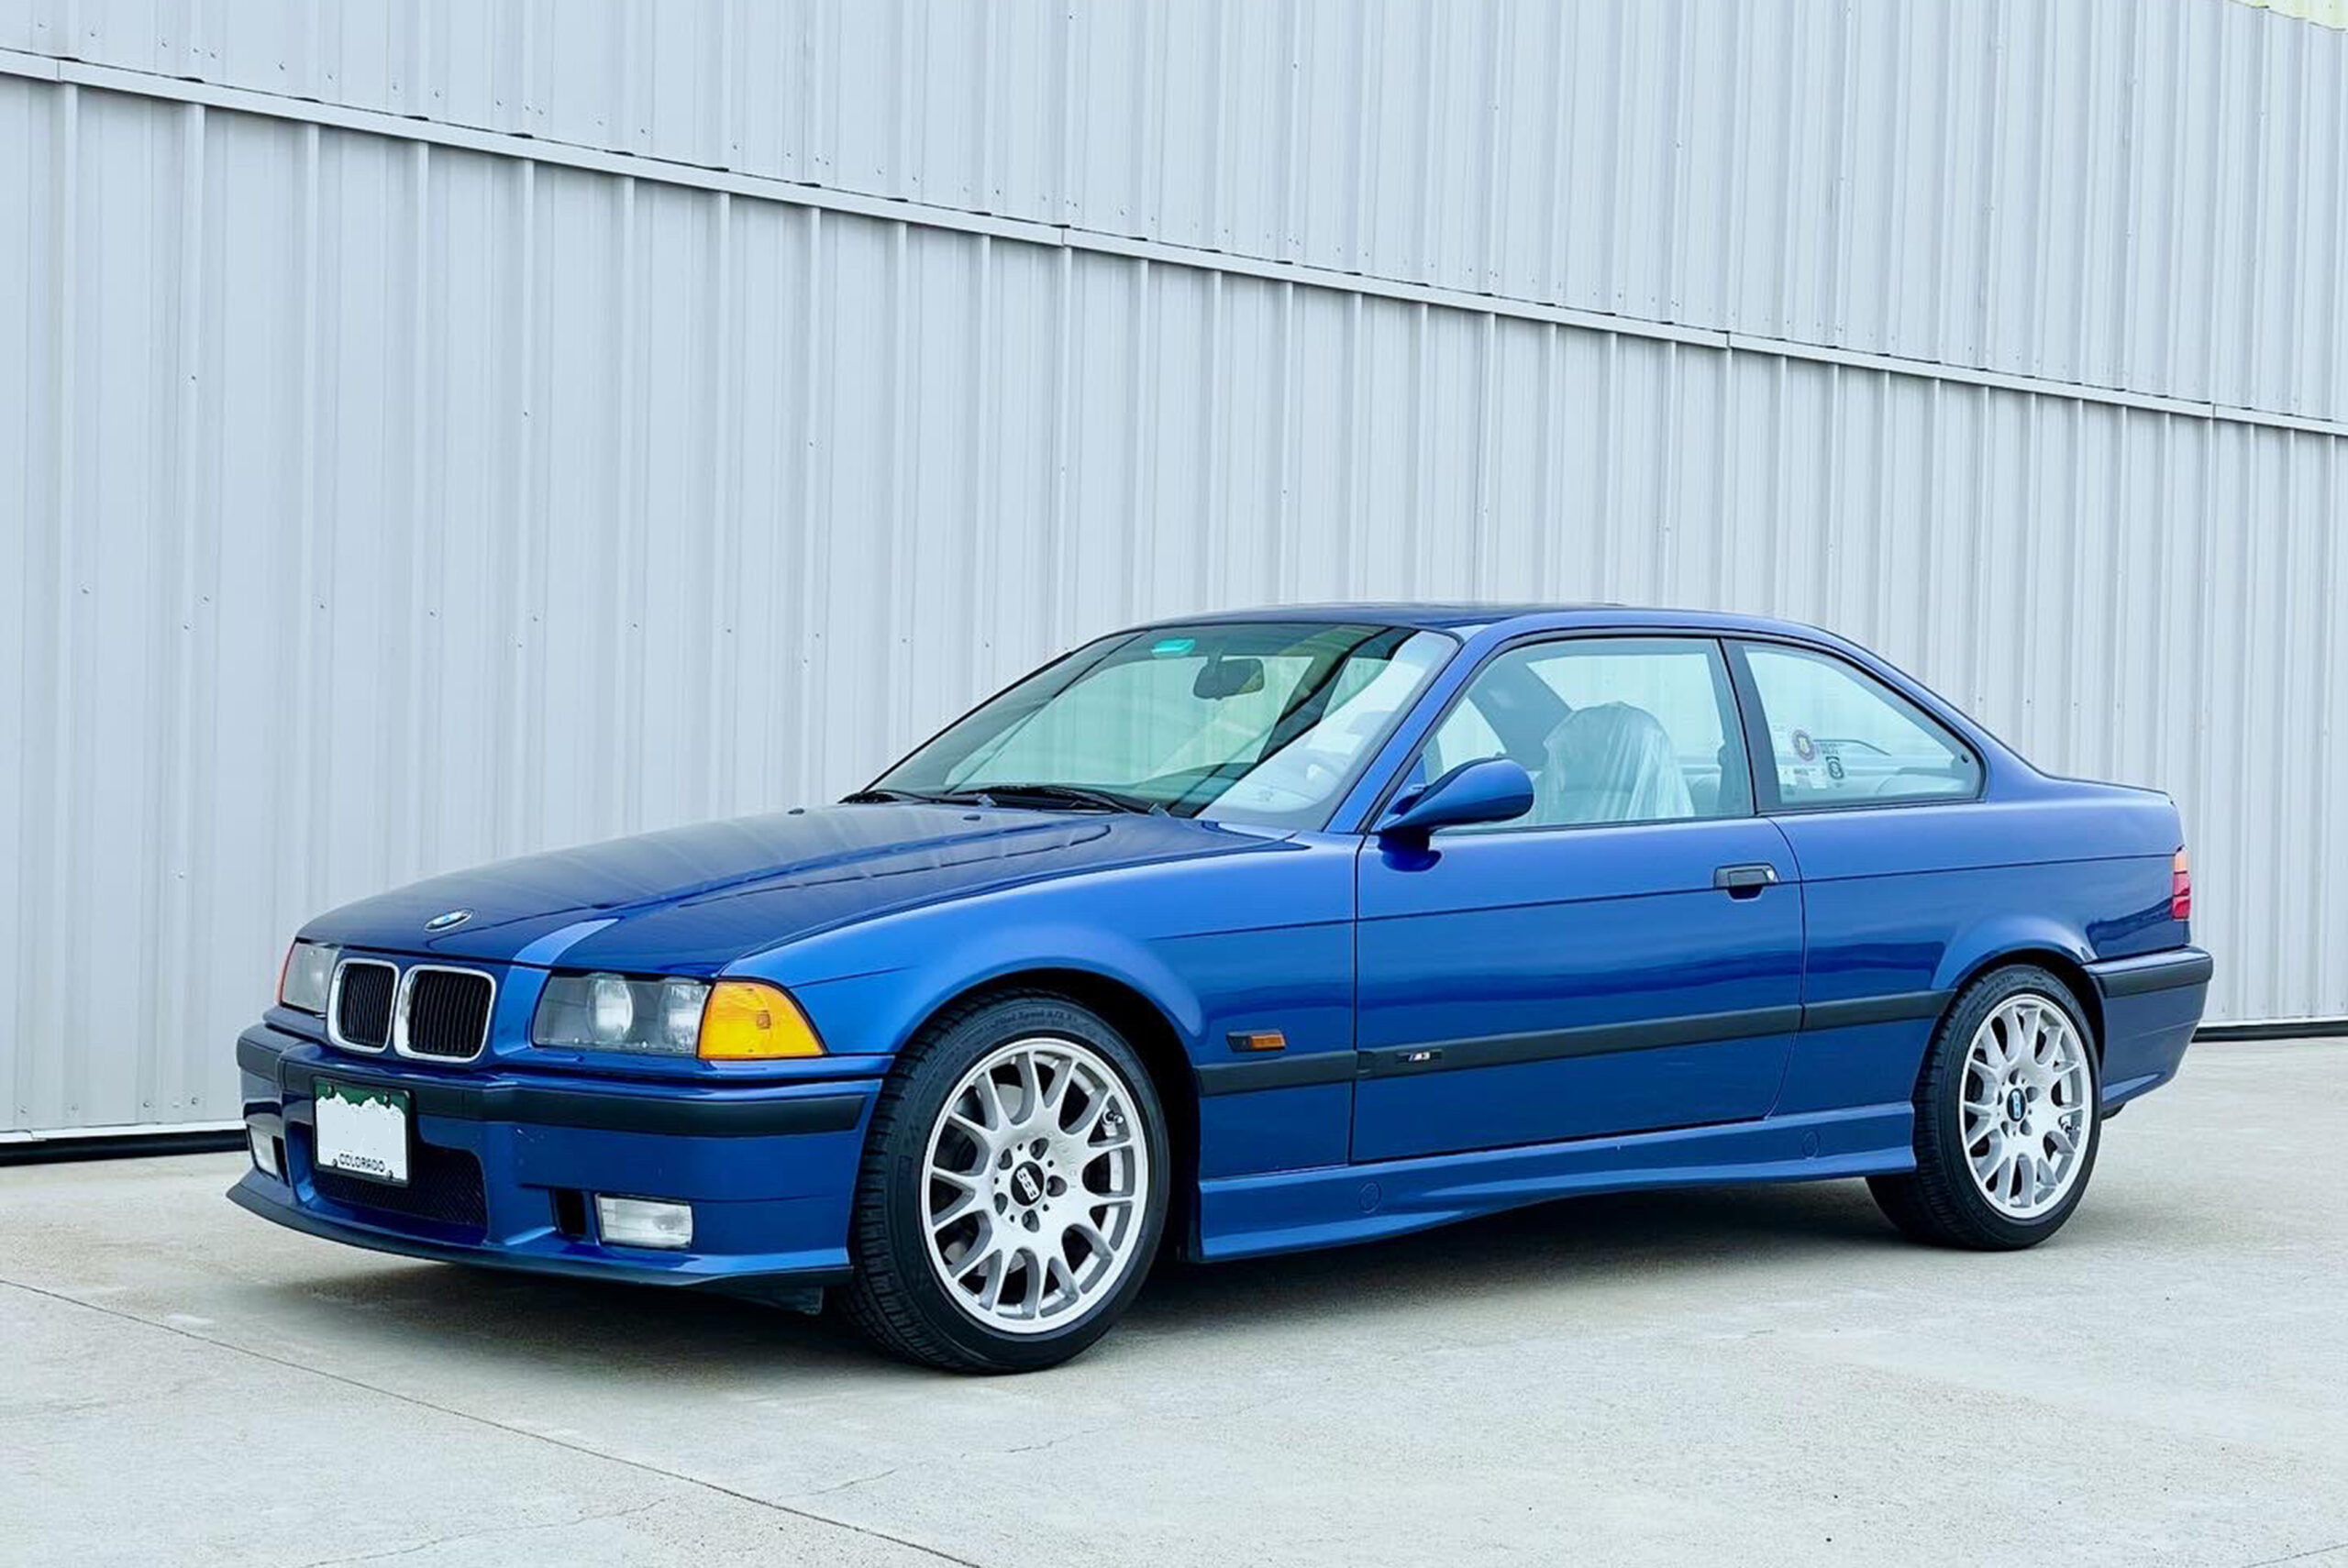
Last week, I described taking Sharkie (my ’79 Euro 635CSi) for a post-winter drive, discovering that the car’s ride had deteriorated to the point of being oxcart-like, being horrified to find the right front fender sinking so far down onto the wheel that the tire hit the fender while turning, and feeling like an idiot when I diagnosed not something weird and exotic like a broken spring or mismatched front-rear suspension components, but simply a set of seizing front struts that I’d obviously ignored for quite some time. I got the car into the garage and up on the mid-rise lift, got the strut housings out, and with the requisite amount of fire and torque, loosened the collar nuts and removed the ancient Boge strut cartridges.
While checking things out, I found that one of the strut tower bushings felt tight. I went inside, sat down at the computer, and was pleasantly surprised to find that Bavarian Autosport wanted only $115 per side for Bilstein struts, but was flabbergasted that OEM tower bushings were $290 per side, with no aftermarket option apparently available. Further, when I went to buy the struts, I was warned that only one was in stock. I resolved to follow up on both matters on the morrow.
When 9:00 a.m. rolled around, I called Bavarian and asked them exactly how out of stock the second Bilstein was. “You’re not going to like it,” said the rep. “We don’t like it. Bilstein is having supply issues. Certain popular struts have been back-ordered for months. This isn’t a case of having the second one in in a few days, or even a week.”
I thanked the rep for his candor. Then I searched a bit and found another BMW-enthusiast parts house that had the Bilsteins on their website. But I wanted to be certain that they actually had them; when I called, it turned out that they did not (they echoed literally the same words about Bilstein’s “supply issues” that Bavarian had used). I eventually found a new set on eBay, but they were advertised using an odd part number that didn’t have a lot of traction on the web. I contacted them, verified that it was the correct part, and ordered two. At $125/side, they were slightly more expensive than Bavarian, but for ten bucks it wasn’t worth taking the risk of ordering one from each vendor and winding up with a pair that was somehow mismatched.
But on the strut-tower bushings (part number 31 33 1 101 663), I was stymied. My early E24 isn’t the only BMW using these bushings; it shares them with the E3, E9, E12, and the Neue Klasse cars. Unfortunately, as cars fall off the edge of being daily drivers, the aftermarket stops serving up parts; try as I might, I could not find a source for the part other than BMW, whose list price was $318. The deepest discount I could find was 20%, for a cost of about $254, which was still more than the cost of both Bilstein front struts. My web kung fu is usually pretty good, but I could find no reasonably-priced source. (Interestingly, the bushings for the later E28-based E24s are still inexpensive.)
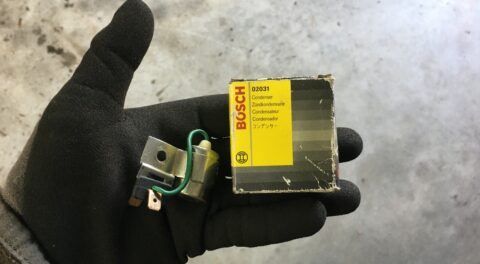
Then I had a vague memory of something. I seemed to recall that, when I’d put Bilsteins into my 3.0CSi many years back, I’d replaced the strut-tower bushings with new ones, because when they’re cheap, that’s what you do, even though there was nothing really wrong with the original bushings.
There are certain advantages to being the inveterate pack rat that I am, and one of them is that I often still have parts like this stashed somewhere.
Of course, having and finding are two different things, but sometimes the neurons fire correctly, and sure enough, when I looked in the drawer which I thought might hold old bushings, there they were, with the red overspray still on them from when the car was painted 30 years ago.
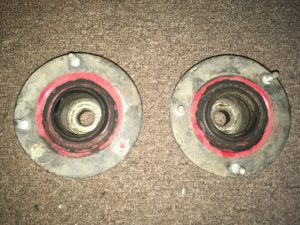
The strut tower bushings I pulled from my E9 decades ago fit the bill perfectly.
I pulled the bushings out of the drawer and spun them, and to my delight, they felt absolutely fine. I thought “Hell yeah, I’m totally using these!” I took a single-edge razor blade and cleaned off most (but not all) of the red overspray, figuring that I’d actually enjoy seeing a little red in there, sort of an in-joke between me, the E9, and Sharkie.
I took the new Bilsteins and the old strut-tower bushings out to the garage and had at it. It soon looked like a Bilstein shop had exploded, which for my garage is about par for the course.
Last week I said that in addition to needing the strut cartridges and one tower bushing, one of the pieces of perch rubber was torn. Pack-rat that I am, I found that piece as well. With all the parts now accounted for, I re-packed the bearings in the old bushings from the E9, put the new strut cartridges in the housings, and reassembled everything. (I wound up having to do it twice, because I only read the instructions after assembly, and learned that the plastic donuts onto which the dust bellows attach have to go on before the collar nuts. D’oooh!
Many of you know this feeling in a project: the sense that even though it’s not completely done, you’re home free. I hadn’t broken anything removing the strut assemblies from the car. I hadn’t damaged the housings taking off the brutally-tight collar nuts. I dodged two cost bullets on the parts—one on the struts, the other on the bushings. I now had both strut assemblies on the floor of the garage.
I just needed to muscle them into the car; maybe another hour, and I’d have it all buttoned up.
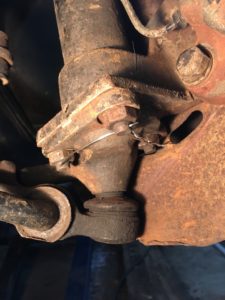
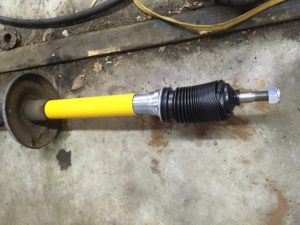
Left strut with safety wire in place.
The fully assembled strut housings, with the springs, bushings, hubs, and rotors on them, are heavy and ungainly. It is possible to raise them into position using a floor jack, but unfortunately, the wooden ramps I use on both sides of my mid-rise lift make it difficult to roll a floor jack into position. Fortunately, I’ve found that I can heave the strut assembly into place so that its bottom rests on top of the steering knuckle to which it needs to eventually attach anyway; I’ve found that with the bottom thus supported, I can align the studs on the strut-tower bushing with the holes in the top of the inner fender, reach underneath, pull the assembly up with my hand while helping it with one knee, get one stud through one hole, get one nut on that one stud, and tighten it to pull the entire assembly up into place. I can then thread on the other two nuts at the top, and begin to attach the special bolts with the holes for the safety wire that hold the steering knuckle to the bottom of the strut.
I did all this on the left strut without incident.
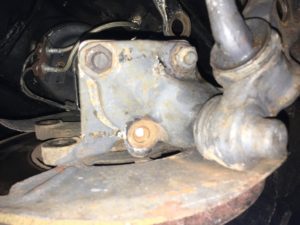
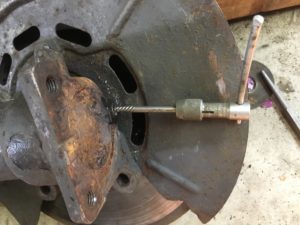
The holes for the safety wire in the bolts on the right side were rusted shut.
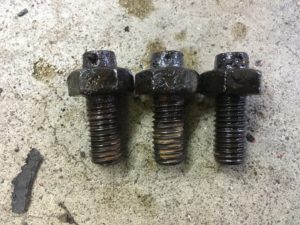
Last week I also mentioned that the bottom bolts had clearly been in there for much of the car’s 220,000 miles, and that even using the impact wrench, they came out a-groaning. What’s more, when I inspected them, I found that on the bolts from the right-hand strut, pieces of the safety wire were rusted in place in the little holes. I tried some heat and penetrating oil, and cleared the hole in one bolt, but the other two were plugged up good. I kicked myself for not remembering to order new bolts, but it wasn’t a showstopper; I could button things up for now, then substitute the new bolts and safety wire when they arrive.
I certainly use a torque wrench to do the final tightening of these strut-bottom bolts to their required 45 foot-pounds, but I’ll also speed their installation with an air ratchet. Unfortunately, I couldn’t locate mine, so instead I used my impact wrench, turned to the lowest setting. I partially finger-tightened all three bolts to correctly align the steering knuckle to the bottom of the strut, then used the impact wrench to tighten down the first one.
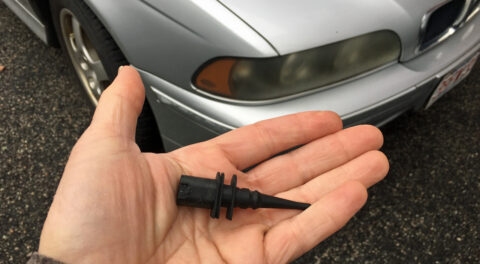
Few things ruin your day like snapping the head off a bolt.
And watched in horror as the impact wrench summarily snapped the head off the bolt.
The flip side of that feeling of seeing the light at the end of the tunnel is the feeling that a prison escapee must have when, one foot over the top of the fence, the guard dog jumps up and grabs the other foot.
Crap. CRAP!
I looked at my impact wrench, and found that instead of turning the knob to the lowest setting, I’d somehow turned it to the next setting. I’m still very surprised that this happened; I can only surmise that the bolt may have been weakened by its difficult removal with the impact wrench.
After staring at the snapped bolt for a while and getting my wits about me, it was clear that the thing to do was remove the entire strut assembly again and lay it on the garage floor for better access, so out it came.
With the bottom of the strut housing no longer covered by the steering knuckle, I could see that the top of the snapped bolt was actually proud of the surface by a fair amount, making me hopeful that I could simply grab it and undo it. After all, this was a bolt that had snapped going in, not coming out; the decades of rust that’d held it in place had already been defeated when I removed it.
Unfortunately, try as I might using heat, a stud extractor, Vise Grips, pliers, and a number of other tools (including the Hack trick of hammering a Torx socket onto it), there wasn’t quite enough of the bolt to get a bite on.
There was just enough of the bolt showing to make you think you could grab it, but not enough that you actually could.
I tried one more thing. I used my Dremel tool and cutting wheel to cut a slot in the proud-of-the-surface section of the bolt so that I could use a screwdriver on it, but it still wouldn’t budge.
Damn, I thought, nothing left to do but drill that sucker out. I’ve done this many times before. It sucks, and it’s slow, but it’s a path to completion, slow and steady, starting with small bits and increasing one size at a time, trying to drill as close to the center of the bolt and stay as vertical as possible. After a point, you can often pull the thin remaining fragments of the bolt out with a probing pick. But if you can’t, you just run a tap through when you’re done.
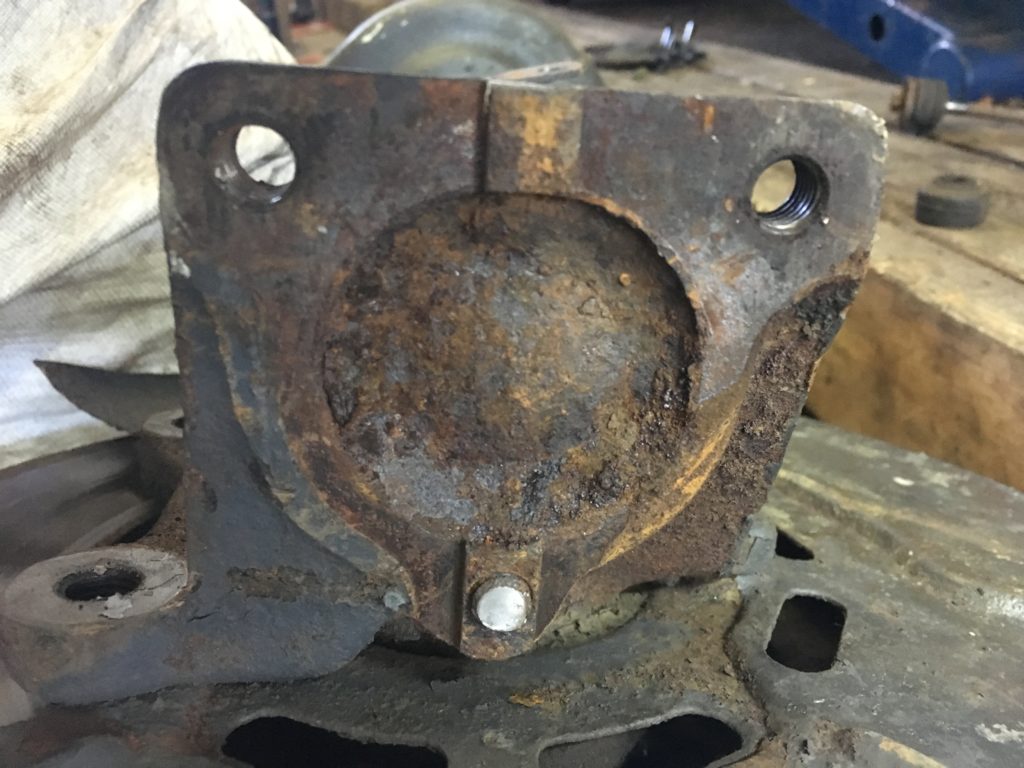
And then I noticed a big problem: Two of the three bolt holes in the bottom of the strut go all the way through, but the third one is blind. And the snapped bolt was in this third blind hole. That meant there could be no through-drilling of the bolt.
I was in trouble.
I’ve read that the ultimate method of removing snapped-off bolts and studs involves tack-welding a washer to the surface to form a little cup, filling the hole with liquid metal, welding a nut to the top of everything, then unscrewing the nut. But I don’t own a welder. I’ve long wanted to buy one, but every time I look into it, I learn that the dual-voltage MillerMatic 211 is the one to buy; but the full-up price tag for the welder, cart, gas bottles, attachments, and welding helmet is nearly $1,600, so I walk my way right back down to doing nothing. I did that same thing here; I wanted to fix the problem, but I didn’t want to spend sixteen hundred bucks fixing the problem. I could buy some cheap welder at Harbor Freight, but “cheap” would still be close to two hundred bucks, and it wouldn’t be the welder I wanted to own.
I thought about other options. My friend Tom welds; he’s the guy who saved my butt by repairing the cracked front subframe in one of the tii’s. But he’s an hour north of me, and he’s wicked-busy. I wondered if I could pay $20 to a nearby welding shop in Waltham to pull the thing out.
Then I had an idea. It was a dangerous one, one that would mean actively ignoring years of my advice: I could try using an Easy-Out.
Now, you have to realize that in my first book, Memoirs of a Hack Mechanic, in the chapter on “stuckness,” I say, “First, if you have a set of ‘Easy Outs’—those counterclockwise-spiraled bits you’re supposed to insert into a hole you’ve drilled into a snapped-off bolt—go to your toolbox right now, find every one of them, and throw them in the garbage. Trust me: If a bolt is so frozen that with a clear access and ample amounts of torque, you snapped the head clean off it, the Easy Out is not going to loosen it—ever. It is, however, almost certain to break in half and leave part of itself inside the bolt. And then you’re even more boned than you were before.” So I didn’t have any Easy-Outs, because I had, you know, thrown them in the garbage.
But I kept coming back to the fact that the bolt snapped off going in, not coming out, and that it likely snapped because it had been weakened coming out with the impact wrench, and it stretched while being tightened with the impact wrench. After all, it was the head of the bolt that had twisted off. It had snapped between the bottom of the knuckle and the bottom of the strut. It was likely that it snapped there not because the shank of the bolt was as far into the blind hole as it could go, but because the head twisted off when it hit the underside of the knuckle. I just couldn’t imagine that the remaining portion of the bolt itself could really be all that tight. I thought that just this once an Easy-Out might, in fact, be the right tool.
So—and I can’t believe I’m saying this—I drove to the hardware store to buy a set of Easy-Outs. I left with the embarrassing contraband in my hot little hands like a junior-high-school kid with a bag of condoms (I had a quick flashback to Hermie in Summer of ’42).
I got home, center-punched the bolt, then drilled a pilot hole in it with a left-hand drill bit. (Some folks say the loosening action of the left-hand bit all by itself will sometimes cause a bolt to begin to come out. I’ve never had it happen, but hope springs eternal.) I ran two larger bits through it until I had a good-sized hole into which I could thread one of the medium-size Easy-Outs, minimizing the chances that it would snap. At least that was my logic.
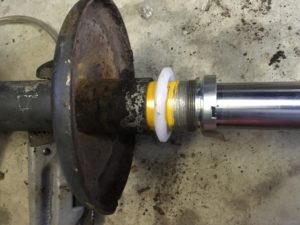
The Easy-Out: The most unlikely hero EVER.
I then heated the bolt, wicked some wax into the threads, and carefully began using the Easy-Out, cognizant of its history of crushing disappointment. I then prayed to the Automotive Powers That Be to have mercy on my Hack Mechanic soul.
The bolt began to loosen. It wasn’t maniacally tight. Damn it, I was right: Out it came.
Freaking whew!
I take back 15% of the bad things I’ve said over the years about Easy-Outs. Maybe 20%. The episode was just enough for them to earn a place in the toolbox and be safe from being thrown in the garbage. For now.
With disaster narrowly averted, back in went the strut assembly, temporarily secured by the two unsnapped strut bolts and one generic 17-mm bolt, this time tightened by hand and then torqued to 45 foot-pounds. I put three of the correct safety-wire bolts on order.
Of course, most important, with the new Bilsteins up front, Sharkie’s nose is now level again, and the car rides and drives like a dream. I’m looking forward to taking it to the Vintage in Asheville.
Maybe I’ll even bring the Easy-Outs. I think that they’ve earned some time in the catbird seat.—Rob Siegel
Got a question for Rob Siegel, the Hack Mechanic? You can find him in the BMW CCA Forums here!
Rob’s most recent book, Ran When Parked: How I Resurrected a Decade-Dead 1972 BMW 2002tii and Road-Tripped it a Thousand Miles Back Home, and How You Can, Too, is available on Amazon. Or you can order personally inscribed copies through Rob’s website: www.robsiegel.com. His new book, Just Needs a Recharge: The Hack MechanicTM Guide to Vintage Air Conditioning, will be out any day.


")